Page 12 of 490
INSTRUMENT PANEL
Instrument Panel
1 — Headlight Switch7 — Gear Selector
2 — Instrument Cluster Display Controls 8 — Uconnect System
3 — Multifunction Lever (Behind Steering Wheel) 9 — Climate Controls
4 — Instrument Cluster 10 — Switch Panel
5 — Speed Controls 11 — Upper Glove Compartment
6 — Ignition 12 — Lower Glove Compartment
10 GRAPHICAL TABLE OF CONTENTS
Page 17 of 490

▫Lane Change Assist ......................64
▫ Battery Protection .......................64
� INTERIOR LIGHTS .......................64
▫ Courtesy/Interior Lighting ................64
� WINDSHIELD WIPER AND WASHERS ........66
▫ Windshield Wiper Operation ................67
▫ Rear Wiper And Washer ...................68
� CLIMATE CONTROLS .....................68
▫ Manual Climate Control Overview ...........68
▫ Automatic Climate Control Overview .........76
▫ Climate Control Functions .................85
▫ Automatic Temperature Control (ATC) —
If Equipped ............................86
▫ Operating Tips .........................86
� WINDOWS .............................89
▫ Power Vent Windows — If Equipped .........89
▫ Power Windows ........................89 �
HOOD ................................92
▫ Opening The Hood ......................92
▫ Closing The Hood .......................93
� LIFTGATE .............................94
▫ Opening .............................94
▫ Closing ..............................94
▫ Power Liftgate — If Equipped ...............95
▫ Cargo Area Features .....................97
� LOAD LEVELING SYSTEM — IF EQUIPPED ....97
� GARAGE DOOR OPENER — IF EQUIPPED .....98
▫ Before You Begin Programming HomeLink .....98
▫ Programming A Rolling Code ...............99
▫ Programming A Non-Rolling Code ..........100
▫ Canadian/Gate Operator Programming .......101
▫ Using HomeLink ...................... .102
▫ Security ............................. .102
▫ T
roubleshooting Tips ................... .103
3
GETTING TO KNOW YOUR VEHICLE 15
Page 50 of 490

WARNING!
•Persons who are unable to feel pain to the skin
because of advanced age, chronic illness, diabetes,
spinal cord injury, medication, alcohol use, exhaus-
tion or other physical condition must exercise care
when using the seat heater. It may cause burns even
at low temperatures, especially if used for long
periods of time.
• Do not place anything on the seat or seatback that
insulates against heat, such as a blanket or cushion.
This may cause the seat heater to overheat. Sitting in
a seat that has been overheated could cause serious
burns due to the increased surface temperature of the
seat.
Front Heated Seats
There are two heated seat switches that allow the driver
and passenger to operate the seats independently. The
controls for each heater are located on the switch bank
below the climate controls.
You can choose from HI, LO or OFF heat settings. Amber
indicator lights in each switch indicate the level of heat in
use. Two indicator lights will illuminate for HI, one for LO
and none for OFF. •
Push the heated seat button
once to turn the HI
setting on.
• Push the heated seat buttona second time to turn
the LO setting on.
• Push the heated seat buttona third time to turn the
heating elements off.
NOTE: Once a heat setting is selected, heat will be felt
within two to five minutes.
If the HI-level setting is selected, the system will automati-
cally switch to LO-level after approximately 60 minutes of
continuous operation. At that time, the display will change
from HI to LO, indicating the change. The LO-level setting
will turn off automatically after approximately 45 minutes.
Vehicles Equipped With Remote Start
On models that are equipped with remote start, the heated
seats can be programmed to come on during a remote start.
This feature can be programmed through the instrument
cluster display. Refer to “Instrument Cluster Display” in
“Getting To Know Your Instrument Panel” for further
information.
48 GETTING TO KNOW YOUR VEHICLE
Page 57 of 490

STEERING WHEEL
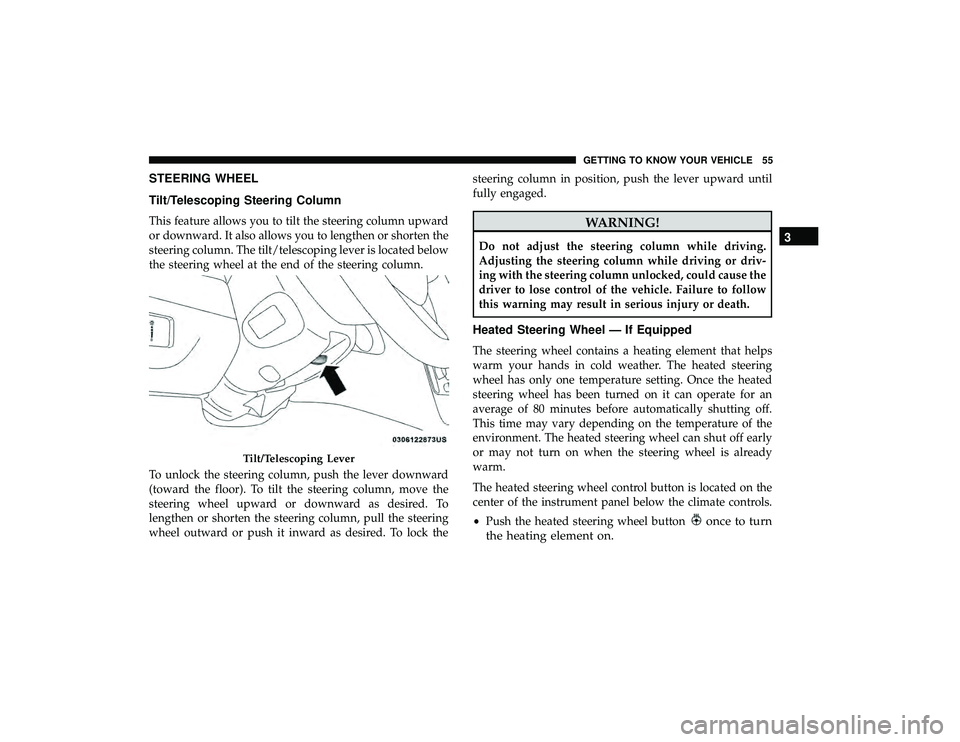
Tilt/Telescoping Steering Column
This feature allows you to tilt the steering column upward
or downward. It also allows you to lengthen or shorten the
steering column. The tilt/telescoping lever is located below
the steering wheel at the end of the steering column.
To unlock the steering column, push the lever downward
(toward the floor). To tilt the steering column, move the
steering wheel upward or downward as desired. To
lengthen or shorten the steering column, pull the steering
wheel outward or push it inward as desired. To lock thesteering column in position, push the lever upward until
fully engaged.WARNING!
Do not adjust the steering column while driving.
Adjusting the steering column while driving or driv-
ing with the steering column unlocked, could cause the
driver to lose control of the vehicle. Failure to follow
this warning may result in serious injury or death.
Heated Steering Wheel — If Equipped
The steering wheel contains a heating element that helps
warm your hands in cold weather. The heated steering
wheel has only one temperature setting. Once the heated
steering wheel has been turned on it can operate for an
average of 80 minutes before automatically shutting off.
This time may vary depending on the temperature of the
environment. The heated steering wheel can shut off early
or may not turn on when the steering wheel is already
warm.
The heated steering wheel control button is located on the
center of the instrument panel below the climate controls.
•
Push the heated steering wheel button
once to turn
the heating element on.
Tilt/Telescoping Lever
3
GETTING TO KNOW YOUR VEHICLE 55
Page 62 of 490
Outside Mirrors Folding Feature
All outside mirrors are hinged and may be moved either
forward or rearward to resist damage. The hinges have
three detent positions:
•Full forward position
• Full rearward position
• Normal position
Heated Mirrors — If Equipped
These mirrors are heated to melt frost or ice. This
feature will be activated whenever you turn on the
rear window defroster (if equipped). Refer to “Climate
Controls” in “Getting To Know Your Vehicle” for further
information.
Illuminated Vanity Mirrors — If Equipped
An illuminated vanity mirror is located on the sun visor. To
use the mirror, rotate the sun visor down and swing the
mirror cover upward. The lights turn on automatically.
Closing the mirror cover turns off the lights.
Lift Mirror Cover
60 GETTING TO KNOW YOUR VEHICLE
Page 70 of 490

NOTE:The mist feature does not activate the washer
pump; therefore, no washer fluid will be sprayed on the
windshield. The wash function must be used in order to
spray the windshield with washer fluid.
Rear Wiper And Washer
Rotating the center ring of the wiper lever to the first detent
activates the rear intermittent wipers. To activate the
washers, rotate the center ring fully forward and the
washers will spray until the ring is released, and then
resume the intermittent interval.
NOTE: Rear window wipers function in the intermittent
wiper speed only.
CLIMATE CONTROLS
The Climate Control System allows you to regulate the
temperature, air flow, and direction of air circulating
throughout the vehicle. The controls are located on the
touchscreen (if equipped) and on the instrument panel
below the radio.
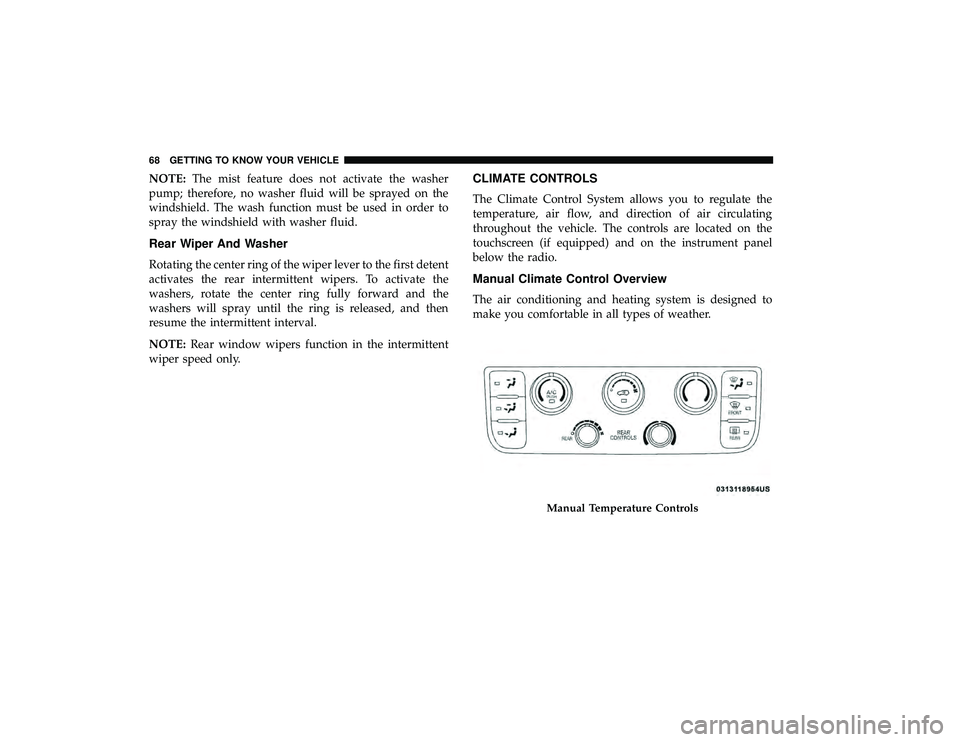
Manual Climate Control Overview
The air conditioning and heating system is designed to
make you comfortable in all types of weather.
Manual Temperature Controls
68 GETTING TO KNOW YOUR VEHICLE
Page 71 of 490

Manual Climate Control Descriptions
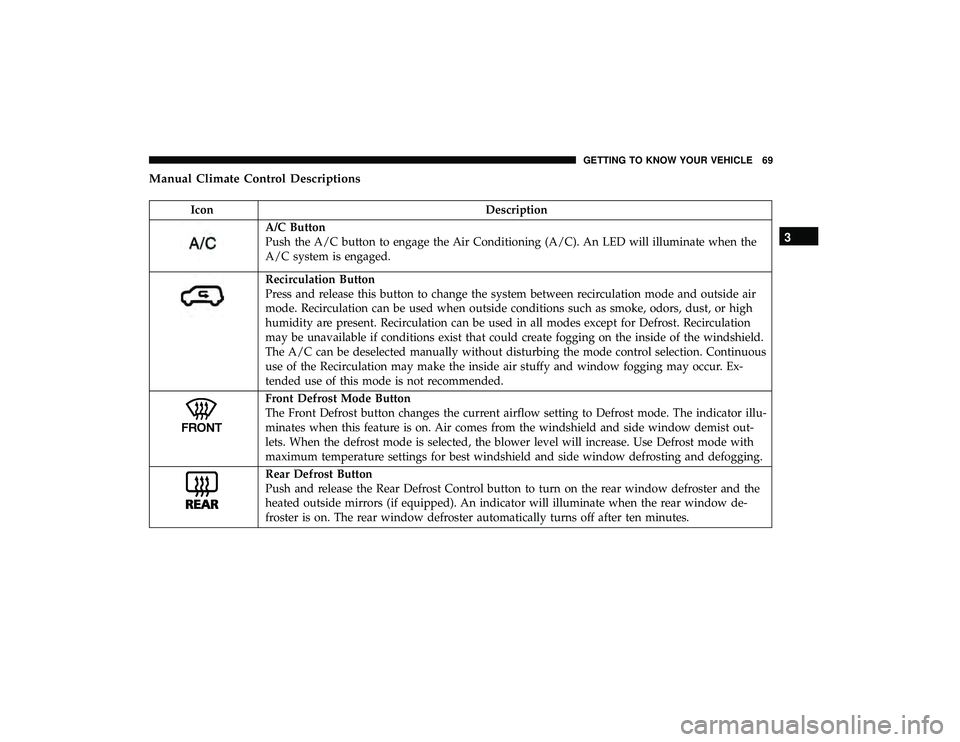
IconDescription
A/C Button
Push the A/C button to engage the Air Conditioning (A/C). An LED will illuminate when the
A/C system is engaged.
Recirculation Button
Press and release this button to change the system between recirculation mode and outside air
mode. Recirculation can be used when outside conditions such as smoke, odors, dust, or high
humidity are present. Recirculation can be used in all modes except for Defrost. Recirculation
may be unavailable if conditions exist that could create fogging on the inside of the windshield.
The A/C can be deselected manually without disturbing the mode control selection. Continuous
use of the Recirculation may make the inside air stuffy and window fogging may occur. Ex-
tended use of this mode is not recommended.
Front Defrost Mode Button
The Front Defrost button changes the current airflow setting to Defrost mode. The indicator illu-
minates when this feature is on. Air comes from the windshield and side window demist out-
lets. When the defrost mode is selected, the blower level will increase. Use Defrost mode with
maximum temperature settings for best windshield and side window defrosting and defogging.
Rear Defrost Button
Push and release the Rear Defrost Control button to turn on the rear window defroster and the
heated outside mirrors (if equipped). An indicator will illuminate when the rear window de-
froster is on. The rear window defroster automatically turns off after ten minutes.
3
GETTING TO KNOW YOUR VEHICLE 69
Page 74 of 490
Controlling The Rear Climate Controls From The
Front Panel Controls
The rear MTC system has floor air outlets at the rear right
side of the 3rd Row seats and overhead outlets at each
outboard rear seating position. The system provides heated
air through the floor outlets or cool, dehumidified air
through the headliner outlets.
The rear system temperature control buttons on the face-
plate are located below the radio system, located on the
instrument panel.
Rear Manual Climate Controls
72 GETTING TO KNOW YOUR VEHICLE