Page 82 of 490

Controlling The Rear Climate Controls From The
Front ATC Panel
The rear ATC system has floor air outlets at the rear right
side of the 3rd Row seats and overhead outlets at each
outboard rear seating position. The system provides heated
air through the floor outlets or cool, dehumidified air
through the headliner outlets. The rear system temperature
control buttons are located in the Uconnect system, located
on the instrument panel.
IconDescription
Rear Lock Button
Press to lock out the rear manual temperature controls from adjusting the rear temperature and
blower settings.
Rear Passenger Temperature Up and Down Buttons
Provides the rear passengers with independent temperature control. Push the up arrow button
to increase the temperature. Push the down arrow button to decrease the temperature. When the
SYNC feature is active, the rear temperature, the passenger ’s temperature will move up and
down with the driver ’s temperature.
Front ATC Panel Rear Control Display
80 GETTING TO KNOW YOUR VEHICLE
Page 83 of 490

IconDescription
SYNC Button — If Equipped
Press the SYNC button to toggle the Sync feature on/off. The SYNC indicator is illuminated
when this feature is enabled. SYNC is used to synchronize the front and rear passenger tem-
perature settings with the driver temperature setting. Changing the front or rear passenger tem-
perature setting while in SYNC will automatically exit this feature.
Rear Blower Control
Turn off Blower Control Knob clockwise or counter clockwise to adjust blower speed. There are
seven blower speeds. Use this control to regulate the amount of air forced through the system in
any mode you select in Rear Compartment. The blower speed increases as you move the control
clockwise from the off position.
Panel Mode
Rear Panel Mode
Toggle the Modes Control Button until Rear Panel Mode appears on the display. Air comes from
the outlets in the headliner. Each of these outlets can be individually adjusted to direct the flow
of air. Moving the air vanes of the outlets to one side will shut off the airflow.
Bi-Level Mode
Rear Bi-Level Mode
Toggle the Modes Control Button until the Rear Bi-Level Mode appears on the display. Air
comes from both the headliner outlets and the floor outlets.
NOTE: In many temperature positions, the Bi-Level mode is designed to provide cooler air out
of the headliner outlets and warmer air from the floor outlets.
3
GETTING TO KNOW YOUR VEHICLE 81
Page 84 of 490
IconDescription
Floor Mode
Rear Floor Mode
Toggle the Modes Control Button until the Rear Floor Mode appears on the display. Air comes
from the floor vents.
Rear Automatic Temperature Control (ATC) — If
Equipped
The Three-Zone ATC system allows for adjustment of the
rear climate controls from the front ATC panel. To change
the rear system settings:
• Press the �REAR�button to change control to rear control
mode, Rear display (below) will appear. Control func-
tions now operate rear system.
• To return to Front screen, press the �REAR�button again,
or it will revert to the Front screen after six seconds.
1. Adjust the Rear Blower, Rear Temperature and the RearModes to suit your comfort needs.
2. ATC is selected by pushing the AUTO button.
Once the desired temperature is displayed, the ATC System
will automatically achieve and maintain that comfort level.
Rear ATC Control Features
82 GETTING TO KNOW YOUR VEHICLE
Page 86 of 490

IconDescription
Rear Temperature Control Knob
To change the temperature in the rear of the vehicle, turn the Temperature Control Knob. Turn it
to the right to raise the temperature, or turn it to the left to lower the temperature. The rear tem-
perature settings are displayed in control head. When rear controls are locked by the front system,
the Rear Temperature Lock symbol on the control head is illuminated and any rear overhead ad-
justments are ignored.
Push the Rear Temperature Lock button on the front ATC panel. This turns off the Rear Tempera-
ture Lock icon in the rear temperature knob.
Rear Blower Control Knob
The rear blower control can be manually set to off, or any fixed blower speed by rotating the
Blower Control Knob in the rear of the vehicle. This allows the rear seat occupants to control the
volume of air circulated in the rear of the vehicle.
Rear AUTO Mode
Rear AUTO is selected by adjusting the rear blower knob counterclockwise to AUTO. The ATC
system will automatically achieve and maintain that comfort level. When the system is set up for
your comfort level, it is not necessary to change the settings. You will experience the greatest effi-
ciency by simply allowing the system to function automatically.
84 GETTING TO KNOW YOUR VEHICLE
Page 88 of 490
 — If
Equipped
Automatic Operation
1. Push the AUTO button on the faceplate, or the AUTObutton on the touchscreen on the Automatic Tempera-
ture Control (ATC) Pane")
Automatic Temperature Control (ATC) — If
Equipped
Automatic Operation
1. Push the AUTO button on the faceplate, or the AUTObutton on the touchscreen on the Automatic Tempera-
ture Control (ATC) Panel.
2. Next, adjust the temperature you would like the system to maintain by adjusting the driver and passenger
temperature control buttons. Once the desired tempera-
ture is displayed, the system will achieve and automati-
cally maintain that comfort level.
3. When the system is set up for your comfort level, it is not necessary to change the settings. You will experience
the greatest efficiency by simply allowing the system to
function automatically. NOTE:
•
It is not necessary to move the temperature settings for
cold or hot vehicles. The system automatically adjusts
the temperature, mode, and blower speed to provide
comfort as quickly as possible.
• The temperature can be displayed in U.S. or Metric units
by selecting the US/Metric customer programmable
feature. To provide you with maximum comfort in the
Automatic mode during cold start-ups, the blower fan
will remain on low until the engine warms up. The
blower will increase in speed and transition into Auto
mode.
Manual Operation Override
This system offers a full complement of manual override
features. The AUTO symbol in the front ATC display will
be turned off when the system is being used in the manual
mode.
Operating Tips
NOTE: Refer to the chart at the end of this section for
suggested control settings for various weather conditions.
86 GETTING TO KNOW YOUR VEHICLE
Page 131 of 490
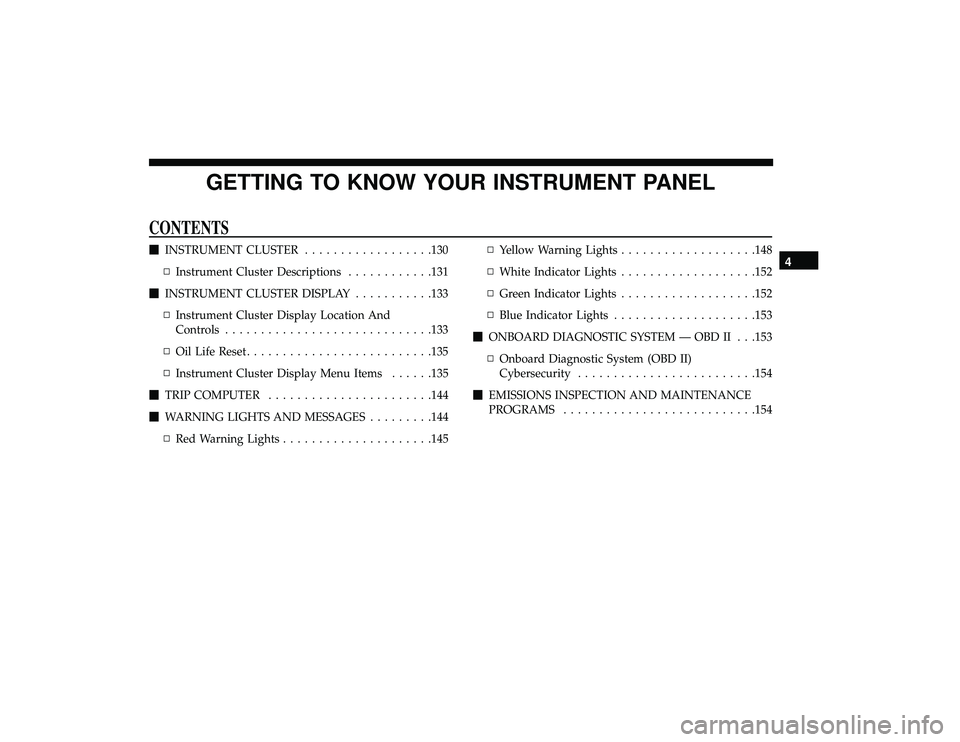
GETTING TO KNOW YOUR INSTRUMENT PANEL
CONTENTS
�INSTRUMENT CLUSTER ..................130
▫ Instrument Cluster Descriptions ............131
� INSTRUMENT CLUSTER DISPLAY ...........133
▫ Instrument Cluster Display Location And
Controls ............................ .133
▫ Oil Life Reset ......................... .135
▫ Instrument Cluster Display Menu Items ......135
� TRIP COMPUTER ...................... .144
� WARNING LIGHTS AND MESSAGES .........144
▫ Red Warning Lights .................... .145▫
Yellow Warning Lights .................. .148
▫ White Indicator Lights .................. .152
▫ Green Indicator Lights .................. .152
▫ Blue Indicator Lights ................... .153
� ONBOARD DIAGNOSTIC SYSTEM — OBD II . . .153
▫ Onboard Diagnostic System (OBD II)
Cybersecurity ........................ .154
� EMISSIONS INSPECTION AND MAINTENANCE
PROGRAMS .......................... .1544
Page 133 of 490
Instrument Cluster Descriptions
1.Tachometer
Indicates the engine speed in revolutions per minute (RPM
x 1000). 2.
Instrument Cluster Display— If Equipped / Odometer
Display / Trip Odometer Display
• Instrument Cluster Display— If Equipped
The instrument cluster display features a driver-
interactive display that is located in the instrument
cluster. Refer to “Instrument Cluster Display” in this
section for further information.
Premium Instrument Cluster
4
GETTING TO KNOW YOUR INSTRUMENT PANEL 131
Page 134 of 490

•Odometer Display / Trip Odometer Display
The odometer display shows the total distance the
vehicle has been driven.
This also displays Trip A and Trip B, DTE, MPG or
L/100km, OAT (Outside Air Temperature) information
to Base Cluster, use STEP and RESET button (on
steering wheel) to access or reset the display.
• Message Display Area
When the appropriate conditions exist, the following
odometer messages will display:
door — Door Ajar
gATE — Liftgate Ajar
LoW tirE — Low Tire Pressure
gASCAP — Fuel Cap Fault
noFUSE — Fuse Fault
CHAngE OIL — Oil Change Required
LoCOOL — Low Coolant
3. Speedometer
Indicates vehicle speed. 4.
Fuel Gauge
• The gauge shows the level of fuel in the fuel tank when
the ignition switch is in the ON/RUN position.
•
The fuel pump symbol points to the side of the
vehicle where the fuel door is located.
5. Temperature Gauge
• The temperature gauge shows engine coolant tem-
perature. Any reading within the normal range indi-
cates that the engine cooling system is operating
satisfactorily.
• The gauge can indicate a higher temperature when
driving in hot weather or up mountain grades. It
should not be allowed to exceed the upper limits of the
normal operating range.
WARNING!
Driving with a hot engine cooling system could dam-
age your vehicle. If the temperature gauge reaches “H”
pull over and stop the vehicle. Idle the vehicle with the
air conditioner turned off until the gauge drops back
into the normal range and is no longer red. If the gauge
remains on the “H”, turn the engine off immediately
and call an authorized dealer for service.
132 GETTING TO KNOW YOUR INSTRUMENT PANEL
 �")
. 2.
Instrument Cluster Display— If Equipped / Odometer
Display / Trip Odometer Display")