2018 VOLVO V90 CROSS COUNTRY ECU
[x] Cancel search: ECUPage 455 of 662
STARTING AND DRIVING
}}
* Option/accessory.453
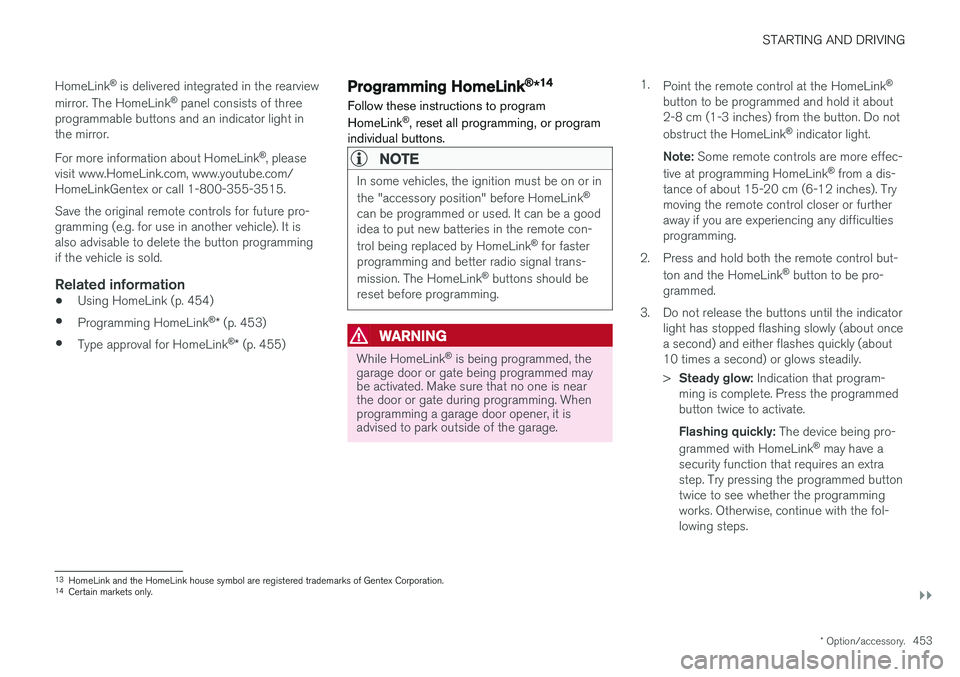
HomeLink
®
is delivered integrated in the rearview
mirror. The HomeLink ®
panel consists of three
programmable buttons and an indicator light in the mirror. For more information about HomeLink ®
, please
visit www.HomeLink.com, www.youtube.com/ HomeLinkGentex or call 1-800-355-3515. Save the original remote controls for future pro- gramming (e.g. for use in another vehicle). It isalso advisable to delete the button programmingif the vehicle is sold.
Related information
• Using HomeLink (p. 454)
• Programming HomeLink ®
* (p. 453)
• Type approval for HomeLink ®
* (p. 455)
Programming HomeLink®
*14
Follow these instructions to program HomeLink ®
, reset all programming, or program
individual buttons.
NOTE
In some vehicles, the ignition must be on or in the "accessory position" before HomeLink ®
can be programmed or used. It can be a good idea to put new batteries in the remote con- trol being replaced by HomeLink ®
for faster
programming and better radio signal trans-mission. The HomeLink ®
buttons should be
reset before programming.
WARNING
While HomeLink ®
is being programmed, the
garage door or gate being programmed may be activated. Make sure that no one is nearthe door or gate during programming. Whenprogramming a garage door opener, it isadvised to park outside of the garage. 1.
Point the remote control at the HomeLink ®
button to be programmed and hold it about 2-8 cm (1-3 inches) from the button. Do not obstruct the HomeLink ®
indicator light.
Note: Some remote controls are more effec-
tive at programming HomeLink ®
from a dis-
tance of about 15-20 cm (6-12 inches). Try moving the remote control closer or furtheraway if you are experiencing any difficultiesprogramming.
2. Press and hold both the remote control but- ton and the HomeLink ®
button to be pro-
grammed.
3. Do not release the buttons until the indicator light has stopped flashing slowly (about oncea second) and either flashes quickly (about10 times a second) or glows steadily. >Steady glow: Indication that program-
ming is complete. Press the programmed button twice to activate. Flashing quickly: The device being pro-
grammed with HomeLink ®
may have a
security function that requires an extra step. Try pressing the programmed buttontwice to see whether the programmingworks. Otherwise, continue with the fol-lowing steps.
13 HomeLink and the HomeLink house symbol are registered trademarks of Gentex Corporation.
14 Certain markets only.
Page 458 of 662
STARTING AND DRIVING
456
Compass
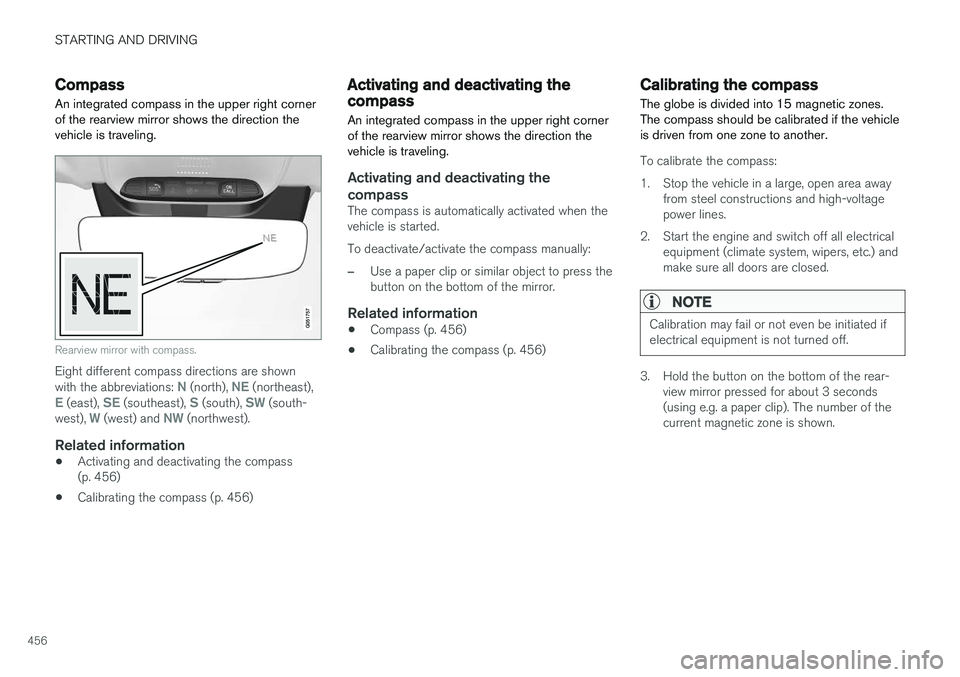
An integrated compass in the upper right corner of the rearview mirror shows the direction thevehicle is traveling.
Rearview mirror with compass.
Eight different compass directions are shown with the abbreviations: N (north), NE (northeast),E (east), SE (southeast), S (south), SW (south-
west), W (west) and NW (northwest).
Related information
• Activating and deactivating the compass (p. 456)
• Calibrating the compass (p. 456)
Activating and deactivating thecompass
An integrated compass in the upper right corner of the rearview mirror shows the direction thevehicle is traveling.
Activating and deactivating the compass
The compass is automatically activated when the vehicle is started. To deactivate/activate the compass manually:
–Use a paper clip or similar object to press the button on the bottom of the mirror.
Related information
• Compass (p. 456)
• Calibrating the compass (p. 456)
Calibrating the compass
The globe is divided into 15 magnetic zones. The compass should be calibrated if the vehicleis driven from one zone to another.
To calibrate the compass:
1. Stop the vehicle in a large, open area away from steel constructions and high-voltage power lines.
2. Start the engine and switch off all electrical equipment (climate system, wipers, etc.) andmake sure all doors are closed.
NOTE
Calibration may fail or not even be initiated if electrical equipment is not turned off.
3. Hold the button on the bottom of the rear-view mirror pressed for about 3 seconds (using e.g. a paper clip). The number of thecurrent magnetic zone is shown.
Page 506 of 662
||
AUDIO, MEDIA AND INTERNET
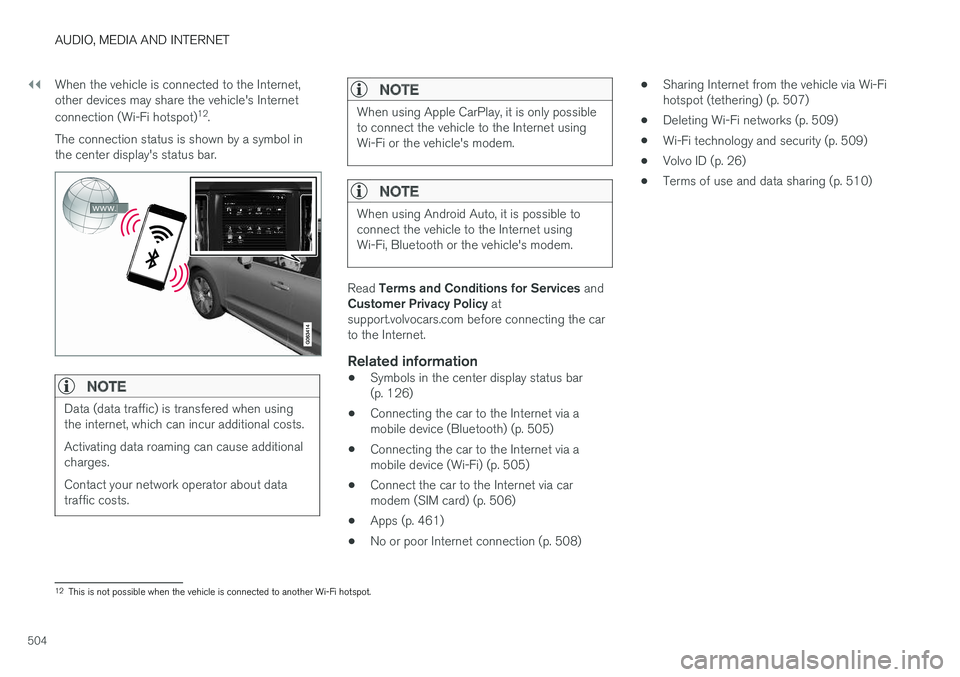
504When the vehicle is connected to the Internet, other devices may share the vehicle's Internet connection (Wi-Fi hotspot)
12
.
The connection status is shown by a symbol in the center display's status bar.
NOTE
Data (data traffic) is transfered when using the internet, which can incur additional costs. Activating data roaming can cause additional charges. Contact your network operator about data traffic costs.
NOTE
When using Apple CarPlay, it is only possible to connect the vehicle to the Internet usingWi-Fi or the vehicle's modem.
NOTE
When using Android Auto, it is possible to connect the vehicle to the Internet usingWi-Fi, Bluetooth or the vehicle's modem.
Read Terms and Conditions for Services and
Customer Privacy Policy at
support.volvocars.com before connecting the car to the Internet.
Related information
• Symbols in the center display status bar(p. 126)
• Connecting the car to the Internet via amobile device (Bluetooth) (p. 505)
• Connecting the car to the Internet via amobile device (Wi-Fi) (p. 505)
• Connect the car to the Internet via carmodem (SIM card) (p. 506)
• Apps (p. 461)
• No or poor Internet connection (p. 508) •
Sharing Internet from the vehicle via Wi-Fihotspot (tethering) (p. 507)
• Deleting Wi-Fi networks (p. 509)
• Wi-Fi technology and security (p. 509)
• Volvo ID (p. 26)
• Terms of use and data sharing (p. 510)
12
This is not possible when the vehicle is connected to another Wi-Fi hotspot.
Page 508 of 662
||
AUDIO, MEDIA AND INTERNET
* Option/accessory.
506 tion to the vehicle has been broken, e.g. when the phone has been removed from the vehicle. Thephone's tethering function will then need to bereactivated the next time the phone's hotspot isused to connect to the Internet. When a phone is connected to the vehicle, it will be saved for future use. When the maximumnumber of 50 connected phones has beenreached, the first will be deleted. To display a listof saved networks or to manually delete saved networks, tap
SettingsCommunication
Wi-FiSaved networks.
Technical and security requirements for Wi-Fi connection are described in a separate section.
Related information
• Internet-connected vehicle
* (p. 503)
• Deleting Wi-Fi networks (p. 509)
• No or poor Internet connection (p. 508)
• Wi-Fi technology and security (p. 509)
Connect the car to the Internet viacar modem (SIM card) For vehicles equipped with Volvo On Call, it is possible to establish an Internet connection viathe vehicle modem and a personal SIM card (P-SIM).
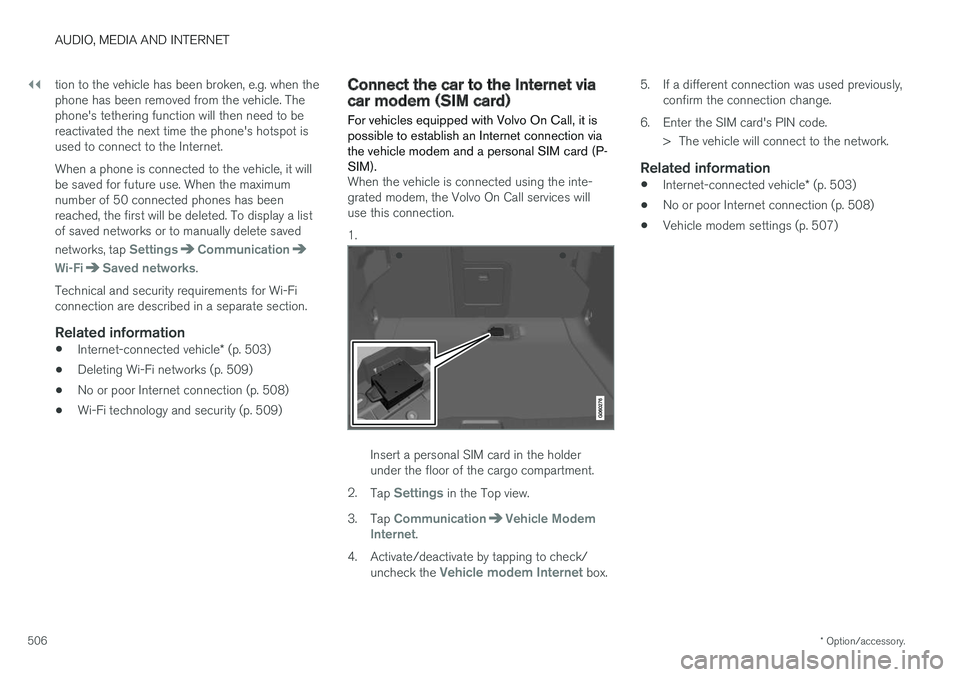
When the vehicle is connected using the inte- grated modem, the Volvo On Call services willuse this connection. 1.
Insert a personal SIM card in the holder under the floor of the cargo compartment.
2. Tap
Settings in the Top view.
3. Tap
CommunicationVehicle Modem
Internet.
4. Activate/deactivate by tapping to check/ uncheck the
Vehicle modem Internet box. 5. If a different connection was used previously,
confirm the connection change.
6. Enter the SIM card's PIN code. > The vehicle will connect to the network.
Related information
• Internet-connected vehicle
* (p. 503)
• No or poor Internet connection (p. 508)
• Vehicle modem settings (p. 507)
Page 511 of 662
AUDIO, MEDIA AND INTERNET
* Option/accessory.509
Restarting the phoneIf you experience any Internet connection prob- lems, it may help to restart your phone.
Related information
•Internet-connected vehicle
* (p. 503)
• Wi-Fi technology and security (p. 509)
Deleting Wi-Fi networks
Networks that are not needed can be deleted.
1. Tap Settings in the Top view.
2. Proceed to
CommunicationWi-FiSaved networks.
3. Tap
Forget to delete the network.
4. Confirm the selection. > The vehicle will no longer connect to thedeleted network.
Deleting all networksAll networks can be deleted at once by perform- ing a factory reset. Please note that all user dataand system settings will be restored to originaldefault factory settings.
Related information
• Internet-connected vehicle
* (p. 503)
• No or poor Internet connection (p. 508)
• Resetting center display settings (p. 137)
• Connecting the car to the Internet via amobile device (Wi-Fi) (p. 505)
Wi-Fi technology and security
Networks must meet certain criteria in order for the vehicle to connect.
It is possible to connect to the following types of networks:
• Frequency - 2.4 or 5 GHz 14
.
• Standards - 802.11 a/b/g/n.
• Security type - WPA2-AES-CCMP.
The vehicle's Wi-Fi system is designed to handleWi-Fi devices inside the vehicle. Performance may be impaired if multiple devices are using a frequency at the same time.
Related information
• Internet-connected vehicle
* (p. 503)
14
Selecting a frequency is not possible on all markets.
Page 520 of 662
||
AUDIO, MEDIA AND INTERNET
518
Country/Area Brazil:
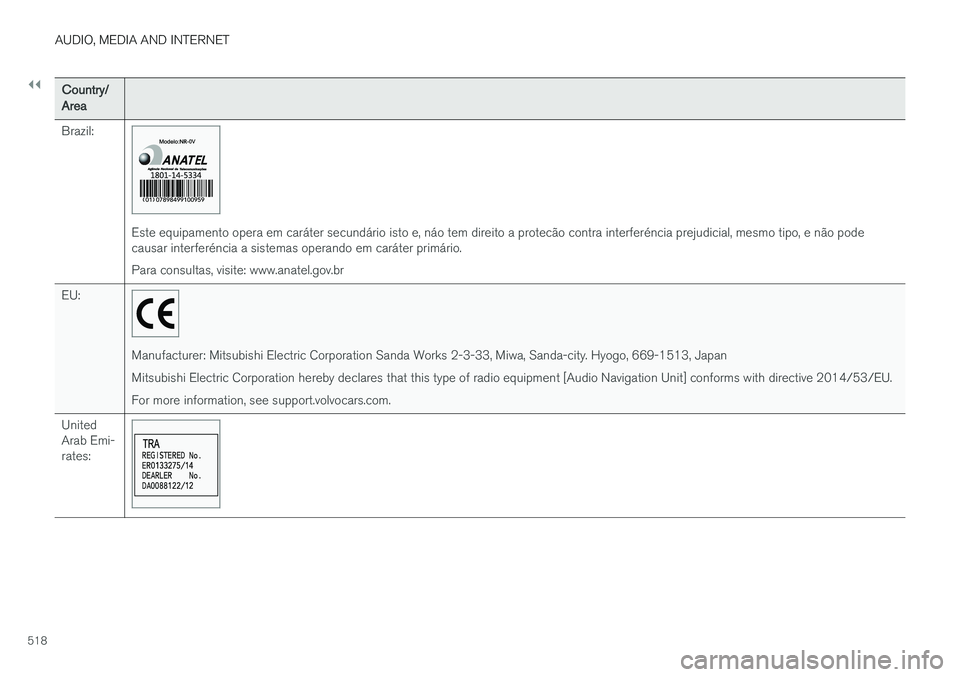
Este equipamento opera em caráter secundário isto e, náo tem direito a protecão contra interferéncia prejudicial, mesmo tipo, e não pode causar interferéncia a sistemas operando em caráter primário. Para consultas, visite: www.anatel.gov.br
EU:
Manufacturer: Mitsubishi Electric Corporation Sanda Works 2-3-33, Miwa, Sanda-city. Hyogo, 669-1513, Japan Mitsubishi Electric Corporation hereby declares that this type of radio equipment [Audio Navigation Unit] conforms with directive 2014/53/EU.For more information, see support.volvocars.com.
United Arab Emi-rates:
Page 545 of 662
WHEELS AND TIRES
}}
* Option/accessory.543
1. Clean the contact surfaces between the
wheel and the wheel hub.
2. Lift the wheel into place. Tighten the wheel bolts securely. Do not grease the wheel bolt threads.
3. Lower the vehicle so that the wheel cannot rotate.
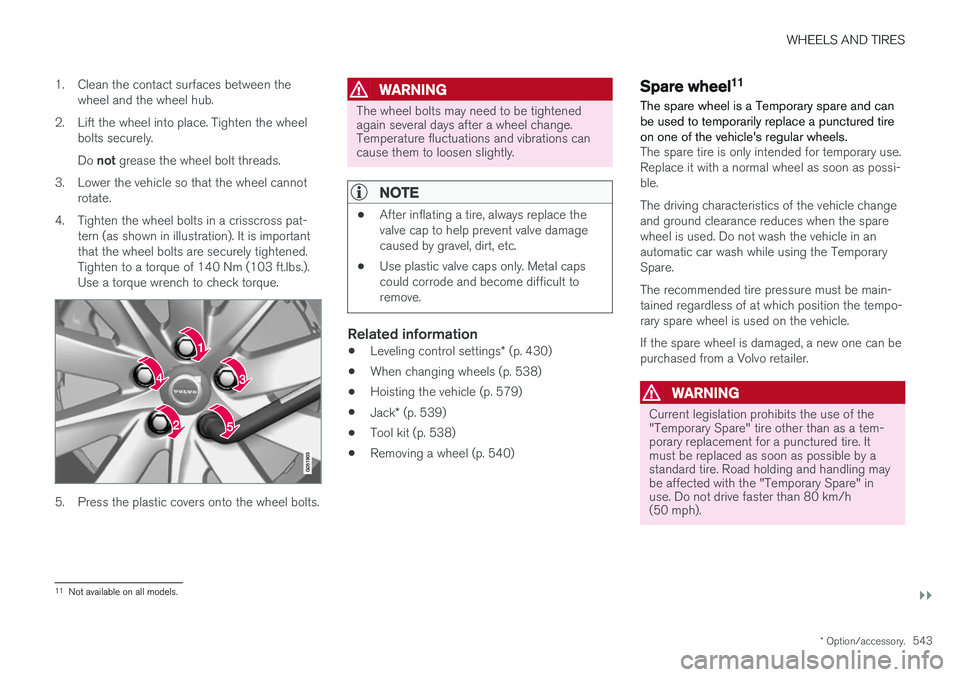
4. Tighten the wheel bolts in a crisscross pat- tern (as shown in illustration). It is important that the wheel bolts are securely tightened.Tighten to a torque of 140 Nm (103 ft.lbs.).Use a torque wrench to check torque.
5. Press the plastic covers onto the wheel bolts.
WARNING
The wheel bolts may need to be tightened again several days after a wheel change.Temperature fluctuations and vibrations cancause them to loosen slightly.
NOTE
• After inflating a tire, always replace the valve cap to help prevent valve damagecaused by gravel, dirt, etc.
• Use plastic valve caps only. Metal capscould corrode and become difficult toremove.
Related information
•
Leveling control settings
* (p. 430)
• When changing wheels (p. 538)
• Hoisting the vehicle (p. 579)
• Jack
* (p. 539)
• Tool kit (p. 538)
• Removing a wheel (p. 540)
Spare wheel11
The spare wheel is a Temporary spare and can be used to temporarily replace a punctured tireon one of the vehicle's regular wheels.
The spare tire is only intended for temporary use. Replace it with a normal wheel as soon as possi-ble. The driving characteristics of the vehicle change and ground clearance reduces when the sparewheel is used. Do not wash the vehicle in anautomatic car wash while using the TemporarySpare. The recommended tire pressure must be main- tained regardless of at which position the tempo-rary spare wheel is used on the vehicle. If the spare wheel is damaged, a new one can be purchased from a Volvo retailer.
WARNING
Current legislation prohibits the use of the "Temporary Spare" tire other than as a tem-porary replacement for a punctured tire. Itmust be replaced as soon as possible by astandard tire. Road holding and handling maybe affected with the "Temporary Spare" inuse. Do not drive faster than 80 km/h(50 mph).
11 Not available on all models.
Page 563 of 662
LOADING, STORAGE AND PASSENGER COMPARTMENT
}}
* Option/accessory.561
Cargo compartment The vehicle has a flexible cargo compartment that makes it possible to carry and secure largeobjects.
The cargo capacity of the vehicle can be consid- erably increased by folding down the rear seatbackrests. Use the load anchoring eyelets or gro-cery bag holders to help secure objects in place, and the retractable cargo compartment cover * to
help conceal objects in the cargo compartment. The towing eyelet and tire sealing system, or the temporary spare tire *, are located under the
cargo compartment floor.
Related information
• Loading recommendations (p. 561)
• Grocery bag holders (p. 562)
• Load anchoring eyelets (p. 563)
• Installing and removing the cargo compart-ment cover
* (p. 564)
Loading recommendations
There are a number of things to consider when carrying loads in or on the vehicle.
Load-carrying capacity is determined by the vehi- cle's curb weight. The total weight of all passen-gers and any installed accessories reduces thevehicle's load-carrying capacity by the corres-ponding amount.
WARNING
The vehicle's driving characteristics change depending on the weight and position of theload.
Loading in the trunk and cargo compartment
• Position objects so they are pressing against the rear seat backrests.
• Distribute the load evenly.
• Heavy objects should be positioned as lowas possible. Avoid placing heavy objects onfolded-down seat backrests.
• Cover sharp corners with a soft cloth or simi-lar to help prevent damage to the upholstery.
• Use the load anchoring eyelets and tension-ing straps or similar to secure all objects.
WARNING
In a head-on collision at a speed of 50 km/h (30 mph), an unsecured object weighing 20kg (44 pounds) can reach a projectile weightequivalent to 1000 kg (2200 pounds).
WARNING
If objects are loaded higher than the upper edge of the side windows, leave a 10 cm (4in.) space between the objects and the win-dow. Objects placed closer to this couldimpede the function of the inflatable curtainconcealed inside the headlining.
WARNING
Always secure the load. Otherwise, it may shift during heavy braking and injure people in thevehicle. Cover sharp edges and sharp corners with something soft. Turn off the engine and apply the parking brake when loading/unloading long objects.Otherwise, it is possible for the load to reachthe gear lever or gear selector and move it toa drive position – which could cause the vehi-cle to begin rolling.