2018 VOLVO V90 CROSS COUNTRY ECU
[x] Cancel search: ECUPage 262 of 662
KEY, LOCKS AND ALARM
260
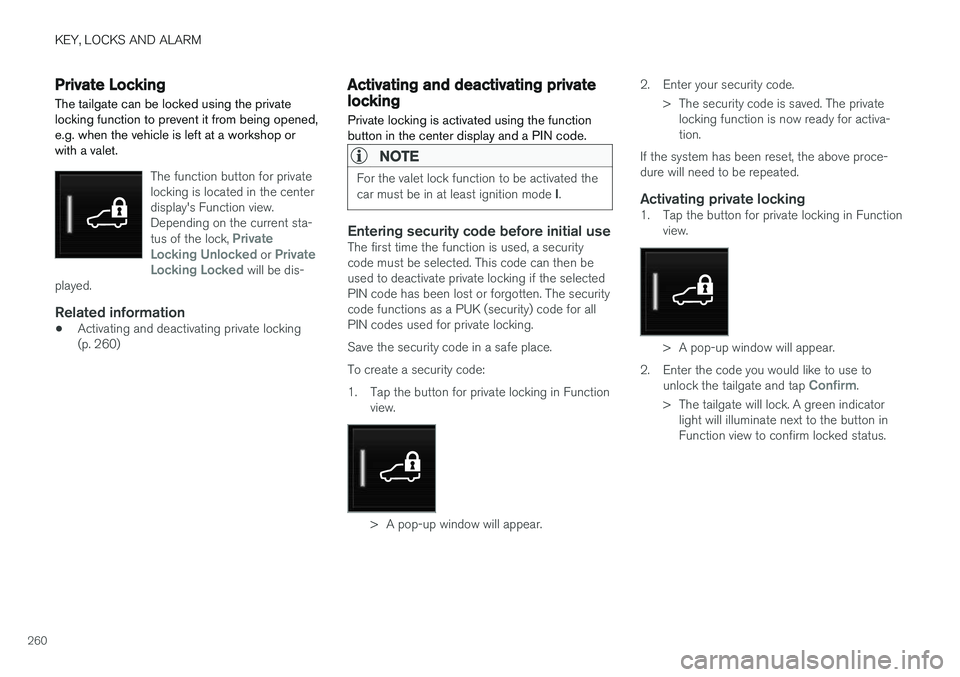
Private Locking The tailgate can be locked using the private locking function to prevent it from being opened,e.g. when the vehicle is left at a workshop orwith a valet.
The function button for private locking is located in the centerdisplay's Function view.Depending on the current sta- tus of the lock,
Private
Locking Unlocked or Private
Locking Locked will be dis-
played.
Related information
• Activating and deactivating private locking (p. 260)
Activating and deactivating privatelocking
Private locking is activated using the function button in the center display and a PIN code.
NOTE
For the valet lock function to be activated the car must be in at least ignition mode I.
Entering security code before initial useThe first time the function is used, a security code must be selected. This code can then beused to deactivate private locking if the selectedPIN code has been lost or forgotten. The securitycode functions as a PUK (security) code for allPIN codes used for private locking. Save the security code in a safe place.To create a security code:
1. Tap the button for private locking in Function
view.
> A pop-up window will appear. 2. Enter your security code.
> The security code is saved. The privatelocking function is now ready for activa- tion.
If the system has been reset, the above proce-dure will need to be repeated.
Activating private locking1. Tap the button for private locking in Function view.
> A pop-up window will appear.
2. Enter the code you would like to use to unlock the tailgate and tap
Confirm.
> The tailgate will lock. A green indicator light will illuminate next to the button in Function view to confirm locked status.
Page 263 of 662
KEY, LOCKS AND ALARM
}}
* Option/accessory.261
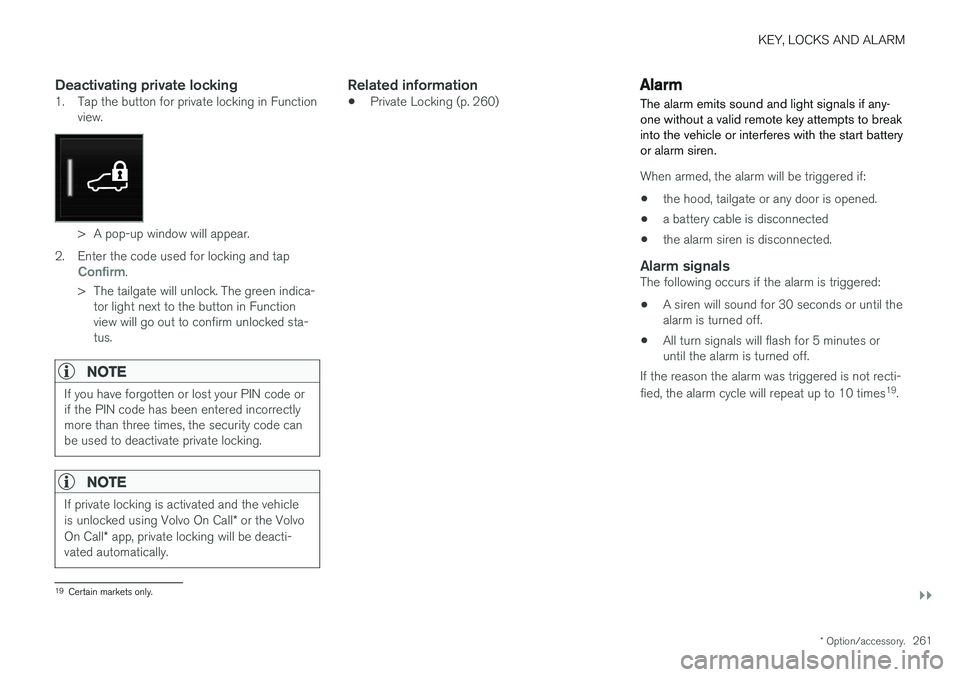
Deactivating private locking1. Tap the button for private locking in Function
view.
> A pop-up window will appear.
2. Enter the code used for locking and tap
Confirm.
> The tailgate will unlock. The green indica- tor light next to the button in Function view will go out to confirm unlocked sta-tus.
NOTE
If you have forgotten or lost your PIN code or if the PIN code has been entered incorrectlymore than three times, the security code canbe used to deactivate private locking.
NOTE
If private locking is activated and the vehicle is unlocked using Volvo On Call * or the Volvo
On Call * app, private locking will be deacti-
vated automatically.
Related information
• Private Locking (p. 260)
Alarm
The alarm emits sound and light signals if any- one without a valid remote key attempts to breakinto the vehicle or interferes with the start batteryor alarm siren.
When armed, the alarm will be triggered if:
• the hood, tailgate or any door is opened.
• a battery cable is disconnected
• the alarm siren is disconnected.
Alarm signalsThe following occurs if the alarm is triggered:
• A siren will sound for 30 seconds or until the alarm is turned off.
• All turn signals will flash for 5 minutes oruntil the alarm is turned off.
If the reason the alarm was triggered is not recti- fied, the alarm cycle will repeat up to 10 times 19
.
19 Certain markets only.
Page 402 of 662
STARTING AND DRIVING
* Option/accessory.
400
Starting the vehicle
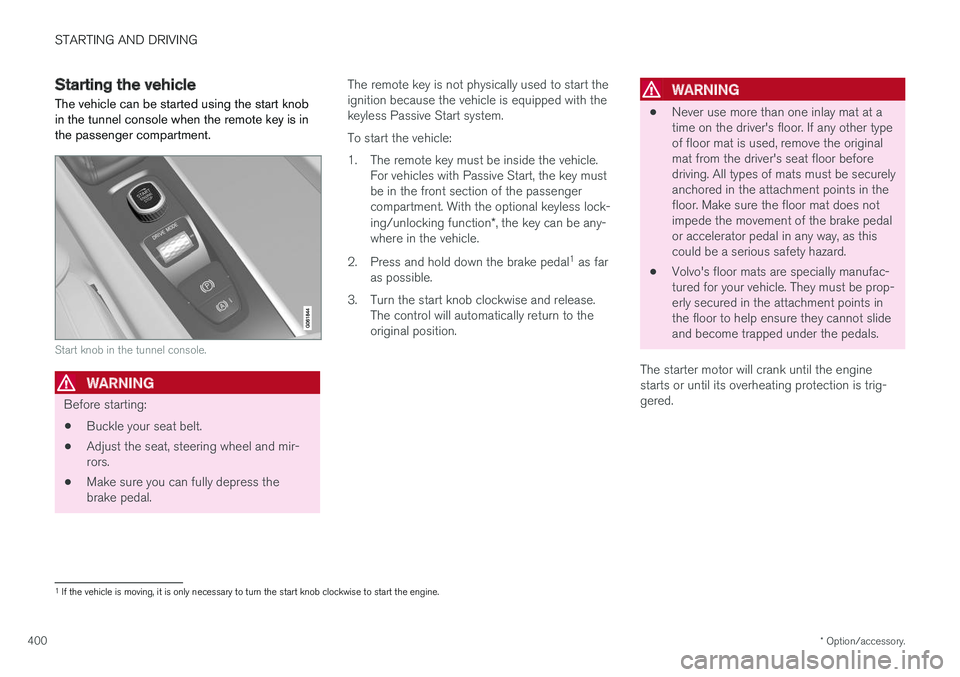
The vehicle can be started using the start knob in the tunnel console when the remote key is inthe passenger compartment.
Start knob in the tunnel console.
WARNING
Before starting:
• Buckle your seat belt.
• Adjust the seat, steering wheel and mir- rors.
• Make sure you can fully depress thebrake pedal. The remote key is not physically used to start theignition because the vehicle is equipped with thekeyless Passive Start system. To start the vehicle:
1. The remote key must be inside the vehicle.
For vehicles with Passive Start, the key must be in the front section of the passengercompartment. With the optional keyless lock- ing/unlocking function *, the key can be any-
where in the vehicle.
2. Press and hold down the brake pedal 1
as far
as possible.
3. Turn the start knob clockwise and release. The control will automatically return to the original position.
WARNING
• Never use more than one inlay mat at a time on the driver's floor. If any other typeof floor mat is used, remove the originalmat from the driver's seat floor beforedriving. All types of mats must be securelyanchored in the attachment points in thefloor. Make sure the floor mat does notimpede the movement of the brake pedalor accelerator pedal in any way, as thiscould be a serious safety hazard.
• Volvo's floor mats are specially manufac-tured for your vehicle. They must be prop-erly secured in the attachment points inthe floor to help ensure they cannot slideand become trapped under the pedals.
The starter motor will crank until the enginestarts or until its overheating protection is trig-gered.
1 If the vehicle is moving, it is only necessary to turn the start knob clockwise to start the engine.
Page 430 of 662
STARTING AND DRIVING
* Option/accessory.
428
Leveling control * and suspension
Self-leveling and suspension functions are con- trolled automatically.
Rear leveling control keeps the rear section of the vehicle at the same height regardless of load.Leveling control may also remain active when thevehicle is parked.
Shock absorbers (Four-C)The shock absorbers are adapted to the selecteddrive mode and vehicle speed. The shock absorb-ers are normally set to provide the best possiblecomfort and are adjusted continuously accordingto the road surface and the vehicle's acceleration,braking and cornering.TransportingWhen transporting the vehicle on a ferry, train ortruck, only secure (lash) the vehicle around thetires, not using any other parts of the chassis.Changes in the pneumatic suspension may occurduring transport, which could adversely affect thelashing and result in damage.
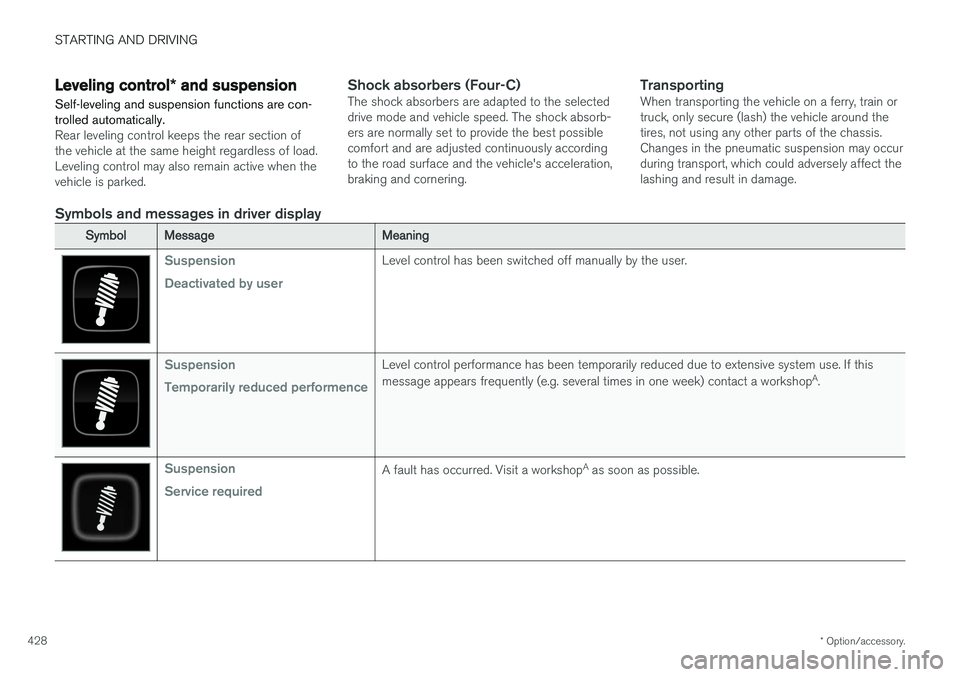
Symbols and messages in driver display
SymbolMessageMeaning
Suspension Deactivated by userLevel control has been switched off manually by the user.
Suspension Temporarily reduced performenceLevel control performance has been temporarily reduced due to extensive system use. If this message appears frequently (e.g. several times in one week) contact a workshop A
.
Suspension Service requiredA fault has occurred. Visit a workshop A
as soon as possible.
Page 444 of 662
STARTING AND DRIVING
442
Jump starting using another batteryIf the start battery is discharged, current from another battery can be used to start the vehicle.
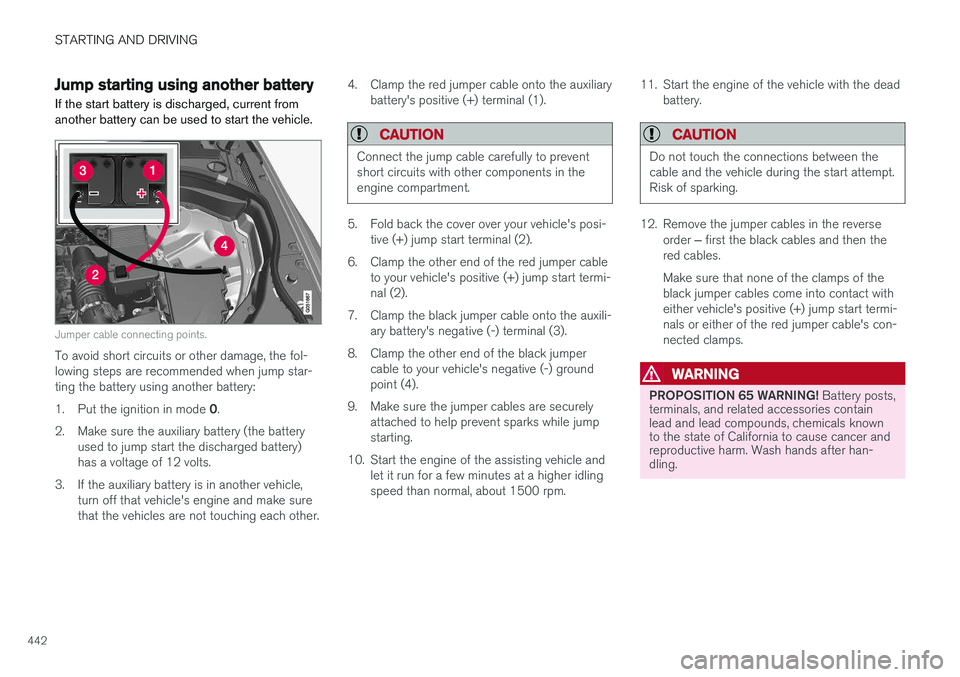
Jumper cable connecting points.
To avoid short circuits or other damage, the fol- lowing steps are recommended when jump star-ting the battery using another battery: 1. Put the ignition in mode 0.
2. Make sure the auxiliary battery (the battery used to jump start the discharged battery) has a voltage of 12 volts.
3. If the auxiliary battery is in another vehicle, turn off that vehicle's engine and make surethat the vehicles are not touching each other. 4. Clamp the red jumper cable onto the auxiliary
battery's positive (+) terminal (1).
CAUTION
Connect the jump cable carefully to prevent short circuits with other components in theengine compartment.
5. Fold back the cover over your vehicle's posi-tive (+) jump start terminal (2).
6. Clamp the other end of the red jumper cable to your vehicle's positive (+) jump start termi- nal (2).
7. Clamp the black jumper cable onto the auxili- ary battery's negative (-) terminal (3).
8. Clamp the other end of the black jumper cable to your vehicle's negative (-) groundpoint (4).
9. Make sure the jumper cables are securely attached to help prevent sparks while jumpstarting.
10. Start the engine of the assisting vehicle and let it run for a few minutes at a higher idlingspeed than normal, about 1500 rpm. 11. Start the engine of the vehicle with the dead
battery.
CAUTION
Do not touch the connections between the cable and the vehicle during the start attempt.Risk of sparking.
12. Remove the jumper cables in the reverse
order ‒ first the black cables and then the
red cables. Make sure that none of the clamps of the black jumper cables come into contact witheither vehicle's positive (+) jump start termi-nals or either of the red jumper cable's con-nected clamps.
WARNING
PROPOSITION 65 WARNING! Battery posts,
terminals, and related accessories contain lead and lead compounds, chemicals knownto the state of California to cause cancer andreproductive harm. Wash hands after han-dling.
Page 446 of 662
||
STARTING AND DRIVING
444
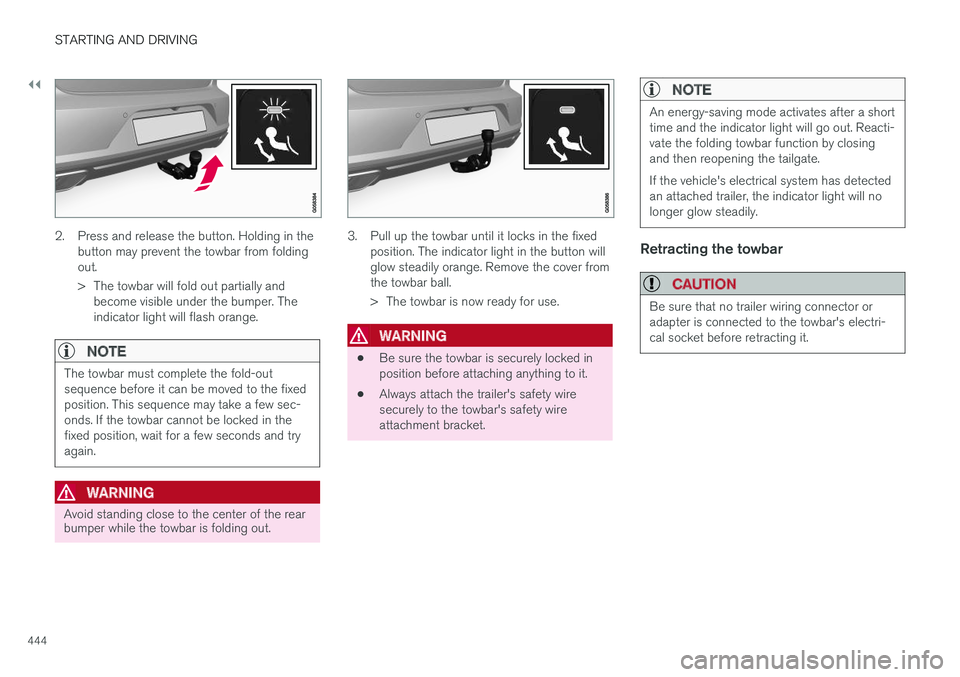
2. Press and release the button. Holding in thebutton may prevent the towbar from folding out.
> The towbar will fold out partially andbecome visible under the bumper. The indicator light will flash orange.
NOTE
The towbar must complete the fold-out sequence before it can be moved to the fixedposition. This sequence may take a few sec-onds. If the towbar cannot be locked in thefixed position, wait for a few seconds and tryagain.
WARNING
Avoid standing close to the center of the rear bumper while the towbar is folding out.
3. Pull up the towbar until it locks in the fixed position. The indicator light in the button will glow steadily orange. Remove the cover fromthe towbar ball.
> The towbar is now ready for use.
WARNING
• Be sure the towbar is securely locked in position before attaching anything to it.
• Always attach the trailer's safety wiresecurely to the towbar's safety wireattachment bracket.
NOTE
An energy-saving mode activates after a short time and the indicator light will go out. Reacti-vate the folding towbar function by closingand then reopening the tailgate. If the vehicle's electrical system has detected an attached trailer, the indicator light will nolonger glow steadily.
Retracting the towbar
CAUTION
Be sure that no trailer wiring connector or adapter is connected to the towbar's electri-cal socket before retracting it.
Page 452 of 662
||
STARTING AND DRIVING
450
CAUTION
Attempting to tow with the engine running could result in damage to the three-way cata-lytic converter.
Related information
•Attaching and removing the towing eyelet (p. 450)
• Hazard warning flashers (p. 164)
• Recovery (p. 452)
• Jump starting using another battery (p. 442)
• Selecting ignition mode (p. 404)
Attaching and removing the towingeyelet
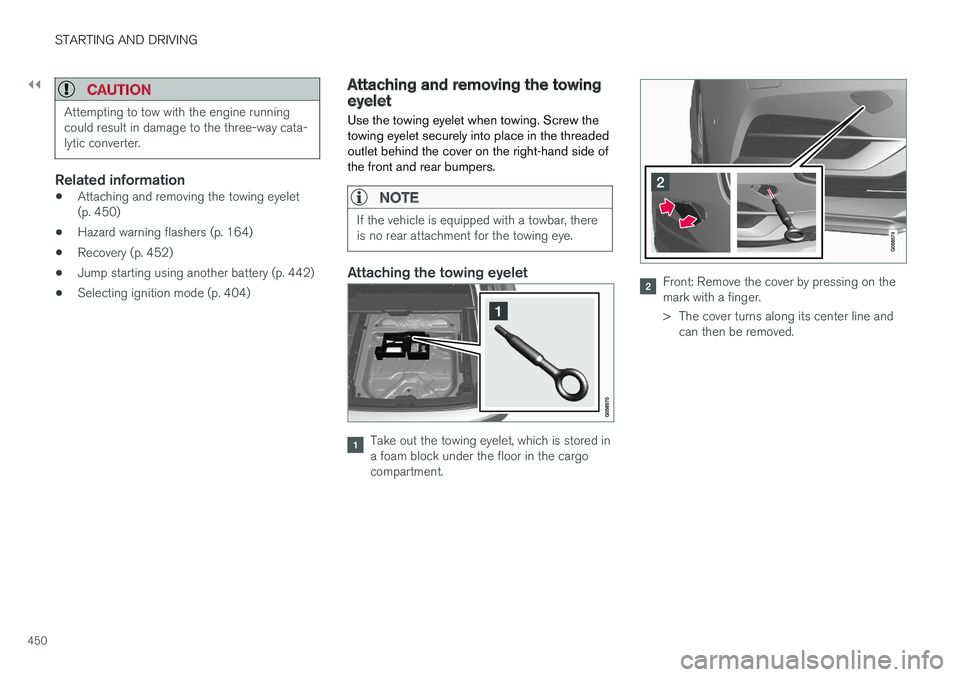
Use the towing eyelet when towing. Screw the towing eyelet securely into place in the threadedoutlet behind the cover on the right-hand side ofthe front and rear bumpers.
NOTE
If the vehicle is equipped with a towbar, there is no rear attachment for the towing eye.
Attaching the towing eyelet
Take out the towing eyelet, which is stored in a foam block under the floor in the cargocompartment.
Front: Remove the cover by pressing on the mark with a finger.
> The cover turns along its center line and can then be removed.
Page 453 of 662
STARTING AND DRIVING
* Option/accessory.451
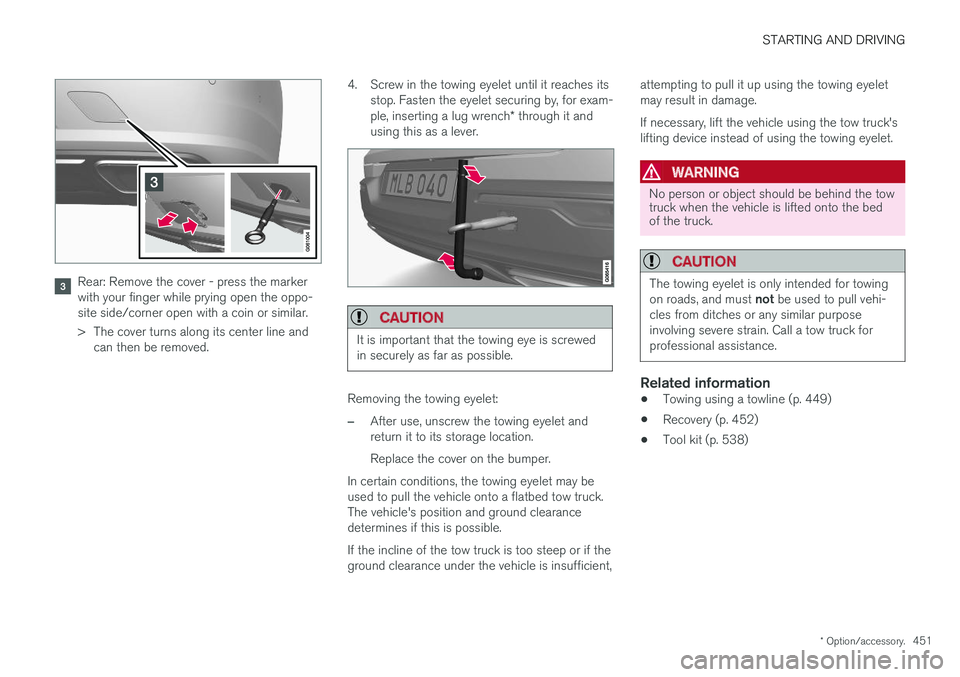
Rear: Remove the cover - press the marker with your finger while prying open the oppo-site side/corner open with a coin or similar.
> The cover turns along its center line and
can then be removed. 4. Screw in the towing eyelet until it reaches its
stop. Fasten the eyelet securing by, for exam- ple, inserting a lug wrench * through it and
using this as a lever.
CAUTION
It is important that the towing eye is screwed in securely as far as possible.
Removing the towing eyelet:
–After use, unscrew the towing eyelet and return it to its storage location. Replace the cover on the bumper.
In certain conditions, the towing eyelet may be used to pull the vehicle onto a flatbed tow truck.The vehicle's position and ground clearancedetermines if this is possible. If the incline of the tow truck is too steep or if the ground clearance under the vehicle is insufficient, attempting to pull it up using the towing eyeletmay result in damage. If necessary, lift the vehicle using the tow truck's lifting device instead of using the towing eyelet.
WARNING
No person or object should be behind the tow truck when the vehicle is lifted onto the bedof the truck.
CAUTION
The towing eyelet is only intended for towing on roads, and must
not be used to pull vehi-
cles from ditches or any similar purpose involving severe strain. Call a tow truck forprofessional assistance.
Related information
• Towing using a towline (p. 449)
• Recovery (p. 452)
• Tool kit (p. 538)