Page 370 of 660

3705-7. “SETUP” menu
AVENSIS_OM_OM20C79E_(EE)
Select “Bluetooth* info” using the tune/scroll knob. (P. 364)
●Displaying the device name
Select “Device name” using the knob.
●Displaying the device address
Select “Device address” using the knob.
*: Bluetooth is a registered trademark of Bluetooth SIG, Inc.
If the “Display setting” is set to on, the portable player connection sta-
tus will be displayed when the engine switch is turned to the “ACC” or
“ON” position (vehicles without smart entry & start system), or
ACCESSORY or IGNITION ON mode (vehicles with smart entry &
start system).
Select “Display setting” using the tune/scroll knob. (P. 364)
Select “ON” or “OFF” using the knob.
Select “Reset” using the tune/scroll knob. (P. 364)
●Initializing the sound settings
Select “Sound Setting” using the knob and press [YES].
For details about sound settings: P. 323
●Initializing the device information
Select “Car Device Info” using the knob and press [YES].
Automatic connection of a portable device, automatic connection confirma-
tion display and the passkey will be initialized.
●Initializing the all settings
Select “All Initialize” using the knob and press [YES].
Displaying the device status
Setting the automatic connection confirmation display to on or off
Initialization
1
2
Page 374 of 660
3745-8. Bluetooth® Audio
AVENSIS_OM_OM20C79E_(EE)
Operating a Bluetooth® enabled portable
player
Ty pe A
: If equipped
Tune/scroll knob: Selecting a
track or displays text message
Back button
Random playback
Repeat play
PlaybackPlayback/pause
Selecting a track, fast-forward-
ing or rewinding
Power/volume knob: Adjusting
the volume or turning the
audio system on or off1
2
3
4
5
6
7
8
Page 375 of 660
3755-8. Bluetooth® Audio
5
Audio system
AVENSIS_OM_OM20C79E_(EE)
Ty pe B
Tune/scroll knob: Selecting a
track
Displays text message
Random playback or back but-
ton
Repeat playPlayback
Playback/pause
Selecting a track, fast-forward-
ing or rewinding
Power/volume knob: Adjusting
the volume or turning the
audio system on or off1
2
3
4
5
6
7
8
Page 377 of 660
3775-8. Bluetooth® Audio
5
Audio system
AVENSIS_OM_OM20C79E_(EE)
Press ( ).
Press the tune/scroll knob (type A) or the “TEXT” button (type B).
Track title and Artist name are displayed on the display.
To return to the previous display, press the knob or the back button (type
A) or the “TEXT” button or [BACK] (type B).
■ Bluetooth® audio system functions
Depending on the portable player that is connected to the system, certain
functions may not be available.
■ Display
P. 337
Playing and pausing tracks
Switching the display
Page 399 of 660
3996-1. Using the air conditioning system and defogger
AVENSIS_OM_OM20C79E_(EE)
6
Interior features
■Adjusting the temperature setting
Turning to the right increases the temperature and turning
the knob to the left decreases the temperature.
The temperature for the driver’s and front passenger’s seats can be set
separately. ( P. 400)
■Adjusting the fan speed
Press “ ” (decrease) or “” (increase) on .
The fan speed is shown on the display. (7 levels)
Press or to turn the fan off.
■Changing the air flow mode
To change the air flow, press
or .
The air outlets used are
switched each time the button is
pressed.
Air flows to the upper
body.
Air flows to the upper body
and feet.
Mainly air flows to the feet.
Air flows to the feet and
the windshield defogger
operates.
■Other functions
● Switching between outside air and recirculated air modes
( P. 401)
● Defogging the windshield (P. 401)
● Defogging the rear window and outside rear view mirrors
( P. 401)
1
2
3
4
Page 459 of 660

4597-3. Do-it-yourself maintenance
AVENSIS_OM_OM20C79E_(EE)
7
Maintenance and care
■After changing the engine oil (diesel engine)
The engine oil maintenance data should be reset. Perform the following pro-
cedures:
Switch the display to the maintenance required information (P. 107),
when the engine switch is in the “ON” position (vehicles without smart entry
& start system) or IGNITION ON mode (vehicles with smart entry & start
system).
Turn the engine switch to the “LOCK” position (vehicles without smart entry
& start system) or off (vehicles with smart entry & start system).
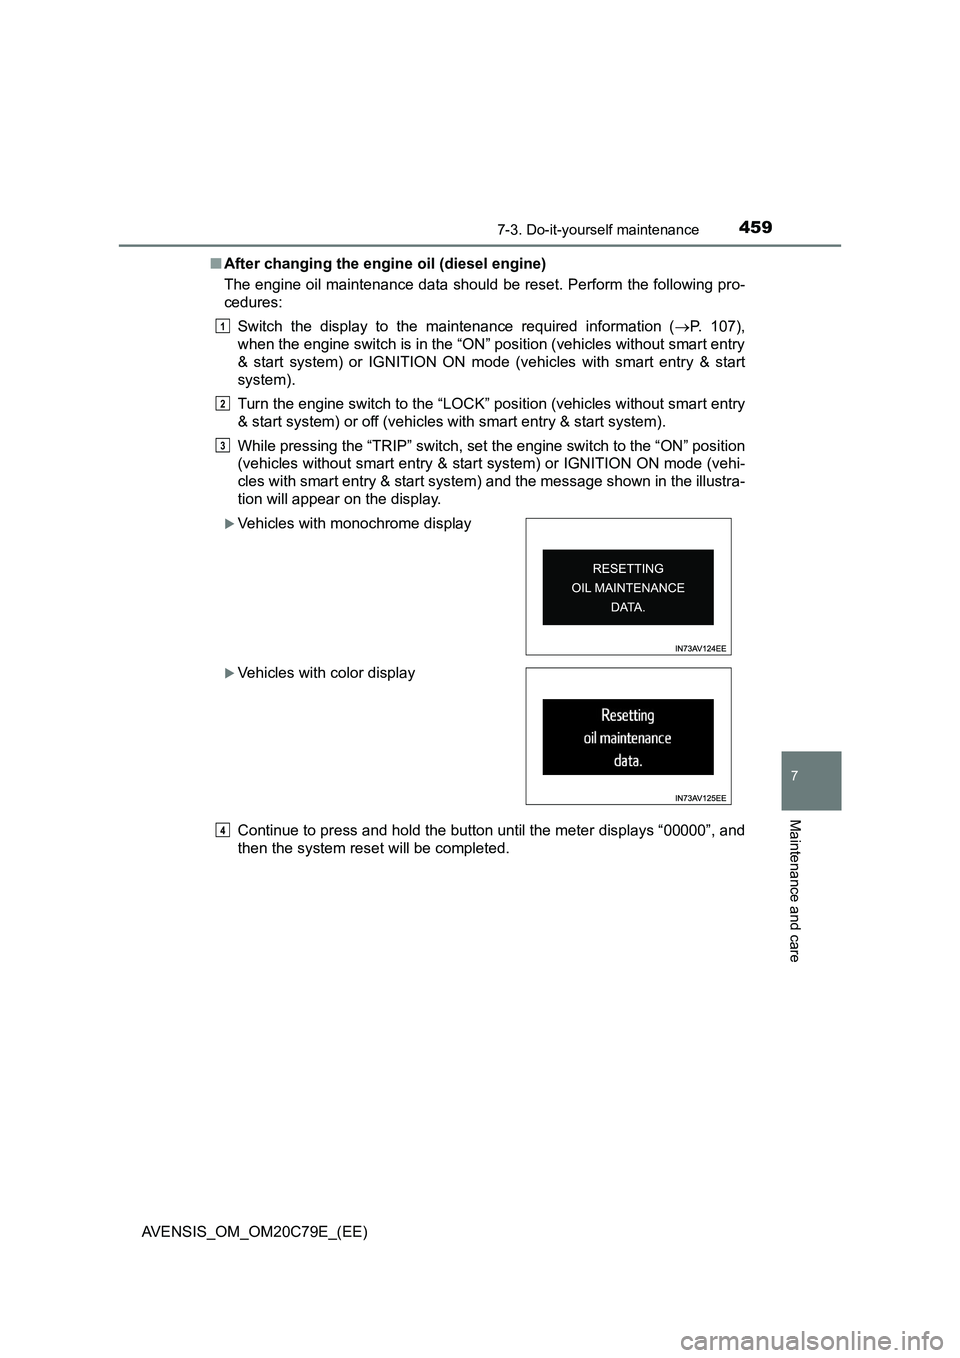
While pressing the “TRIP” switch, set the engine switch to the “ON” position
(vehicles without smart entry & start system) or IGNITION ON mode (vehi-
cles with smart entry & start system) and the message shown in the illustra-
tion will appear on the display.
Continue to press and hold the button until the meter displays “00000”, and
then the system reset will be completed.
Vehicles with monochrome display
Vehicles with color display
1
2
3
4
Page 467 of 660
4677-3. Do-it-yourself maintenance
AVENSIS_OM_OM20C79E_(EE)
7
Maintenance and care
It is necessary to drain water from the fuel filter in the following situa-
tions:
Fuel filter type A*: Every 20000 km (12000 miles)
Fuel filter type B*: A warning message is displayed on the multi-infor-
mation display and a buzzer sounds. ( P. 543)
*: Contact any authorized Toyota retailer or Toyota authorized repairer, or any
reliable repairer for identifying the fuel filter type.
Have the fuel filter drained by any authorized Toyota retailer or Toyota
authorized repairer, or any reliable repairer.
Fuel filter (diesel engine)
NOTICE
■ When there is water in the fuel filter
Do not drive continuously with water accumulated in the fuel filter. This will
cause damage to the fuel injection pump.
Page 471 of 660

4717-3. Do-it-yourself maintenance
AVENSIS_OM_OM20C79E_(EE)
7
Maintenance and care
■How to initialize the tire pressure warning system
Park the vehicle in a safe place and turn the engine switch to the
“LOCK” position (vehicles without smart entry & start system) or
off (vehicles with smart entry & start system).
Initialization cannot be performed while the vehicle is moving.
Adjust the tire inflation pressure to the specified cold tire inflation
pressure level. (P. 623)
Make sure to adjust the tire pressure to the specified cold tire inflation
pressure level. The tire pressure warning system will operate based on
this pressure level.
Turn the engine switch to the “ON” position (vehicles without
smart entry & start system) or IGNITION ON mode (vehicles with
smart entry & start system).
Vehicles with monochrome display
Press the “DISP” switch until the settings screen appears.
(P. 108)
Press and hold the “DISP” switch to enter the adjustment mode.
Press the “DISP” switch until the menu of tire pressure warning
system appears.
Press and hold the “DISP” switch to display the menu.
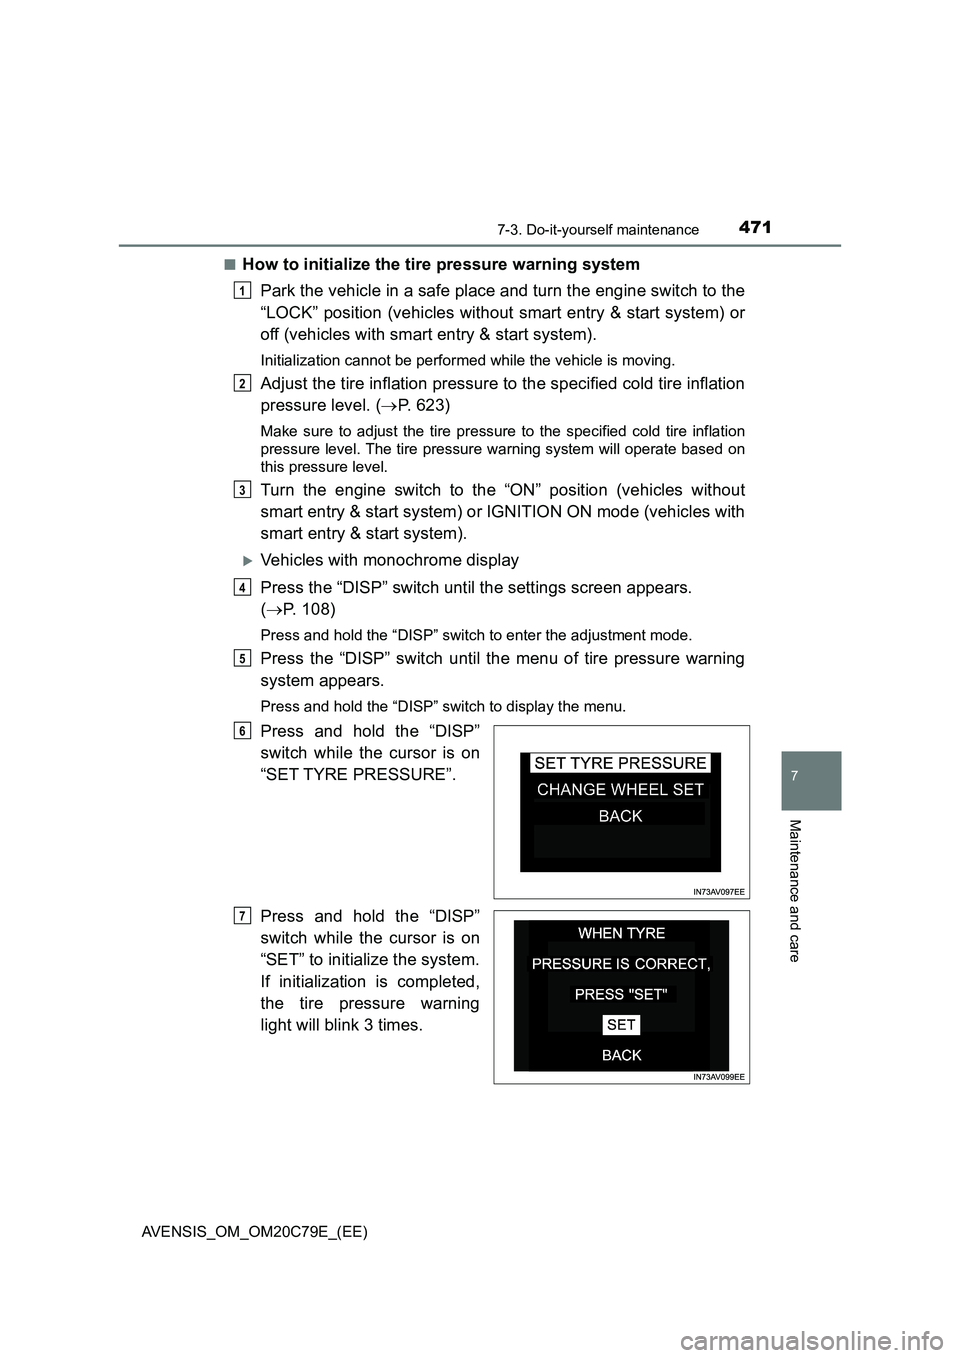
Press and hold the “DISP”
switch while the cursor is on
“SET TYRE PRESSURE”.
Press and hold the “DISP”
switch while the cursor is on
“SET” to initialize the system.
If initialization is completed,
the tire pressure warning
light will blink 3 times.
1
2
3
4
5
6
7