Page 418 of 474
(431,1)
北米Model "A1320BE-C" EDITED: 2017/ 10/ 10
Right-hand side1. Use a screwdriver to undo the clips on
the air intake duct, then remove the air
intake duct.
Left-hand side2. Use a screwdriver to remove the
secured clip of the washer tank. To make
it easy to access the bulb, turn the neck of
the washer fluid filler pipe as illustrated.
1) Low beam bulb
2) High beam bulb3. Disconnect the electrical connector
from the bulb and remove the bulb from
the headlight assembly by turning it
counterclockwise.
4. Replace the bulb with new one. At this
time, use care not to touch the bulb
surface.
5. To install the bulb to the headlight
assembly, turn it clockwise until it clicks.
6. Reconnect the electrical connector.
7. Install the air intake duct with clips
(right-hand side).
8. Set the washer fluid filler pipe to the
original place and secure it by clip (left-
hand side).
–CONTINUED–
Maintenance and service/Replacing bulbs
11-37
11
Page 421 of 474
(434,1)
北米Model "A1320BE-C" EDITED: 2017/ 10/ 10
&Backup light1. Apply a flat-head screwdriver to the
light cover as shown in the illustration, and
pry the light cover off from the rear gate
trim.
2. For left side light, turn the bulb socket
clockwise and remove it.
For right side light, turn the bulb socket
counterclockwise and remove it.3. Pull the bulb out of the bulb socket and
replace it with a new one.4. Install the bulb socket by turning it
clockwise.
5. Install the light cover on the rear gate.
&License plate light1. The license plate lights must be
pushed outwards, and then pulled out to
be removed.
Maintenance and service/Replacing bulbs
11-40
Page 423 of 474

(436,1)
北米Model "A1320BE-C" EDITED: 2017/ 10/ 10
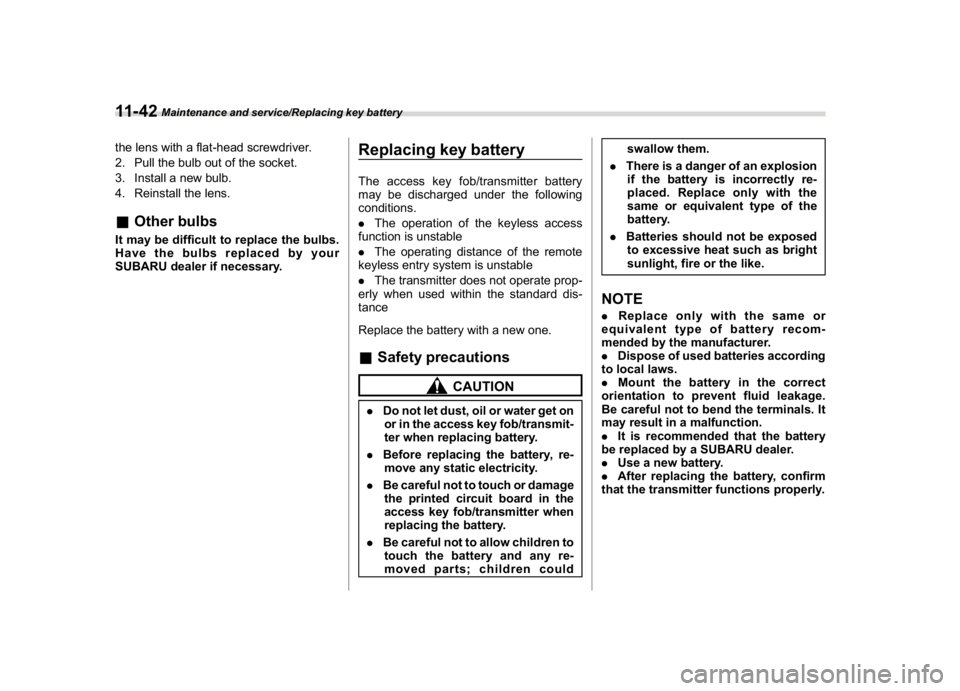
the lens with a flat-head screwdriver.
2. Pull the bulb out of the socket.
3. Install a new bulb.
4. Reinstall the lens.&Other bulbsIt may be difficult to replace the bulbs.
Have the bulbs replaced by your
SUBARU dealer if necessary.
Replacing key batteryThe access key fob/transmitter battery
may be discharged under the following
conditions.
.The operation of the keyless access
function is unstable
.The operating distance of the remote
keyless entry system is unstable
.The transmitter does not operate prop-
erly when used within the standard dis-
tance
Replace the battery with a new one.&Safety precautions
CAUTION
.Do not let dust, oil or water get on
or in the access key fob/transmit-
ter when replacing battery.
.Before replacing the battery, re-
move any static electricity.
.Be careful not to touch or damage
the printed circuit board in the
access key fob/transmitter when
replacing the battery.
.Be careful not to allow children to
touch the battery and any re-
moved parts; children couldswallow them.
.There is a danger of an explosion
if the battery is incorrectly re-
placed. Replace only with the
same or equivalent type of the
battery.
.Batteries should not be exposed
to excessive heat such as bright
sunlight, fire or the like.
NOTE.Replace only with the same or
equivalent type of battery recom-
mended by the manufacturer.
.Dispose of used batteries according
to local laws.
.Mount the battery in the correct
orientation to prevent fluid leakage.
Be careful not to bend the terminals. It
may result in a malfunction.
.It is recommended that the battery
be replaced by a SUBARU dealer.
.Use a new battery.
.After replacing the battery, confirm
that the transmitter functions properly.
Maintenance and service/Replacing key battery
11-42
Page 424 of 474
(437,1)
北米Model "A1320BE-C" EDITED: 2017/ 10/ 10
&Replacing battery of access
key fob
CAUTION
When removing or reinstalling the
access key fob cover, make sure that
the plastic part does not come off or
become misaligned.
Battery: Button battery CR20321) Release button
2) Emergency key1. Take out the emergency key.
2. Wrap a flat-head screwdriver with vinyl
tape or a cloth, and insert it in the gap to
remove the cover.3. Take out the battery using a flat-head
screwdriver with vinyl tape or a cloth.
4. Insert a new battery with its positive (+)
side facing upward as shown in the figure.5. Attach the cover to the access key fob
by fitting the projections and recesses
together.
–CONTINUED–
Maintenance and service/Replacing key battery
11-43
11
Page 425 of 474
(438,1)
北米Model "A1320BE-C" EDITED: 2017/ 10/ 10
&Replacing transmitter batteryBattery: Button battery CR1620 or
equivalent1. Wrap a flat-head screwdriver with vinyl
tape or a cloth. Open the key head using a
flat-head screwdriver.
2. Remove the transmitter case from the
key head.3. Open the transmitter case by releasing
the hooks.
1) Negative (�) side facing up4. Replace the old battery with a new
battery making sure to install the new
battery with the negative (�) side facing up.
5. Put together the transmitter case by
fitting the hooks on the case.
6. Reinstall the transmitter case in the
key head.
7. Refit the removed half of the key head.
Maintenance and service/Replacing key battery
11-44
Page 441 of 474
(456,1)
北米Model "A1320BE-C" EDITED: 2017/ 10/ 10
Wattage Bulb No.
1) High beam headlight (models with halogen headlight) 12V-60W HB3
Front turn signal light (models with LED headlight) 12V-8/28W 7444NA
2) Low beam headlight (models with halogen headlight) 12V-55W H11
3) Vanity mirror light (if equipped) 12V-2W–
4)
Map light 12V-8W–
5)
Dome light 12V-8W–
6)
Front side marker light 12V-5W W5W
7)
Parking light/Front turn signal light (models with halogen
headlight)/Front position light (models with halogen headlight)12V-8/28W 7444NA
8)
Front fog light (if equipped)
Models without steering responsive fog lights system 12V-19W H16
Models with steering responsive fog lights system 12V-55W H11
9)
Cargo area light 12V-5W–
10)
Backup light 12V-21W W21W
11 )
Rear side marker light12V-5W W5W
12)
Tail light 12V-5W W5W
13)
Rear turn signal light 12V-21W WY21W
14)
License plate light 12V-5WW5W
Specifications/Bulb chart
12-16
Page 442 of 474
(457,1)
北米Model "A1320BE-C" EDITED: 2017/ 10/ 10
Wattage Bulb No.
A)
Low and high beam headlight (models with LED headlight)––
B)
Side turn signal light (if equipped)––
C)
Front position light (models with LED headlight)/Daytime
running light (models with LED headlight)––
D)
High-mounted stop light––
E)
Stop light––
Specifications/Bulb chart
12-17
12
Page 458 of 474

(475,1)
北米Model "A1320BE-C" EDITED: 2017/ 10/ 10
All passenger car tires must con-
form to Federal Safety Require-
ments in addition to these grades.&TreadwearThe treadwear grade is a compara-
tive rating based on the wear rate of
the tire when tested under con-
trolled conditions on a specified
government test course.
Forexample,atiregraded150
would wear one and one-half (1-
1/2) times as well on the govern-
ment course as a tire graded 100.
The relative performance of tires
depends upon the actual conditions
of their use, however, and may
depart significantly from the norm
due to variations in driving habits,
service practices and differences in
road characteristics and climate.&Traction AA, A, B, CThe traction grades, from highest to
lowest, are AA, A, B and C. Those
grades represent the tire’s ability to
stop on wet pavement as measuredunder controlled conditions on spe-
cified government test surfaces of
asphalt and concrete.
A tire marked C may have poor
traction performance.
WARNING
The traction grade assigned to
this tire is based on straight-
ahead braking traction tests,
and does not include accelera-
tion, cornering, hydroplaning,
or peak traction characteris-
tics.&Temperature A, B, CThe temperature grades are A (the
highest), B, and C, representing the
tire’s resistance to the generation of
heat and its ability to dissipate heat
when tested under controlled con-
ditions on a specified indoor labora-
tory test wheel.
Sustained high temperature can
cause the material of the tire to
degenerate and reduce tire life, andexcessive temperature can lead to
sudden tire failure.
The grade C corresponds to a level
of performance which all passenger
car tires must meet under the
Federal Motor Vehicle Safety Stan-
dards No. 109.
Grades B and A represent higher
levels of performance on the la-
boratory test wheel than the mini-
mum required by law.
WARNING
The temperature grade for this
tire is established for a tire that
is properly inflated and not
overloaded. Excessive speed,
underinflation, or excessive
loading, either separately or
in combination, can cause
heat buildup and possible tire
failure.
Consumer information and Reporting safety defects/Uniform tire quality grading standards
13-15
13