2018 MERCEDES-BENZ SLC ROADSTER service reset
[x] Cancel search: service resetPage 18 of 298
S
SafetyChildren in the vehicle ..................... 53
see Occupant safety
Safety system
see Driving safety systems
SD card
Inserting ........................................2 17
Inserting/removing ........................ 217
Removing ....................................... 217
SD memory card
see also Digita lOperator's Man-
ua l..................................................2 11
Selecting ........................................ 169
Search&S end
see also Digita lOperator's Man-
ua l..................................................2 11
Seat
Correct driver's seatp osition ........... 84
Seat belts
Adjusting the driver's and front-
passenger seatb elt......................... 42
Correct usag e.................................. 41
Fastening ......................................... 42
Important safety guideline s............. 40
Introduction ..................................... 39
Releasing ......................................... 42
Switching belt adjustment on/off
(on-board computer) ...................... 174
Warning lamp ................................. 203
Warning lamp (function) ................... 42
Seats
Adjusting (electrically) ..................... 86
Adjusting (manually) ........................ 86
Adjusting the 4-wa ylum bars up-
por t.................................................. 87
Adjusting the headr estraint ............ 86
Important safety notes .................... 84
Overview .......................................... 84
Seath eating problem ...................... 87
Storing settings (memory func-
tion) ................................................. 93
Switching AIRSCAR Fon/off. ........... 87
Switching seath eating on/off......... 87
Selecto rlever
Positions ........................................ 122
Sensors (cleaning instructions) ....... 242Servic
emenu( on-board com-
puter) .................................................. 171
Servic emessage
see ASSYST PLUS
Servic eproducts
Brake fluid ..................................... 293
Coolant (engine) ............................ 293
Engine oil. ...................................... 292
Fue l................................................ 291
Important safety notes .................. 290
Refrigerant (air-conditioning sys-
tem) ............................................... 294
Washerf lui
d ................................... 294
Settingt he air distribution ............... 110
Setting the airflow ............................ 110
Setting the date/time format
see also Digital Operator's Man-
ual.................................................. 211
Setting the language
see also Digital Operator's Man-
ual.................................................. 211
Setting the time
see also Digital Operator's Man-
ual.................................................. 211
Settings
Factory (on-board computer) ......... 175
On-board compute r....................... 172
SETUP (on-board computer,
Mercedes-AMG vehicles) .................. 175
Side impac tair bag ............................. 44
Side marker lamp
Changing bulb s(rear) .................... 101
Side marker lamp (display mes-
sage) ................................................... 189
Side windows
Cleaning ......................................... 241
Convenience closing feature ............ 76
Important safety information ........... 74
Opening/closing (all )....................... 75
Opening/closing (front) ................... 75
Overview .......................................... 74
Problem (malfunction) ..................... 76
Resetting ......................................... 76
Reversing feature ............................. 74
SIRIU Sservices
see also Digital Operator's Man-
ua l.................................................. 211
16Index
Page 21 of 298

Maximum load onatire (defini-
tion) ............................................... 279
Maximum loaded vehicle weight
(definition) .....................................2 79
Maximum permissible tire pres-
sure (definition) .............................2 79
Maximum tire load. ........................ 277
Maximum tire load( definition) ....... 279
MOExtended tires .......................... 262
Optional equipment weight (defi-
nition) ............................................ 280
Overview ........................................ 260
PSI (pounds per square inch) (def-
inition) ...........................................2 79
Replacing ....................................... 280
Service life ..................................... 261
Sidewall (definition) ....................... 279
Speed rating (definition) ................ 279
Storing ...........................................2 81
Structure and characteristics
(definition) ..................................... 278
Summer tires ................................. 262
Temperature .................................. 274
TIN (Tire Identification Number)
(definition) ..................................... 280
Tire bead( definition) ......................2 79
Tire pressure (definition) ................ 279
Tire pressure s(recommended). ..... 278
Tire size (data) ............................... 284
Tire size designation, load-bearing
capacity, speedr ating .................... 275
Tire tread ....................................... 261
Tire tread (definition) ..................... 279
Total loadl imit (definition) ............. 280
Traction ......................................... 274
Traction (definition) ....................... 280
Treadw ear..................................... 274
Uniform Tire Quality Grading
Standard s...................................... 273
Uniform Tire Quality Grading
Standard s(de finition) .................... 278
Wea rindicator (definition) ............. 280
Wheel and tire combination ........... 284
Wheel rim (definiti on) .................... 278
se
e Fla ttire
Tow-starting
Emergency engine starting ............ 258
Important safety notes .................. 256 Towin
gaway
Important safety guideline s........... 256
Installing the towing eye. ............... 256
Removing the towing eye. .............. 257
Transporting the vehicl e................ 258
With both axles on the ground ....... 257
With the reara xler aised ................ 257
Trafficr eports
see also Digital Operator's Man-
ua l.................................................. 211
Transmission
Selector lever ................................ 122
see Automati ctransmission
Transmissio nposition display ......... 122
Transporting the vehicle .................. 258
Trip computer (on-board com-
puter) .................................................. 166
Trip odometer
Calling up ....................................... 166
Resetting (on-board computer) ...... 167
Trunk
Emergency release .......................... 73
Important safety notes .................... 72
Locking separately. .......................... 73
Opening/closing (manuall yfrom
outside) ............................................ 73
Overview .......................................... 72
Trunk lid
Displa ymessage ............................ 200
Opening dimensions ...................... 295
Trunk partition
Displa ymessage ............................ 200
Generaln otes .................................. 79
Opening/closing .............................. 80
Turn signals
Displa ymessage ............................ 189
Switching on/off. ............................. 96
Two-wa yradio
Frequencie s................................... 288
Installation ..................................... 288
Transmission output( maximum) .... 288
Type identificatio nplate
see Vehicl eide ntification plate
U
Unlocking
Emergency unlocking ....................... 72
Index19
Page 29 of 298
Diagnostics connection
The diagnosticsconnectio nisonlyi ntende dfor
th ec onnectio nofdiagnostic equipmen tata
qualified specialis tworkshop .
GWARNING
If you connec tequipmen ttoadiagnostic s
connection in th evehicle, it may affec tthe
operation of vehicle systems .Asaresult,the
operatin gsafet yofthe vehicle could be affec -
ted. There is ariskofana ccident.
Only connec tequipmen ttoadiagnostic scon-
nection in th evehicle, whic hisapproved fo r
your vehicle by Mercedes-Benz.
GWARNING
Objects in th edriver's footwell may restric t
th ec learanc earound th epedals or bloc ka
depressed pedal. Thi sjeo pardizes th eoper-
atin gand road safet yofthe vehicle. There is a
ris kofana ccident.
Stow all objects securely in th evehicle so that
they do no tget into th edriver's footwell.
Whe nusingfloormat sorcarpets, mak esure
that they are properly secure dsothatthe yd o
no tslip or obstruct th epedals. Do no tplac e
severa lfloormat sorcarpetsont opof on e
another.
!If th eengineiss witched of fand equipmen t
on th ediagnostic sconnectio nisused,the
starter battery may discharge.
Connectin gequipmen ttothediagnostic scon-
nection can lead to emission smonitor ingi nfor -
mation bein greset ,for example. Thi smay lead
to th evehicle failin gtomeetthe requirements of
th en exte mission stestd urin gthe main inspec-
tion .
Qualified specialist workshop
An authorized Mercedes-Ben zCente risaq uali-
fie ds pecialis tworkshop .Ithas th eneces sary
specialis tkno wledge ,too ls and qualification sto
correctl ycarry out th eworkr equire donyour
vehicle. Thi sisespecially th ecasef or wor krel-
evant to safety.
Observ ethe note sint heMaintenance Booklet .Always hav
ethe followin gworkc arrie dout at an
authorized Mercedes-Ben zCenter:
Rwor krelevant to safet y
Rserviceand maintenance wor k
Rrepair work
Ralterations, installation wor kand modifica-
tion s
Rworkone lectronic component s
Correct use
If you remov eany warnin gstickers, you or oth-
ers could fail to recogniz ecertai ndangers.
Leave warnin gsticker sinposition .
Observ ethe followin ginformati on when drivin g
your vehicle:
Rth es afet ynotes in this manual
Rtechnical dat afor thev ehicle
Rtraffic rule sand regulation s
Rlaws and safet ystandard spertainin gtomotor
vehicles
Problem swithy ourv ehicle
If you should experience aproblem wit hyour
vehicle, particularly on ethaty ou believe may
affec tits saf eoperation ,weurgey ou to contact
an authorized Mercedes-Ben zCente rimmedi-
ately to hav ethe problem diagnosed and recti -
fied. If th eproblem is no tresolved to your sat -
isfaction ,please discus sthe problem again wit h
an authorized Mercedes-Ben zCente ror,if nec-
essary, contact us at on eofthefollowin g
addresses.
In th eUSA
Customer Assistanc eCente r
Mercedes-Ben zUSA,LLC
3M ercedes Drive
Montvale, NJ 07645-0350
In Canad a
Customer Relation sDepartmen t
Mercedes-Ben zCanada, Inc.
98 Vanderhoo fAvenu e
Toronto ,Ontar io M4 G4C9
Reporting safet ydefect s
USAo nly:
Operating safety27
Introduction
Z
Page 171 of 298
the presetlistors tationlistint he desired
frequency range is shown.
XTo select astation: brieflypress 9
or :.
SIRIUS XM
®satellite radi oacts like anormal
radio.
For mor einformation on radi ooperation, see
"Satellite radio" in the Digita lOperator' sMan-
ual.
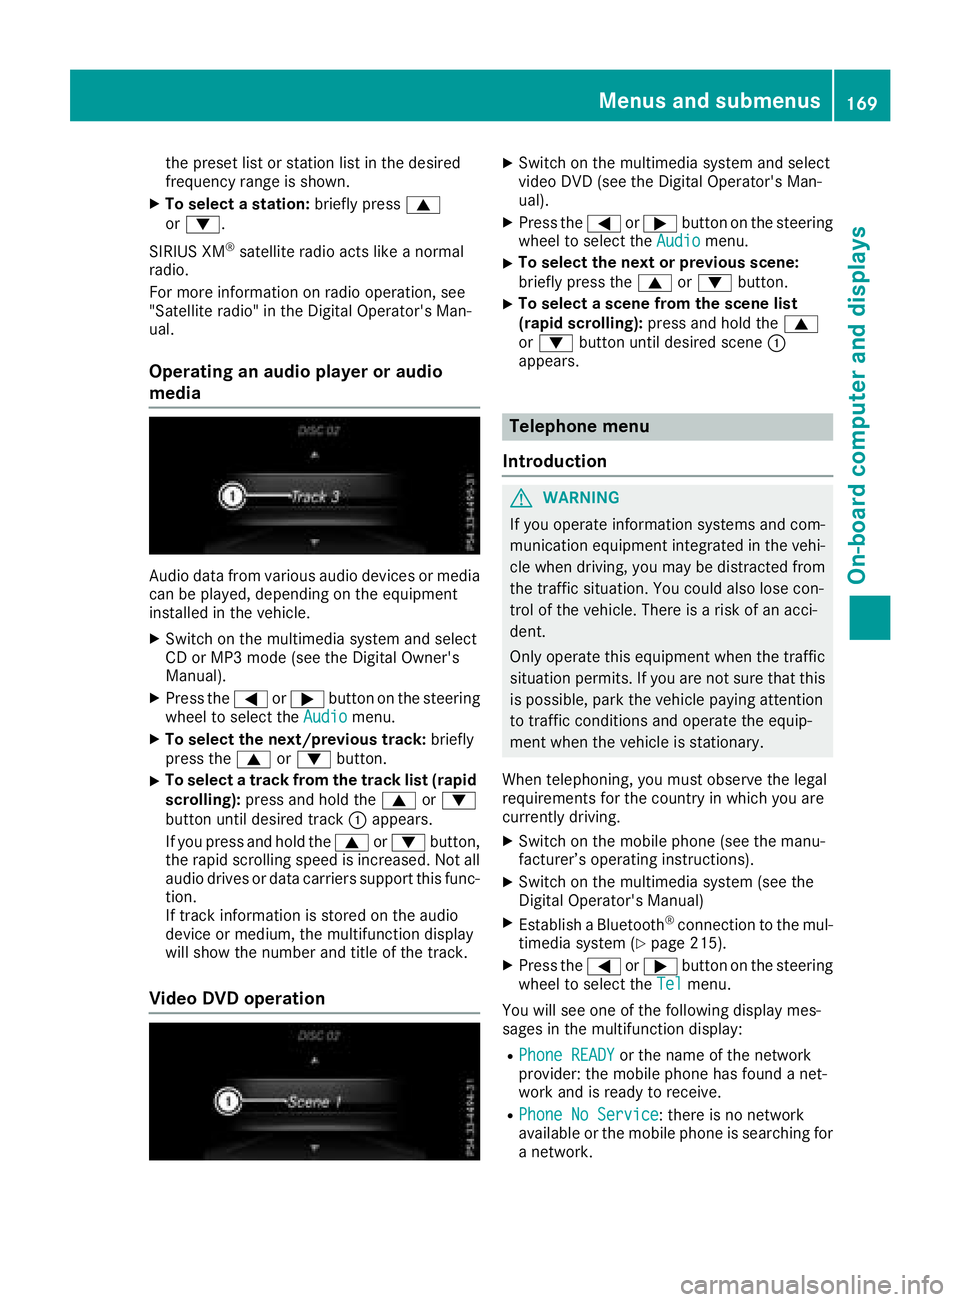
Operatin ganaudiop layer or audio
media
Audio data fromv arious audi odevices or media
can be played ,depen ding on the equipment
installe dinthe vehicle.
XSwitch on the multimedia systema nd select
CD or MP3m ode( seet he Digita lOwn er's
Manual).
XPress the =or; button on the steering
whee ltoselect theAudiomenu.
XTo select the next/previous track: briefly
press the 9or: button.
XTo select atrackf romthe trackl ist( rapid
scrolling): press and hol dthe 9 or:
button unti ldesir ed track :appears.
If yo upress and hol dthe 9 or: button,
the rapi dscrolling spee disincreased. Not all
audi odrives or data carriers support thisf unc-
tion.
If track information is stored on the audio
devic eorm edium, the multifunctio ndisplay
will sho wthe numbe rand titl eofthe track.
VideoDVD operation
XSwitch on the multimedia systema nd select
video DVD (see the Digita lOperator' sMan-
ual).
XPress the =or; button on the steering
whee ltoselect theAudiomenu.
XTo select the next or previous scene:
briefl ypress the 9or: button.
XTo select ascene fromt he scen elist
(rapid scrolling): press and holdthe 9
or : button unti ldesir ed scene :
appears.
Telephon emenu
Introduction
GWARNING
If yo uoperate information systems and com-
municatio nequipment integrated in the vehi-
cle when driving, yo umaybe distracted from
the traffics ituation. Yo ucould also lose con-
trol of the vehicle. There is ariskofana cci-
dent.
Onlyo perate thise quipmentwhen the traffic
situatio npermits. If yo uarenot sure thatt his
is possible, park the vehicl epayin gattention
to trafficc onditions and operate the equip-
ment when the vehicl eisstationary.
When telephoning ,you must observe the legal
requirements for the country in which yo uare
currentl ydriving.
XSwitch on the mobil ephone (see the manu-
facturer’ soperating instructions).
XSwitch on the multimedia system( seet he
Digita lOperator' sManual)
XEstablis haBluetooth®connectio ntothe mul-
timedia system(Ypage 215).
XPress the =or; button on the steering
whee ltoselect theTelmenu.
Yo uw ills ee one of the following displa ymes-
sage sint he multifunctio ndisplay :
RPhone READYor the nam eofthe network
provider: the mobil ephone hasf oundanet-
work and is ready to receive.
RPhone No Service:t here is no network
availabl eorthe mobil ephone is searching for
an etwork.
Menus and submenus169
On-board computer and displays
Z
Page 239 of 298
amessage appearsint hemultifunction display
prompting you to add washer fluid (Ypage 201).
Further informatio nonwindshield washer fluid/
antifreeze(
Ypage 294).
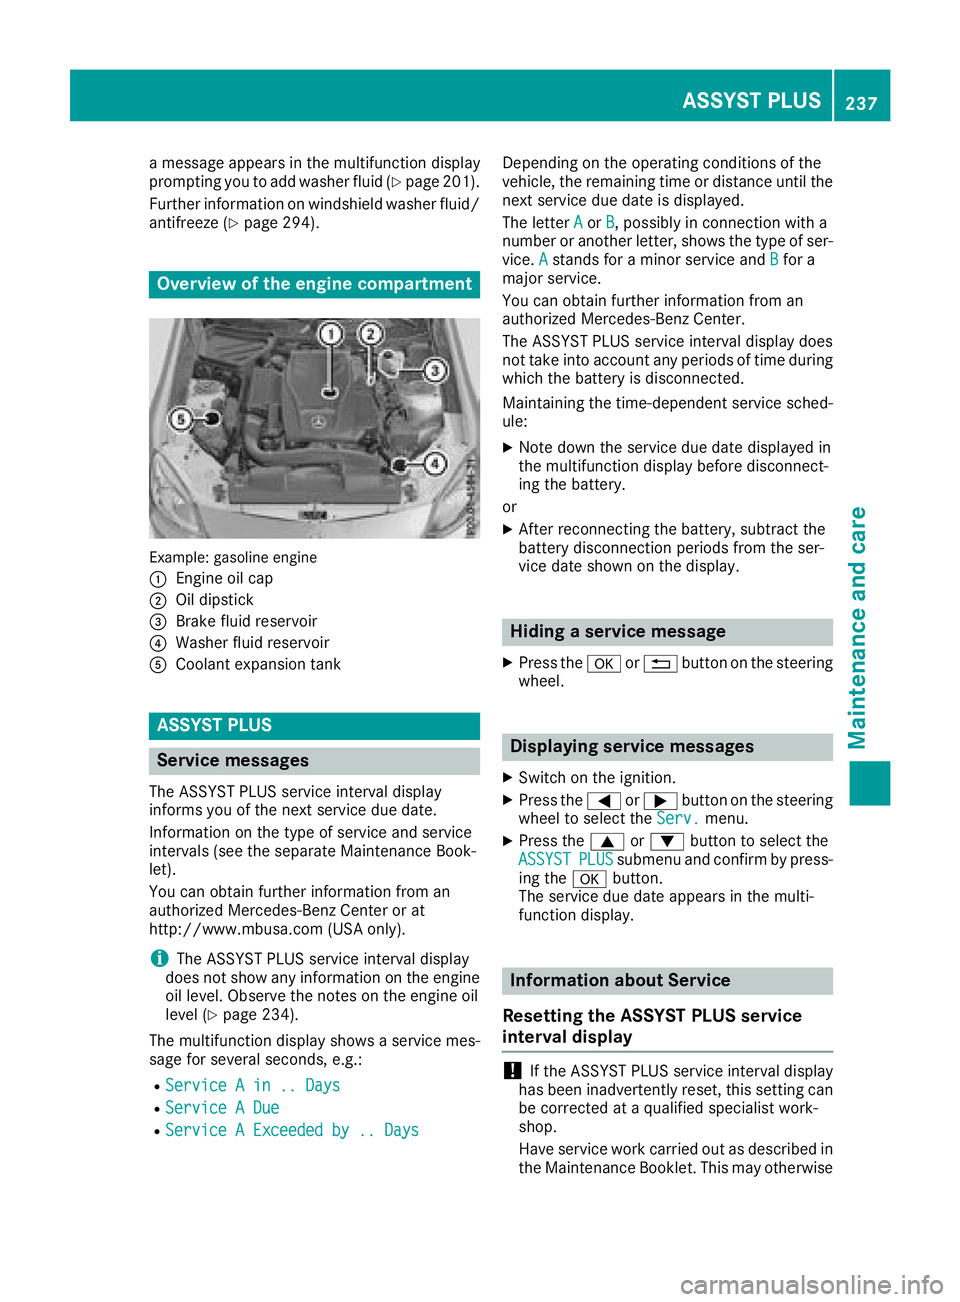
Overview of th eengine compartment
Example :gasoline engine
:
Engineo il cap
;Oil dipstick
=Brake fluid reservoir
?Washerf luid reservoir
ACoolante xpansion tank
ASSYST PLUS
Service messages
The ASSYS TPLUSs erviceinterval display
inform syou of th enexts ervic edue date.
Information on th etype of servic eand service
intervals (see th eseparate Maintenance Book-
let).
You can obtain further informatio nfroma n
authorized Mercedes-Ben zCenter or at
http://www.mbusa.com (USAo nly).
iThe ASSYS TPLUSs erviceinterval display
does no tshow any informatio nontheengine
oil level. Observ ethe note sont heengine oil
level(
Ypage 234).
The multifunction display showsas ervicemes-
sage for several seconds, e.g.:
RServiceAin..D ays
RServiceADue
RServiceAExceeded by .. Days
Dependingont heoperatin gconditionsoft he
vehicle ,the remainin gtimeord istanc euntil the
nex tservic edue dateisd isplayed.
The letter A
orB,possibly in connectio nwith a
number or another letter, showst hetype of ser-
vice. A
stands for aminor servic eand Bfor a
major service.
You can obtain further informatio nfroma n
authorized Mercedes-Ben zCenter.
The ASSYS TPLUSs erviceinterval display does
no ttak eintoa ccounta ny periods of tim eduring
whicht hebattery is disconnected.
Maintaining th etime-dependents ervicesched-
ule:
XNoted own th eservic edue dated isplayedin
th em ultifunction display before disconnect-
ing th ebattery.
or
XAfte rreconnectin gthe battery, subtrac tthe
battery disconnectio nperiods from th eser-
vic ed ates hownont hedisplay.
Hiding aservice message
XPres sthe a or% button on th esteering
wheel.
Displaying service messages
XSwitch on th eignition.
XPres sthe = or; button on th esteering
wheel to selectt heServ.menu.
XPres sthe 9 or: button to selectt he
ASSYSTPLUSsubmenu and confir mbypress-
ing the abutton.
The servic edue datea ppearsint hemulti-
function display.
Information abou tService
Resettin gthe ASSYST PLUS service
interval display
!If th eASSYSTP LUSs erviceinterval display
has been inadvertently reset,t hiss ettin gcan
be correcte dataqualified specialist work-
shop.
Hav eservic ework carried out as describe din
th eM aintenance Booklet. This may otherwise
ASSYST PLUS237
Maintenance and care
Z
Page 240 of 298
lead to increased wear and damage to the
majorassemblies or the vehicle.
Aq ualified specialist workshop, e.g. an author-
ized Mercedes-Ben zCenter, will reset the
ASSYS TPLUS service interval display after the
service work has been carried out. You can also
obtain further information on maintenance
work,f or example.
Specia lservice requirements
The specified maintenance interval takes only
the normal operation of the vehicle into
account .Under arduous operating condition sor
increased load on the vehicle, maintenance
work must be carried out more frequently, for
example:
Rregular cit ydrivingw ith frequent intermediate
stops
Rif the vehicle is primarily used to travel short
distances
Ruse in mountainous terrain or on poor road
surfaces
Rif the engin eisoften left idling for long periods
Under these or similar conditions, have, for
example, the air filter, engin eoil and oil filter
replaced or changed more frequently. Under
arduous operating conditions, the tires must be
checked more often. Further information can be
obtained at aqualified specialist workshop, e.g.
an authorized Mercedes-Ben zCenter.
Driving abroad
An extensive Mercedes-Ben zService network is
also available in other countries. You can obtain
further information froma ny authorized
Mercedes-Ben zCenter.
Care
Notes on care
HEnvironmental note
Dispose of emptyp ackaging and cleaning
cloths in an environmentally responsible man-
ner.
!When cleaning your car, do not use:
Rdry, coarse or hard cloths
Rabrasive cleaning agents
Rsolvents
Rcleaning agent scontaining solvents
Do not scrub.
Do not touc hthe surfaces and films with hard
objects, e.g. rings or ice scrapers. Otherwise,
you may scratc hordamage the surfaces and
films.
!Do not park your vehicle for along period of
tim edirectly after cleaning, particularly after
cleaning the wheel rim with wheel cleaner.
Wheel cleaner can lead to the increased cor-
rosionoft he braked iscs and pads. Therefore,
drive for afew minutes after cleaning. By
heatin gupthe brakes, the braked iscs and
pads dry. The vehicle can the nbeparked for a
long period of time.
Regular care of your vehicle is acondition for
retainin gthe quality in the long term.
Use care products and cleaning agent srecom-
mended and approved by Mercedes-Benz.
Washing th evehicle and cleaning the
paintwork
Automatic car wash
GWARNING
Braking efficienc yisreduced after washing
the vehicle. There is arisk of an accident.
After the vehicle has been washed, brake
carefully while paying attention to the traffic
condition suntil full braking power is restored.
!When DISTRONIC PLUS or the HOL Dfunc-
tion is activated, the vehicle brakes automat-
ically in certain situations.
To avoid damage to the vehicle, deactivate
DISTRONIC PLUS and the HOL Dfunction in
the followingors imilar situations:
Rwhen towingthe vehicle
Rin the car wash
!It is preferable to use car washes with
adjustable high-pressure pre-cleaning that
corresponds to the specification for the Cab-
riolet program. In car washes that use high
water pressures, there is arisk that asmall
amount of water may leak int othe vehicle.
238Care
Maintenance and care
Page 254 of 298
rubbish. They must be col-
lected separately and dis-
posed of in an environmen-
tallyresponsible recycling
system.
Dispose of batterie sinan
environmentally responsi-
ble manner. Take dis-
charge dbatterie stoaq uali-
fied specialist workshop or
to ac ollection point for
used batteries.
!Have the battery checked regularl yata
qualified specialist workshop.
Observe the service interval sinthe Mainte-
nance Booklet or contact aqualified specialist
workshop for more information.
!Always have work on batterie scarrie dout at
aq ualified specialist workshop.
Shoul dit, in exceptionalc ircumstances, be
absolutel ynecessary to disconnect the 12-
volt battery yourself, please observe the fol-
lowing:
RSecure the vehicletop revent it from rolling
away.
RSwitch off the ignition.
RDisconnect the negative terminal first and
then the positive terminal.
The transmission is locked in position j
after disconnecting the battery.
After the work has been done, install the bat- tery and replace the cover of the positive ter-
minal clamp firmly.
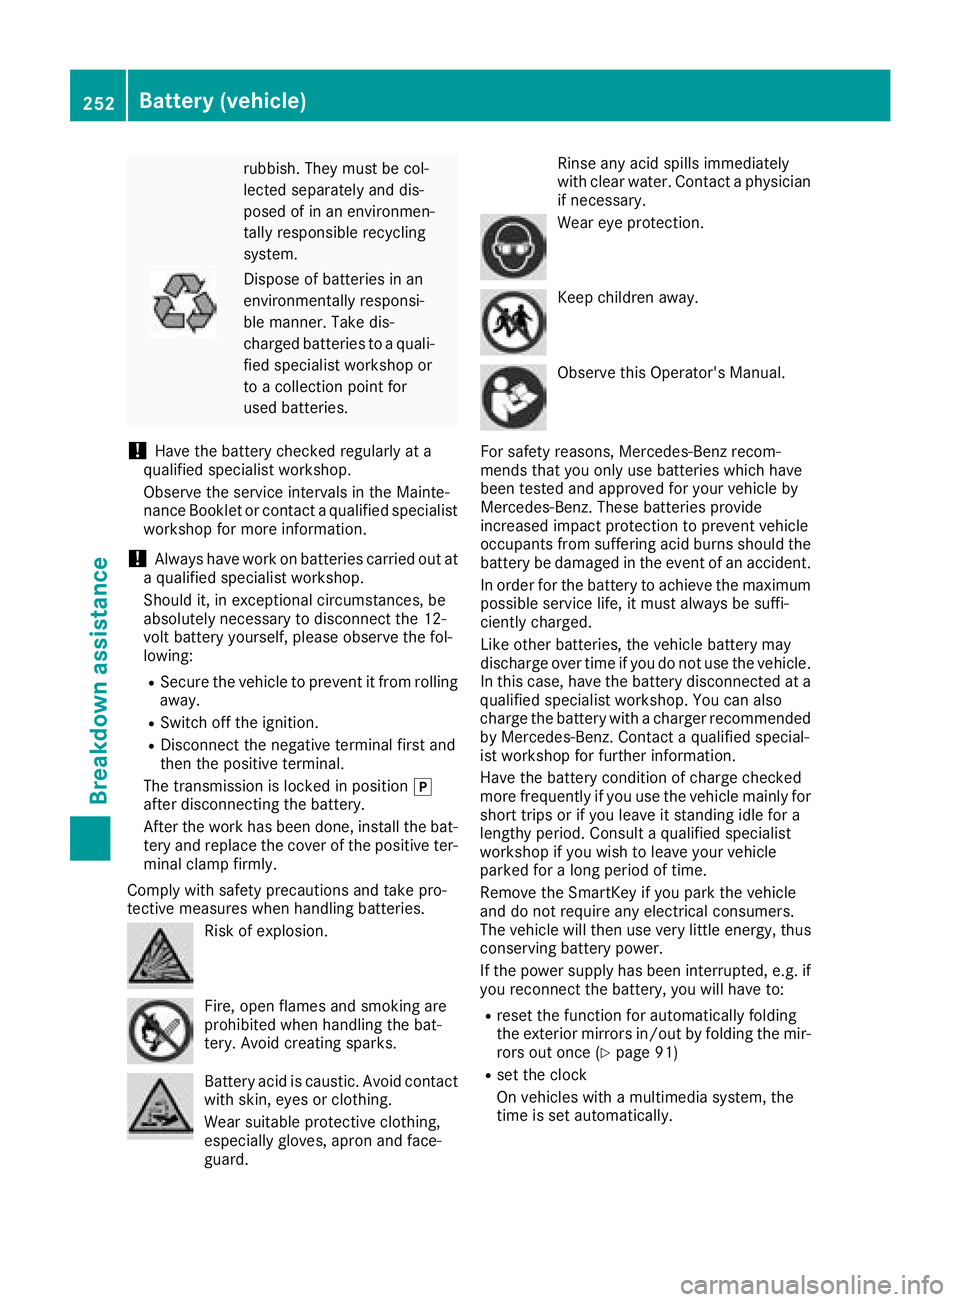
Comply with safety precautions and take pro-
tective measures when handling batteries.
Ris kofe xplosion.
Fire, open flame sand smoking are
prohibited when handling the bat-
tery. Avoid creating sparks.
Battery acid is caustic. Avoid contact
with skin, eye sorclothing.
Wears uitable protective clothing,
especially gloves, apro nand face-
guard. Rinse any acid spills immediately
with clearw
ater. Contact aphysician
if necessary.
Weare ye protection.
Keep children away.
Observe this Operator's Manual.
For safety reasons, Mercedes-Benz recom-
mends that you only use batterie swhich have
been tested and approved for you rvehicleb y
Mercedes-Benz. These batterie sprovide
increase dimpact protection to prevent vehicle
occupants from suffering acid burns should the
battery be damaged in the event of an accident.
In order for the battery to achieve the maximum
possible service life,itm ust alwaysbesuffi-
ciently charged.
Like other batteries, the vehicleb attery may
discharge over time if you do not use the vehicle.
In this case, have the battery disconnected at a
qualified specialist workshop.Y ou can also
charge the battery with acharge rrecommended
by Mercedes-Benz. Contact aqualified special-
ist workshop for further information.
Have the battery condition of charge checked
more frequently if you use the vehiclem ainlyfor
short trips or if you leave it standing idlef or a
lengthy period. Consult aqualified specialist
workshop if you wis htoleave you rvehicle
parked for along periodoft ime.
Remove the SmartKey if you park the vehicle
and do not require any electricalc onsumers.
The vehiclew illt hen use very little energy,t hus
conserving battery power.
If the powers upply has been interrupted ,e.g. if
you reconnect the battery ,you wil lhave to:
Rreset the function for automatically folding
the exterior mirrors in/out by folding the mir-
rors out once (
Ypag e91)
Rset the clock
On vehicles with amultimedia system, the
time is set automatically.
252Battery (vehicle)
Breakdown assistance