2018 FORD EXPEDITION ECU
[x] Cancel search: ECUPage 81 of 571
1.
Insert the first previously programmed
coded key into the ignition.
2. Switch the ignition from off to on. Keep
the ignition on for at least three
seconds, but no more than 10 seconds.
3. Switch the ignition off and remove the
first coded key from the ignition.
4. After three seconds but within 10 seconds of switching the ignition off,
insert the second previously coded key
into the ignition.
5. Switch the ignition from off to on. Keep
the ignition on for at least three
seconds, but no more than 10 seconds.
6. Switch the ignition off and remove the
second previously programmed coded
key from the ignition.
7. After three seconds but within 10 seconds of switching the ignition off
and removing the previously
programmed coded key, insert the new
unprogrammed key into the ignition.
8. Switch the ignition from off to on. Keep
the ignition on for at least six seconds.
9. Remove the newly programmed coded
key from the ignition.
If the key has been successfully
programmed it will start the engine and
operate the remote entry system (if the
new key is an integrated keyhead
transmitter).
If programming was not successful, wait
10 seconds and repeat Steps 1 through 8.
If you are still unsuccessful, take your
vehicle to your authorized dealer.
Programming a Spare Intelligent
Access Key
Note: You can program a maximum of four
keys to your vehicle. You must have two previously
programmed intelligent access keys inside
your vehicle and the new unprogrammed
intelligent access key readily accessible.
You can purchase replacement keys or
remote controls from an authorized dealer.
Make sure that the ignition is switched off
before beginning this procedure. Make sure
that you close all the doors before
beginning and that they remain closed
throughout the procedure. Carry out all
steps within 30 seconds of starting the
sequence. Stop and wait for at least one
minute before starting again if you carry
out any steps out of sequence.
Read and understand the entire procedure
before you begin.
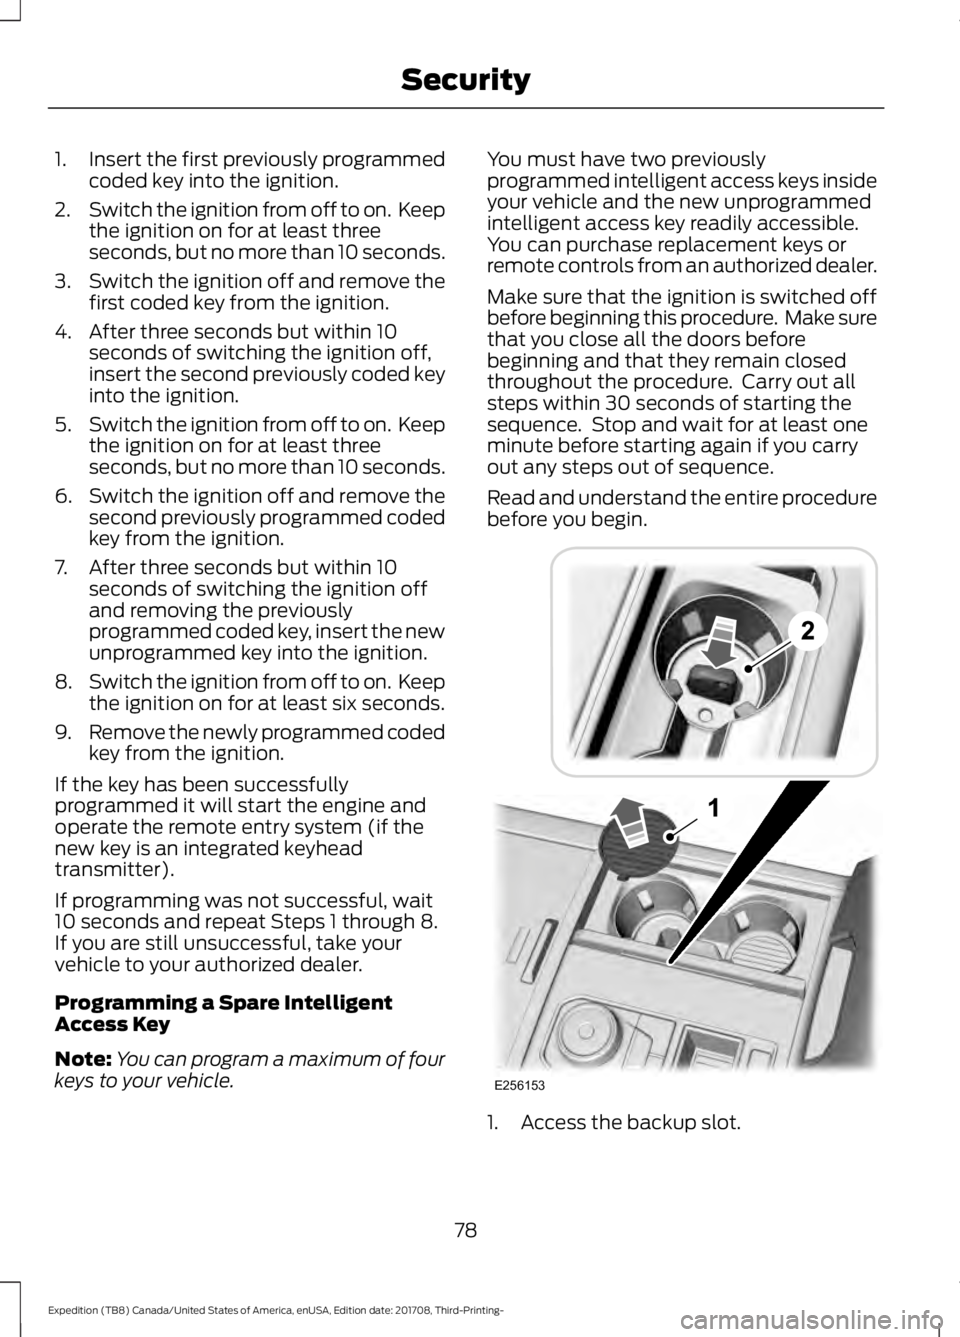
1. Access the backup slot.
78
Expedition (TB8) Canada/United States of America, enUSA, Edition date: 201708, Third-Printing- SecurityE256153
Page 82 of 571
2. Insert the first programmed key in the
backup slot.
3. Press the push button ignition switch.
4. Wait five seconds and then press the push button ignition switch again.
5. Remove the intelligent access key.
6. Within 10 seconds, place a second programmed intelligent access key in
the backup slot and press the push
button ignition switch.
7. Wait five seconds and then press the push button ignition switch again.
8. Remove the intelligent access key.
9. Wait five seconds, then place the unprogrammed intelligent access key
in the backup slot and press the push
button ignition switch.
10. Once complete, the information cluster displays a message
confirming the key has been
programmed. The direction indicators
flash and the horn sounds.
Programming is now complete. Check that
the remote control functions operate and
your vehicle starts with the new intelligent
access key.
If programming was unsuccessful, wait 10
seconds and repeat steps 1 through 7. If it
still does not work, take your vehicle to an
authorized dealer.
ANTI-THEFT ALARM
The system will warn you of an
unauthorized entry to your vehicle. It will
be triggered if any door, the luggage
compartment or the hood is opened
without using the key, remote control or
keyless entry keypad.
The direction indicators will flash and the
horn will sound if unauthorized entry is
attempted while the alarm is armed. Take all remote controls to an authorized
dealer if there is any potential alarm
problem with your vehicle.
Arming the Alarm
The alarm is ready to arm when there is
not a key in your vehicle. Electronically lock
your vehicle to arm the alarm.
Disarming the Alarm
Disarm the alarm by any of the following
actions:
•
Unlock the doors or luggage
compartment with the remote control
or keyless entry keypad.
• Switch your vehicle on or start your
vehicle.
• Use a key in the driver door to unlock
your vehicle, then switch your vehicle
on within 12 seconds.
Note: Pressing the panic button on the
remote control will stop the horn and signal
indicators, but will not disarm the system.
79
Expedition (TB8) Canada/United States of America, enUSA, Edition date: 201708, Third-Printing- Security
Page 128 of 571
Alarm and Security
Action
Message
Alarm triggered due to unauthorized entry. See Anti-Theft
Alarm (page 79).
Vehicle Alarm To Stop
Alarm, Start Vehicle.
Automatic Engine Shutdown Action
Message
The engine is getting ready to shut off.
Engine Shuts Off In
{seconds to shut off:#0} Seconds
The engine has shut off to help increase fuel economy.
Engine Shut Off For Fuel
Economy
The engine is getting ready to shut off. You can press
OK on
the left steering wheel button to override the shut down.
Engine Shuts Off in
{seconds to shut off:#0} Seconds Press Ok to Override
Battery and Charging System Action
Message
The charging system needs servicing. If the warning stays on
or continues to come on, contact an authorized dealer as soon as possible.
Check Charging System
The battery management system detects an extended low-voltage condition. Your vehicle will disable various features
to help preserve the battery. Turn off as many of the electrical loads as soon as possible to improve system voltage. If the system voltage has recovered, the disabled features will operate again as normal.
Low Battery Features
Temporarily Turned Off
The battery management system determines that the batteryis at a low state of charge. Turn your ignition off as soon as
possible to protect the battery. This message will clear once you restart your vehicle and the battery state of charge has
recovered. Turning off unnecessary electrical loads will allow faster battery state-of-charge recovery.
Turn Power Off To Save
Battery
125
Expedition (TB8) Canada/United States of America, enUSA, Edition date: 201708, Third-Printing- Information Displays
Page 156 of 571
MANUAL SEATS (IF EQUIPPED)
WARNING:
Do not adjust the
driver seat or seat backrest when your
vehicle is moving. This may result in
sudden seat movement, causing the loss
of control of your vehicle. WARNING:
Make sure the seat
fully locks into place by rocking it
backward and forward. Not securing the
seat into the locked position can be
dangerous in a crash and could cause
serious personal injury or death.
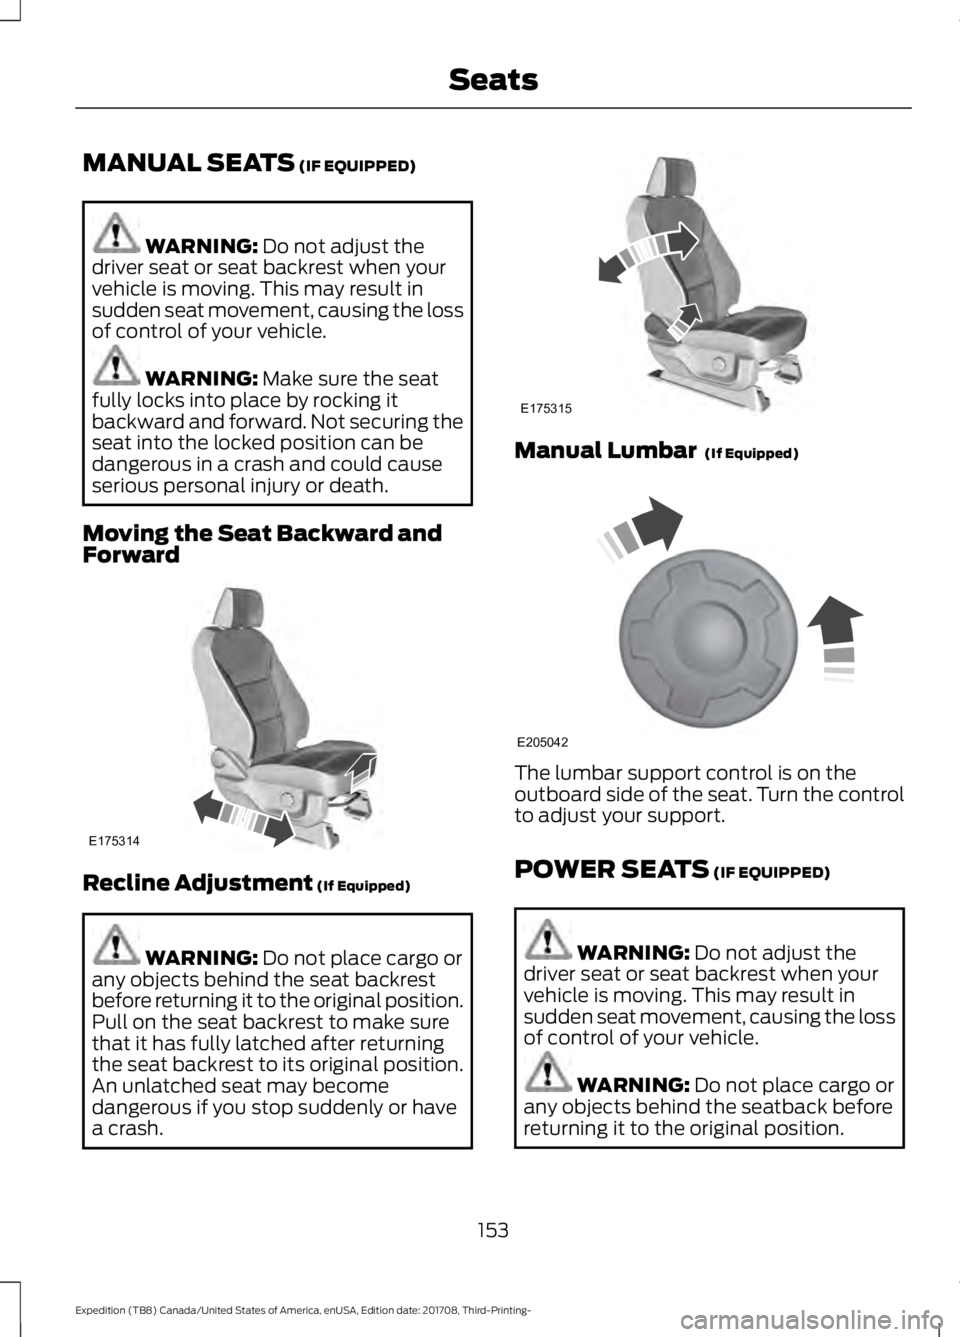
Moving the Seat Backward and
Forward Recline Adjustment
(If Equipped)
WARNING:
Do not place cargo or
any objects behind the seat backrest
before returning it to the original position.
Pull on the seat backrest to make sure
that it has fully latched after returning
the seat backrest to its original position.
An unlatched seat may become
dangerous if you stop suddenly or have
a crash. Manual Lumbar
(If Equipped)
The lumbar support control is on the
outboard side of the seat. Turn the control
to adjust your support.
POWER SEATS
(IF EQUIPPED)
WARNING:
Do not adjust the
driver seat or seat backrest when your
vehicle is moving. This may result in
sudden seat movement, causing the loss
of control of your vehicle. WARNING:
Do not place cargo or
any objects behind the seatback before
returning it to the original position.
153
Expedition (TB8) Canada/United States of America, enUSA, Edition date: 201708, Third-Printing- SeatsE175314 E175315 E205042
Page 169 of 571
HomeLink Wireless Control
System
WARNING: Make sure that the
garage door and security device are free
from obstruction when you are
programming. Do not program the
system with the vehicle in the garage. WARNING:
Do not use the system
with any garage door opener that does
not have the safety stop and reverse
feature as required by U.S. Federal
Safety Standards (this includes any
garage door opener manufactured
before April 1, 1982). A garage door
opener which cannot detect an object,
signaling the door to stop and reverse,
does not meet current federal safety
standards. Using a garage door opener
without these features increases the risk
of serious injury or death.
Note: Make sure you keep the original
remote control transmitter for use in other
vehicles as well as for future system
programming.
Note: We recommend that upon the sale
or lease termination of your vehicle, you
erase the programmed function buttons for
security reasons. See Erasing the Function
Button Codes
later in this section.
Note: You can program a maximum of
three devices. To change or replace any of
the three devices after it has been initially
programmed, you must first erase the
current settings. See Erasing the Function
Button Codes
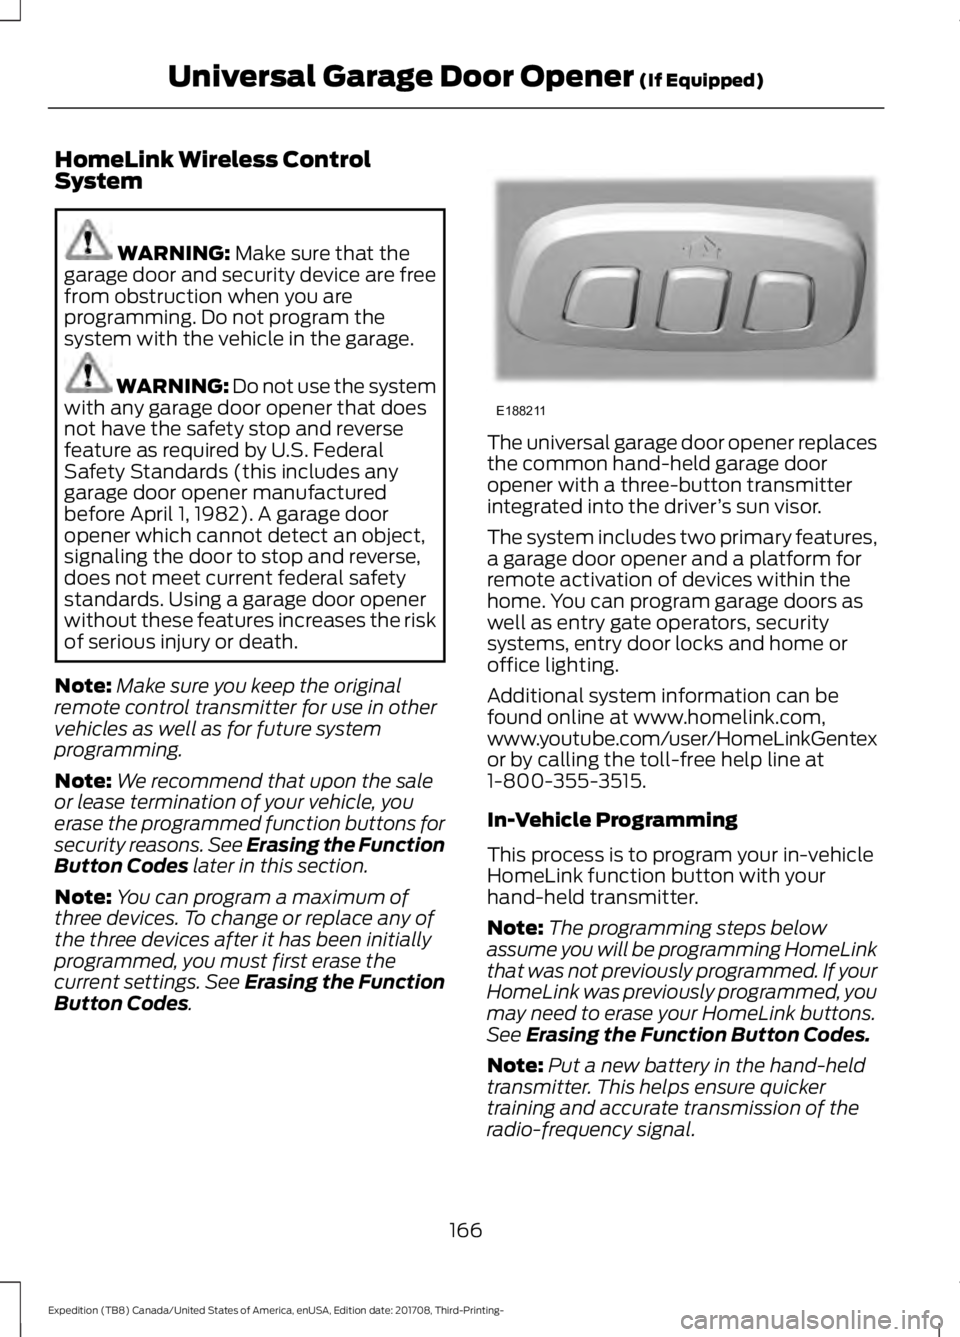
. The universal garage door opener replaces
the common hand-held garage door
opener with a three-button transmitter
integrated into the driver
’s sun visor.
The system includes two primary features,
a garage door opener and a platform for
remote activation of devices within the
home. You can program garage doors as
well as entry gate operators, security
systems, entry door locks and home or
office lighting.
Additional system information can be
found online at www.homelink.com,
www.youtube.com/user/HomeLinkGentex
or by calling the toll-free help line at
1-800-355-3515.
In-Vehicle Programming
This process is to program your in-vehicle
HomeLink function button with your
hand-held transmitter.
Note: The programming steps below
assume you will be programming HomeLink
that was not previously programmed. If your
HomeLink was previously programmed, you
may need to erase your HomeLink buttons.
See
Erasing the Function Button Codes.
Note: Put a new battery in the hand-held
transmitter. This helps ensure quicker
training and accurate transmission of the
radio-frequency signal.
166
Expedition (TB8) Canada/United States of America, enUSA, Edition date: 201708, Third-Printing- Universal Garage Door Opener
(If Equipped)E188211
Page 269 of 571
For the short wheel base system, it is
necessary for the second panel located
toward the front of the vehicle to be raised
up when the seats are folded down.
For the long wheel base system, it is
necessary for the second panel located
toward the front of the vehicle to be raised
up.
Note:
Before moving the board into the
shelf position, you may need to flip down
the hooks.
Note: Do not put more than 50 lb (22 kg)
on shelf.
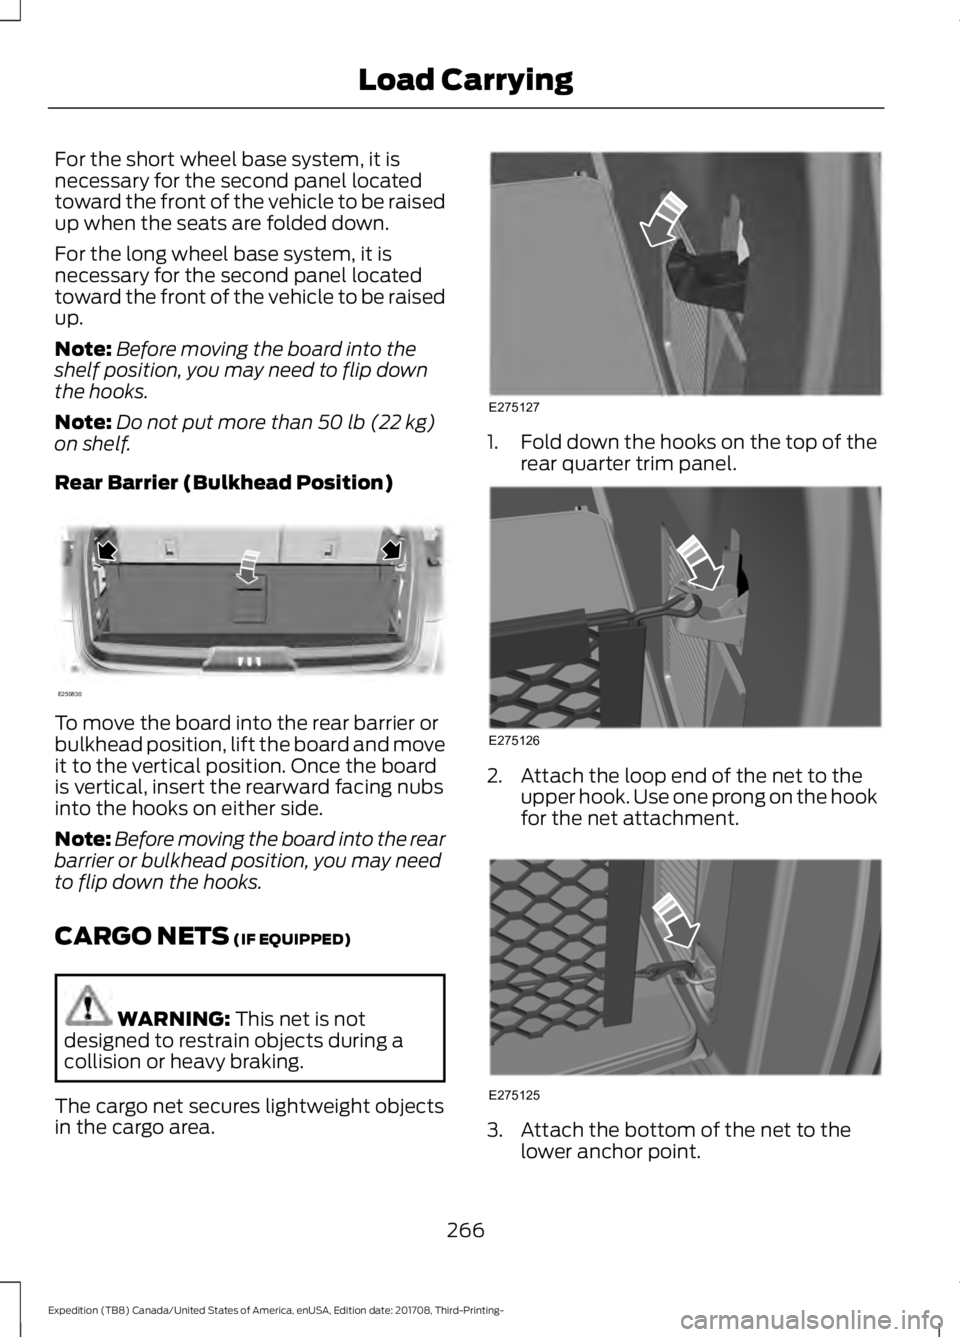
Rear Barrier (Bulkhead Position) To move the board into the rear barrier or
bulkhead position, lift the board and move
it to the vertical position. Once the board
is vertical, insert the rearward facing nubs
into the hooks on either side.
Note:
Before moving the board into the rear
barrier or bulkhead position, you may need
to flip down the hooks.
CARGO NETS
(IF EQUIPPED) WARNING:
This net is not
designed to restrain objects during a
collision or heavy braking.
The cargo net secures lightweight objects
in the cargo area. 1.
Fold down the hooks on the top of the
rear quarter trim panel. 2. Attach the loop end of the net to the
upper hook. Use one prong on the hook
for the net attachment. 3. Attach the bottom of the net to the
lower anchor point.
266
Expedition (TB8) Canada/United States of America, enUSA, Edition date: 201708, Third-Printing- Load CarryingE250830 E275127 E275126 E275125
Page 270 of 571
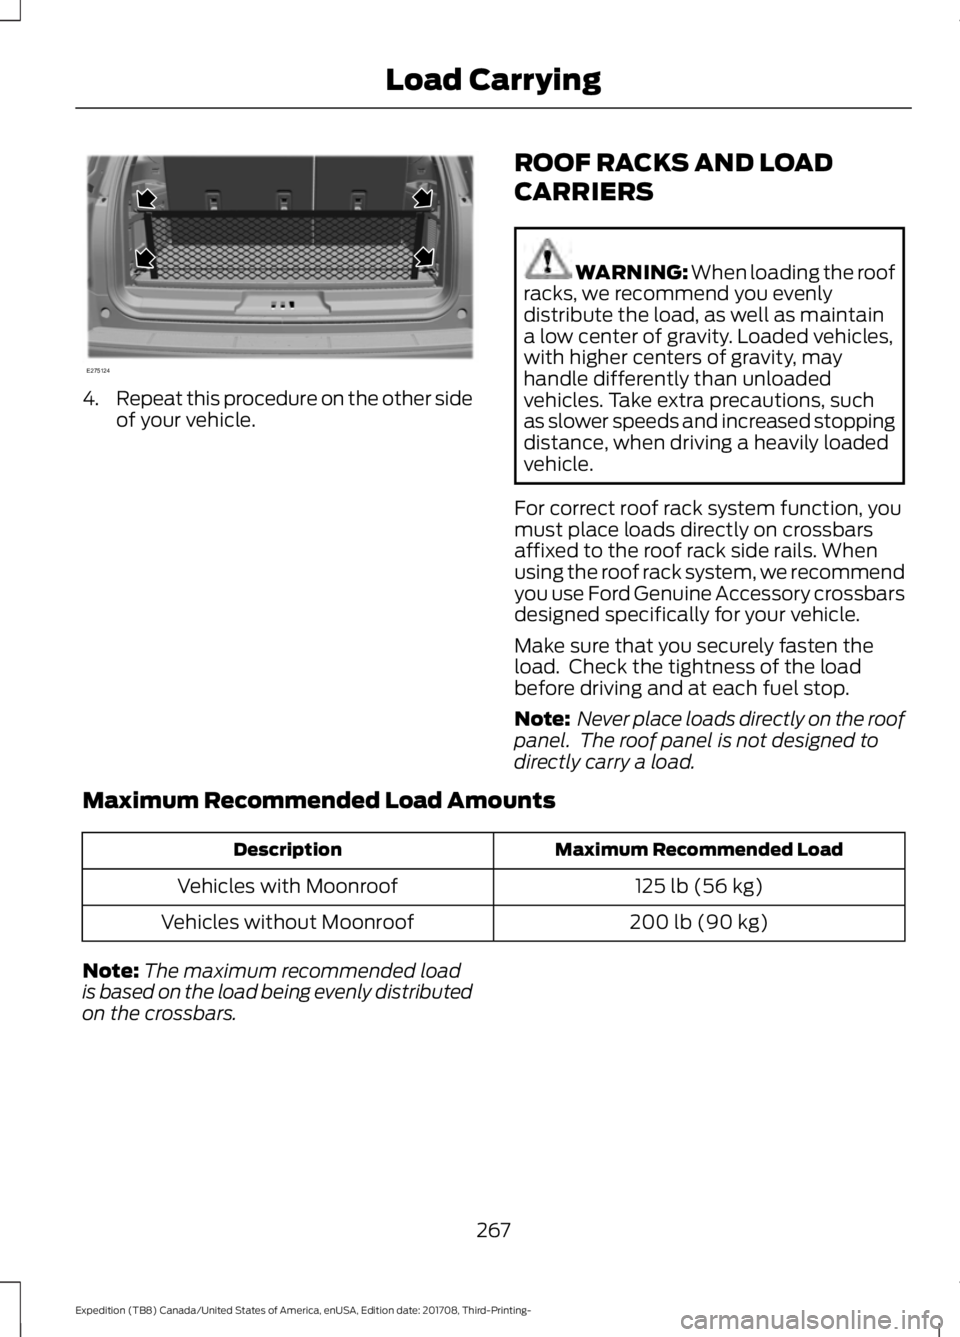
4.
Repeat this procedure on the other side
of your vehicle. ROOF RACKS AND LOAD
CARRIERS WARNING: When loading the roof
racks, we recommend you evenly
distribute the load, as well as maintain
a low center of gravity. Loaded vehicles,
with higher centers of gravity, may
handle differently than unloaded
vehicles. Take extra precautions, such
as slower speeds and increased stopping
distance, when driving a heavily loaded
vehicle.
For correct roof rack system function, you
must place loads directly on crossbars
affixed to the roof rack side rails. When
using the roof rack system, we recommend
you use Ford Genuine Accessory crossbars
designed specifically for your vehicle.
Make sure that you securely fasten the
load. Check the tightness of the load
before driving and at each fuel stop.
Note: Never place loads directly on the roof
panel. The roof panel is not designed to
directly carry a load.
Maximum Recommended Load Amounts Maximum Recommended Load
Description
125 lb (56 kg)
Vehicles with Moonroof
200 lb (90 kg)
Vehicles without Moonroof
Note: The maximum recommended load
is based on the load being evenly distributed
on the crossbars.
267
Expedition (TB8) Canada/United States of America, enUSA, Edition date: 201708, Third-Printing- Load CarryingE275124
Page 292 of 571
Weight-distributing Hitch
WARNING: Do not adjust the
spring bars so that your vehicle's rear
bumper is higher than before attaching
the trailer. Doing so will defeat the
function of the weight-distributing hitch,
which may cause unpredictable
handling, and could result in serious
personal injury.
When hooking-up a trailer using a
weight-distributing hitch, always use the
following procedure:
1. Park the loaded vehicle, without the trailer, on a level surface.
2. Measure the height to the top of your vehicle's front wheel opening on the
fender. This is H1.
3. Attach the loaded trailer to your vehicle
without the weight-distributing bars
connected.
4. Measure the height to the top of your vehicle's front wheel opening on the
fender a second time. This is H2.
5. Install and adjust the tension in the weight-distributing bars so that the
height of your vehicle's front wheel
opening on the fender is approximately
half the way down from H2, toward H1.
6. Check that the trailer is level or slightly
nose down toward your vehicle. If not,
adjust the ball height accordingly and
repeat steps 2-6.
When the trailer is level or slightly nose
down toward the vehicle:
• Lock the bar tension adjuster in place.
• Check that the trailer tongue securely
attaches and locks onto the hitch.
• Install safety chains, lighting, and trailer
brake controls as required by law or the
trailer manufacturer. Safety Chains
Note:
Do not attach safety chains to the
bumper. Always connect the safety chains
to the frame or hook retainers of your trailer
hitch.
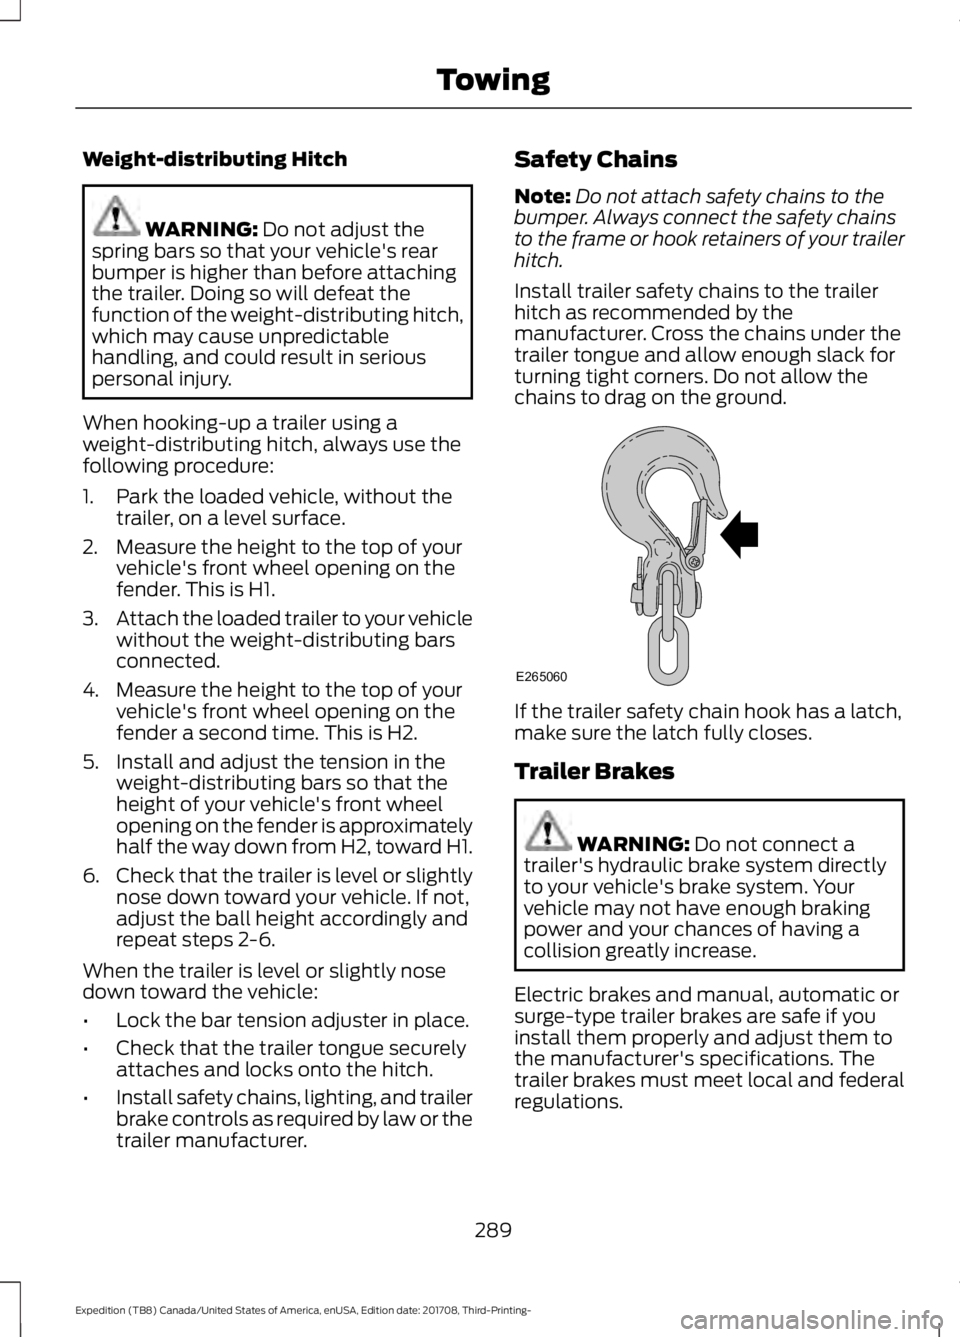
Install trailer safety chains to the trailer
hitch as recommended by the
manufacturer. Cross the chains under the
trailer tongue and allow enough slack for
turning tight corners. Do not allow the
chains to drag on the ground. If the trailer safety chain hook has a latch,
make sure the latch fully closes.
Trailer Brakes
WARNING:
Do not connect a
trailer's hydraulic brake system directly
to your vehicle's brake system. Your
vehicle may not have enough braking
power and your chances of having a
collision greatly increase.
Electric brakes and manual, automatic or
surge-type trailer brakes are safe if you
install them properly and adjust them to
the manufacturer's specifications. The
trailer brakes must meet local and federal
regulations.
289
Expedition (TB8) Canada/United States of America, enUSA, Edition date: 201708, Third-Printing- TowingE265060