2017 NISSAN MAXIMA change wheel
[x] Cancel search: change wheelPage 61 of 243
![NISSAN MAXIMA 2017 A36 / 8.G Nissan Connect Navigation Manual [] Each time [] is touched, the
mode changes.
“Changing play mode”
(page 3-27)
[
] Touch to return to the beginning of the current track. Touch again to
select the previous track. Touch and
hold t NISSAN MAXIMA 2017 A36 / 8.G Nissan Connect Navigation Manual [] Each time [] is touched, the
mode changes.
“Changing play mode”
(page 3-27)
[
] Touch to return to the beginning of the current track. Touch again to
select the previous track. Touch and
hold t](/manual-img/5/539/w960_539-60.png)
[] Each time [] is touched, the
mode changes.
“Changing play mode”
(page 3-27)
[
] Touch to return to the beginning of the current track. Touch again to
select the previous track. Touch and
hold to rewind the current track.
[
] Touch to play the track.
[
] Touch to pause the track.
[
] Touch to select the next track. Touch and hold to fast-forward the track.
[
] Each time [] is touched, the
mode changes.
“Changing play mode”
(page 3-27)
*8Track number:
Indicates the track number and the total
number of tracks.
iPod player operation
Activation and playing:
Connecting iPod to the vehicle via USB cable
will activate the iPod mode.
The iPod can also be played by selecting the
source on the audio source menu screen.
“Selecting audio source” (page 3-12) Selecting search method:
A list of search methods is displayed in the iPod
menu.
Touch [iPod Menu] to display the iPod menu.
Touch and select an item to play the iPod in your
preferred settings.
Skipping tracks:
To skip the tracks, push
<
>/<>, touch
[]/[] on the screen, or tilt up/down
<>/<> on the steering wheel repeatedly
until preferred track is selected.
INFO:
Depending on the condition, skipping to the
previous track may require pushing the button or
touching the key twice. Pushing the button or
touching the key once may only restart the
current track from the beginning.
For U.S. and Canada
Turning
track is playing will also skip the tracks.
Skipping items:
Touch [iPod Menu] to display the item list. Turn
nada) or <
/SOUND> (for Mexico) to
skip to different items on the list. Fast-forwarding/rewinding:
To fast-forward or rewind the track, push and
hold
<
>/<>, touch and hold []/[],
or tilt and hold <>/<>on the steering
wheel.
Changing play mode:
Repeat mode
Touch [
] on the screen to change the repeat
mode as follows.
(off) ?[One] ?[All] ?(off)
Random mode
Touch [
] on the screen to change the random
mode as follows.
(off) ?[Songs] ?[Albums] ?(off)
INFO:
Even when iPod or iPhone are inserted into both
of the two USB connection ports, the system
recognizes only one connected iPod or iPhone at
a time.
3. Audio system
3-27
Page 65 of 243
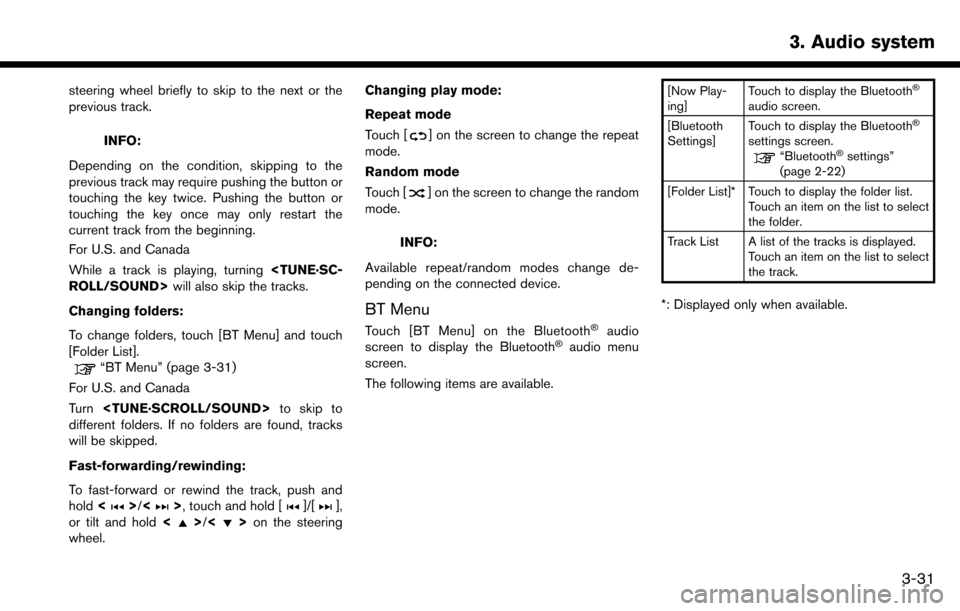
steering wheel briefly to skip to the next or the
previous track.
INFO:
Depending on the condition, skipping to the
previous track may require pushing the button or
touching the key twice. Pushing the button or
touching the key once may only restart the
current track from the beginning.
For U.S. and Canada
While a track is playing, turning
Changing folders:
To change folders, touch [BT Menu] and touch
[Folder List].
“BT Menu” (page 3-31)
For U.S. and Canada
Turn
different folders. If no folders are found, tracks
will be skipped.
Fast-forwarding/rewinding:
To fast-forward or rewind the track, push and
hold <
>/<>, touch and hold []/[],
or tilt and hold <>/<>on the steering
wheel. Changing play mode:
Repeat mode
Touch [
] on the screen to change the repeat
mode.
Random mode
Touch [
] on the screen to change the random
mode.
INFO:
Available repeat/random modes change de-
pending on the connected device.
BT Menu
Touch [BT Menu] on the Bluetooth�Šaudio
screen to display the Bluetooth�Šaudio menu
screen.
The following items are available.
[Now Play-
ing] Touch to display the Bluetooth�Š
audio screen.
[Bluetooth
Settings] Touch to display the Bluetooth�Š
settings screen.“Bluetooth�Šsettings”
(page 2-22)
[Folder List]* Touch to display the folder list. Touch an item on the list to select
the folder.
Track List A list of the tracks is displayed. Touch an item on the list to select
the track.
*: Displayed only when available.
3. Audio system
3-31
Page 127 of 243
Voice command
1. Push <
>located on the steering wheel.
2. After the tone sounds, speak a command.
Use the following voice command to set a nearby
place as a destination:
“Nearby”
FINDING POINTS OF INTEREST
This allows you to find a facility by name or by
category. Specify the region and city of the
destination to find it more quickly.
NOTE:
Locations and business hours of facilities
are subject to change, which may not be
reflected in the map data. Double-check
this information before you go to an
emergency facility to ensure that you can
receive the proper support. Otherwise, you
may not receive emergency help when you
arrive at the destination.
A confirmation message also appears on
the navigation screen. Follow the displayed
instructions and check the items required.
Searching for a specific name
1. Touch [Navi] on the Launch Bar.
2. Touch [Points of Interest].
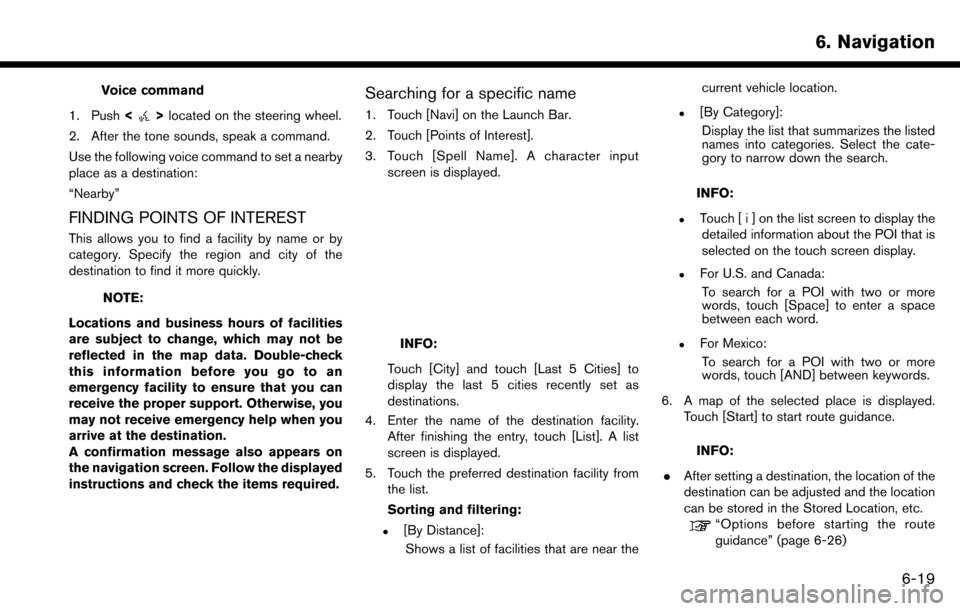
3. Touch [Spell Name]. A character input screen is displayed.
INFO:
Touch [City] and touch [Last 5 Cities] to
display the last 5 cities recently set as
destinations.
4. Enter the name of the destination facility. After finishing the entry, touch [List]. A list
screen is displayed.
5. Touch the preferred destination facility from the list.
Sorting and filtering:
.[By Distance]:
Shows a list of facilities that are near the current vehicle location.
.[By Category]:
Display the list that summarizes the listed
names into categories. Select the cate-
gory to narrow down the search.
INFO:
.Touch [ i ] on the list screen to display thedetailed information about the POI that is
selected on the touch screen display.
.For U.S. and Canada:
To search for a POI with two or more
words, touch [Space] to enter a space
between each word.
.For Mexico:To search for a POI with two or more
words, touch [AND] between keywords.
6. A map of the selected place is displayed. Touch [Start] to start route guidance.
INFO:
. After setting a destination, the location of the
destination can be adjusted and the location
can be stored in the Stored Location, etc.
“Options before starting the route
guidance” (page 6-26)
6. Navigation
6-19
Page 156 of 243
6. Navigation*
4Remaining distance and estimated time to
the destination calculated with considera-
tion of traffic information on route.
INFO:
Traffic icons are displayed in the scale level of
1/64 miles (25 m) - 5 miles (10 km) range. Some
traffic icons are displayed only on the map at
higher detail levels.
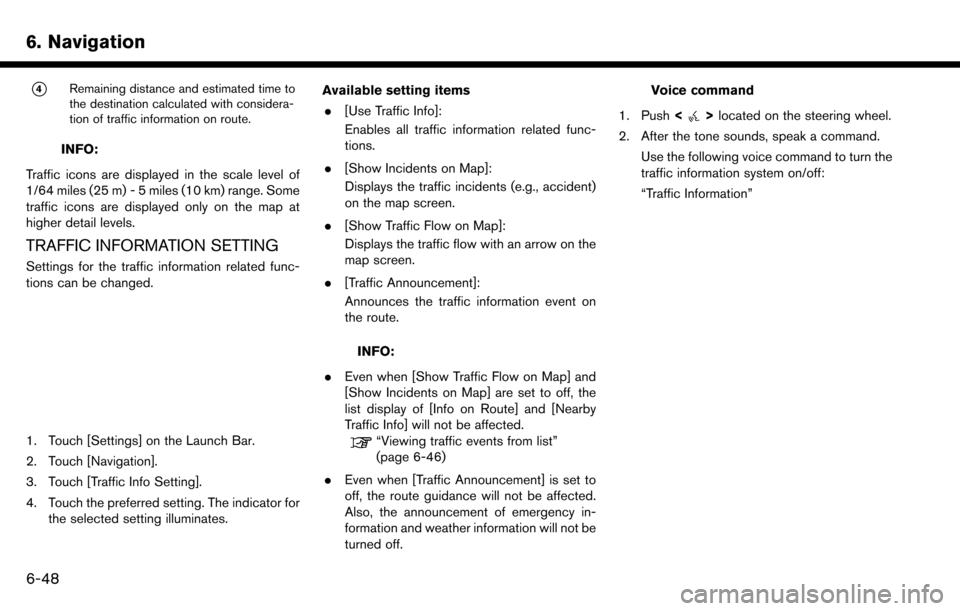
TRAFFIC INFORMATION SETTING
Settings for the traffic information related func-
tions can be changed.
1. Touch [Settings] on the Launch Bar.
2. Touch [Navigation].
3. Touch [Traffic Info Setting].
4. Touch the preferred setting. The indicator for the selected setting illuminates. Available setting items
. [Use Traffic Info]:
Enables all traffic information related func-
tions.
. [Show Incidents on Map]:
Displays the traffic incidents (e.g., accident)
on the map screen.
. [Show Traffic Flow on Map]:
Displays the traffic flow with an arrow on the
map screen.
. [Traffic Announcement]:
Announces the traffic information event on
the route.
INFO:
. Even when [Show Traffic Flow on Map] and
[Show Incidents on Map] are set to off, the
list display of [Info on Route] and [Nearby
Traffic Info] will not be affected.
“Viewing traffic events from list”
(page 6-46)
. Even when [Traffic Announcement] is set to
off, the route guidance will not be affected.
Also, the announcement of emergency in-
formation and weather information will not be
turned off.
Voice command
1. Push <
>located on the steering wheel.
2. After the tone sounds, speak a command. Use the following voice command to turn the
traffic information system on/off:
“Traffic Information”
6-48
Page 184 of 243
7. Voice recognition
VOICE RECOGNITION
USING VOICE RECOGNITION SYS-
TEM
Initialization
When the ignition switch is in the ON or ACC
position, Voice Recognition is initialized. When
the initialization is complete, the system is ready
to accept voice commands. If <
>on the
steering wheel is pushed before the initialization
completes, the display will show a message to
wait until the system is ready.
BEFORE STARTING
To get the best recognition performance from
Voice Recognition, observe the following items.
. The interior of the vehicle should be as quiet
as possible. Close the windows to eliminate
the surrounding noises (traffic noise, vibra-
tion sounds, etc.) , which may prevent the
system from correctly recognizing the voice
commands.
. Wait until the tone sounds before speaking a
command.
. Speak in a natural conversational voice
without pausing between words. .
The system cannot recognize voice com-
mands spoken from passenger seats.
GIVING VOICE COMMANDS
1. Push <>located on the steering wheel.
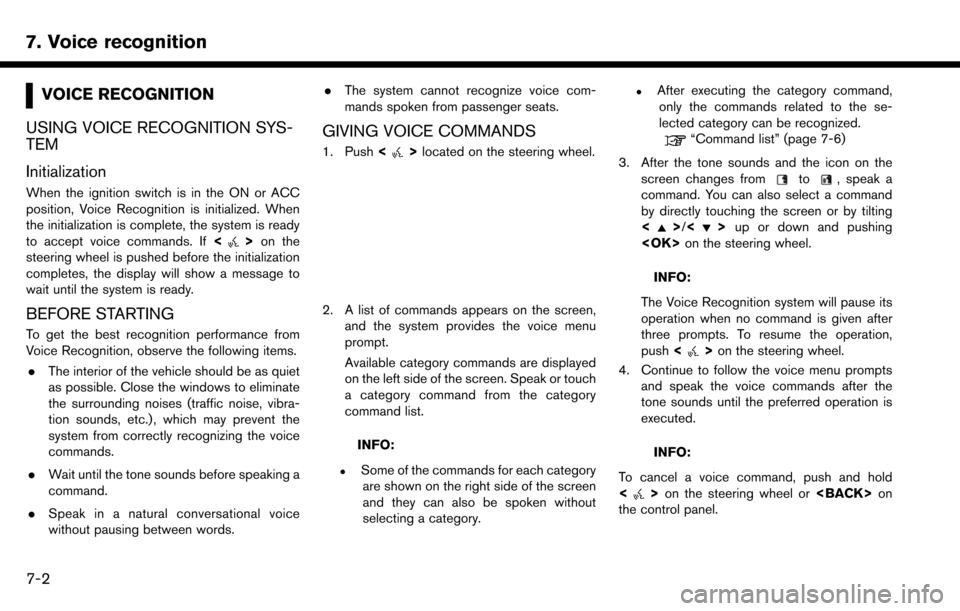
2. A list of commands appears on the screen,
and the system provides the voice menu
prompt.
Available category commands are displayed
on the left side of the screen. Speak or touch
a category command from the category
command list.
INFO:
.Some of the commands for each categoryare shown on the right side of the screen
and they can also be spoken without
selecting a category.
.After executing the category command,only the commands related to the se-
lected category can be recognized.
“Command list” (page 7-6)
3. After the tone sounds and the icon on the screen changes from
to, speak a
command. You can also select a command
by directly touching the screen or by tilting
<
>/<> up or down and pushing
INFO:
The Voice Recognition system will pause its
operation when no command is given after
three prompts. To resume the operation,
push <
>on the steering wheel.
4. Continue to follow the voice menu prompts and speak the voice commands after the
tone sounds until the preferred operation is
executed.
INFO:
To cancel a voice command, push and hold
<
> on the steering wheel or
the control panel.
7-2
Page 185 of 243
![NISSAN MAXIMA 2017 A36 / 8.G Nissan Connect Navigation Manual Operating tips
.Speak a command after the tone.
. If the command is not recognized, the system
will prompt you to speak the command again.
Repeat the command in a clear voice.
. Touch [
] on the touch NISSAN MAXIMA 2017 A36 / 8.G Nissan Connect Navigation Manual Operating tips
.Speak a command after the tone.
. If the command is not recognized, the system
will prompt you to speak the command again.
Repeat the command in a clear voice.
. Touch [
] on the touch](/manual-img/5/539/w960_539-184.png)
Operating tips
.Speak a command after the tone.
. If the command is not recognized, the system
will prompt you to speak the command again.
Repeat the command in a clear voice.
. Touch [
] on the touch screen or push
<> on the steering wheel to return to the
previous screen.
. To exit the Voice Recognition system, push
and hold <
>on the steering wheel.
. To adjust the volume of the system feedback,
push <
->/<+> on the steering
wheel or turn the
announcement.
The volume setting is also available from
[Guidance Volume] in the [Settings] menu on
the Launch Bar.
“Volume and Beeps settings”
(page 2-20)
. When setting a destination for route gui-
dance with some search methods, such as
POI, Intersection or City Center search, the
search area is automatically set to the state/
province where your vehicle is located.
Change state/province to change the search
area to another state/province if necessary. Voice Prompt Interrupt:
In most cases, you can interrupt the voice
feedback to speak the next command by pushing
the
<
>on the steering wheel. After inter-
rupting the system, wait for a tone before
speaking your command.
One Shot Call:
To use the system faster when making a call, you
may speak the second level command skipping
speaking the first level command. For example,
push <
>and say “Redial” after the tone
without first saying “Phone”.
How to see voice command screen
1. Push <>to display the first screen of the
voice command list.
2. Speak a command or select an item on the voice command list. The Second screen is
displayed.
3. Speak a command or select an item on the voice command list. The command is exe-
cuted or the next screen for further command
is displayed.
4. Follow the prompts to complete the com- mands. Voice command screens:
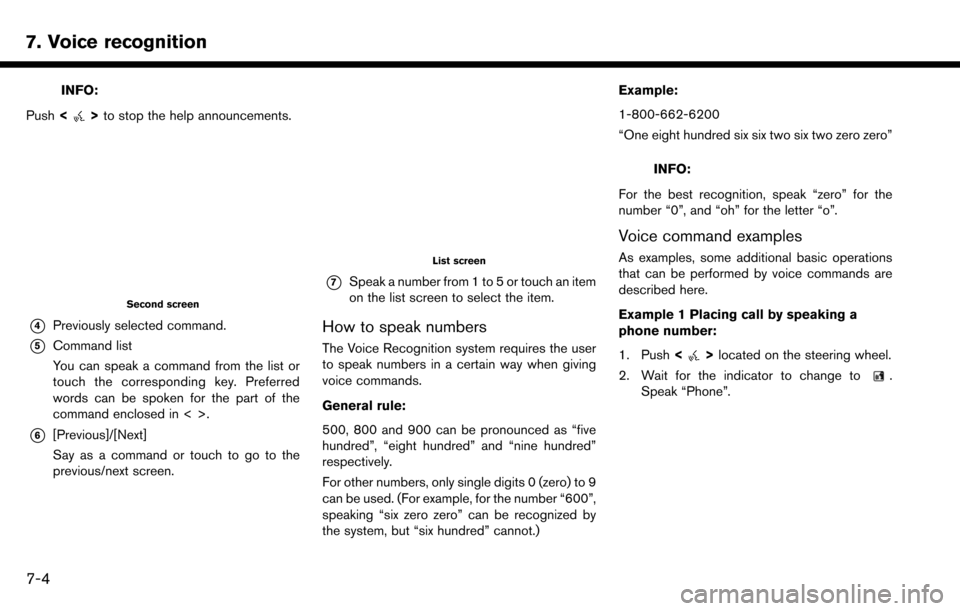
First screen
*1Shows a list of available categories. Speak a
category command or touch the key of the
corresponding category.
*2Shows a list of available commands for the
selected category. Speak a preferred com-
mand.
*3Touch [HELP] or say “Help” to hear help
announcements on how to use the system.
7. Voice recognition
7-3
Page 186 of 243
7. Voice recognition
INFO:
Push <
>to stop the help announcements.
Second screen
*4Previously selected command.
*5Command list
You can speak a command from the list or
touch the corresponding key. Preferred
words can be spoken for the part of the
command enclosed in < >.
*6[Previous]/[Next]
Say as a command or touch to go to the
previous/next screen.
List screen
*7Speak a number from 1 to 5 or touch an item
on the list screen to select the item.
How to speak numbers
The Voice Recognition system requires the user
to speak numbers in a certain way when giving
voice commands.
General rule:
500, 800 and 900 can be pronounced as “five
hundred”, “eight hundred” and “nine hundred”
respectively.
For other numbers, only single digits 0 (zero) to 9
can be used. (For example, for the number “600”,
speaking “six zero zero” can be recognized by
the system, but “six hundred” cannot.) Example:
1-800-662-6200
“One eight hundred six six two six two zero zero”
INFO:
For the best recognition, speak “zero” for the
number “0”, and “oh” for the letter “o”.
Voice command examples
As examples, some additional basic operations
that can be performed by voice commands are
described here.
Example 1 Placing call by speaking a
phone number:
1. Push <
>located on the steering wheel.
2. Wait for the indicator to change to
.
Speak “Phone”.
7-4
Page 187 of 243
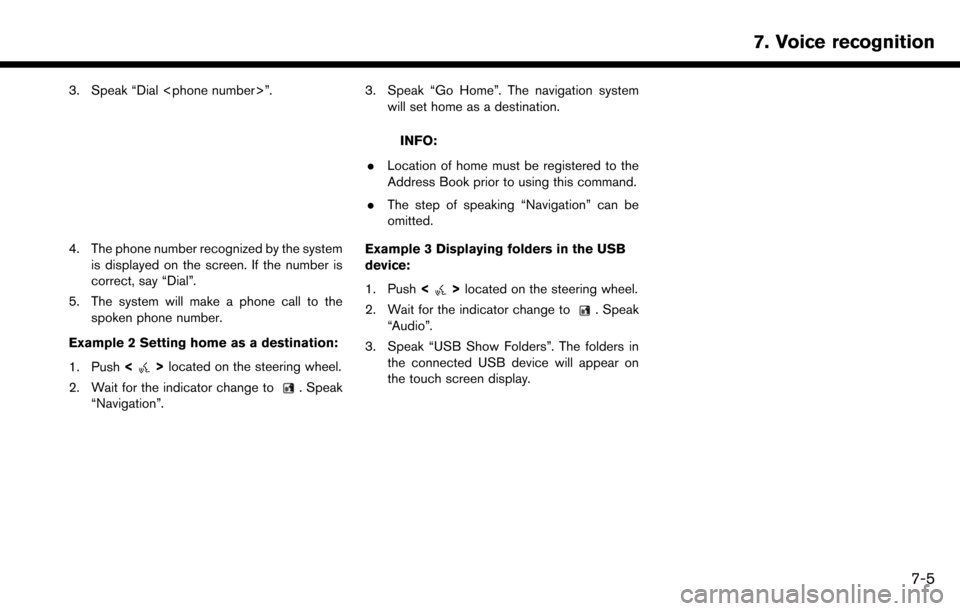
3. Speak “Dial
4. The phone number recognized by the systemis displayed on the screen. If the number is
correct, say “Dial”.
5. The system will make a phone call to the spoken phone number.
Example 2 Setting home as a destination:
1. Push <
>located on the steering wheel.
2. Wait for the indicator change to
. Speak
“Navigation”.
3. Speak “Go Home”. The navigation system will set home as a destination.
INFO:
. Location of home must be registered to the
Address Book prior to using this command.
. The step of speaking “Navigation” can be
omitted.
Example 3 Displaying folders in the USB
device:
1. Push <
>located on the steering wheel.
2. Wait for the indicator change to
. Speak
“Audio”.
3. Speak “USB Show Folders”. The folders in the connected USB device will appear on
the touch screen display.
7. Voice recognition
7-5