2017 MERCEDES-BENZ GLA SUV check engine light
[x] Cancel search: check engine lightPage 220 of 369
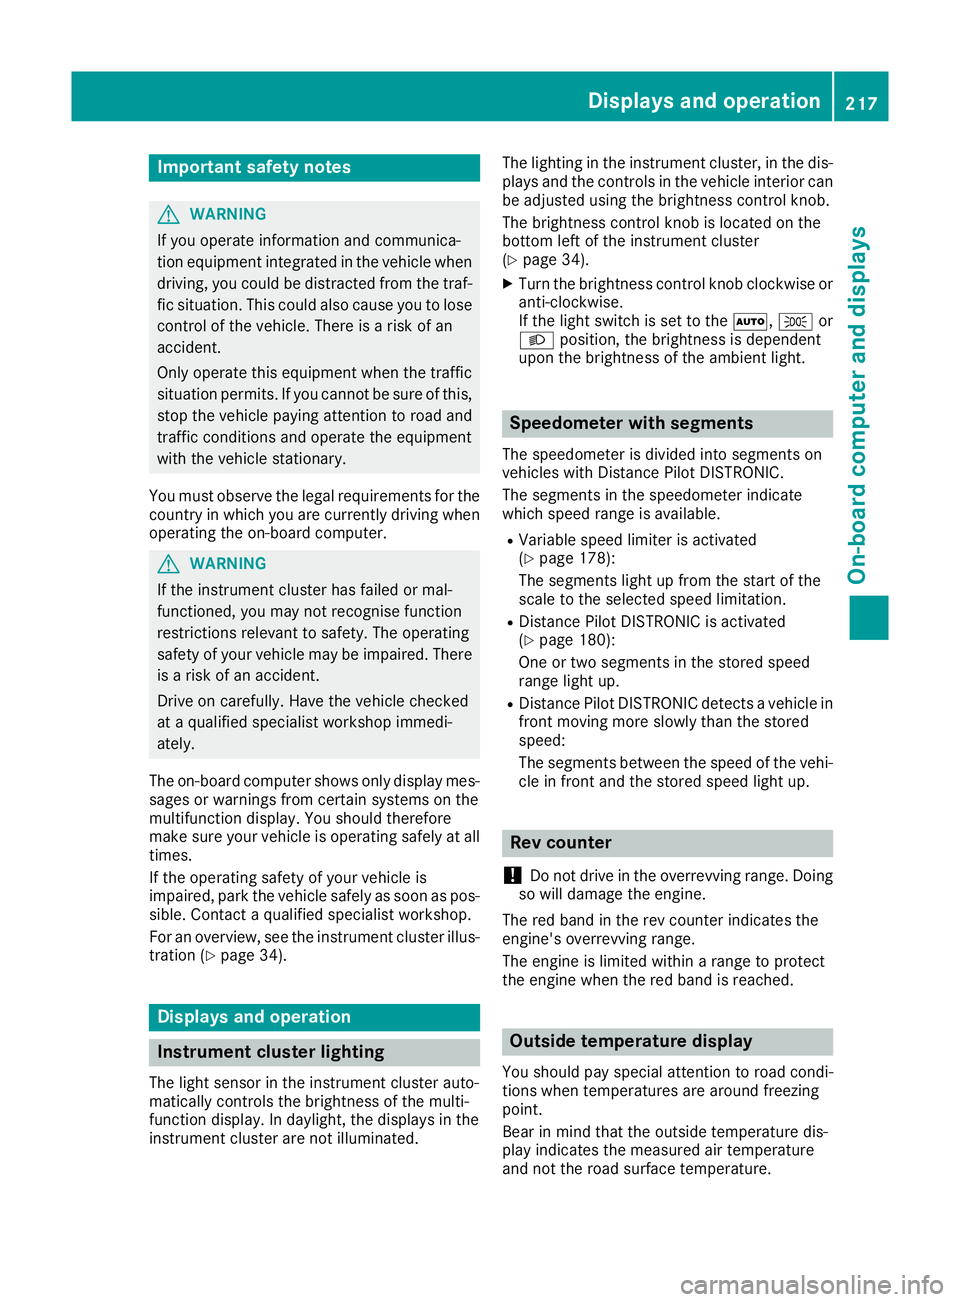
Important safety notes
G
WARNING
If you operate information and communica-
tion equipment integrated in the vehicle when driving, you could be distracted from the traf-
fic situation. This could also cause you to lose control of the vehicle. There is a risk of an
accident.
Only operate this equipment when the traffic
situation permits. If you cannot be sure of this,
stop the vehicle paying attention to road and
traffic conditions and operate the equipment
with the vehicle stationary.
You must observe the legal requirements for the
country in which you are currently driving when operating the on-board computer. G
WARNING
If the instrument cluster has failed or mal-
functioned, you may not recognise function
restrictions relevant to safety. The operating
safety of your vehicle may be impaired. There is a risk of an accident.
Drive on carefully. Have the vehicle checked
at a qualified specialist workshop immedi-
ately.
The on-board computer shows only display mes- sages or warnings from certain systems on the
multifunction display. You should therefore
make sure your vehicle is operating safely at alltimes.
If the operating safety of your vehicle is
impaired, park the vehicle safely as soon as pos-
sible. Contact a qualified specialist workshop.
For an overview, see the instrument cluster illus-
tration (Y page 34). Displays and operation
Instrument cluster lighting
The light sensor in the instrument cluster auto-
matically controls the brightness of the multi-
function display. In daylight, the displays in the
instrument cluster are not illuminated. The lighting in the instrument cluster, in the dis-
plays and the controls in the vehicle interior can
be adjusted using the brightness control knob.
The brightness control knob is located on the
bottom left of the instrument cluster
(Y page 34).
X Turn the brightness control knob clockwise or
anti-clockwise.
If the light switch is set to the Ã,Tor
L position, the brightness is dependent
upon the brightness of the ambient light. Speedometer with segments
The speedometer is divided into segments on
vehicles with Distance Pilot DISTRONIC.
The segments in the speedometer indicate
which speed range is available.
R Variable speed limiter is activated
(Y page 178):
The segments light up from the start of the
scale to the selected speed limitation.
R Distance Pilot DISTRONIC is activated
(Y page 180):
One or two segments in the stored speed
range light up.
R Distance Pilot DISTRONIC detects a vehicle in
front moving more slowly than the stored
speed:
The segments between the speed of the vehi- cle in front and the stored speed light up. Rev counter
! Do not drive in the overrevving range. Doing
so will damage the engine.
The red band in the rev counter indicates the
engine's overrevving range.
The engine is limited within a range to protect
the engine when the red band is reached. Outside temperature display
You should pay special attention to road condi-
tions when temperatures are around freezing
point.
Bear in mind that the outside temperature dis-
play indicates the measured air temperature
and not the road surface temperature. Displays and operation
217On-board computer and displays Z
Page 244 of 369
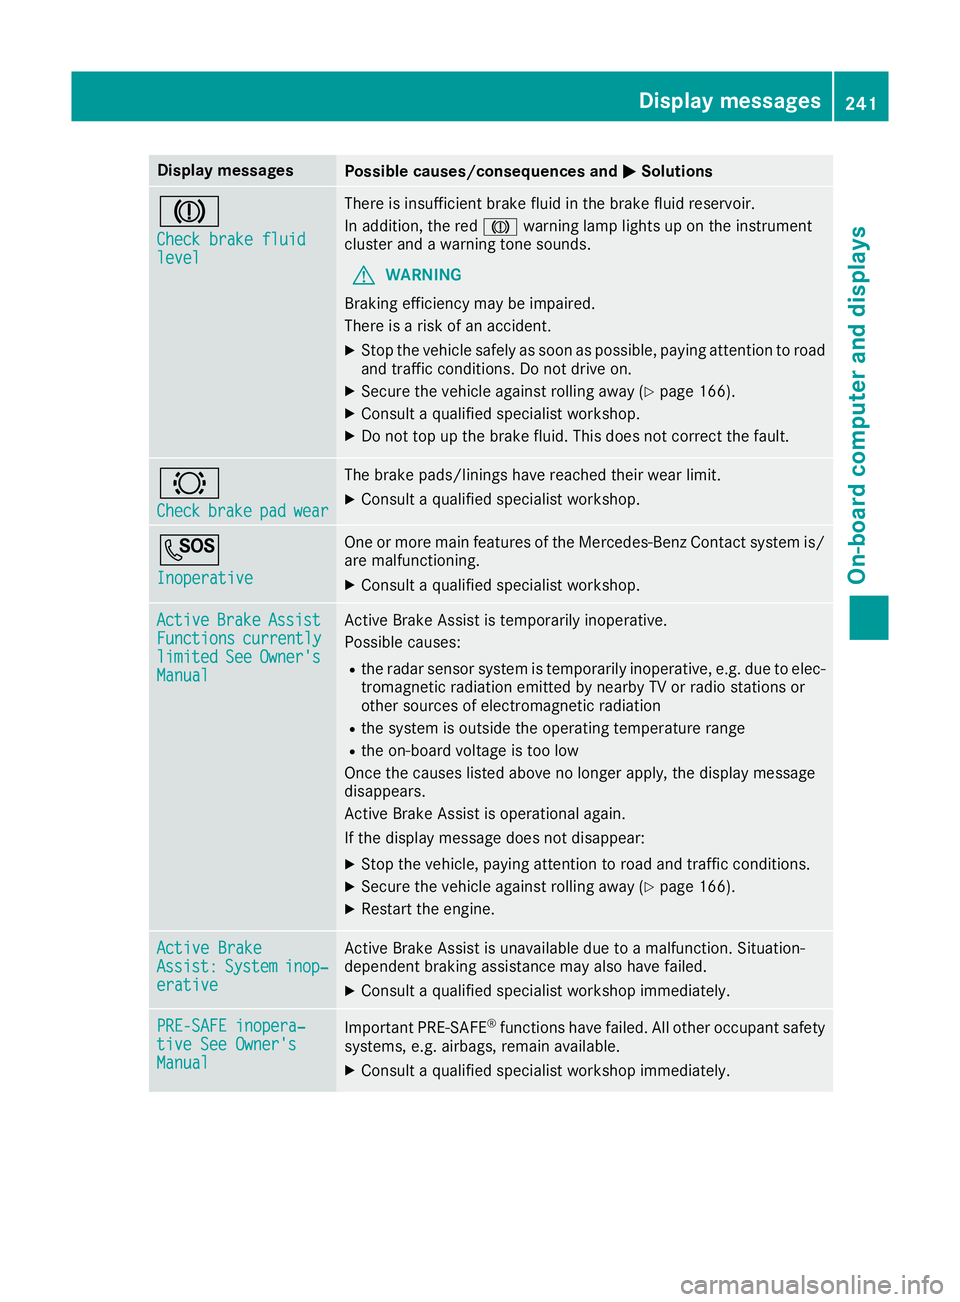
Display messages
Possible causes/consequences and
M
MSolutions J
Check brake fluid Check brake fluid
level level There is insufficient brake fluid in the brake fluid reservoir.
In addition, the red Jwarning lamp lights up on the instrument
cluster and a warning tone sounds.
G WARNING
Braking efficiency may be impaired.
There is a risk of an accident.
X Stop the vehicle safely as soon as possible, paying attention to road
and traffic conditions. Do not drive on.
X Secure the vehicle against rolling away (Y page 166).
X Consult a qualified specialist workshop.
X Do not top up the brake fluid. This does not correct the fault. #
Check Check
brake
brakepad
padwear
wear The brake pads/linings have reached their wear limit.
X Consult a qualified specialist workshop. G
Inoperative Inoperative One or more main features of the Mercedes-Benz Contact system is/
are malfunctioning.
X Consult a qualified specialist workshop. Active
Active
Brake
BrakeAssist
Assist
Functions
Functions currently
currently
limited
limited See
SeeOwner's
Owner's
Manual
Manual Active Brake Assist is temporarily inoperative.
Possible causes:
R the radar sensor system is temporarily inoperative, e.g. due to elec-
tromagnetic radiation emitted by nearby TV or radio stations or
other sources of electromagnetic radiation
R the system is outside the operating temperature range
R the on-board voltage is too low
Once the causes listed above no longer apply, the display message
disappears.
Active Brake Assist is operational again.
If the display message does not disappear:
X Stop the vehicle, paying attention to road and traffic conditions.
X Secure the vehicle against rolling away (Y page 166).
X Restart the engine. Active Brake Active Brake
Assist: Assist:
System
Systeminop‐
inop‐
erative
erative Active Brake Assist is unavailable due to a malfunction. Situation-
dependent braking assistance may also have failed.
X Consult a qualified specialist workshop immediately. PRE-SAFE inopera‐
PRE-SAFE inopera‐
tive See Owner's tive See Owner's
Manual Manual
Important PRE-SAFE
®
functions have failed. All other occupant safety
systems, e.g. airbags, remain available.
X Consult a qualified specialist workshop immediately. Display
messages
241On-board computer and displays Z
Page 275 of 369
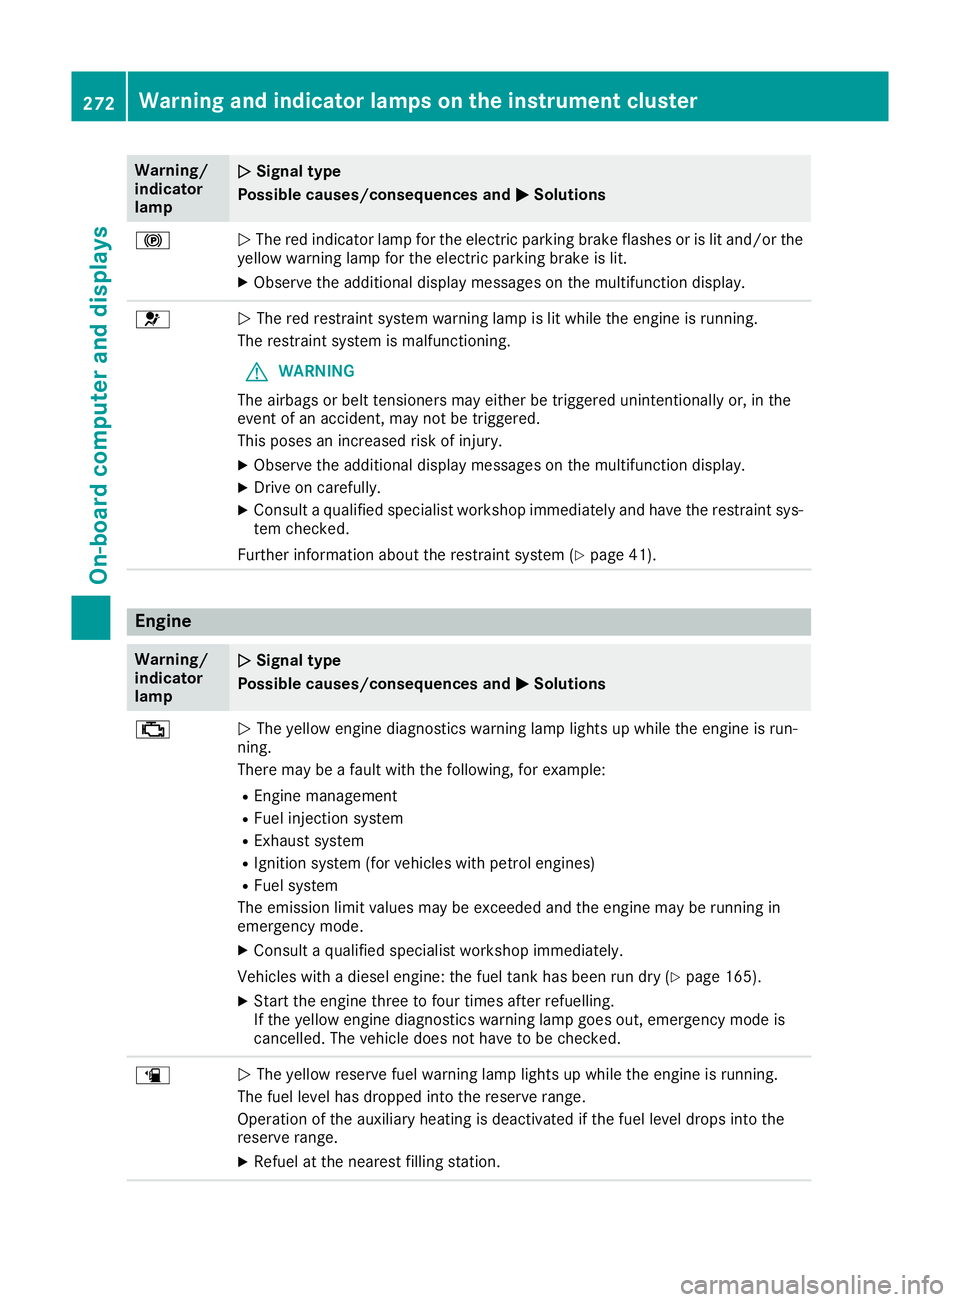
Warning/
indicator
lamp
N N
Signal type
Possible causes/consequences and M
M Solutions !
N
The red indicator lamp for the electric parking brake flashes or is lit and/or the
yellow warning lamp for the electric parking brake is lit.
X Observe the additional display messages on the multifunction display. 6
N
The red restraint system warning lamp is lit while the engine is running.
The restraint system is malfunctioning.
G WARNING
The airbags or belt tensioners may either be triggered unintentionally or, in the
event of an accident, may not be triggered.
This poses an increased risk of injury.
X Observe the additional display messages on the multifunction display.
X Drive on carefully.
X Consult a qualified specialist workshop immediately and have the restraint sys-
tem checked.
Further information about the restraint system (Y page 41).Engine
Warning/
indicator
lamp
N N
Signal type
Possible causes/consequences and M
M Solutions ;
N
The yellow engine diagnostics warning lamp lights up while the engine is run-
ning.
There may be a fault with the following, for example:
R Engine management
R Fuel injection system
R Exhaust system
R Ignition system (for vehicles with petrol engines)
R Fuel system
The emission limit values may be exceeded and the engine may be running in
emergency mode.
X Consult a qualified specialist workshop immediately.
Vehicles with a diesel engine: the fuel tank has been run dry (Y page 165).
X Start the engine three to four times after refuelling.
If the yellow engine diagnostics warning lamp goes out, emergency mode is
cancelled. The vehicle does not have to be checked. æ
N
The yellow reserve fuel warning lamp lights up while the engine is running.
The fuel level has dropped into the reserve range.
Operation of the auxiliary heating is deactivated if the fuel level drops into the
reserve range.
X Refuel at the nearest filling station. 272
Warning and indicator lamps on the instrument clusterOn-board computer and displays
Page 277 of 369
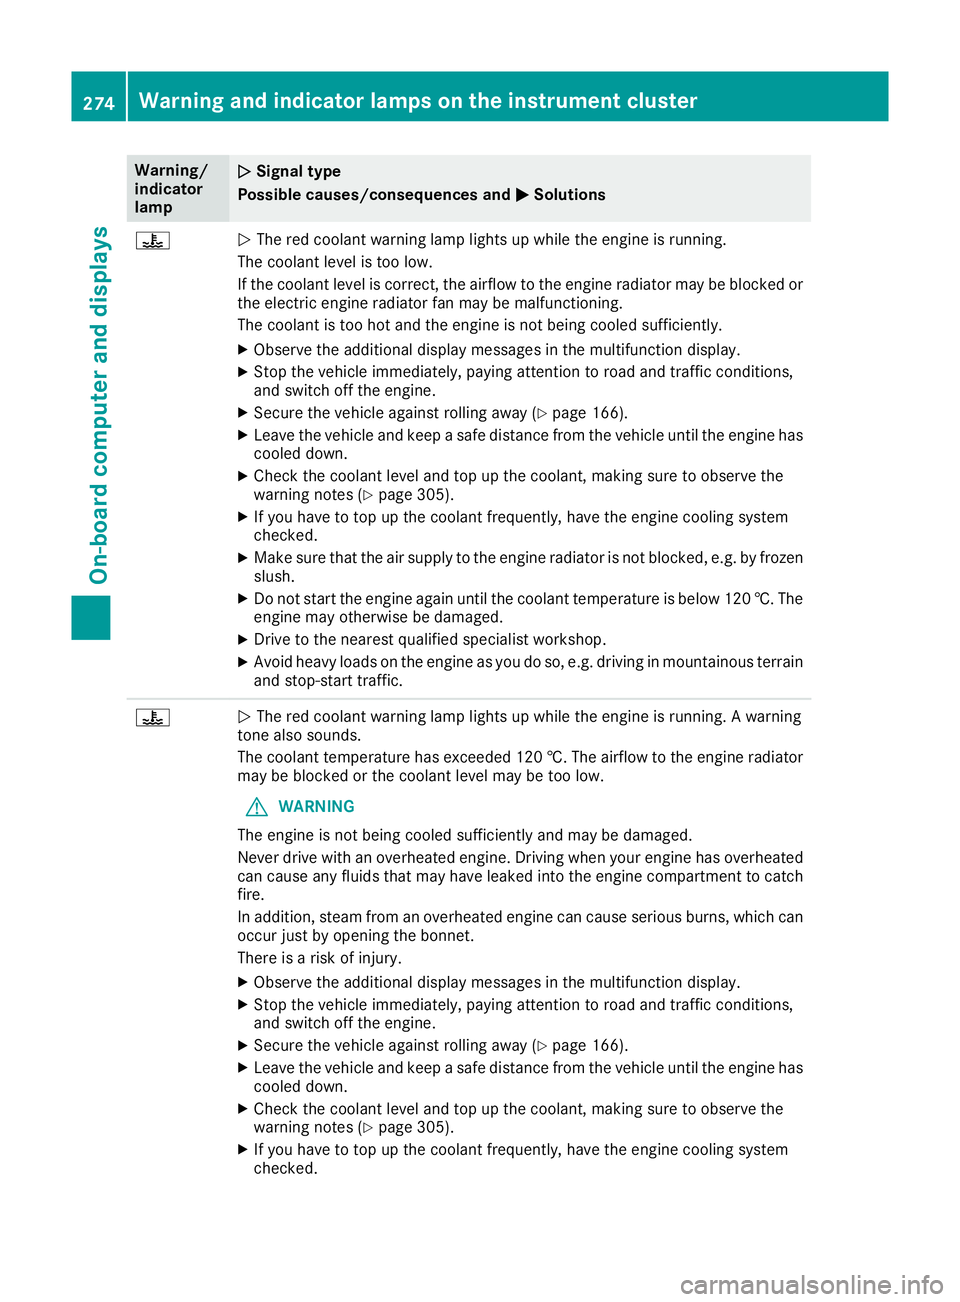
Warning/
indicator
lamp
N N
Signal type
Possible causes/consequences and M
M Solutions ?
N
The red coolant warning lamp lights up while the engine is running.
The coolant level is too low.
If the coolant level is correct, the airflow to the engine radiator may be blocked or the electric engine radiator fan may be malfunctioning.
The coolant is too hot and the engine is not being cooled sufficiently.
X Observe the additional display messages in the multifunction display.
X Stop the vehicle immediately, paying attention to road and traffic conditions,
and switch off the engine.
X Secure the vehicle against rolling away (Y page 166).
X Leave the vehicle and keep a safe distance from the vehicle until the engine has
cooled down.
X Check the coolant level and top up the coolant, making sure to observe the
warning notes (Y page 305).
X If you have to top up the coolant frequently, have the engine cooling system
checked.
X Make sure that the air supply to the engine radiator is not blocked, e.g. by frozen
slush.
X Do not start the engine again until the coolant temperature is below 120 †. The
engine may otherwise be damaged.
X Drive to the nearest qualified specialist workshop.
X Avoid heavy loads on the engine as you do so, e.g. driving in mountainous terrain
and stop-start traffic. ?
N
The red coolant warning lamp lights up while the engine is running. A warning
tone also sounds.
The coolant temperature has exceeded 120 †. The airflow to the engine radiator may be blocked or the coolant level may be too low.
G WARNING
The engine is not being cooled sufficiently and may be damaged.
Never drive with an overheated engine. Driving when your engine has overheated
can cause any fluids that may have leaked into the engine compartment to catch fire.
In addition, steam from an overheated engine can cause serious burns, which can
occur just by opening the bonnet.
There is a risk of injury.
X Observe the additional display messages in the multifunction display.
X Stop the vehicle immediately, paying attention to road and traffic conditions,
and switch off the engine.
X Secure the vehicle against rolling away (Y page 166).
X Leave the vehicle and keep a safe distance from the vehicle until the engine has
cooled down.
X Check the coolant level and top up the coolant, making sure to observe the
warning notes (Y page 305).
X If you have to top up the coolant frequently, have the engine cooling system
checked. 274
Warning and indicator lamps on the instrument clusterOn-board computer and displays
Page 307 of 369
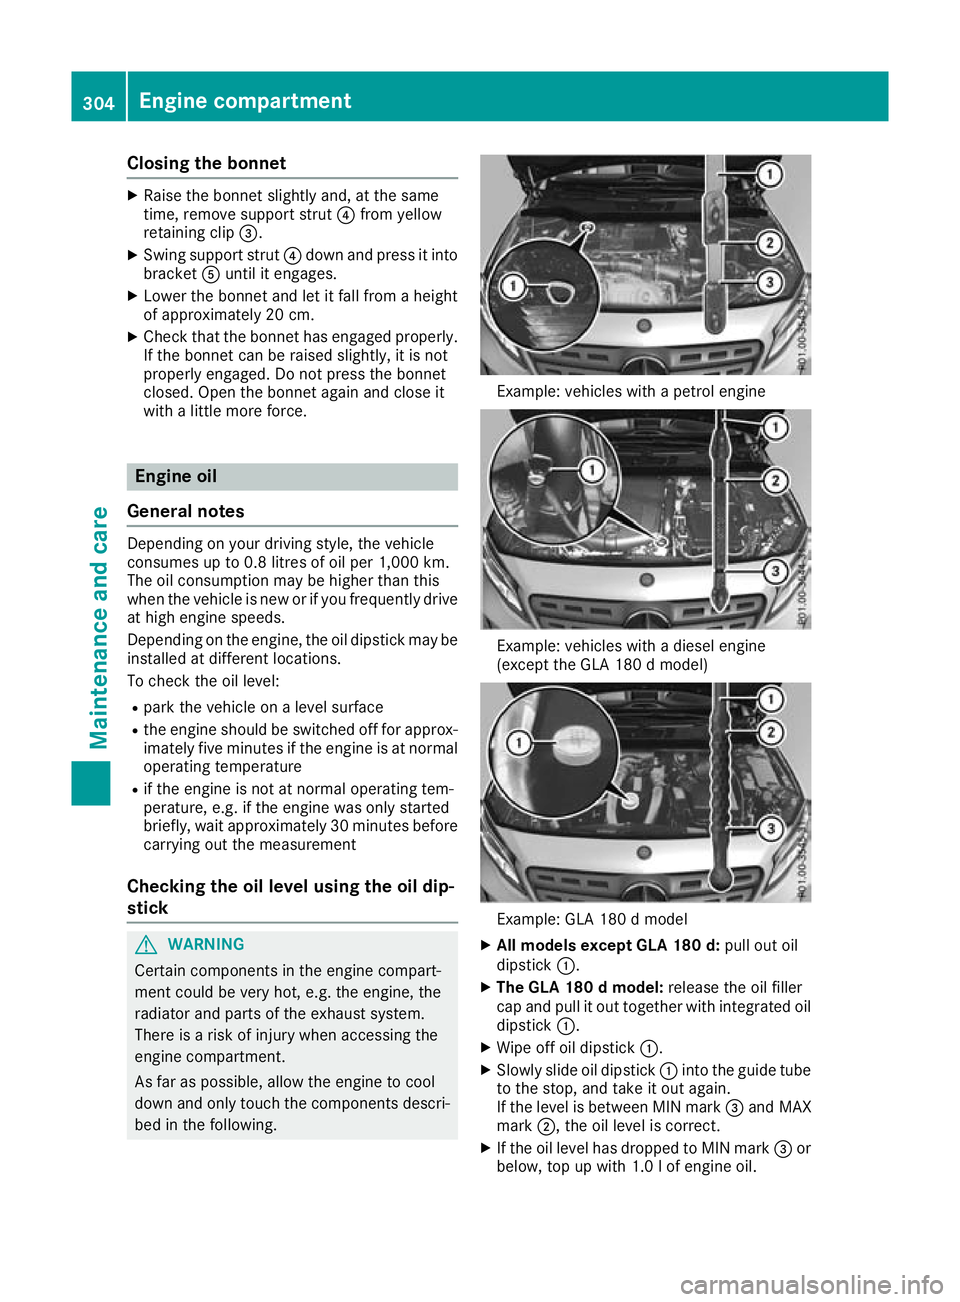
Closing the bonnet
X
Raise the bonnet slightly and, at the same
time, remove support strut ?from yellow
retaining clip =.
X Swing support strut ?down and press it into
bracket Auntil it engages.
X Lower the bonnet and let it fall from a height
of approximately 20 cm.
X Check that the bonnet has engaged properly.
If the bonnet can be raised slightly, it is not
properly engaged. Do not press the bonnet
closed. Open the bonnet again and close it
with a little more force. Engine oil
General notes Depending on your driving style, the vehicle
consumes up to 0.8 litres of oil per 1,000 km.
The oil consumption may be higher than this
when the vehicle is new or if you frequently drive
at high engine speeds.
Depending on the engine, the oil dipstick may be installed at different locations.
To check the oil level:
R park the vehicle on a level surface
R the engine should be switched off for approx-
imately five minutes if the engine is at normal
operating temperature
R if the engine is not at normal operating tem-
perature, e.g. if the engine was only started
briefly, wait approximately 30 minute sbefore
carrying out the measurement
Checking the oil level using the oil dip-
stick G
WARNING
Certain components in the engine compart-
ment could be very hot, e.g. the engine, the
radiator and parts of the exhaust system.
There is a risk of injury when accessing the
engine compartment.
As far as possible, allow the engine to cool
down and only touch the components descri- bed in the following. Example: vehicles with a petrol engine
Example: vehicles with a diesel engine
(except the GLA 180 d model)
Example: GLA 180 d model
X All models except GLA 180 d: pull out oil
dipstick :.
X The GLA 180 d model: release the oil filler
cap and pull it out together with integrated oil dipstick :.
X Wipe off oil dipstick :.
X Slowly slide oil dipstick :into the guide tube
to the stop, and take it out again.
If the level is between MIN mark =and MAX
mark ;, the oil level is correct.
X If the oil level has dropped to MIN mark =or
below, top up with 1.0 lof engine oil. 304
Engine compartmentMaintenance and care
Page 315 of 369
Cleaning the exhaust tail pipes
G
WARNING
The exhaust tail pipe and tail pipe trim can
become very hot. If you come into contact
with these parts of the vehicle, you could burn
yourself. There is a risk of injury.
Always be particularly careful around the
exhaust tail pipe and the tail pipe trim. Allow
these components to cool down before touch-
ing them.
! Do not clean the exhaust pipe with acid-
based cleaning agents, such as sanitary
cleanser or wheel cleaner.
! Mercedes-AMG vehicles with black exhaust
pipes: the black-chrome tailpipe finishers
should not be polished with a chrome polish.
They will otherwise lose their black sheen. For optimal care, the finishers should be rubbed
with a lightly oiled cloth after every car wash.
Commercially available engine and care oils
are suitable for this.
For heavier soiling, you can apply a fine paint- work polish with a microfibre cloth. Remove
the excess polish residue after polishing.
Impurities combined with the effects of road grit and corrosive environmental factors may cause
flash rust to form on the surface. You can
restore the original shine of the exhaust pipe by
cleaning it regularly, especially in winter and
after washing the vehicle.
X Clean the exhaust pipe with a care product
tested and approved by Mercedes-Benz.
Cleaning the trailer tow hitch H
Environmental note
Dispose of oily and greasy cloths in an envi-
ronmentally-responsible manner.
! Do not clean the ball coupling with a high-
pressure cleaner. Do not use solvents.
! Please note the care instructions in the
trailer coupling manufacturer's operating
instructions. X
Remove rust, e.g. with a wire brush.
X Remove dirt with a clean, lint-free cloth or a
brush.
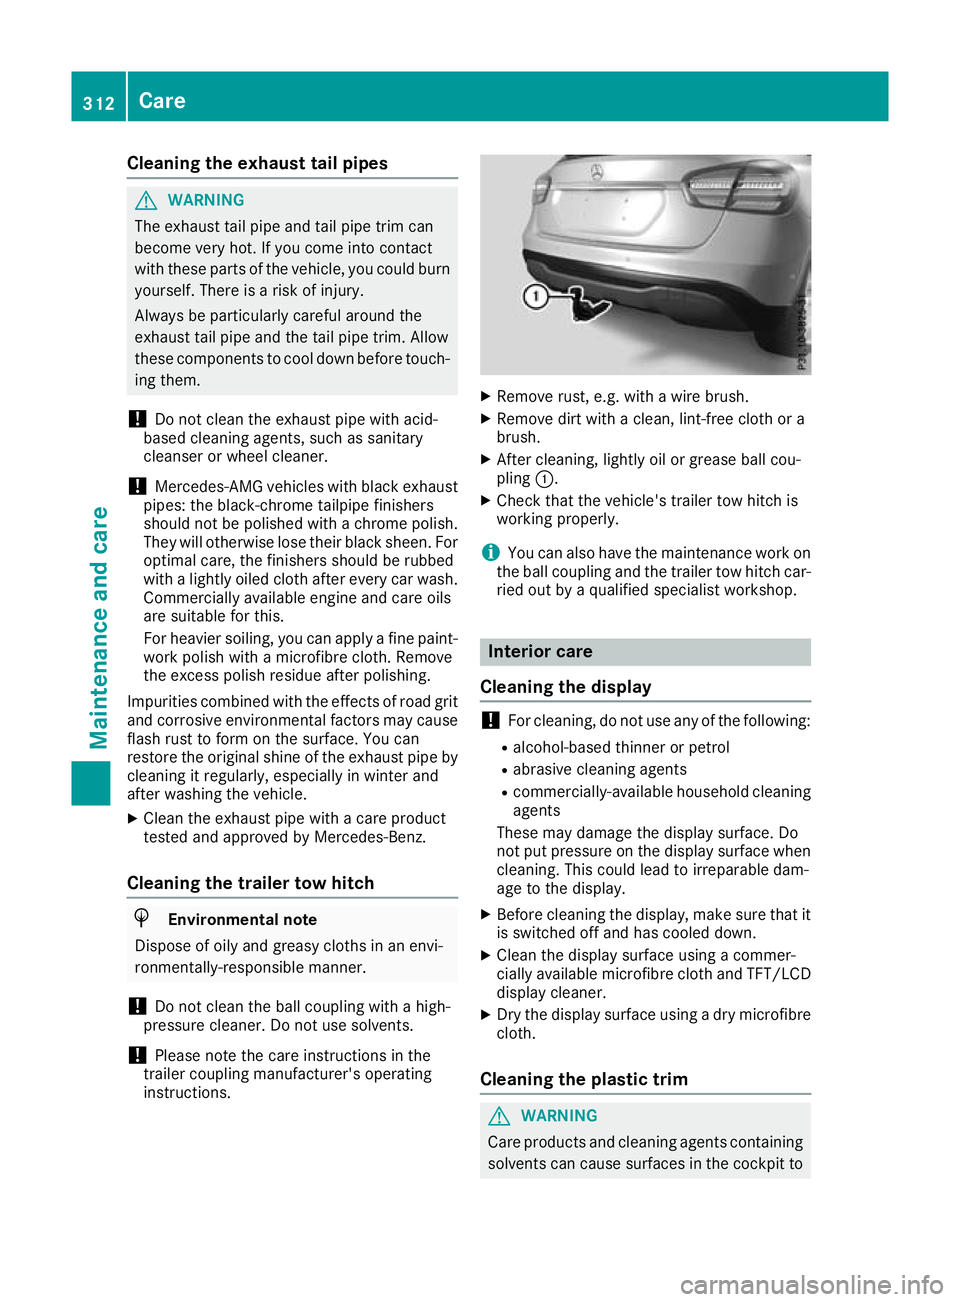
X After cleaning, lightly oil or grease ball cou-
pling :.
X Check that the vehicle's trailer tow hitch is
working properly.
i You can also have the maintenance work on
the ball coupling and the trailer tow hitch car-
ried out by a qualified specialist workshop. Interior care
Cleaning the display !
For cleaning, do not use any of the following:
R alcohol-based thinner or petrol
R abrasive cleaning agents
R commercially-available household cleaning
agents
These may damage the display surface. Do
not put pressure on the display surface when
cleaning. This could lead to irreparable dam-
age to the display.
X Before cleaning the display, make sure that it
is switched off and has cooled down.
X Clean the display surface using a commer-
cially available microfibre cloth and TFT/LCD
display cleaner.
X Dry the display surface using a dry microfibre
cloth.
Cleaning the plastic trim G
WARNING
Care products and cleaning agents containing solvents can cause surfaces in the cockpit to 312
CareMaintenance and care
Page 327 of 369
In order for the battery to achieve the maximum
possible service life, it should always be suffi-
ciently charged.
Like other batteries, the vehicle battery may
discharge over time if you do not use the vehicle. In such cases, have the battery disconnected at
a qualified specialist workshop. However, you
can also charge the battery with a charger rec-
ommended by Mercedes-Benz. For more infor-
mation, please contact a qualified specialist
workshop.
Have the battery charge checked more fre-
quently if you use the vehicle mainly for short
trips or if you leave it standing idle for an exten- ded period. Consult a qualified specialist work-
shop if you wish to leave your vehicle parked up
for a long period of time.
When you park the vehicle, remove the key if you do not require any electrical consumers. The
vehicle will then use very little energy, thus con- serving battery power.
If the power supply has been interrupted, e.g. if
the battery was discharged, you will have to:
R set the clock using the multimedia system;
see the separate operating instructions
R reset the function for folding the exterior mir-
rors in/out automatically, by folding the mir-
rors out once (Y page 113) Charging the battery
G
WARNING
During charging and jump-starting, explosive
gases can escape from the battery. There is a risk of an explosion.
Particularly avoid fire, naked flames, creating
sparks and smoking. Ensure there is sufficient
ventilation while charging and jump-starting.
Do not lean over a battery. G
WARNING
Battery acid is caustic. There is a risk of injury. Avoid contact with the skin, eyes or clothing.
Do not breathe in any battery gases. Do not
lean over the battery. Keep the batteries out of the reach of children. Immediately rinse off
battery acid thoroughly with plenty of clean
water and seek medical attention at once. G
WARNING
A discharged battery can freeze at tempera-
tures below freezing point. When jump-start-
ing the vehicle or charging the battery, gases can escape from the battery. There is a risk of
an explosion.
Allow the frozen battery to thaw out before
charging it or jump-starting.
! Only use battery chargers with a maximum
charging voltage of 14.8 V.
! Only charge the battery using the jump-start
connection point.
The jump-starting connection point is in the
engine compartment (Y page 325).
X Open the bonnet.
X Connect the battery charger to the positive
terminal and earth point in the same order as
when connecting the donor battery in the
jump-starting procedure (Y page 325).
If the indicator/warning lamps do not light up in
the instrument cluster at low temperatures, it is very likely that the discharged battery has fro-
zen. In this case, you may neither jump-start the vehicle nor charge the battery. The service life of
a battery that has been thawed may be reduced. The starting characteristics may be impaired,
especially at low temperatures. Have the
thawed battery checked at a qualified specialistworkshop.
Only charge the installed battery with a battery
charger which has been tested and approved by Mercedes-Benz. A battery charger unit specially
adapted for Mercedes-Benz vehicles and tested and approved by Mercedes-Benz is available as
an accessory. This device permits charging of
the battery while it is installed. Contact a
Mercedes-Benz Service Centre for information
and availability. Read the battery charger's
operating instructions before charging the bat-
tery. 324
Battery (vehicle)Breakdown assistance
Page 328 of 369
Jump-starting
For the jump-starting procedure, use only the jump-starting connection point, consisting of a pos- itive terminal and an earth point, in the engine compartment. G
WARNING
Battery acid is caustic. There is a risk of injury.
Avoid contact with the skin, eyes or clothing. Do not breathe in any battery gases. Do not lean over the battery. Keep the batteries out of the reach of children. Immediately rinse off battery acid
thoroughly with plenty of clean water and seek medical attention at once. G
WARNING
During charging and jump-starting, explosive gases can escape from the battery. There is a risk of an explosion.
Particularly avoid fire, naked flames, creating sparks and smoking. Ensure there is sufficient
ventilation while charging and jump-starting. Do not lean over a battery. G
WARNING
During the charging process, a battery produces hydrogen gas. If a short circuit occurs or sparks
are created, the hydrogen gas can ignite. There is a risk of an explosion.
R Make sure that the positive terminal of a connected battery does not come into contact with
vehicle parts.
R Never place metal objects or tools on a battery.
R It is important that you observe the described order of the battery terminals when connecting
and disconnecting a battery.
R When jump-starting, make sure that the battery poles with identical polarity are connected.
R It is particularly important to observe the described order when connecting and disconnecting
the jump leads.
R Never connect or disconnect the battery terminals while the engine is running. G
WARNING
A discharged battery can freeze at temperatures below freezing point. When jump-starting the
vehicle or charging the battery, gases can escape from the battery. There is a risk of an explosion.
Allow the frozen battery to thaw out before charging it or jump-starting.
! Vehicles with a petrol engine:
avoid repeated and lengthy starting attempts. Otherwise, the
non-combusted fuel may damage the catalytic converter.
If the indicator/warning lamps do not light up in the instrument cluster at low temperatures, it is very likely that the discharged battery has frozen. In this case you may neither jump-start the vehicle norcharge the battery. Let the battery thaw first. The service life of a battery that has been thawed may
be reduced. The starting characteristics may be impaired, especially at low temperatures. Have the
thawed battery checked at a qualified specialist workshop. Jump-starting
325Breakdown assistance Z