Page 218 of 595
4133
Features of your vehicle
WELCOME SYSTEM (IF EQUIPPED)
Headlight (Headlamp) escort
function
The headlights (and/or taillights)
remain on for approximately 5 min-
utes after the ignition key is removed
or turned to the ACC or LOCK posi-
tion. However, if the driver’s door is
opened and closed, the headlights
are turned off after 15 seconds.
The headlights can be turned off by
pressing the lock button on the trans-
mitter or smart key twice or turning
off the light switch from the headlight
or Auto light position.
Interior light
When the interior light switch is in the
DOOR position and all doors (and
trunk) are locked and closed, the
room lamp will come on for 30 sec-
onds if any of the below is performed.
Without smart key system- When the door unlock button ispressed on the transmitter.
With the smart key system - When the door unlock button ispressed on the smart key.
- When the button of the outside door handle is pressed.
At this time, if you press the door lock
button, the lamps will turn off imme-
diately.
Pocket lamp (if equipped)
When all doors are locked and
closed, the pocket lamp will come on
for 15 seconds if any of the below is
performed.
With the smart key system - When the door unlock button ispressed on the smart key.
- When the button of the outside door handle is pressed.
At this time, if you press the door lock
button, the lamps will turn off imme-
diately.
Page 226 of 595
4141
Features of your vehicle
System operation
Ventilation
1.Set the mode to the position.
2.Set the air intake control to the out-side (fresh) air position.
3.Set the temperature control to the desired position.
4.Set the fan speed control to the desired speed.
Heating
1.Set the mode to the position.
2.Set the air intake control to the out-side (fresh) air position.
3.Set the temperature control to the desired position.
4.Set the fan speed control to the desired speed.
5.If dehumidified heating is desired, turn the air conditioning system (if
equipped) on.
If the windshield fogs up, set the mode to the or position. Operation Tips
To keep dust or unpleasant fumes
from entering the vehicle through
the ventilation system, temporarily
set the air intake control to the
recirculated air position. Be sure to
return the control to the fresh air
position when the irritation has
passed to keep fresh air in the
vehicle. This will help keep the driv-
er alert and comfortable.
Air for the heating/cooling system is drawn in through the grilles just
ahead of the windshield. Care
should be taken that these are not
blocked by leaves, snow, ice or
other obstructions.
To prevent interior fog on the wind- shield, set the air intake control to
the fresh air position and fan speed
to the desired position, turn on the
air conditioning system, and adjust
the temperature control to desired
temperature.
Air conditioning
Kia Air Conditioning Systems are
filled with refrigerant*.
1.Start the engine. Push the air con-ditioning button.
2.Set the mode to the position.
3.Set the air intake control to the out- side air or recirculated air position.
4.Adjust the fan speed control and temperature control to maintain
maximum comfort.
The refrigerant system should only be serviced by trained and certified
technicians to insure proper and
safe operation.
The refrigerant system should be serviced in a well-ventilated place.
The air conditioning evaporator (cooling coil) shall never be repaired
or replaced with one removed from
a used or salvaged vehicle and new
replacement MAC evaporators
should be certified (and labeled) as
meeting SAE Standard J2842.
Page 238 of 595
4153
Features of your vehicle
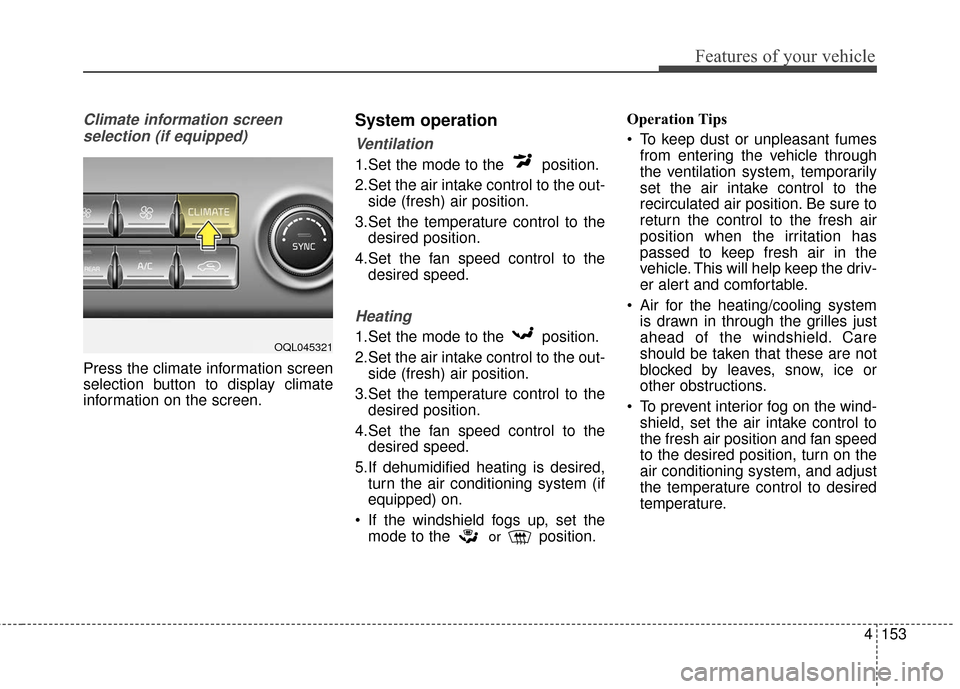
Climate information screen selection (if equipped)
Press the climate information screen
selection button to display climate
information on the screen.
System operation
Ventilation
1.Set the mode to the position.
2.Set the air intake control to the out- side (fresh) air position.
3.Set the temperature control to the desired position.
4.Set the fan speed control to the desired speed.
Heating
1.Set the mode to the position.
2.Set the air intake control to the out-side (fresh) air position.
3.Set the temperature control to the desired position.
4.Set the fan speed control to the desired speed.
5.If dehumidified heating is desired, turn the air conditioning system (if
equipped) on.
If the windshield fogs up, set the mode to the
orposition. Operation Tips
To keep dust or unpleasant fumes
from entering the vehicle through
the ventilation system, temporarily
set the air intake control to the
recirculated air position. Be sure to
return the control to the fresh air
position when the irritation has
passed to keep fresh air in the
vehicle. This will help keep the driv-
er alert and comfortable.
Air for the heating/cooling system is drawn in through the grilles just
ahead of the windshield. Care
should be taken that these are not
blocked by leaves, snow, ice or
other obstructions.
To prevent interior fog on the wind- shield, set the air intake control to
the fresh air position and fan speed
to the desired position, turn on the
air conditioning system, and adjust
the temperature control to desired
temperature.
OQL045321
Page 247 of 595
Features of your vehicle
162
4
STORAGE COMPARTMENTS
These compartments can be used to
store small items required by the
driver or passengers.
To avoid possible theft, do not
leave valuables in the storage
compartment.
Always keep the storage compart- ment covers closed while driving.
Do not attempt to place so many
items in the storage compartment
that the storage compartment
cover can not close securely.Center console storage
To open the center console storage,
pull up the lever.
Glove box
The glove box can be locked and
unlocked with a master key. (if
equipped)
To open the glove box, pull the lever
(1) and the glove box will automati-
cally open. Close the glove box after
use.WARNING - Flammable
materials
Do not store, propane cylinders
or other flammable/explosive
materials in the vehicle. These
items may catch fire and/or
explode if the vehicle is
exposed to hot temperatures for
extended periods.
OQL045420LOQL045419
Page 268 of 595
Audio system
65
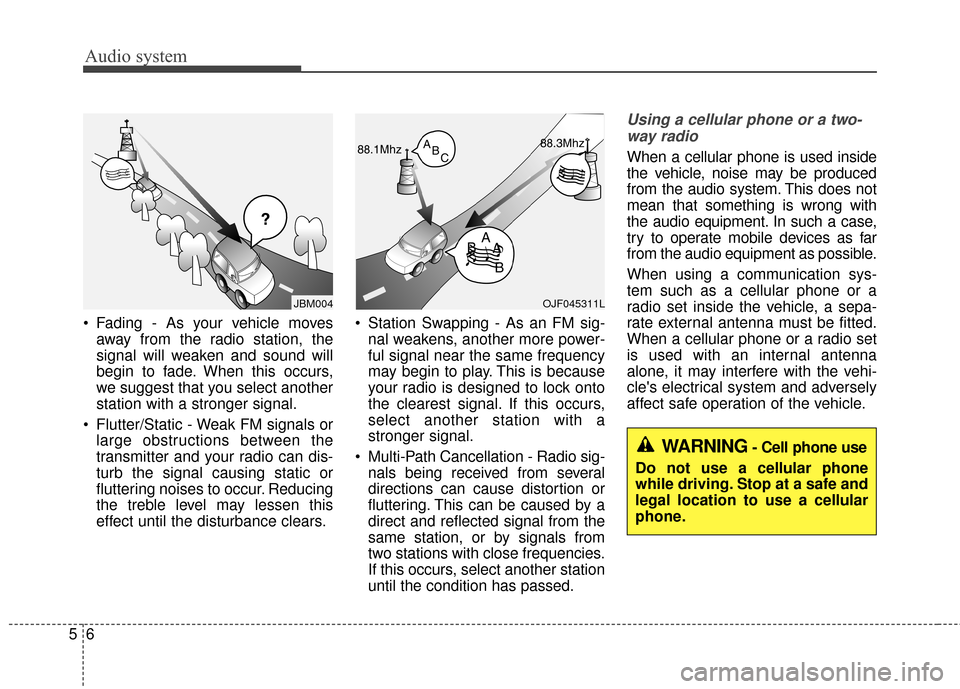
Fading - As your vehicle moves
away from the radio station, the
signal will weaken and sound will
begin to fade. When this occurs,
we suggest that you select another
station with a stronger signal.
Flutter/Static - Weak FM signals or large obstructions between the
transmitter and your radio can dis-
turb the signal causing static or
fluttering noises to occur. Reducing
the treble level may lessen this
effect until the disturbance clears. Station Swapping - As an FM sig-
nal weakens, another more power-
ful signal near the same frequency
may begin to play. This is because
your radio is designed to lock onto
the clearest signal. If this occurs,
select another station with a
stronger signal.
Multi-Path Cancellation - Radio sig- nals being received from several
directions can cause distortion or
fluttering. This can be caused by a
direct and reflected signal from the
same station, or by signals from
two stations with close frequencies.
If this occurs, select another station
until the condition has passed.
Using a cellular phone or a two-
way radio
When a cellular phone is used inside
the vehicle, noise may be produced
from the audio system. This does not
mean that something is wrong with
the audio equipment. In such a case,
try to operate mobile devices as far
from the audio equipment as possible.
When using a communication sys-
tem such as a cellular phone or a
radio set inside the vehicle, a sepa-
rate external antenna must be fitted.
When a cellular phone or a radio set
is used with an internal antenna
alone, it may interfere with the vehi-
cle's electrical system and adversely
affect safe operation of the vehicle.
¢¢¢
JBM004OJF045311L
WARNING- Cell phone use
Do not use a cellular phone
while driving. Stop at a safe and
legal location to use a cellular
phone.
Page 271 of 595
Audio system
59
(8) DISP
(9) CLOCK
When pressed briefly : Display time screen
When pressed and held : Move to the time setting mode (10)
SCAN
Radio mode : previews all receiv- able broadcasts for 5 seconds
each
Media (CD/USB/My Music) modes : previews each song (file) for 10
seconds each.
(11) SETUP
Changes to Setup mode.
(12) TUNE knob
Radio mode : turn to change broadcast frequencies.
Media (CD/USB/iPod
®/My Music)
modes : turn to search Tracks/
chan nels/files.
(13) CAT/FOLDER
SiriusXM Radio : Category Search
MP3 CD/USB mode : Search Folder
Page 274 of 595
Audio system
12
5
(Continued)
• Charging through the USB may
not work for some mobile devices.
• The device may not support nor- mal operation when using a typi-
cal USB memory device (minia-
ture, keychain, etc.). For best
results, use a typical USB device
that has a metal case.
• The device may not support nor- mal operation when using formats
such as HDD Type, CF, or SD
Memory.
• The device will not support files locked by DRM (Digital Rights
Management.)
• USB memory sticks used by con- necting an Adaptor (SD Type or
CF Type) may not be properly rec-
ognized.
• The device may not operate prop- erly when using USB HDDs or
USBs subject to connection fail-
ures caused by vehicle vibrations.
(e.g. i-stick type) (Continued)(Continued)
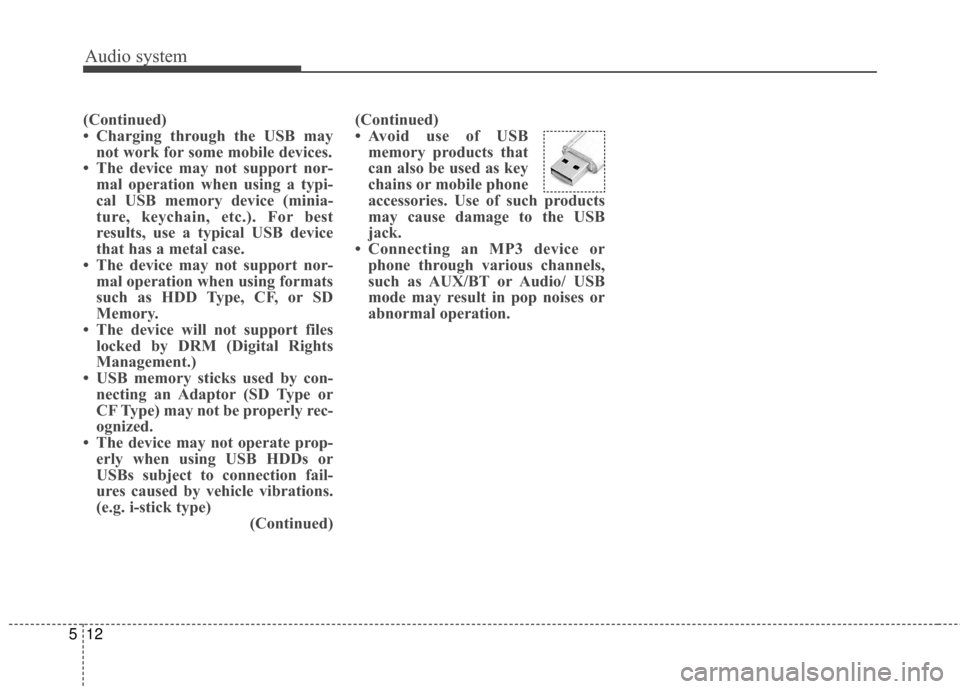
• Avoid use of USB
memory products that
can also be used as key
chains or mobile phone
accessories. Use of such products
may cause damage to the USB
jack.
• Connecting an MP3 device or phone through various channels,
such as AUX/BT or Audio/ USB
mode may result in pop noises or
abnormal operation.
Page 317 of 595
![KIA Sportage 2017 QL / 4.G Owners Manual Audio system
555
Setup Mode
Press the [SETUP]button to display
the Setup screen.
You can select and control options
related to [Display], [Sound],
[Clock/Calendar], [Phone] and
[System] .
With the Dis KIA Sportage 2017 QL / 4.G Owners Manual Audio system
555
Setup Mode
Press the [SETUP]button to display
the Setup screen.
You can select and control options
related to [Display], [Sound],
[Clock/Calendar], [Phone] and
[System] .
With the Dis](/manual-img/2/2985/w960_2985-316.png)
Audio system
555
Setup Mode
Press the [SETUP]button to display
the Setup screen.
You can select and control options
related to [Display], [Sound],
[Clock/Calendar], [Phone] and
[System] .
With the Display Button
Press the [SETUP] button �Select
[Display]
You can select and control options
related to [Brightness], [Mode Pop
up] and [Media Display].
Adjusting the Brightness
Use the [Left/Right] b uttons to adjust
the screen brightness or set the
Brightness on Automatic, Day or Night
mode.
Press the [Default] button to reset.
Automatic : Adjusts the brightness automatically.
Day : Always maintains the bright- ness on high.
Night : Always maintains the bright- ness on low. Mode Pop up
This feature is used to display the
Mode Pop up screen when entering
radio and media modes.
When this feature is turned on,
pressing the [RADIO]
or [MEDIA]
button will display the Mode Pop up
screen.
✽ ✽ NOTICE
The media Mode Pop up screen can
be displayed only when two or more
media modes have been connected.