2017 KIA SOUL brake light
[x] Cancel search: brake lightPage 16 of 589

25
Your vehicle at a glance
INSTRUMENT PANEL OVERVIEW
1. Audio remote control buttons..................5-3
2. Driver’s front air bag .............................3-56
3. Horn ......................................................4-41
4. Cruise control button ............................6-45
5. Instrument cluster .................................4-48
6. Lighting control lever.............................4-89
7.Wiper and washer control lever .............4-93
8. Ignition switch or Engine start/stopbutton...............................................6-6, 6-9
9. Audio ...........................................5-10, 5-46
10. Hazard warning flasher.........................7-2
11. Climate control system ..........4-103, 4-114
12. Front seat warmer/ Seat air ventilation .................4-137, 4-139
13. Power outlet ......................................4-141
14. Center console storage box..............4-133
15. Glove box ..........................................4-134
16. Passenger’s front air bag ....................3-56
17. Parking brake......................................6-34
18. Drive mode button ..............................6-50
OPS013003N
❈The actual shape may differ from the illustration.
Page 115 of 589
429
Features of your vehicle
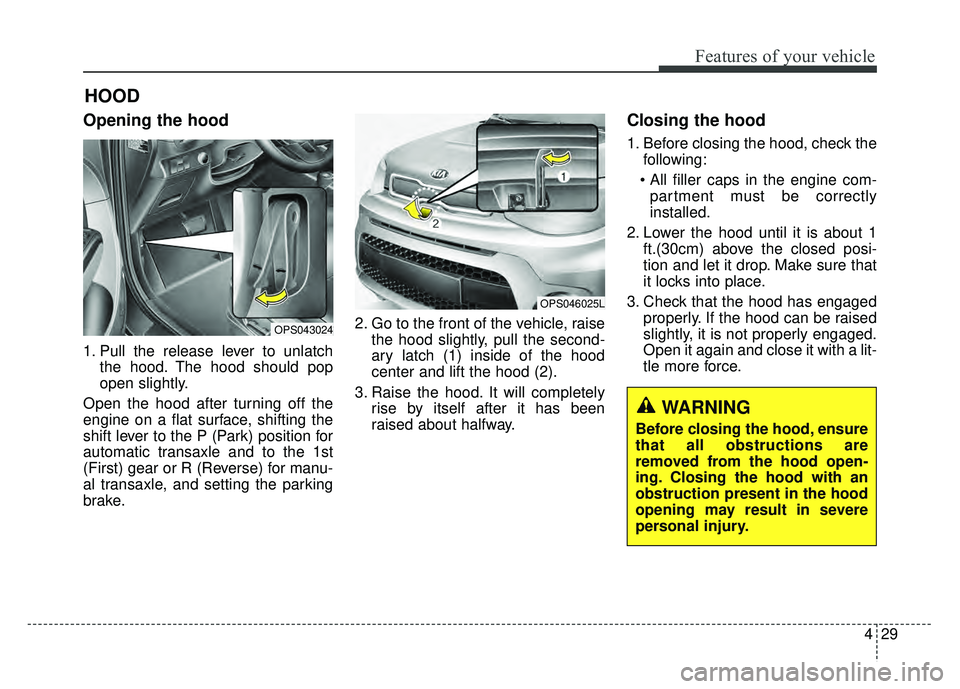
Opening the hood
1. Pull the release lever to unlatchthe hood. The hood should pop
open slightly.
Open the hood after turning off the
engine on a flat surface, shifting the
shift lever to the P (Park) position for
automatic transaxle and to the 1st
(First) gear or R (Reverse) for manu-
al transaxle, and setting the parking
brake. 2. Go to the front of the vehicle, raise
the hood slightly, pull the second-
ary latch (1) inside of the hood
center and lift the hood (2).
3. Raise the hood. It will completely rise by itself after it has been
raised about halfway.
Closing the hood
1. Before closing the hood, check thefollowing:
partment must be correctly
installed.
2. Lower the hood until it is about 1 ft.(30cm) above the closed posi-
tion and let it drop. Make sure that
it locks into place.
3. Check that the hood has engaged properly. If the hood can be raised
slightly, it is not properly engaged.
Open it again and close it with a lit-
tle more force.
HOOD
OPS043024
OPS046025L
WARNING
Before closing the hood, ensure
that all obstructions are
removed from the hood open-
ing. Closing the hood with an
obstruction present in the hood
opening may result in severe
personal injury.
Page 152 of 589
Features of your vehicle
66
4
Press start button with smart key
(for smart key system)
This warning message illuminates if you press the Engine Start/Stop
Button while the warning message
“Key not detected” is illuminating.
At this time, the immobilizer indica- tor light blinks.
Check fuse “BRAKE SWITCH”
(for smart key system and auto-matic transaxle)
This warning message illuminates if the brake switch fuse is discon-
nected.
It means that you should replace the fuse with a new one. If that is
not possible, you can start the
engine by pressing the Engine
Start/Stop Button for 10 seconds in
the ACC position.
Shift to “P” or “N” to start engine
(for smart key system and auto-matic transaxle)
This warning message illuminates if you try to start the engine with
the shift lever not in the P (Park) or
N (Neutral) position.
✽ ✽ NOTICE
You can start the engine with the
shift lever in the N (Neutral) posi-
tion. But, for your safety, we recom-
mend that you start the engine with
the shift lever in the P (Park) posi-
tion.
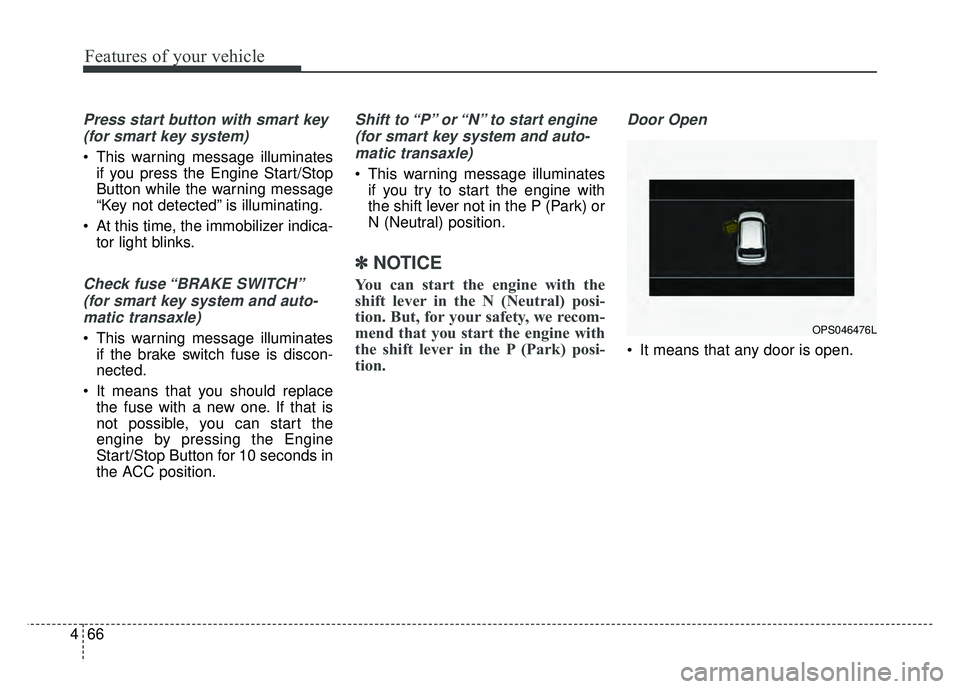
Door Open
It means that any door is open.
OPS046476L
Page 161 of 589
475
Features of your vehicle
Parking Brake & BrakeFluid Warning Light
This warning light illuminates:
Once you set the ignition switch or Engine Start/Stop Button to the ON
position.
- It illuminates for approximately 3seconds
- It remains on if the parking brake is applied.
When the parking brake is applied.
When the brake fluid level in the reservoir is low.
- If the warning light illuminateswith the parking brake released, it
indicates the brake fluid level in
reservoir is low. If the brake fluid level in the reservoir
is low:
1. Drive carefully to the nearest safe
location and stop your vehicle.
2. With the engine stopped, check the brake fluid level immediately and add
fluid as required (For more details,
refer to “Brake Fluid” in chapter 8).
Then check all brake components
for fluid leaks. If any leaks in the
brake system is still found, the
warning light remains on, or the
brakes do not operate properly, do
not drive the vehicle.
In this case, have your vehicle
towed to an authorized Kia dealer
and inspected. Dual-diagonal braking system
Your vehicle is equipped with dual-
diagonal braking systems. This
means you still have braking on two
wheels even if one of the dual sys-
tems should fail.
With only one of the dual systems
working, more than normal pedal
travel and greater pedal pressure are
required to stop the vehicle.
Also, the vehicle will not stop in as
short a distance with only a portion
of the brake system working.
If the brakes fail while you are driv-
ing, shift to a lower gear for addition-
al engine braking and stop the vehi-
cle as soon as it is safe to do so.
Driving the vehicle with a warning
light ON is dangerous. If the Parking
Brake & Brake Fluid Warning Light
illuminates with the parking brake
released, it indicates that the brake
fluid level is low.
In this case, have your vehicle inspect-
ed by an authorized Kia dealer.
Page 162 of 589
Features of your vehicle
76
4
Anti-lock Brake System
(ABS) Warning Light
This warning light illuminates:
Once you set the ignition switch or Engine Start/Stop Button to the ON
position.
- It illuminates for approximately 3seconds and then goes off.
When there is a malfunction with the ABS (The normal braking sys-
tem will still be operational without
the assistance of the anti-lock
brake system).
In this case, have your vehicle
inspected by an authorized Kia
dealer.
Electronic
Brake forceDistribution(EBD) SystemWarning Light
These two warning lights illuminate at
the same time while driving:
When the ABS and regular brake system may not work normally.
In this case, have your vehicle
inspected by an authorized Kia
dealer.
WARNING - Electronic
Brake force Distribution
(EBD) System Warning Light
When both ABS and Parking
Brake & Brake Fluid Warning
Lights are on, the brake system
will not work normally and you
may experience an unexpected
and dangerous situation during
sudden braking thereby increas-
ing the risk of a crash or injury.
In this case, avoid high speed
driving and abrupt braking.
Have your vehicle inspected by
an authorized Kia dealer as
soon as possible.
Page 163 of 589

477
Features of your vehicle
✽
✽NOTICE- Electronic Brake
force Distribution (EBD)
System Warning Light
When the ABS Warning Light is on
or both ABS and Parking Brake &
Brake Fluid Warning Lights are on,
the speedometer, odometer, or trip-
meter may not work. Also, the EPS
Warning Light may illuminate and
the steering effort may increase or
decrease.
In this case, have your vehicle inspect-
ed by an authorized Kia dealer as
soon as possible.
Electronic Power Steering (EPS) WarningLight (if equipped)
This warning light illuminates:
Once you set the ignition switch or Engine Start/Stop Button to the ON
position.
- It remains on until the engine isstarted.
When there is a malfunction with the EPS.
In this case, have your vehicle
inspected by an authorized Kia
dealer.
Malfunction Indicator
Lamp (MIL)
This warning light illuminates:
Once you set the ignition switch or Engine Start/Stop Button to the ON
position.
- It remains on until the engine isstarted.
When there is a malfunction with the emission control system.
In this case, have your vehicle
inspected by an authorized Kia
dealer.
CAUTION - Malfunction
Indicator Lamp (MIL)
Driving with the Malfunction Indicator Lamp (MIL) on maycause damage to the emissioncontrol systems which couldeffect drivability and/or fueleconomy.
Page 166 of 589
Features of your vehicle
80
4
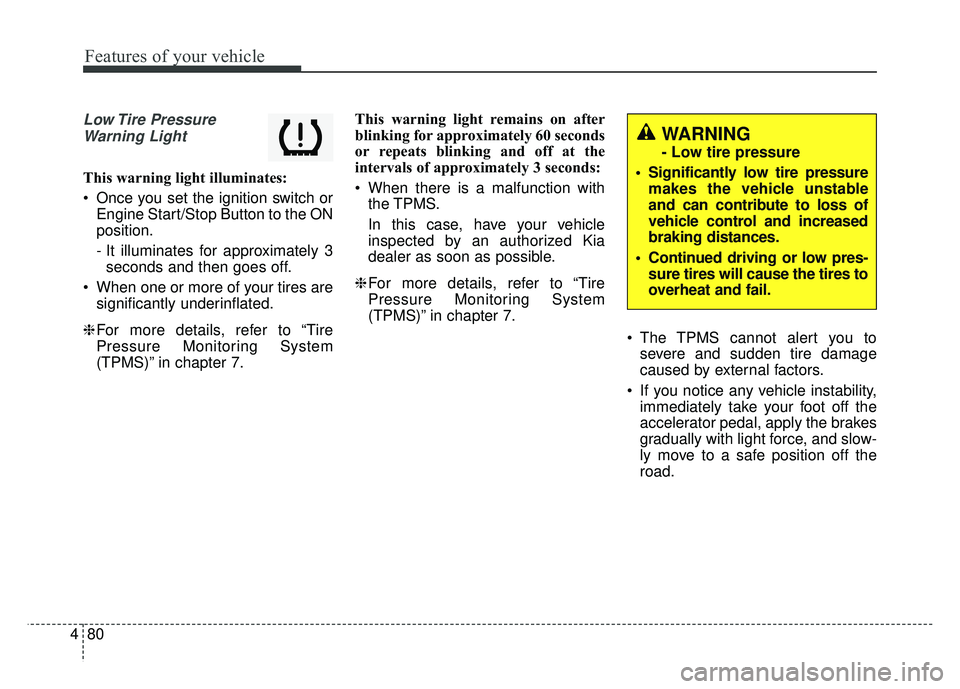
Low Tire Pressure
Warning Light
This warning light illuminates:
Once you set the ignition switch or Engine Start/Stop Button to the ON
position.
- It illuminates for approximately 3seconds and then goes off.
When one or more of your tires are significantly underinflated.
❈ For more details, refer to “Tire
Pressure Monitoring System
(TPMS)” in chapter 7. This warning light remains on after
blinking for approximately 60 seconds
or repeats blinking and off at the
intervals of approximately 3 seconds:
When there is a malfunction with
the TPMS.
In this case, have your vehicle
inspected by an authorized Kia
dealer as soon as possible.
❈ For more details, refer to “Tire
Pressure Monitoring System
(TPMS)” in chapter 7.
The TPMS cannot alert you tosevere and sudden tire damage
caused by external factors.
If you notice any vehicle instability, immediately take your foot off the
accelerator pedal, apply the brakes
gradually with light force, and slow-
ly move to a safe position off the
road.
WARNING
- Low tire pressure
Significantly low tire pressure makes the vehicle unstable
and can contribute to loss of
vehicle control and increased
braking distances.
Continued driving or low pres- sure tires will cause the tires to
overheat and fail.
Page 174 of 589
Features of your vehicle
88
4
Headlamp escort (if equipped)
If you turn the ignition switch to the
ACC or OFF position with the head-
lights ON, the headlights remain on
for about 5 minutes. However, if the
driver’s door is opened and closed,
the headlights are turned off after 15
seconds.
The headlights can be turned off by
pressing the lock button on the trans-
mitter (or smart key) twice or turning
the light switch to the OFF or Auto
position. However, if you turn the light
switch to the Auto position when it is
dark outside, the headlights will not
be turned off immediately.
Battery saver function
The purpose of this feature is to
prevent the battery from being dis-
charged. The system automatically
turns off the parking lights when
the driver removes the ignition key
and opens the driver-side door (in
that order).
With this feature, the parking lights will turn off automatically if the driv-
er parks on the side of the road at
night.
If necessary, to keep the lights on
when the ignition key is removed,
perform the following:
1) Open the driver-side door.
2) Turn the parking lights OFF and ON again using the light switch
on the steering column.
Daytime running light
(if equipped)
Daytime Running Lights (DRL) may
help make it easier for others to see
the front of your vehicle during the
day. DRL can be helpful in many dif-
ferent driving conditions, and it is
especially helpful after dawn and
before sunset.
The DRL system turns OFF when:
1. The front fog light or headlight (lowbeam) switch is ON.
2. The engine is OFF.
3. The parking brake is applied.
LIGHTING