Page 187 of 571
3-95
Convenient features of your vehicle
3
Automatic reset
To a u t o m a t i c a l l y r e s e t t h e a v e r a g e f u e l
economy after refuelling, select the
"Auto Reset" mode in the User
Settings menu on the LCD display
(Refer to "LCD Display" in this
chapter).
In "Auto Reset" mode, the average fuel
economy will be reset to zero (----),
when driving speed exceeds 1 km/h,
after adding 3 ~ 6 litres of fuel or more.
Information
The vehicle must be driven for a min-
imum of 300 metres since the last igni-
tion key cycle before the average fuel
economy will be recalculated.
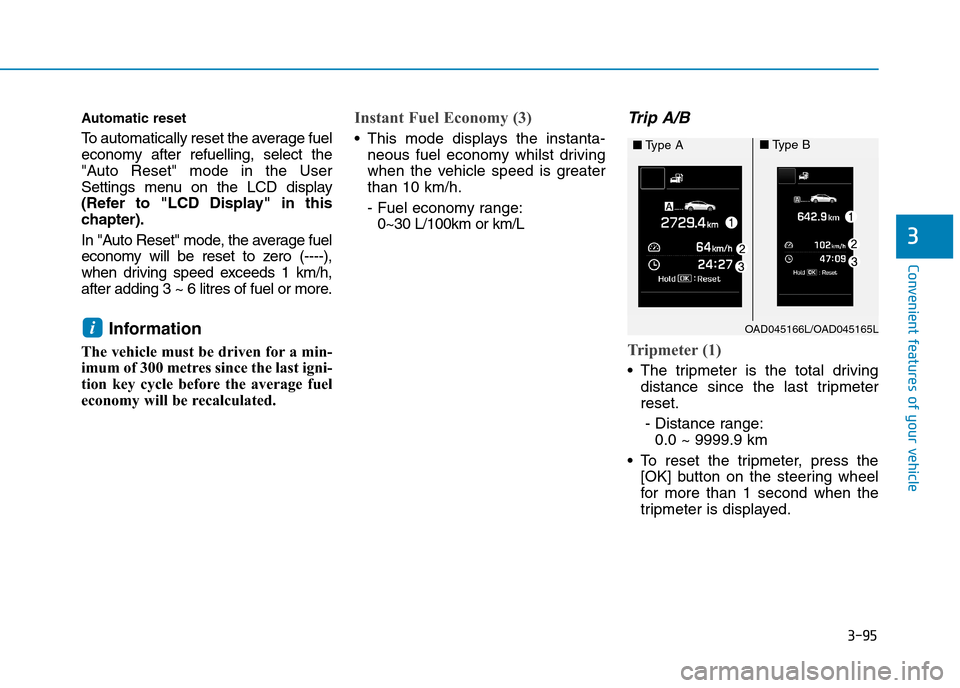
Instant Fuel Economy (3)
•This mode displays the instanta-
neous fuel economy whilst driving
when the vehicle speed is greater
than 10 km/h.
- Fuel economy range:
0~30 L/100km or km/L
Tr i p A / B
Tripmeter (1)
•The tripmeter is the total driving
distance since the last tripmeter
reset.
- Distance range:
0.0 ~ 9999.9 km
•To reset the tripmeter, press the
[OK] button on the steering wheel
for more than 1 second when the
tripmeter is displayed.
iOAD045166L/OAD045165L
■Ty p e A■Ty p e B
Page 188 of 571
3-96
Convenient features of your vehicle
Average Vehicle Speed (2)
•The average vehicle speed is cal-
culated by the total driving dis-
tance and driving time since the
last average vehicle speed reset.
- Speed range: 0~240 km/h
•To reset the average vehicle speed,
press the [OK] button on the steer-
ing wheel for more than 1 second
when the average vehicle speed is
displayed.
Information
•The average vehicle speed is not dis-
played if the driving distance is less
than 300 metres or the driving time is
less than 10 seconds since the ignition
switch or the Engine Start/Stop but-
ton is turned to ON.
• The average vehicle speed will con-
tinue to be calculated and will start
to decrease if the vehicle is stopped
whilst the engine is still running (for
example, when the vehicle is in traf-
fic or stopped at a stop light.)
Elapsed Time (3)
•The elapsed time is the total driv-
ing time since the last elapsed time
reset.
- Time range (hh:mm):
00:00 ~ 99:59
•To reset the elapsed time, press the
[OK] button on the steering wheel
for more than 1 second when the
elapsed time is displayed.
Information
The elapsed time will continue to be
counted whilst the engine is still run-
ning (for example, when the vehicle is
in traffic or stopped at a stop light.)
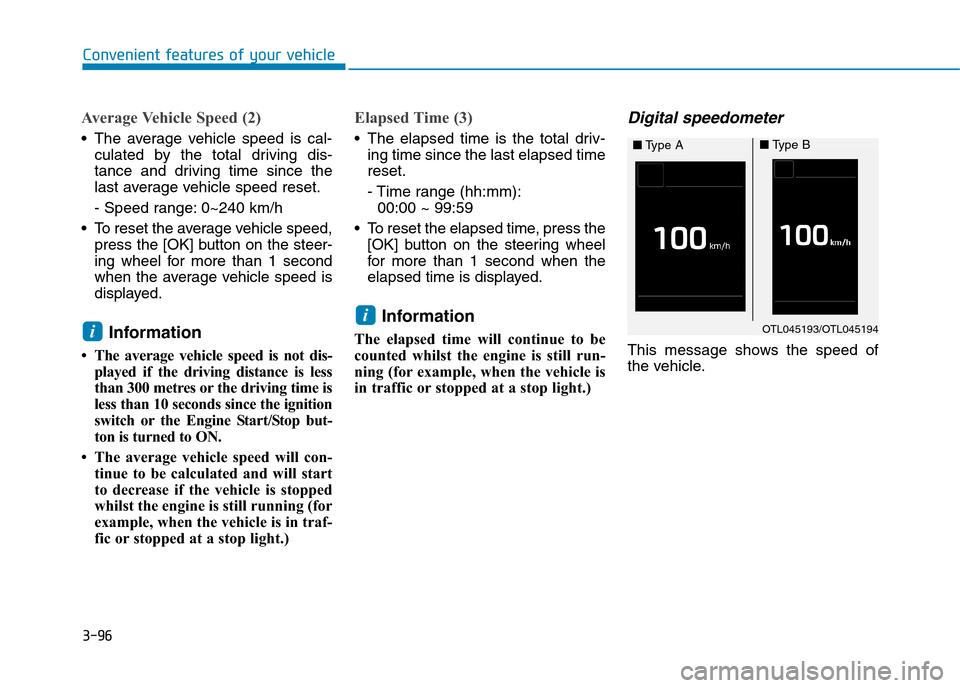
Digital speedometer
This message shows the speed of
the vehicle.
i
iOTL045193/OTL045194
■Ty p e A■Ty p e B
Page 189 of 571
3-97
Convenient features of your vehicle
Driving Info display
At the end of each driving cycle, the
Driving Info message is displayed.
This display shows the trip distance
(1), the average fuel economy (2),
and the remaining distance to empty
(3).
This information is displayed for a few
seconds when you turn off the igni-
tion, and then goes off automatically.
The information is calculated for each
ignition cycle.
If the estimated remaining vehicle
range is below 1 km, the distance to
empty will display as "----" and a "Low
Fuel" warning message (4) will be dis-
played.
Information
If sunroof open warning is displayed
in the cluster, the Driving Info mes-
sage will not be displayed.
i
3
OAD045164L/OAD045163L
■Ty p e B■Ty p e A
Page 193 of 571
3-101
Convenient features of your vehicle
3
One-touch turn signal function
To a c t i v a t e a o n e - t o u c h t u r n s i g n a l
function, move the turn signal lever
slightly and then release it. The lane
change signals will blink 3, 5 or 7
times.
Yo u c a n a c t i v a t e / d e a c t i v a t e t h e O n e
To u c h Tu r n S i g n a l f u n c t i o n o r c h o o s e
the number of blinks (3, 5, or 7) from
the User Settings Mode on the LCD
display.For more details, refer to
"LCD Display" in this chapter.
Front fog lamp (if equipped)
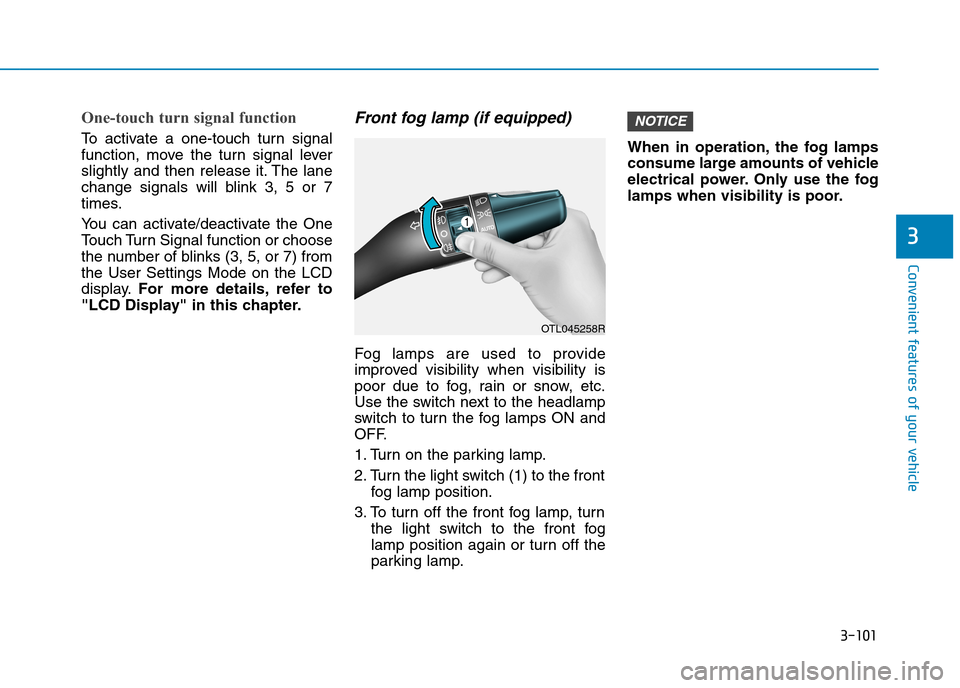
Fog lamps are used to provide
improved visibility when visibility is
poor due to fog, rain or snow, etc.
Use the switch next to the headlamp
switch to tur n the fog lamps ON and
OFF.
1. Turn on the parking lamp.
2. Turn the light switch (1) to the front
fog lamp position.
3. To turn off the front fog lamp, turn
the light switch to the front fog
lamp position again or turn off the
parking lamp.
When in operation, the fog lamps
consume large amounts of vehicle
electrical power. Only use the fog
lamps when visibility is poor.
NOTICE
OTL045258R
Page 195 of 571
3-103
Convenient features of your vehicle
3
Battery saver function
The purpose of this feature is to pre-
vent the batter y from being dis-
charged. The system automatically
turns off the parking lamp when the
driver turns the engine off and opens
the driver-side door.
With this feature, the parking lamps
will turn off automatically if the driver
parks on the side of the road at night.
If necessary, to keep the lamps on
when the engine is turned off, perform
the following:
1) Open the driver-side door.
2) Turn the parking lamps OFF and
ON again using the light switch on
the steering column.
Headlamp delay function
(if equipped)
If you place the ignition switch in the
ACC or OFF position with the head-
lamps ON, the headlamps (and/or
parking lamps) remain on for about 5
minutes. However, with the engine off
if the driver’s door is opened and
closed, the headlamps (and/or park-
ing lamps) are turned off after 15
seconds.
The headlamps (and/or parking
lamps) can be turned off by pressing
the lock button on the smart key
twice or turning the light switch to the
OFF or AUTO position. However, if
you turn the light switch to the AUTO
position when it is dark outside, the
headlamps will not be turned off.
Yo u c a n a c t i v a t e o r d e a c t i v a t e t h e
Headlamp Delay function from the
User Settings Mode on the LCD dis-
play.For more details, refer to
"LCD Display" in this chapter.
If the driver gets out of the vehicle
through other doors (except dri-
ver's door), the battery saver func-
tion does not operate and the
headlamp delay function does not
turn off automatically. Therefore, It
causes the battery to be dis-
charged. In this case, make sure to
turn off the lamp before getting out
of the vehicle.
Daytime running light (DRL)
(if equipped)
The Daytime Running Lights (DRL)
can make it easier for others to see
the front of your vehicle during the
day, especially after dawn and before
sunset.
The DRL system will turn the dedi-
cated lamp OFF when:
1. The headlights or front fog lights
are in the ON position.
2. The engine is turned off.
NOTICE
Page 196 of 571
3-104
Convenient features of your vehicle
Welcome system (if equipped)
Welcome light (if equipped)
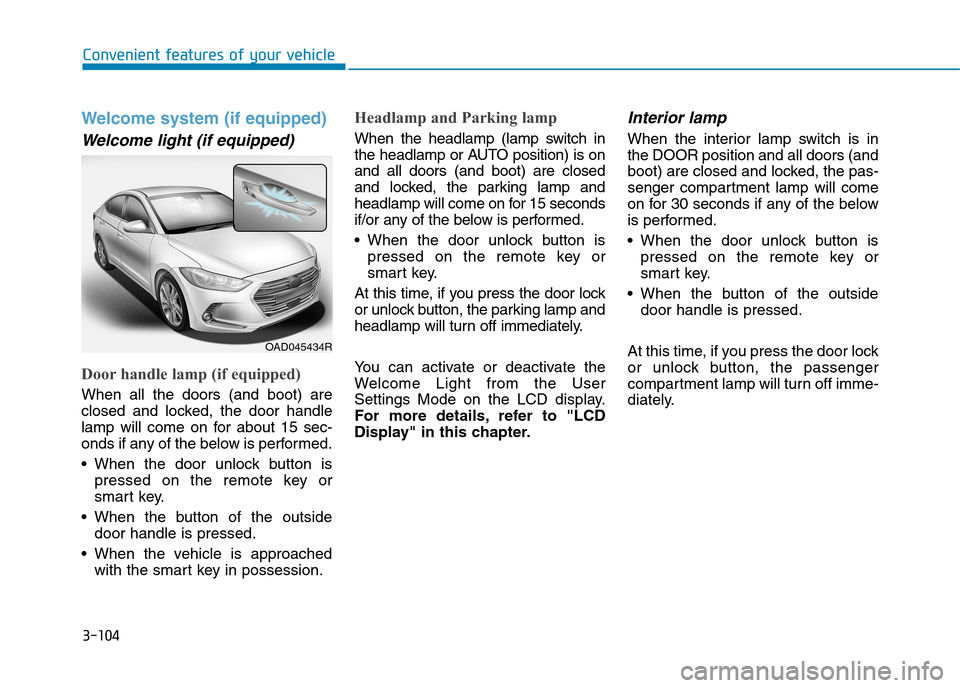
Door handle lamp (if equipped)
When all the doors (and boot) are
closed and locked, the door handle
lamp will come on for about 15 sec-
onds if any of the below is performed.
•When the door unlock button is
pressed on the remote key or
smart key.
•When the button of the outside
door handle is pressed.
•When the vehicle is approached
with the smart key in possession.
Headlamp and Parking lamp
When the headlamp (lamp switch in
the headlamp or AUTO position) is on
and all doors (and boot) are closed
and locked, the parking lamp and
headlamp will come on for 15 seconds
if/or any of the below is performed.
•When the door unlock button is
pressed on the remote key or
smart key.
At this time, if you press the door lock
or unlock button, the parking lamp and
headlamp will turn off immediately.
Yo u c a n a c t i v a t e o r d e a c t i v a t e t h e
Welcome Light from the User
Settings Mode on the LCD display.
For more details, refer to "LCD
Display" in this chapter.
Interior lamp
When the interior lamp switch is in
the DOOR position and all doors (and
boot) are closed and locked, the pas-
senger compartment lamp will come
on for 30 seconds if any of the below
is performed.
•When the door unlock button is
pressed on the remote key or
smart key.
•When the button of the outside
door handle is pressed.
At this time, if you press the door lock
or unlock button, the passenger
compartment lamp will turn off imme-
diately.
OAD045434R
Page 203 of 571
3-111
Convenient features of your vehicle
3
DDRRIIVVEERR AASSSSIISSTT SSYYSSTTEEMM
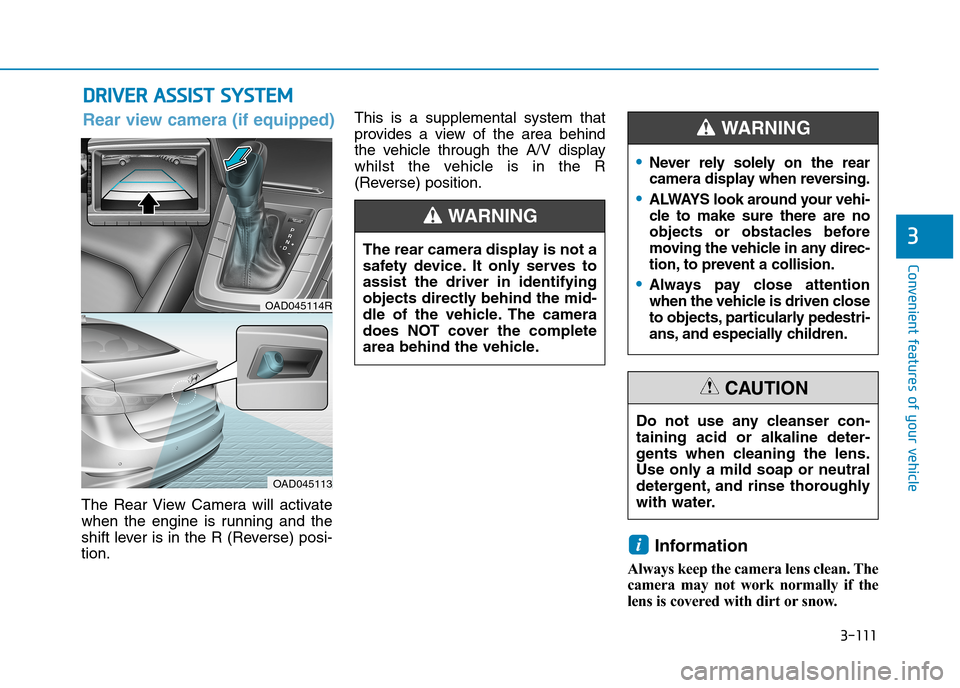
The Rear View Camera will activate
when the engine is running and the
shift lever is in the R (Reverse) posi-
tion.
This is a supplemental system that
provides a view of the area behind
the vehicle through the A/V display
whilst the vehicle is in the R
(Reverse) position.
Information
Always keep the camera lens clean. The
camera may not work normally if the
lens is covered with dirt or snow.
i
The rear camera display is not a
safety device. It only serves to
assist the driver in identifying
objects directly behind the mid-
dle of the vehicle. The camera
does NOT cover the complete
area behind the vehicle.
WA R N I N G
OAD045114R
OAD045113
Rear view camera (if equipped)
Do not use any cleanser con-
taining acid or alkaline deter-
gents when cleaning the lens.
Use only a mild soap or neutral
detergent, and rinse thoroughly
with water.
CAUTION
•Never rely solely on the rear
camera display when reversing.
•ALWAYS look around your vehi-
cle to make sure there are no
objects or obstacles before
moving the vehicle in any direc-
tion, to prevent a collision.
•Always pay close attention
when the vehicle is driven close
to objects, particularly pedestri-
ans, and especially children.
WA R N I N G
Page 223 of 571
3-131
Convenient features of your vehicle
3
Automatic heating and air con-
ditioning
1. Press the AUTO button.
The modes, fan speeds, air intake
and air-conditioning will be controlled
automatically according to the tem-
perature setting.
2. Turn the temperature control knob
to set the desired temperature.
Information
• To turn the automatic operation off,
select any button of the following:
- Mode selection button
- Front windscreen defrost button
(Press the button one more time to
deselect the front windscreen
defroster function. AUTO will illu-
minate on the information display
once again.)
- Fan speed control button
The selected function will be con-
trolled manually whilst other func-
tions operate automatically.
•For your convenience, use the
AUTO button and set the tempera-
ture to 23°C (73°F).
i
OAD045311R
OAD045312R