2017 Hyundai Elantra parking brake
[x] Cancel search: parking brakePage 17 of 571
F17F17
Before driving .......................................................5-3
Before entering the vehicle ...........................................5-3
Before starting .................................................................5-3
Ignition switch ........................................................5-4
Key ignition switch ............................................................5-5
Engine start/stop button .................................................5-9
Manual transmission............................................5-17
Manual transmission operation ..................................5-17
Good driving practices ..................................................5-19
Automatic transmission .......................................5-21
Automatic transmission operation ..............................5-21
Parking ...............................................................................5-27
Good driving practices ..................................................5-27
Braking system ...................................................5-29
Power brakes ..................................................................5-29
Disc brakes wear indicator ...........................................5-30
Rear drum brakes ...........................................................5-30
Parking brake ...................................................................5-30
Anti-lock brake system (ABS) .....................................5-33
Electronic stability control (ESC) ................................5-35
Ve h i c l e s tab i l i t y m a n a g e m e n t ( V S M ) . . . . . . . . . . . . . . . . . . . . . . . . . . 5 - 3 8
Hill-start assist control (HAC) ......................................5-40
Emergency stop signal (ESS) .......................................5-40
Good braking practices..................................................5-41
Drive mode integrated control system .............5-42
Blind spot detection system (BSD) ...................5-44
BSD (Blind spot detection)/
LCA (Lane change assist)..............................................5-45
RCTA (rear cross traffic alert) .....................................5-48
Limitations of the system .............................................5-51
Cruise control .......................................................5-53
Cruise control operation................................................5-53
Special driving conditions ...................................5-58
Hazardous driving conditions.......................................5-58
Rocking the vehicle ....................................................5-58
Smooth cornering ...........................................................5-59
Driving at night ................................................................5-59
Driving in the rain ...........................................................5-60
Driving in flooded areas ................................................5-61
Highway driving ...............................................................5-61
Winter driving .......................................................5-62
Snow or icy conditions ..................................................5-62
Winter precautions .........................................................5-64
5Driving your vehicle
Page 20 of 571
F20F20
Parking brake .......................................................7-27
Checking the parking brake .........................................7-27
Air cleaner ............................................................7-28
Filter replacement ...........................................................7-28
Climate control air filter .....................................7-30
Filter inspection ...............................................................7-30
Filter replacement ...........................................................7-30
Wiper blades .........................................................7-31
Blade inspection ..............................................................7-31
Blade replacement ..........................................................7-31
Battery...................................................................7-34
For best battery service................................................7-34
Battery capacity label ...................................................7-36
Battery recharging .........................................................7-36
Reset items .......................................................................7-37
Ty r e s a n d w h e e l s . . . . . . . . . . . . . . . . . . . . . . . . . . . . . . . . . . . . . . . . . . . . . . . . . 7 - 3 8
Ty r e c a r e . . . . . . . . . . . . . . . . . . . . . . . . . . . . . . . . . . . . . . . . . . . . . . . . . . . . . . . . . . . . . . . . . . . . . . . . . . . 7 - 3 8
Recommended cold tyre inflation pressures ...........7-38
Checking tyre inflation pressure.................................7-40
Ty r e r o t a t i o n . . . . . . . . . . . . . . . . . . . . . . . . . . . . . . . . . . . . . . . . . . . . . . . . . . . . . . . . . . . . . . . . . . . 7 - 4 1
Wheel alignment and tyre balance .............................7-42
Ty r e r e p l a c e m e n t . . . . . . . . . . . . . . . . . . . . . . . . . . . . . . . . . . . . . . . . . . . . . . . . . . . . . . . . . . . . 7 - 4 2
Wheel replacement ........................................................7-44
Ty r e t r a c t i o n . . . . . . . . . . . . . . . . . . . . . . . . . . . . . . . . . . . . . . . . . . . . . . . . . . . . . . . . . . . . . . . . . . . . . 7 - 4 4
Ty r e m a i n t e n a n c e . . . . . . . . . . . . . . . . . . . . . . . . . . . . . . . . . . . . . . . . . . . . . . . . . . . . . . . . . . 7 - 4 4
Ty r e s i d e w a l l l a b e l l i n g . . . . . . . . . . . . . . . . . . . . . . . . . . . . . . . . . . . . . . . . . . . . . . . . . . . . 7 - 4 4
Low aspect ratio tyre ...................................................7-49
Fuses ......................................................................7-50
Fuse/relay panel description .......................................7-56
Light bulbs.............................................................7-67
Headlamp, position lamp, turn signal lamp and
fog lamp light bulb replacement .................................7-68
Side repeater lamp replacement .................................7-74
Rear combination lamp bulb replacement ................7-75
High mounted stop lamp replacement .......................7-79
Licence plate light bulb replacement ........................7-79
Interior light bulb replacement ....................................7-80
Appearance care ..................................................7-81
Exterior care ....................................................................7-81
Interior care......................................................................7-87
Emission control system .....................................7-88
Crankcase emission control system ...........................7-88
Evaporative emission control system.........................7-89
Exhaust emission control system ...............................7-89
Page 41 of 571
2-14
Safety system of your vehicle
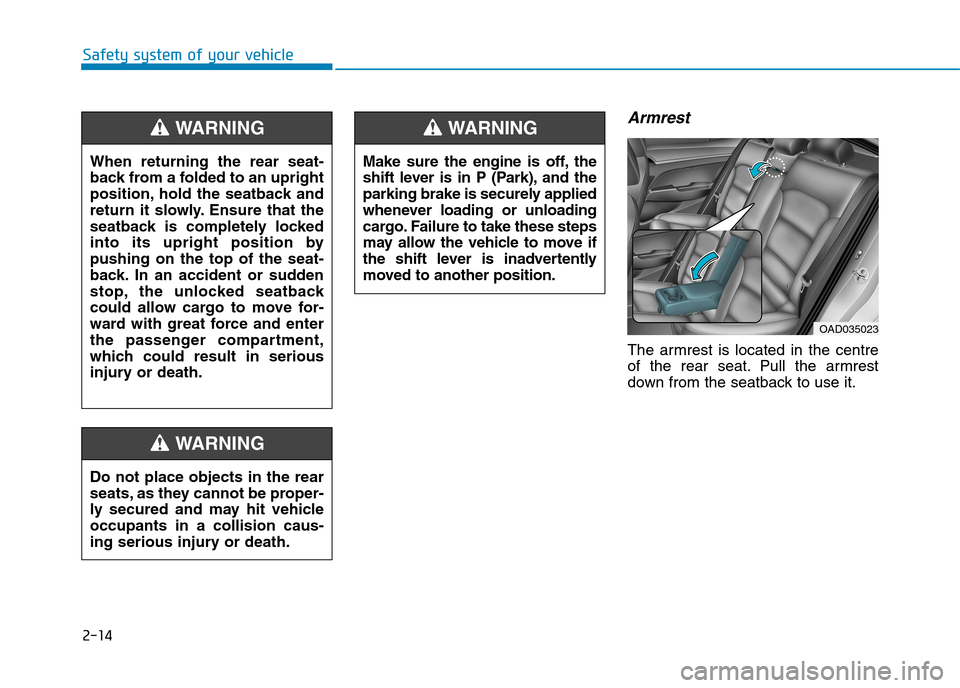
Armrest
The armrest is located in the centre
of the rear seat. Pull the armrest
down from the seatback to use it.
OAD035023
Make sure the engine is off, the
shift lever is in P (Park), and the
parking brake is securely applied
whenever loading or unloading
cargo. Failure to take these steps
may allow the vehicle to move if
the shift lever is inadvertently
moved to another position.
WA R N I N G
Do not place objects in the rear
seats, as they cannot be proper-
ly secured and may hit vehicle
occupants in a collision caus-
ing serious injury or death.
WA R N I N G
When returning the rear seat-
back from a folded to an upright
position, hold the seatback and
return it slowly. Ensure that the
seatback is completely locked
into its upright position by
pushing on the top of the seat-
back. In an accident or sudden
stop, the unlocked seatback
could allow cargo to move for-
ward with great force and enter
the passenger compartment,
which could result in serious
injury or death.
WA R N I N G
Page 110 of 571
3-18
Convenient features of your vehicle
Auto door lock/unlock features
Impact sensing door unlock
system
All doors will be automatically
unlocked when an impact causes the
air bags to deploy.
Speed sensing door lock system
All doors will be automatically locked
when vehicle speed exceeds 15
km/h.
Yo u c a n a c t i v a t e o r d e a c t i v a t e t h e
Auto Door Lock/Unlock features from
the User Settings Mode on the LCD
display.For more details, refer to
"LCD Display" in this chapter.
Always secure your vehicle.
Leaving your vehicle unlocked
can invite theft or entry into the
vehicle.
To s e c u r e y o u r v e h i c l e , w h i l s t
depressing the brake, move the
shift lever to the P (Park) posi-
tion (for automatic transmis-
sion) or first gear or R (Reverse,
for manual transmission),
engage the parking brake, and
place the ignition switch in the
LOCK/OFF position, close all
windows, lock all doors, and
always take the key with you.
WA R N I N G
Opening a door when something
is approaching may cause dam-
age or injury. Be careful when
opening doors and watch for
vehicles, motorcycles, bicycles
or pedestrians approaching the
vehicle in the path of the door.
WA R N I N G
Page 134 of 571
3-42
Convenient features of your vehicle
Boot
Opening the boot
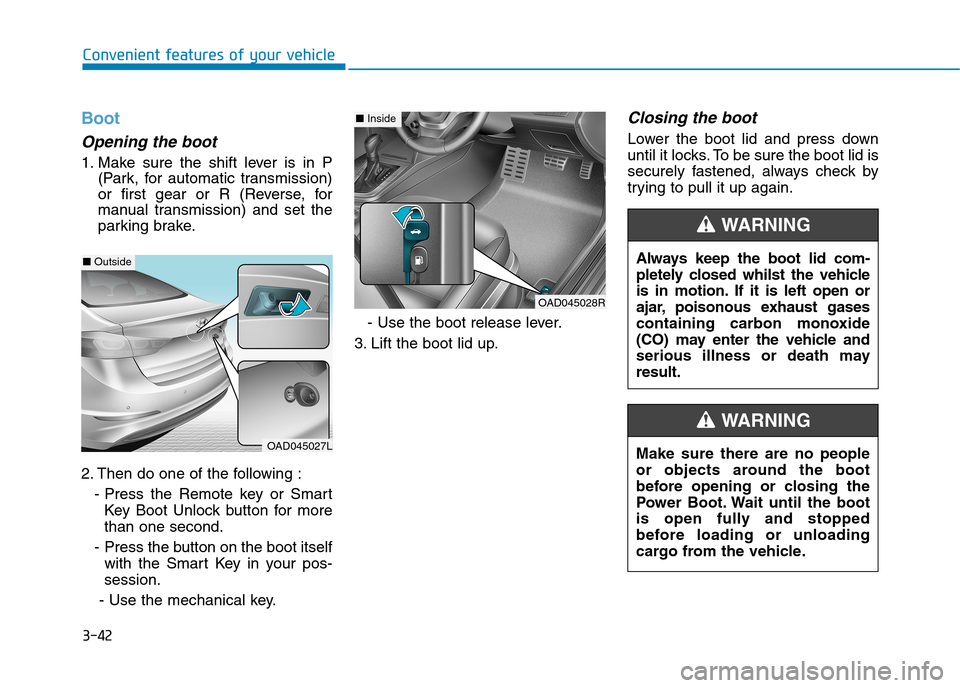
1. Make sure the shift lever is in P
(Park, for automatic transmission)
or first gear or R (Reverse, for
manual transmission) and set the
parking brake.
2. Then do one of the following :
- Press the Remote key or Smart
Key Boot Unlock button for more
than one second.
- Press the button on the boot itself
with the Smart Key in your pos-
session.
- Use the mechanical key.
- Use the boot release lever.
3. Lift the boot lid up.
Closing the boot
Lower the boot lid and press down
until it locks. To be sure the boot lid is
securely fastened, always check by
trying to pull it up again.
Always keep the boot lid com-
pletely closed whilst the vehicle
is in motion. If it is left open or
ajar, poisonous exhaust gases
containing carbon monoxide
(CO) may enter the vehicle and
serious illness or death may
result.
WA R N I N G
Make sure there are no people
or objects around the boot
before opening or closing the
Power Boot. Wait until the boot
is open fully and stopped
before loading or unloading
cargo from the vehicle.
WA R N I N G
OAD045028R
■Inside
OAD045027L
■Outside
Page 140 of 571
3-48
Convenient features of your vehicle
Closing the fuel filler door
1. To install the fuel tank cap, turn it
clockwise until it “clicks” one time.
2. Close the fuel filler door until it is
latched securely.
Petrol is highly flammable and
explosive. Failure to follow
these guidelines may result in
SERIOUS INJURY or DEATH:
•Read and follow all warnings
posted at the service station.
•Before refuelling, note the
location of the Emergency
Petrol Shut-Off, if available, at
the service station.
•Before touching the fuel noz-
zle, you should eliminate the
potential build-up of static
electricity by touching a metal
part of the vehicle, a safe dis-
tance away from the fuel filler
neck, nozzle, or other fuel
source, with your bare hand.
(Continued)
WA R N I N G
(Continued)
•Do not use mobile phones
whilst refuelling. Electric cur-
rent and/or electronic interfer-
ence from mobile phones can
potentially ignite fuel vapours
and cause a fire.
•Do not get back into a vehicle
once you have begun refu-
elling. You can generate a
build-up of static electricity by
touching, rubbing or sliding
against any item or fabric
capable of producing static
electricity. Static electricity
discharge can ignite fuel
vapours causing a fire. If you
must re-enter the vehicle, you
should once again eliminate
potentially dangerous static
electricity discharge by touch-
ing a metal part of the vehicle,
away from the fuel filler neck,
nozzle or other fuel source,
with your bare hand.
(Continued)
(Continued)
•When refuelling, always move
the shift lever to the P (Park)
position (for automatic trans-
mission) or first gear or R
(Reverse, for manual trans-
mission), set the parking
brake, and place the ignition
switch to the LOCK/OFF posi-
tion. Sparks produced by
electrical components related
to the engine can ignite fuel
vapours causing a fire.
•When using an approved
portable fuel container, be
sure to place the container on
the ground prior to refuelling.
Static electricity discharge
from the container can ignite
fuel vapours causing a fire.
Once refuelling has begun,
contact between your bare
hand and the vehicle should
be maintained until the filling
is complete.
(Continued)
Page 149 of 571
3-57
Convenient features of your vehicle
3
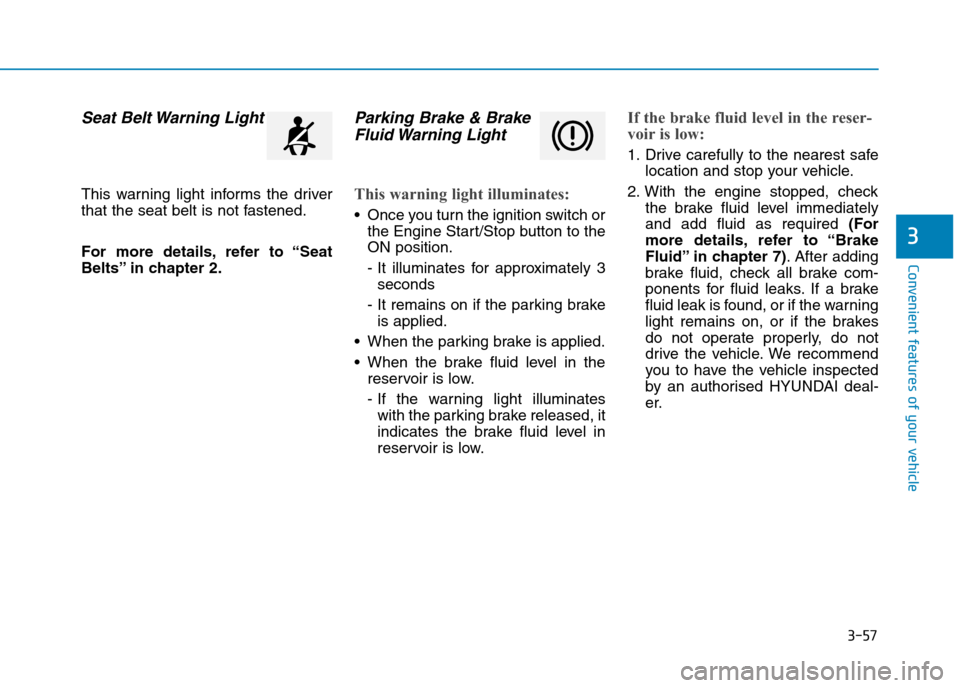
Seat Belt Warning Light
This warning light informs the driver
that the seat belt is not fastened.
For more details, refer to “Seat
Belts” in chapter 2.
Parking Brake & Brake
Fluid Warning Light
This warning light illuminates:
•Once you turn the ignition switch or
the Engine Start/Stop button to the
ON position.
- It illuminates for approximately 3
seconds
- It remains on if the parking brake
is applied.
•When the parking brake is applied.
•When the brake fluid level in the
reservoir is low.
- If the warning light illuminates
with the parking brake released, it
indicates the brake fluid level in
reservoir is low.
If the brake fluid level in the reser-
voir is low:
1. Drive carefully to the nearest safe
location and stop your vehicle.
2. With the engine stopped, check
the brake fluid level immediately
and add fluid as required (For
more details, refer to “Brake
Fluid” in chapter 7).After adding
brake fluid, check all brake com-
ponents for fluid leaks. If a brake
fluid leak is found, or if the warning
light remains on, or if the brakes
do not operate properly, do not
drive the vehicle. We recommend
you to have the vehicle inspected
by an authorised HYUNDAI deal-
er.
Page 150 of 571
3-58
Convenient features of your vehicle
Dual-diagonal braking system
Yo u r v e h i c l e i s e q u i p p e d w i t h d u a l -
diagonal braking systems.
This means you still have braking on
two wheels even if one of the dual
systems should fail.
With only one of the dual systems
working, more than normal pedal
travel and greater pedal pressure is
required to stop the vehicle.
Also, the vehicle will not stop in as
short a distance with only a portion
of the brake system working.
If the brakes fail whilst you are driv-
ing, shift to a lower gear for addition-
al engine braking and stop the vehi-
cle as soon as it is safe to do so.
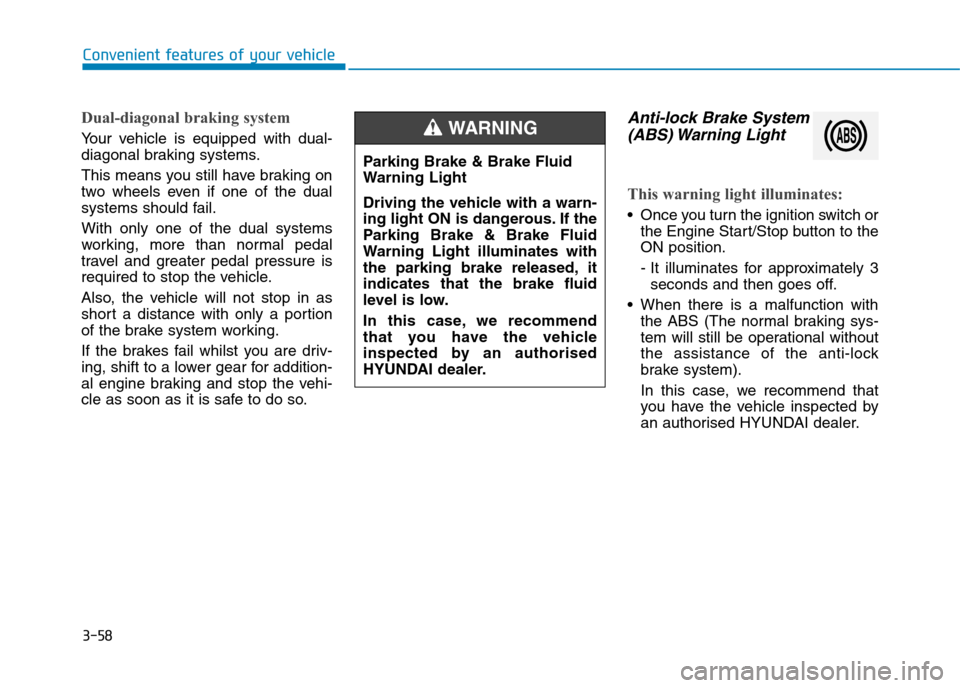
Anti-lock Brake System
(ABS) Warning Light
This warning light illuminates:
•Once you turn the ignition switch or
the Engine Start/Stop button to the
ON position.
- It illuminates for approximately 3
seconds and then goes off.
•When there is a malfunction with
the ABS (The normal braking sys-
tem will still be operational without
the assistance of the anti-lock
brake system).
In this case, we recommend that
you have the vehicle inspected by
an authorised HYUNDAI dealer.
Parking Brake & Brake Fluid
Warning Light
Driving the vehicle with a warn-
ing light ON is dangerous. If the
Parking Brake & Brake Fluid
Warning Light illuminates with
the parking brake released, it
indicates that the brake fluid
level is low.
In this case, we recommend
that you have the vehicle
inspected by an authorised
HYUNDAI dealer.
WA R N I N G