Page 201 of 289

Setting Up To Use The Tire Service Kit
1. Push in the sealant cartridge inlet into the sealantcartridge receptacle.
2. Uncoil the Sealant Hose.
3. Place the Tire Service Kit flat on the ground next to the deflated tire.
4. Remove the cap from the valve stem and then screw the fitting at the end of the Sealant Hose onto the
valve stem.
5. Uncoil the Power Plug and insert the plug into the vehicle’s 12 Volt power outlet.
NOTE: Do not remove foreign objects (e.g., screws or
nails) from the tire.
Injecting Sealant Into The Tire
1. Always start the engine before turning on the Tire Service Kit.
2. After pushing the Power Button, the sealant (white fluid) will flow from the sealant cartridge through
the sealant hose and into the tire. As the sealant flows
through the sealant hose, the pressure gauge can
read as high as 70 psi (4.8 Bar). The pressure gauge will decrease quickly from approximately 70 psi
(4.8 Bar) to the actual tire pressure when the sealant
cartridge is empty.
NOTE: Sealant may leak out through the puncture in
the tire.
3. The pump will start to inject air into the tire imme- diately after the sealant cartridge is empty. Continue
to operate the pump and inflate the tire to the
pressure indicated on the tire pressure label on the
driver-side latch pillar (recommended pressure).
Check the tire pressure by looking at the pressure
gauge.
NOTE: •If the tire does not inflate to at least 26 psi (1.8 Bar)
pressure within 15 minutes the tire is too badly
damaged. Do not attempt to drive the vehicle
further. Call for assistance.
• Do not let the compressor be turned on for more
than 20 consecutive minutes. The pump may over-
heat.
4. Remove sealant cartridge by pushing the cartridge release button on the side of the compressor.
6
WHAT TO DO IN EMERGENCIES 199
Page 202 of 289

Drive Vehicle
Immediately after injecting sealant and inflating the
tire, drive the vehicle 5 miles (8 km) or 10 minutes to
ensure distribution of the Tire Service Kit Sealant within
the tire. Do not exceed 50 mph (80 km/h).
WARNING!
Tire Service Kit is not a permanent flat tire repair.
Have the tire inspected and repaired or replaced
after using Tire Service Kit. Do not exceed 50 mph
(80 km/h) until the tire is repaired or replaced.
Failure to follow this warning can result in injuries
that are serious or fatal to you, your passengers, and
others around you.
After Driving
1. Attach the air pump hose (black) to the repaired tire.
2. Check the pressure in the tire by reading the pressure gauge. If the pressure is less than 19 psi (1.3 Bar), the
tire is too badly damaged. Do not attempt to drive
the vehicle further. Call for assistance.
NOTE: A replacement sealant cartridge is available at
your authorized dealer.
JUMP-STARTING
If your vehicle has a discharged battery it can be
jump-started using a set of jumper cables and a battery
in another vehicle or by using a portable battery booster
pack. Jump-starting can be dangerous if done improp-
erly so please follow the procedures in this section
carefully.
NOTE: When using a portable battery booster pack
follow the manufacturer’s operating instructions and
precautions.
WARNING!
Do not attempt jump-starting if the battery is fro-
zen. It could rupture or explode and cause personal
injury.
CAUTION!
Do not use a portable battery booster pack or any
other booster source with a system voltage greater
than 12 Volts or damage to the battery, starter motor,
alternator or electrical system may occur.
200 WHAT TO DO IN EMERGENCIES
Page 203 of 289

Preparations For Jump-Start
The battery in your vehicle is located on the left side of
the engine compartment. To access the battery remove
the protective cover.
WARNING!
•Remove any metal jewelry such as rings, watch
bands and bracelets that could make an inadvertent
electrical contact. You could be seriously injured.
(Continued)
WARNING! (Continued)
•Batteries contain sulfuric acid that can burn your
skin or eyes and generate hydrogen gas which is
flammable and explosive. Keep open flames or
sparks away from the battery.
NOTE: Be sure that the disconnected ends of the cables
do not touch while still connected to the other vehicle.
1. Firmly apply the parking brake, and turn the ignition OFF.
2. Turn off the heater, radio, and all unnecessary elec- trical accessories.
3. To remove the protective cover off the battery, pull upward on the cover.
4. If using another vehicle to jump-start the battery, park the vehicle within the jumper cables reach, set
the parking brake and make sure the ignition is OFF.
WARNING!
Do not allow vehicles to touch each other as this
could establish a ground connection and personal
injury could result.
Battery Location
6
WHAT TO DO IN EMERGENCIES 201
Page 204 of 289
Jump-Starting Procedure
WARNING!
Failure to follow this jump-starting procedure
could result in personal injury or property damage
due to battery explosion.
CAUTION!
Failure to follow these procedures could result in
damage to the charging system of the booster ve-
hicle or the discharged vehicle.Connecting The Jumper Cables
1. Connect the positive(+)end of the jumper cable to
the positive (+)post of the vehicle with the dis-
charged battery.
2. Connect the opposite end of the positive (+)jumper
cable to the positive (+)post of the booster battery.
3. Connect the negative end (-)of the jumper cable to
the negative (-)post of the booster battery.
4. Connect the opposite end of the negative (-)jumper
cable to a good engine ground of the vehicle with the
Positive (+) Battery Post
202 WHAT TO DO IN EMERGENCIES
Page 205 of 289

discharged battery (exposed metal part of the en-
gine) away from the battery and the fuel injection
system.
WARNING!
Do not connect the jumper cable to the negative (-)
post of the discharged battery. The resulting elec-
trical spark could cause the battery to explode and
could result in personal injury. Only use the spe-
cific ground point, do not use any other exposed
metal parts.
5. Start the engine in the vehicle that has the booster battery, let the engine idle a few minutes, and then
start the engine in the vehicle with the discharged
battery.
6. Once the engine is started, remove the jumper cables in the reverse sequence:
Disconnecting The Jumper Cables
1. Disconnect the negative (-)jumper cable from the
engine (-)ground of the vehicle with the discharged
battery. 2. Disconnect the negative end
(-)of the jumper cable
from the negative (-)post of the booster battery.
3. Disconnect the opposite end of the positive (+)
jumper cable from the positive (+)post of the booster
battery.
4. Disconnect the positive (+)end of the jumper cable
from the positive (+)post of the vehicle with the
discharged battery.
If frequent jump-starting is required to start your ve-
hicle you should have the battery and charging system
inspected at your authorized dealer.
CAUTION!
Accessories plugged into the vehicle power outlets
draw power from the vehicle’s battery, even when
not in use (i.e., cellular devices, etc.). Eventually, if
plugged in long enough without engine operation,
the vehicle’s battery will discharge sufficiently to
degrade battery life and/or prevent the engine from
starting.
6
WHAT TO DO IN EMERGENCIES 203
Page 206 of 289
FRONT TOW EYE USAGE
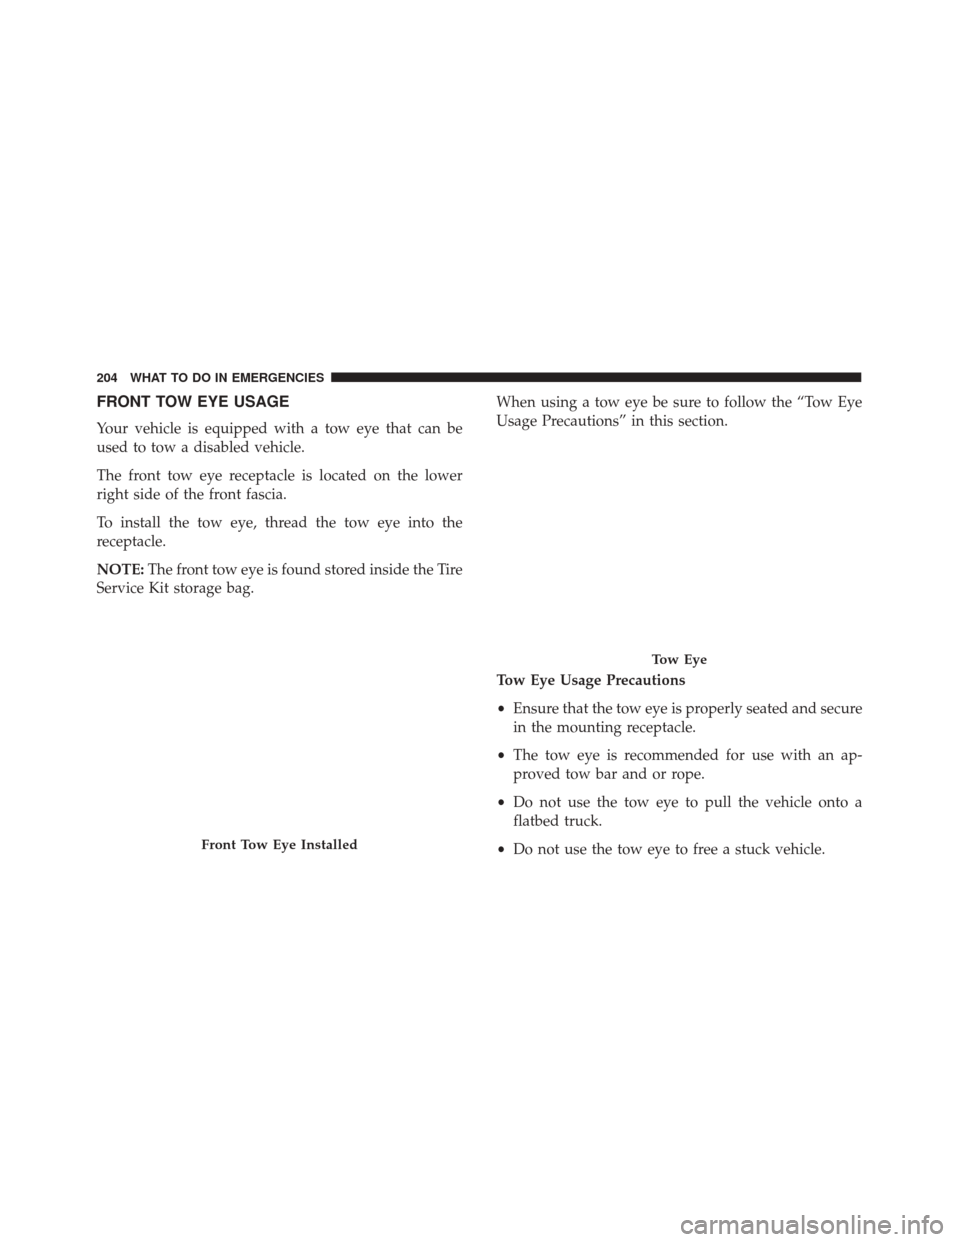
Your vehicle is equipped with a tow eye that can be
used to tow a disabled vehicle.
The front tow eye receptacle is located on the lower
right side of the front fascia.
To install the tow eye, thread the tow eye into the
receptacle.
NOTE:The front tow eye is found stored inside the Tire
Service Kit storage bag. When using a tow eye be sure to follow the “Tow Eye
Usage Precautions” in this section.
Tow Eye Usage Precautions
•
Ensure that the tow eye is properly seated and secure
in the mounting receptacle.
• The tow eye is recommended for use with an ap-
proved tow bar and or rope.
• Do not use the tow eye to pull the vehicle onto a
flatbed truck.
• Do not use the tow eye to free a stuck vehicle.
Front Tow Eye Installed
Tow Eye
204 WHAT TO DO IN EMERGENCIES
Page 207 of 289

WARNING!
Stand clear of vehicles when pulling with tow eyes.
•Do not use a chain with a tow eye. Chains may
break, causing serious injury or death.
• Do not use a tow strap with a tow eye. Tow straps
may break or become disengaged, causing serious
injury or death.
•
Failure to follow proper tow eye usage may cause
components to break resulting in serious injury or
death.
CAUTION!
• The tow eye must be used exclusively for road-
side assistance operations. Only use the tow eye
with an appropriate device in accordance with the
highway code (a rigid bar or rope) to flat tow the
vehicle for a short distance to the nearest service
location.
• Tow eyes MUST NOT be used to tow vehicles off
the road or where there are obstacles.
• In compliance with the above conditions, towing
with a tow eye must take place with two vehicles
(one towing, the other towed) aligned as much as
possible along the same center line. Damage to
your vehicle may occur if these guidelines are not
followed.
• When towing, only use a facility that can tow
vehicles with low ground clearances as extensive
damage can result by using a standard tow truck
platform.
Tow Eye Warning Label
6
WHAT TO DO IN EMERGENCIES 205
Page 208 of 289
FIRE EXTINGUISHER — IF EQUIPPED
The fire extinguisher is located under the dashboard in
front of the passenger side seat.
ENHANCED ACCIDENT RESPONSE SYSTEM
(EARS)
This vehicle is equipped with an Enhanced Accident
Response System.
Please refer to “Supplemental Restraint System (SRS) —
Air Bags” in “Occupant Restraints” for further informa-
tion on the Enhanced Accident Response System (EARS)
function.
EVENT DATA RECORDER (EDR)
This vehicle is equipped with an Event Data Recorder
(EDR). The main purpose of an EDR is to record, in
certain crash or near crash-like situations, such as an air
bag deployment or hitting a road obstacle, data that will
assist in understanding how a vehicle’s systems per-
formed.
Please refer to “Supplemental Restraint System (SRS) —
Air Bags” in “Occupant Restraints” for further informa-
tion on the Event Data Recorder (EDR).
Fire Extinguisher
206 WHAT TO DO IN EMERGENCIES