Page 29 of 636
Folding the rear bench seat up
To fold the rear bench seat up for storage capac-
ity behind the front seats or to remove the jacking
tools from the storage area:1. Lift the front of the seat cushion up. 2. Fold the bottom of the seat cushion toward
the back of the vehicle until it locks in place. 3. Repeat this process to raise and secure the
seat cushion on the other side of the vehicle
for maximum storage capacity.
To return the rear bench seat to a seating posi-
tion, pull the latch on the bottom of the seat
cushions to release the seat from the locked
position. Make sure to properly push the
seat cushion down into place.
LRS2766LRS2767LRS2768
1-8Safety—Seats, seat belts and supplemental restraint system
Page 31 of 636

WARNING
Head restraints/headrests supplement
the other vehicle safety systems. They may
provide additional protection against in-
jury in certain rear end collisions. Adjust-
able head restraints/headrests must be
adjusted properly, as specified in this sec-
tion. Check the adjustment after someone
else uses the seat. Do not attach anything
to the head restraint/headrest stalks or
remove the head restraint/headrest. Do
not use the seat if the head
restraint/headrest has been removed. If
the head restraint/headrest was removed,
reinstall and properly adjust the head
restraint/headrest before an occupant
uses the seating position. Failure to fol-
low these instructions can reduce the ef-
fectiveness of the head
restraints/headrests. This may increase
the risk of serious injury or death in a
collision.The illustration shows the seating positions
equipped with head restraints/headrests.
�
Indicates the seating position is equipped with
a head restraint.
� Indicates the seating position is equipped with
a headrest.
+ Indicates the seating position is not equipped
with a head restraint or headrest (if applicable) .
● Your vehicle is equipped with a head
restraint/headrest that may be integrated,
adjustable or non-adjustable. ●
Adjustable head restraints/headrests have
multiple notches along the stalk(s) to lock
them in a desired adjustment position.
● The non-adjustable head restraints/
headrests have a single locking notch to
secure them to the seat frame.
● Proper Adjustment:
– For the adjustable type, align the head restraint/headrest so the center of your
ear is approximately level with the center
of the head restraint/headrest.
Front bucket seat
LRS2020
Front bench seat
LRS2633
HEAD RESTRAINTS/HEADRESTS
1-10Safety—Seats, seat belts and supplemental restraint system
Page 32 of 636
– If your ear position is still higher than therecommended alignment, place the head
restraint/headrest at the highest position.
● If the head restraint/headrest has been re-
moved, ensure that it is reinstalled and
locked in place before riding in that desig-
nated seating position.
ADJUSTABLE HEAD RESTRAINT/
HEADREST COMPONENTS
1. Removable head restraint/headrest
2. Multiple notches
3. Lock knob
4. Stalks
NON-ADJUSTABLE HEAD
RESTRAINT/HEADREST
COMPONENTS
1. Removable head restraint/headrest
2. Single notch
3. Lock knob
4. Stalks
LRS2300LRS2299
Safety—Seats, seat belts and supplemental restraint system1-11
Page 33 of 636
REMOVE
Use the following procedure to remove the head
restraint/headrest:1. Pull the head restraint/headrest up to the highest position.
2. Push and hold the lock knob.
3. Remove the head restraint/headrest from the seat.
4. Store the head restraint/headrest properly in a secure place so it is not loose in the
vehicle. 5. Reinstall and properly adjust the head
restraint/headrest before an occupant uses
the seating position.
REMOVABLE (without Dual head
restraint/headrest DVD system only)
CAUTION
Do not remove head restraint/headrest
from vehicles equipped with Dual head
restraint/headrest DVD system. Removal
may damage the system wiring.
LRS2302LRS2302
1-12Safety—Seats, seat belts and supplemental restraint system
Page 34 of 636
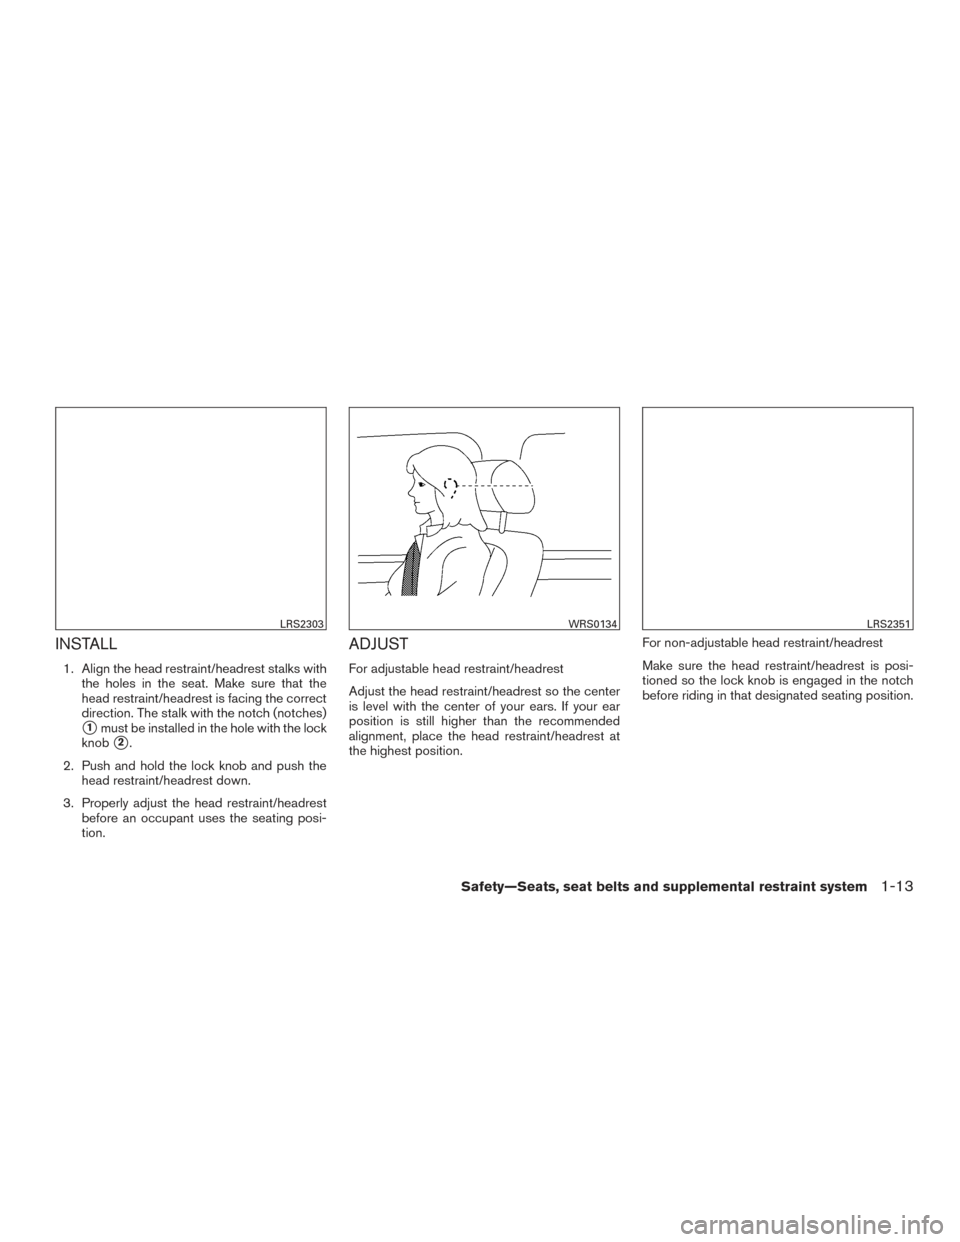
INSTALL
1. Align the head restraint/headrest stalks withthe holes in the seat. Make sure that the
head restraint/headrest is facing the correct
direction. The stalk with the notch (notches)
�1must be installed in the hole with the lock
knob
�2.
2. Push and hold the lock knob and push the head restraint/headrest down.
3. Properly adjust the head restraint/headrest before an occupant uses the seating posi-
tion.
ADJUST
For adjustable head restraint/headrest
Adjust the head restraint/headrest so the center
is level with the center of your ears. If your ear
position is still higher than the recommended
alignment, place the head restraint/headrest at
the highest position. For non-adjustable head restraint/headrest
Make sure the head restraint/headrest is posi-
tioned so the lock knob is engaged in the notch
before riding in that designated seating position.
LRS2303WRS0134LRS2351
Safety—Seats, seat belts and supplemental restraint system1-13
Page 35 of 636
Raise
To raise the head restraint/headrest, pull it up.
Make sure the head restraint/headrest is posi-
tioned so the lock knob is engaged in the notch
before riding in that designated seating position.
Lower
To lower, push and hold the lock knob and push
the head restraint/headrest down.
Make sure the head restraint/headrest is posi-
tioned so the lock knob is engaged in the notch
before riding in that designated seating position.
LRS2305LRS2306
1-14Safety—Seats, seat belts and supplemental restraint system
Page 40 of 636
●Do not allow children to play with the
seat belts. Most seating positions are
equipped with Automatic Locking Re-
tractor (ALR) mode seat belts. If the seat
belt becomes wrapped around a child’s
neck with the ALR mode activated, the
child can be seriously injured or killed if
the seat belt retracts and becomes
tight. This can occur even if the vehicle
is parked. Unbuckle the seat belt to
release the child. If the seat belt cannot
be unbuckled or is already unbuckled,
release the child by cutting the seat belt
with a suitable tool (such as a knife or
scissors) to release the seat belt.
Manual front seat shown (if so equipped)
LRS2559
Safety—Seats, seat belts and supplemental restraint system1-19
Page 41 of 636
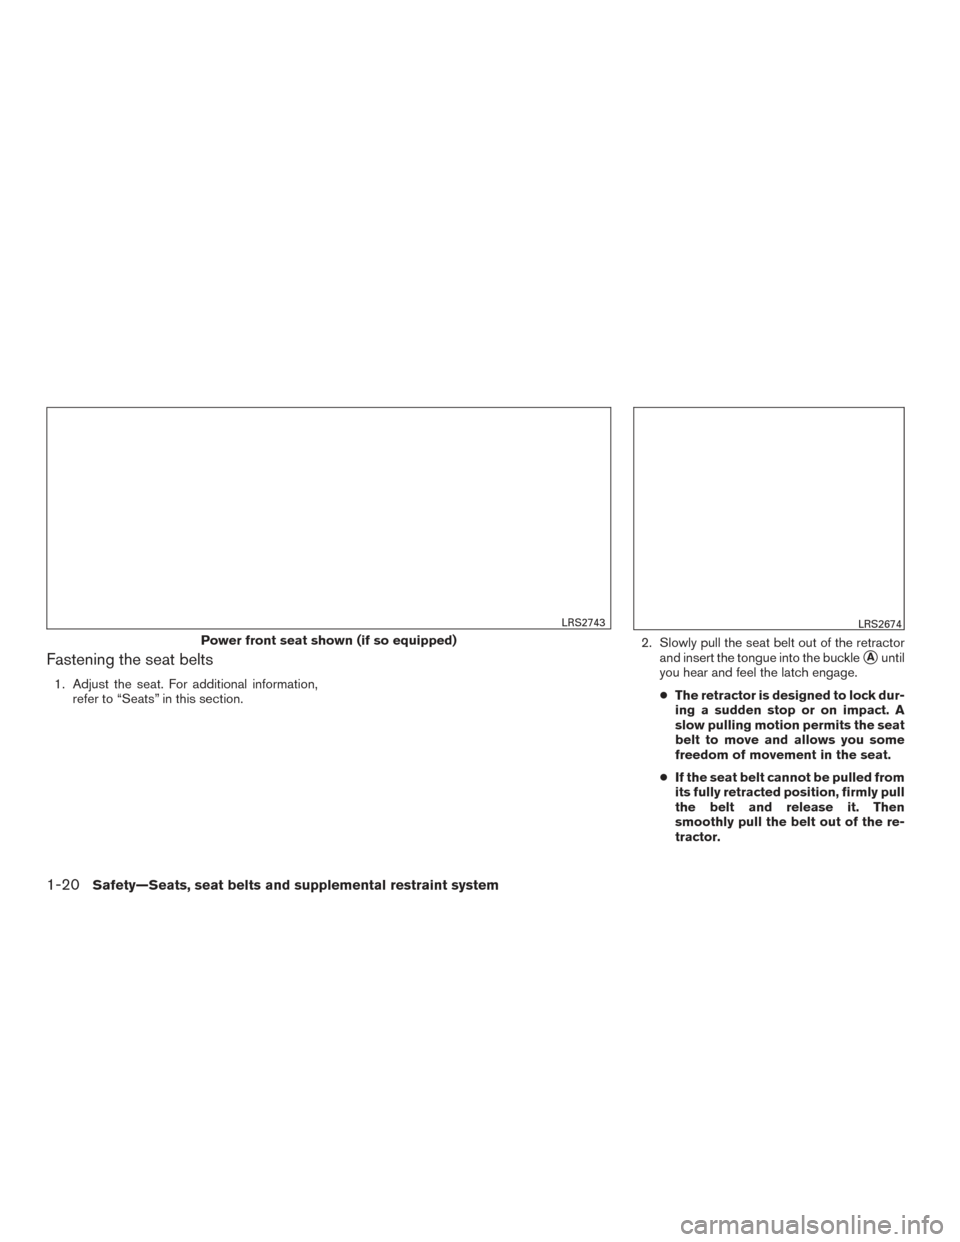
Fastening the seat belts
1. Adjust the seat. For additional information,refer to “Seats” in this section. 2. Slowly pull the seat belt out of the retractor
and insert the tongue into the buckle
�Auntil
you hear and feel the latch engage.
● The retractor is designed to lock dur-
ing a sudden stop or on impact. A
slow pulling motion permits the seat
belt to move and allows you some
freedom of movement in the seat.
● If the seat belt cannot be pulled from
its fully retracted position, firmly pull
the belt and release it. Then
smoothly pull the belt out of the re-
tractor.
Power front seat shown (if so equipped)
LRS2743LRS2674
1-20Safety—Seats, seat belts and supplemental restraint system


 mode seat belts. If the seat
belt becomes wrapped around a child’s")