2016 NISSAN TITAN trailer
[x] Cancel search: trailerPage 16 of 636
14. Heated steering wheel switch(if so equipped) (P. 2-60)
Warning Systems switch
(if so equipped) (P. 2-60)
15. Power outlet (P. 2-67)
16. Auxiliary jack (P. 4-45) USB port (P. 4-45)
17. Hazard warning flasher switch (P. 6-2)
18. Trailer Brake Controller Unit
(if so equipped) (P. 2-66)
19. Climate control seat switch
(if so equipped) (P. 2-56)
Heated front seat switches
(if so equipped) (P. 2-57)
20. Vehicle Dynamic Control (VDC) OFF
switch (P. 2-61)
Parking sensor switch (if so equipped)
(P. 2-65)
21. 4WD shift switch (if so equipped)
(P. 5-44)
22. Push-button ignition switch (P. 5-10)
23. Tilt steering wheel control (P. 3-24) 24. Headlight aiming control
(if so equipped) (P. 2-51)
Power inverter switch (if so equipped)
(P. 2-64)
Cargo lamp switch (P. 2-56)
Electronic locking rear differential (E-
Lock) system switch (if so equipped)
(P. 2-63)
Hill descent control system switch
(if so equipped) (P. 2-62)
25. Headlight switch (P. 2-51) Fog light switch (if so equipped)
(P. 2-55)
Instrument brightness control switches
(P. 2-51)
Trip reset switch (P. 2-4)
Illustrated table of contents
0-7
Page 82 of 636
Heated rear seat switches (if so equipped)..........2-58
Heated steering wheel switch (if so equipped) .......2-60
Warning systems switch (if so equipped) ............2-60
Vehicle Dynamic Control (VDC) off switch . . .........2-61
Hill descent control switch (if so equipped) ..........2-62
Electronic locking rear differential (E-Lock) system
switch (if so equipped) ............................ 2-63
Power inverter switch (if so equipped) ..............2-64
Parking Sensor (sonar) System OFF Switch
(if so equipped) .................................. 2-65
Tow mode switch ................................. 2-65
E-call (SOS) switch (if so equipped) ................2-66
Trailer Brake Controller Unit (TBCU)
(if so equipped) .................................. 2-66
Power outlets .................................... 2-67
12v Outlets . . ................................. 2-67
120v outlets (if so equipped) ...................2-69
Extended storage switch .......................... 2-70
Storage ......................................... 2-71
Map pockets .................................. 2-71
Seatback pockets (if so equipped) ..............2-72
Under-seat storage (if so equipped) .............2-72
Console box storage trays (if so equipped) .......2-73
Glove box .................................... 2-74Console box (if so equipped)
...................2-74
Center armrest storage (if so equipped) ..........2-75
Under front seat storage bin (if so equipped) .....2-76
Sunglasses holder (if so equipped) ..............2-76
Cup holders .................................. 2-77
Grocery hooks (if so equipped) .................2-79
Bed liner storage bins (if so equipped) ...........2-79
Windows ........................................ 2-80
Power windows ............................... 2-80
Rear sliding window (if so equipped) ............2-82
Rear power window switch (if so equipped) ......2-83
Interior lights ..................................... 2-84
Console
light (if so equipped) ...................2-85
Map lights (if so equipped) .....................2-85
Personal Lights (if so equipped) .................2-86
HomeLink® universal transceiver (if so equipped) ....2-86
Programming HomeLink® ......................2-87
Programming HomeLink® for Canadian
customers and gate openers ....................2-88
Operating the HomeLink® universal
transceiver .................................... 2-89
Programming trouble-diagnosis .................2-89
Clearing the programmed information ............2-89
Reprogramming a single HomeLink® button ......2-89
If your vehicle is stolen ......................... 2-90
Page 84 of 636
14. Heated steering wheel switch(if so equipped) (P. 2-60)
Warning Systems switch
(if so equipped) (P. 2-60)
15. Power outlet (P. 2-67)
16. Auxiliary jack (P. 4-45) USB port (P. 4-45)
17. Hazard warning flasher switch (P. 6-2)
18. Trailer Brake Controller Unit
(if so equipped) (P. 2-66)
19. Climate control seat switch
(if so equipped) (P. 2-56)
Heated front seat switches
(if so equipped) (P. 2-57)
20. Vehicle Dynamic Control (VDC) OFF
switch (P. 2-61)
Parking sensor switch (if so equipped)
(P. 2-65)
21. 4WD shift switch (if so equipped)
(P. 5-44)
22. Push-button ignition switch (P. 5-10)
23. Tilt steering wheel control (P. 3-24)
24. Headlight aiming control
(if so equipped) (P. 2-51)
Power inverter switch (if so equipped)
(P. 2-64)
Cargo lamp switch (P. 2-56) Electronic locking rear differential
(E-Lock) system switch (if so
equipped) (P. 2-63)
Hill descent control system switch
(if so equipped) (P. 2-62)
25. Headlight switch (P. 2-51) Fog light switch (if so equipped)
(P. 2-55)
Instrument brightness control switches
(P. 2-51)
Trip reset switch (P. 2-4)
Instruments and controls
2-3
Page 115 of 636
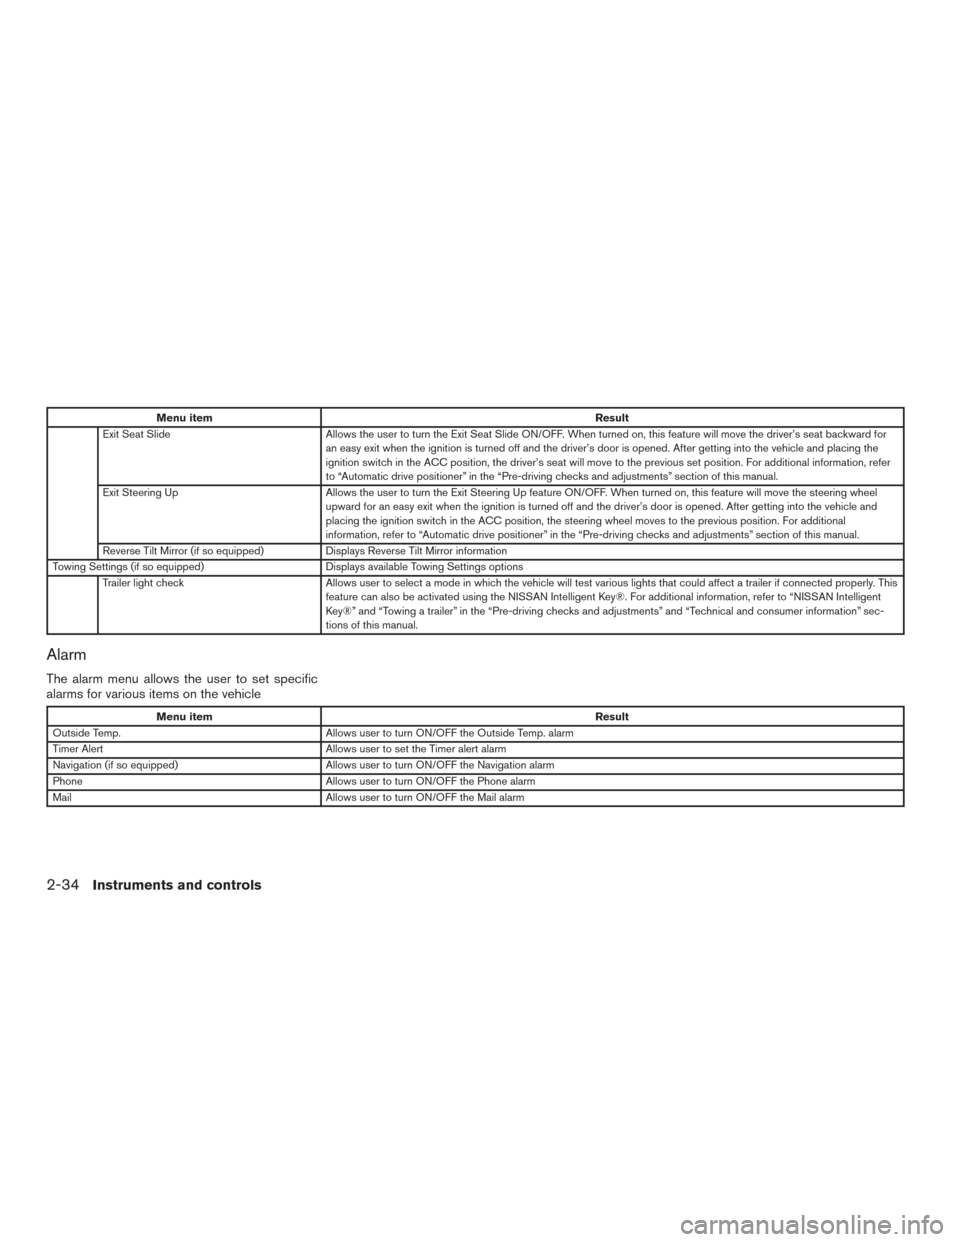
Menu itemResult
Exit Seat Slide Allows the user to turn the Exit Seat Slide ON/OFF. When turned on, this feature will move the driver’s seat backward for
an easy exit when the ignition is turned off and the driver’s door is opened. After getting into the vehicle and placing the
ignition switch in the ACC position, the driver’s seat will move to the previous set position. For additional information, refer
to “Automatic drive positioner” in the “Pre-driving checks and adjustments” section of this manual.
Exit Steering Up Allows the user to turn the Exit Steering Up feature ON/OFF. When turned on, this feature will move the steering wheel
upward for an easy exit when the ignition is turned off and the driver’s door is opened. After getting into the vehicle and
placing the ignition switch in the ACC position, the steering wheel moves to the previous position. For additional
information, refer to “Automatic drive positioner” in the “Pre-driving checks and adjustments” section of this manual.
Reverse Tilt Mirror (if so equipped) Displays Reverse Tilt Mirror information
Towing Settings (if so equipped) Displays available Towing Settings options
Trailer light check Allows user to select a mode in which the vehicle will test various lights that could affect a trailer if connected properly. This
feature can also be activated using the NISSAN Intelligent Key®. For additional information, refer to “NISSAN Intelligent
Key®” and “Towing a trailer” in the “Pre-driving checks and adjustments” and “Technical and consumer information” sec-
tions of this manual.
Alarm
The alarm menu allows the user to set specific
alarms for various items on the vehicle
Menu item Result
Outside Temp. Allows user to turn ON/OFF the Outside Temp. alarm
Timer Alert Allows user to set the Timer alert alarm
Navigation (if so equipped) Allows user to turn ON/OFF the Navigation alarm
Phone Allows user to turn ON/OFF the Phone alarm
Mail Allows user to turn ON/OFF the Mail alarm
2-34Instruments and controls
Page 134 of 636
Battery saver system
If the ignition switch is placed in the OFF position
while the headlight switch is in the
orposition, the headlights will turn off after
a period of time.
After the headlights automatically turn off with the
headlight switch in the
orposition,
the headlights will illuminate again if the headlight
switch is moved to the OFF position and then
turned to the
orposition.
CAUTION
Even though the battery saver feature au-
tomatically turns off the headlights after a
period of time, you should turn the head-
light switch to the OFF position when the
engine is not running to avoid discharging
the vehicle battery.
Manual headlight aiming control (if so
equipped)
Depending on the number of occupants in the
vehicle and the load it is carrying, the headlight
axis may be higher than desired. If the vehicle is
traveling on a hilly road, the headlights may di-
rectly hit the rearview mirror of the vehicle ahead
or the windshield of the oncoming vehicle. The
light axis can be lowered with the operation of the
switch.
The larger the number designated on the switch,
the lower the axis.
When traveling without a heavy load or on a flat
road, select position 0. Select the switch position by referring to the
following sample.
Vehicle Load
Switch
Position
Driver only or Driver/front pas- senger 0
Driver/front seat passenger/rear seat passengers 1
Driver/front seat passenger/rear
seat passengers/cargo or driver/ cargo/no trailer 2
Fully loaded/no trailer 3
DAYTIME RUNNING LIGHT SYSTEM
(if so equipped)
The LED portion of the headlights (if so
equipped) , or the lights in the fog light area,
automatically illuminate at 100% intensity when
the engine is started and the parking brake re-
leased. The daytime running lights operate with
the headlight switch in the OFF position. When
you turn the headlight switch to the
posi-
tion for full illumination the LED lights (if so
equipped) switch from daytime running lights to
the park function.
If the parking brake is applied before the engine is
started, the daytime running lights do not illumi-
nate. The daytime running lights illuminate when
LIC2230
Instruments and controls2-53
Page 146 of 636
The parking sensor (sonar) system OFF switch
on the instrument panel allows the driver to turn
the parking sensor (sonar) system, Moving Ob-
ject Detection (MOD) , and Rear Cross Traffic
Alert (RCTA) system on and off. To turn the
systems on and off, the ignition switch must be in
the ON position.
The indicator light on the switch will illuminate
when the systems are turned on.
If the indicator light flashes when the parking
sensor (sonar) , MOD, or RCTA systems are not
turned off, it may indicate a malfunction in one or
more of these systems.The parking sensor (sonar) , MOD, or RCTA sys-
tems will be turned on automatically under the
following conditions:
● When the ignition switch is switched from
the OFF position to the ON position.
● When the shift lever is shifted into the R
(Reverse) position.
● When the vehicle speed increases to 6 mph
(10 km/h) and decreases.
The automatic turning on function can be turned
on and off for these systems in the vehicle infor-
mation display (if so equipped) . For additional
information, refer to “Settings” in the “Instrument
and controls” section of this manual.
For additional information, refer to “Front and rear
sonar system” or “Rear Cross Traffic Alert
(RCTA)” in the “Starting and Driving” section of
this manual, or the “Moving object detection
(MOD)” in the “Monitor, climate, audio, phone
and voice recognition systems” section of this
manual. Tow mode should be used when pulling a heavy
trailer or hauling a heavy load. Driving the vehicle
in the tow mode with no trailer/load or light
trailer/light load will not cause any damage. How-
ever, fuel economy may be reduced, and the
transmission/engine driving characteristics may
feel unusual.
Push the tow mode switch to activate tow mode.
The TOW indicator light illuminates when tow
mode is selected. Push the tow mode switch
again to turn tow mode off.
Tow mode is automatically canceled when the
ignition switch is placed in the OFF position.
LIC2881LIC3381
PARKING SENSOR (sonar) SYSTEM
OFF SWITCH (if so equipped)
TOW MODE SWITCH
Instruments and controls2-65
Page 147 of 636

For additional information, refer to “Tow mode” in
the “Technical and consumer information” sec-
tion of this manual.The E-call (SOS) system switch is used in com-
bination with a NissanConnect
SMServices sub-
scription to call for assistance in case of an
emergency.
Pushing the switch will (with a paid subscription)
reach a Response Specialist that will provide
assistance based on the situation described by
the vehicle’s occupant. For additional informa-
tion, or to enroll your vehicle, refer to
www.NissanUSA.com/connect or call
855–426–6628. The TBCU on the instrument panel allows the
driver to adjust the braking force applied to the
trailer brakes.
For additional information, refer to “Towing a
trailer” in the “Technical and consumer informa-
tion” section of this manual.
LIC3376LIC3382
E-CALL (SOS) SWITCH (if so
equipped)
TRAILER BRAKE CONTROLLER UNIT
(TBCU) (if so equipped)
2-66Instruments and controls
Page 186 of 636
Using the panic alarm
If you are near your vehicle and feel threatened,
you may activate the panic alarm to call attention
by pressing and holding the
button on the
Intelligent Key for longer than 1 second.
The panic alarm and headlights will stay on for a
period of time. The panic alarm stops when:
● It has run for a period of time, or
● Any button is pressed on the Intelligent Key.
● The request switch (if so equipped) on the
driver’s door is pushed and the Intelligent
Key is in range of the door handle.
Trailer light check (if so equipped)
This functionality allows the customer to confirm
trailer light operation, without the need of a sec-
ond person to press the brake pedal or activate
each turn signal light. The trailer light check can
be performed by the Intelligent Key or through the
Vehicle Settings in the vehicle information dis-
play. For additional information, refer to “Vehicle
information display” in the “Instruments and con-
trols” section of this manual.
WPD0374LPD2257
Pre-driving checks and adjustments3-15