Page 12 of 380
1. Engine hood (P. 3-12)
2. Wiper and washer switch (P. 2-25)
3. Windshield (P. 8-22)
4. Power windows (if so equipped)(P. 2-46)
5. Door locks (P. 3-3) Key fob (if so equipped) (P. 3-8)
Keys (P. 3-2)
6. Mirrors (P. 3-17)
7. Tire pressure (P. 8-33)
8. Flat tire (P. 6-2)
9. Tire chains (P. 8-33)
10. Headlight and turn signal switch
(P. 2-27)
Replacing bulbs (P. 8-29)
Refer to the page number indicated in
parentheses for operating details.
LII2320
EXTERIOR FRONT
Illustrated table of contents0-3
Page 13 of 380
1. Rear window and outside mirror (if soequipped) defroster switch (P. 2-26)
2. Trailer hitch/towing (P. 9-17)
3 Replacing bulbs (P. 8-29)
4. Fuel-filler cap (P. 3-13) Fuel recommendation (P. 9-2)
5. Fuel-filler door (P. 3-13)
6. Vehicle loading (P. 9-13)
Refer to the page number indicated in pa-
rentheses for operating details.
LII2004
EXTERIOR REAR
0-4Illustrated table of contents
Page 75 of 380
WARNING
●Never let children ride unrestrained or
extend their hands or face out of the
window. Do not attempt to hold them in
your lap or arms. Some examples of
dangerous riding positions are shown
in the illustrations.
ARS1041ARS1042ARS1043
1-54Safety—Seats, seat belts and supplemental restraint system
Page 77 of 380

WARNING
Front seat-mounted side-impact supple-
mental air bags and roof-mounted curtain
side-impact rollover supplemental air
bags:
●The side air bags and curtain air bags
ordinarily will not inflate in the event of
a frontal impact, rear impact, rollover or
lower severity side collision. Always
wear your seat belts to help reduce the
risk or severity of injury in various kinds
of accidents. ●
The seat belts, the side air bags and
curtain and air bags are most effective
when you are sitting well back and up-
right in the seat with both feet on the
floor. The side air bag and curtain and
air bag inflate with great force. Do not
allow anyone to place their hand, leg or
face near the side air bag on the side of
the seatback of the front seat or near
the side roof rails. Do not allow anyone
sitting in the front seats to extend their
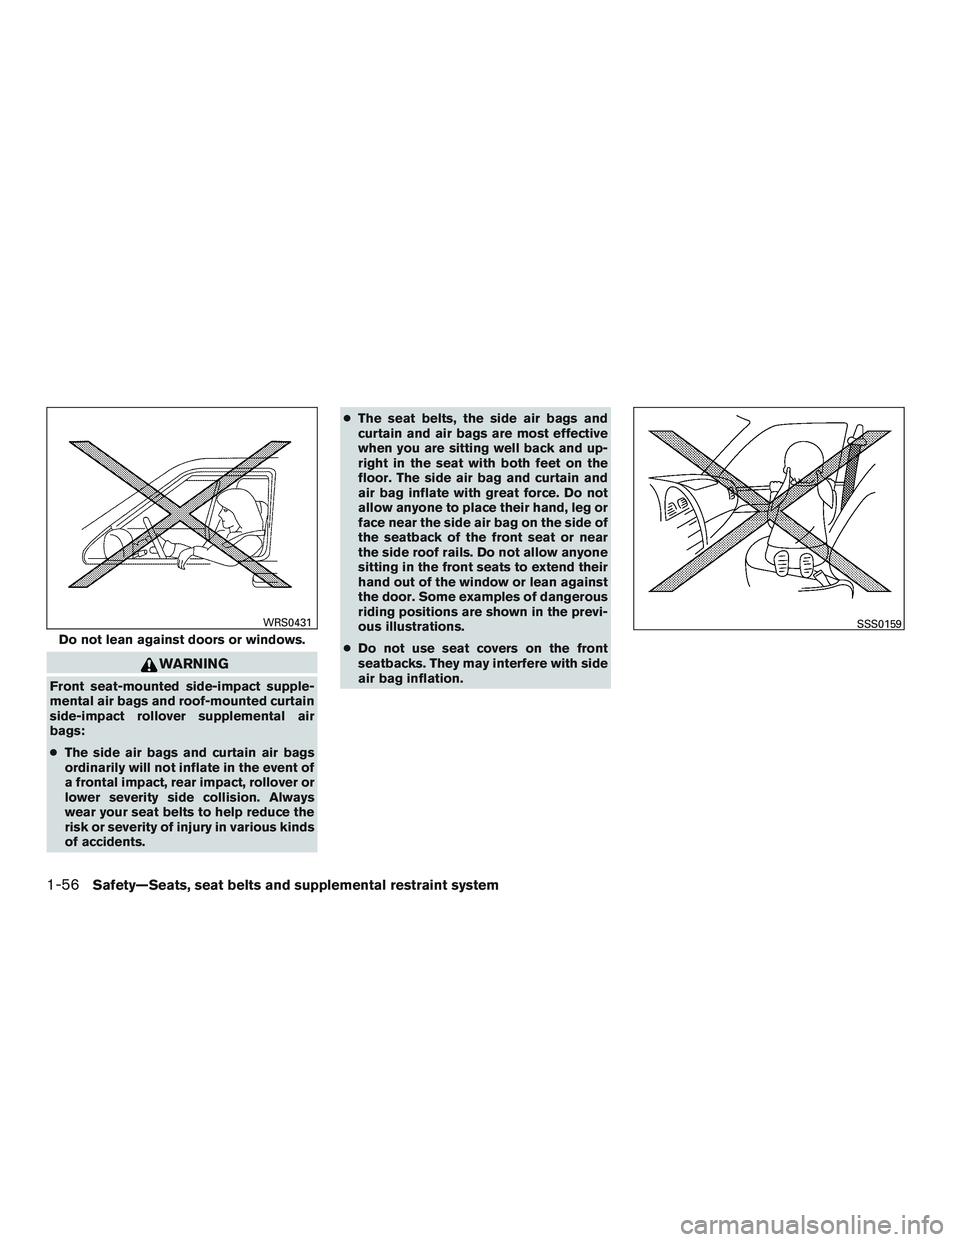
hand out of the window or lean against
the door. Some examples of dangerous
riding positions are shown in the previ-
ous illustrations.
● Do not use seat covers on the front
seatbacks. They may interfere with side
air bag inflation.
Do not lean against doors or windows.
WRS0431SSS0159
1-56Safety—Seats, seat belts and supplemental restraint system
Page 85 of 380

2 Instruments and controls
Instrument panel...................................2-2
Meters and gauges ................................2-3
Speedometer and odometer .....................2-4
Tachometer ....................................2-5
Engine coolant temperature gauge ...............2-5
Fuel gauge ....................................2-6
Engine oil pressure gauge .......................2-6
Voltmeter ......................................2-7
Automatic transmission fluid temperature
gauge .........................................2-7
Compass (if so equipped) ..........................2-8
Compass display (if so equipped) ................2-8
Warning lights, indicator lights and audible
reminders ........................................ 2-11
Checking lights ............................... 2-11
Warning lights ................................ 2-12
Indicator lights ................................ 2-16
Audible reminders ............................. 2-18
Vehicle Information Display ........................2-18
How to use the Vehicle Information Display .......2-18
Security systems (if so equipped) ..................2-23
Vehicle security system (if so equipped) ..........2-23
NISSAN vehicle immobilizer system
(if so equipped) ............................... 2-24Wiper and washer switch
......................... 2-25
Switch operation .............................. 2-25
Rear window and outside mirror (if so equipped)
defroster switch .................................. 2-26
Headlight and turn signal switch ....................2-27
Headlight control switch ........................ 2-27
Daytime running light system ....................2-28
Instrument brightness control ...................2-29
Turn signal switch ............................. 2-29
Fog light switch (if so equipped) ................2-29
Horn ............................................ 2-30
Heated seats (if so equipped) ......................2-30
Vehicle Dynamic Control (VDC) off switch ...........2-31
Power inverter switch (if so equipped) ..............2-31
Rear sonar system off switch (if so equipped) ........2-32
Front and rear sonar system off switch
(if so equipped) .................................. 2-33
T
ow mode switch (if so equipped) ..................2-33
Power outlets .................................... 2-34
12v outlet(s) .................................. 2-34
120v outlets (if so equipped) ...................2-37
Storage ......................................... 2-38
Map pockets .................................. 2-38
Page 86 of 380
Instrument panel storage trays . .................2-38
Under-seat storage ............................ 2-39
Sunglasses holder (if so equipped) ..............2-39
Cup holders .................................. 2-40
Glove box .................................... 2-41
Seat pocket (if so equipped) ....................2-42
Console box (if so equipped) ...................2-42
Storage bin ................................... 2-45Grocery hooks . .
.............................. 2-45
Windows ........................................ 2-46
Power windows (if so equipped) ................2-46
Manual windows (if so equipped) ................2-47
Manual vent windows .......................... 2-48
Interior lights ..................................... 2-48
Map lights .................................... 2-49
Page 108 of 380

Your vehicle may have two types of security sys-
tems:● Vehicle security system (if so equipped)
● NISSAN Vehicle Immobilizer System (if so
equipped)
VEHICLE SECURITY SYSTEM (if so
equipped)
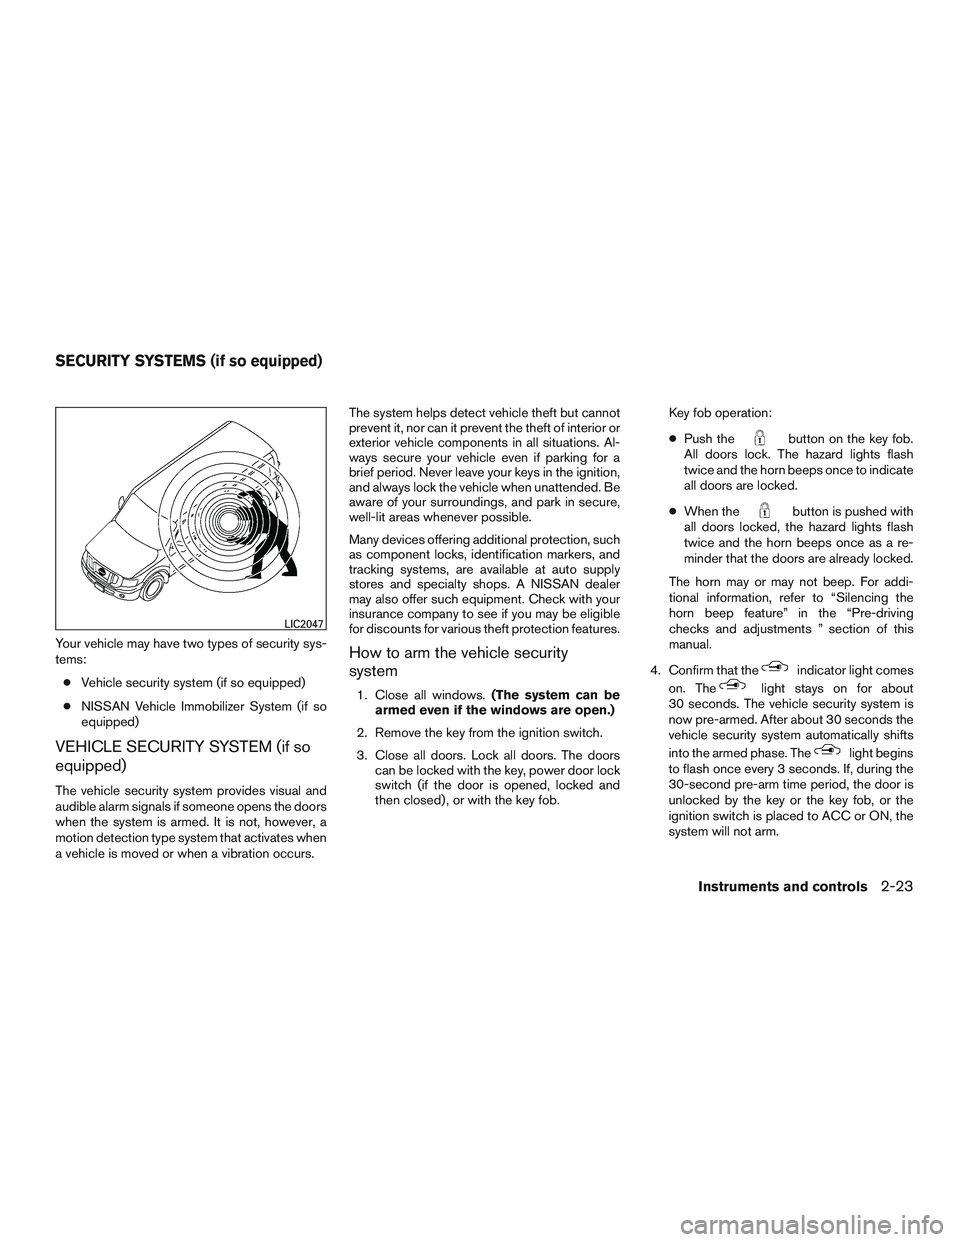
The vehicle security system provides visual and
audible alarm signals if someone opens the doors
when the system is armed. It is not, however, a
motion detection type system that activates when
a vehicle is moved or when a vibration occurs. The system helps detect vehicle theft but cannot
prevent it, nor can it prevent the theft of interior or
exterior vehicle components in all situations. Al-
ways secure your vehicle even if parking for a
brief period. Never leave your keys in the ignition,
and always lock the vehicle when unattended. Be
aware of your surroundings, and park in secure,
well-lit areas whenever possible.
Many devices offering additional protection, such
as component locks, identification markers, and
tracking systems, are available at auto supply
stores and specialty shops. A NISSAN dealer
may also offer such equipment. Check with your
insurance company to see if you may be eligible
for discounts for various theft protection features.
How to arm the vehicle security
system
1. Close all windows.
(The system can be
armed even if the windows are open.)
2. Remove the key from the ignition switch.
3. Close all doors. Lock all doors. The doors can be locked with the key, power door lock
switch (if the door is opened, locked and
then closed) , or with the key fob. Key fob operation:
●
Push the
button on the key fob.
All doors lock. The hazard lights flash
twice and the horn beeps once to indicate
all doors are locked.
● When the
button is pushed with
all doors locked, the hazard lights flash
twice and the horn beeps once as a re-
minder that the doors are already locked.
The horn may or may not beep. For addi-
tional information, refer to “Silencing the
horn beep feature” in the “Pre-driving
checks and adjustments ” section of this
manual.
4. Confirm that the
indicator light comes
on. The
light stays on for about
30 seconds. The vehicle security system is
now pre-armed. After about 30 seconds the
vehicle security system automatically shifts
into the armed phase. The
light begins
to flash once every 3 seconds. If, during the
30-second pre-arm time period, the door is
unlocked by the key or the key fob, or the
ignition switch is placed to ACC or ON, the
system will not arm.
LIC2047
SECURITY SYSTEMS (if so equipped)
Instruments and controls2-23
Page 111 of 380

Rotate the lever the opposite direction�4to have
one sweep operation (MIST) of the wiper.
Press the button on the end of the lever
�5to
operate the washer. The wiper will also operate
several times.
WARNING
In freezing temperatures the washer solu-
tion may freeze on the windshield and
obscure your vision which may lead to an
accident. Warm the windshield with the
defroster before you wash the windshield.
CAUTION
● Do not operate the washer continuously
for more than 30 seconds.
● Do not operate the washer if the
windshield-washer fluid reservoir is
empty.
● Do not fill the windshield-washer fluid
reservoir with windshield-washer fluid
concentrates at full strength. Some
methyl alcohol based windshield-
washer fluid concentrates may perma-
nently stain the grille if spilled while
filling the windshield-washer fluid
reservoir. ●
Pre-mix windshield-washer fluid con-
centrates with water to the manufactur-
er’s recommended levels before pour-
ing the fluid into the windshield-washer
fluid reservoir. Do not use the
windshield-washer fluid reservoir to
mix the windshield-washer fluid con-
centrate and water.
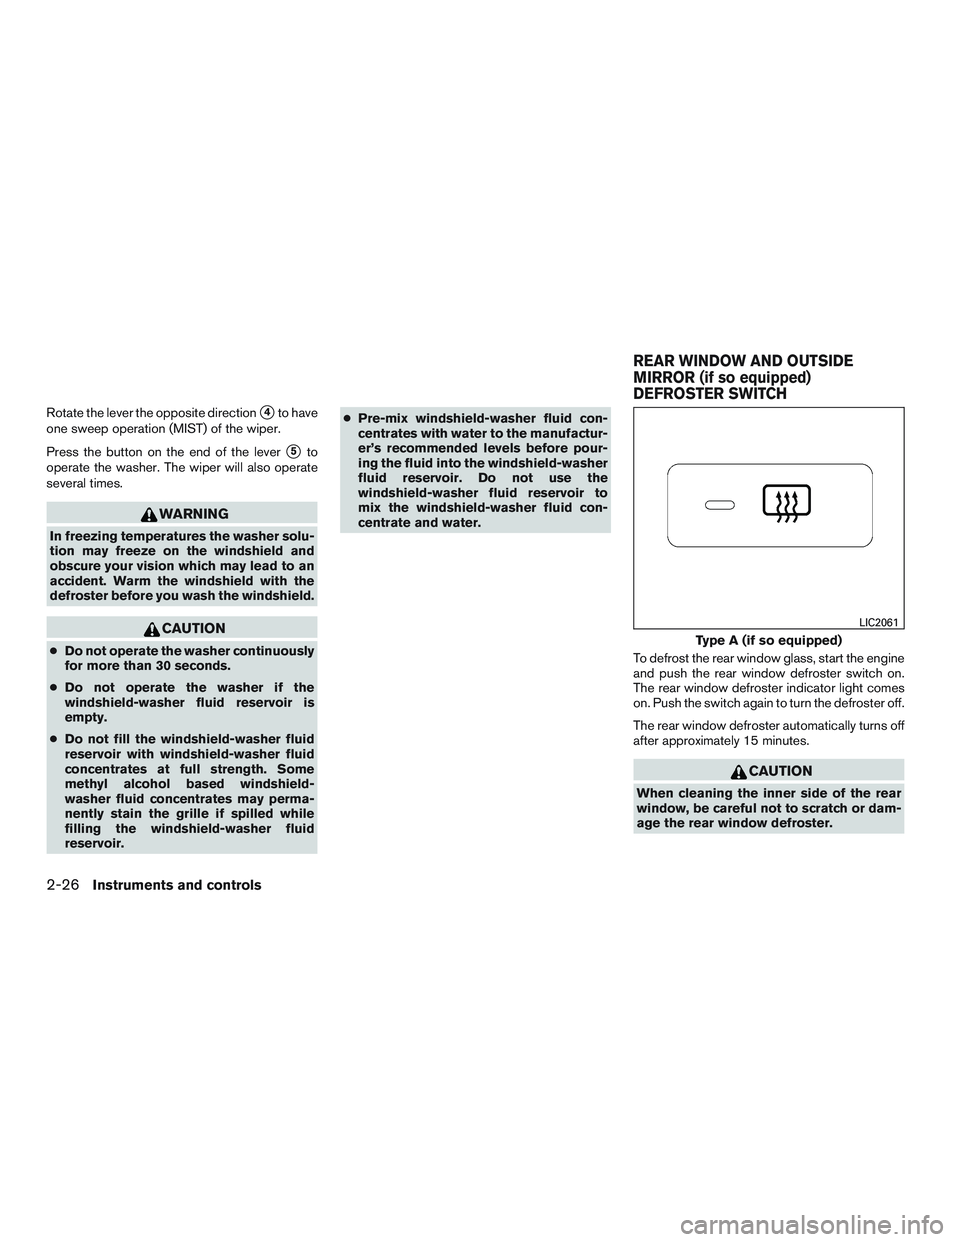
To defrost the rear window glass, start the engine
and push the rear window defroster switch on.
The rear window defroster indicator light comes
on. Push the switch again to turn the defroster off.
The rear window defroster automatically turns off
after approximately 15 minutes.
CAUTION
When cleaning the inner side of the rear
window, be careful not to scratch or dam-
age the rear window defroster.
Type A (if so equipped)
LIC2061
REAR WINDOW AND OUTSIDE
MIRROR (if so equipped)
DEFROSTER SWITCH
2-26Instruments and controls