Page 111 of 380
Rotate the lever the opposite direction�4to have
one sweep operation (MIST) of the wiper.
Press the button on the end of the lever
�5to
operate the washer. The wiper will also operate
several times.
WARNING
In freezing temperatures the washer solu-
tion may freeze on the windshield and
obscure your vision which may lead to an
accident. Warm the windshield with the
defroster before you wash the windshield.
CAUTION
● Do not operate the washer continuously
for more than 30 seconds.
● Do not operate the washer if the
windshield-washer fluid reservoir is
empty.
● Do not fill the windshield-washer fluid
reservoir with windshield-washer fluid
concentrates at full strength. Some
methyl alcohol based windshield-
washer fluid concentrates may perma-
nently stain the grille if spilled while
filling the windshield-washer fluid
reservoir. ●
Pre-mix windshield-washer fluid con-
centrates with water to the manufactur-
er’s recommended levels before pour-
ing the fluid into the windshield-washer
fluid reservoir. Do not use the
windshield-washer fluid reservoir to
mix the windshield-washer fluid con-
centrate and water.
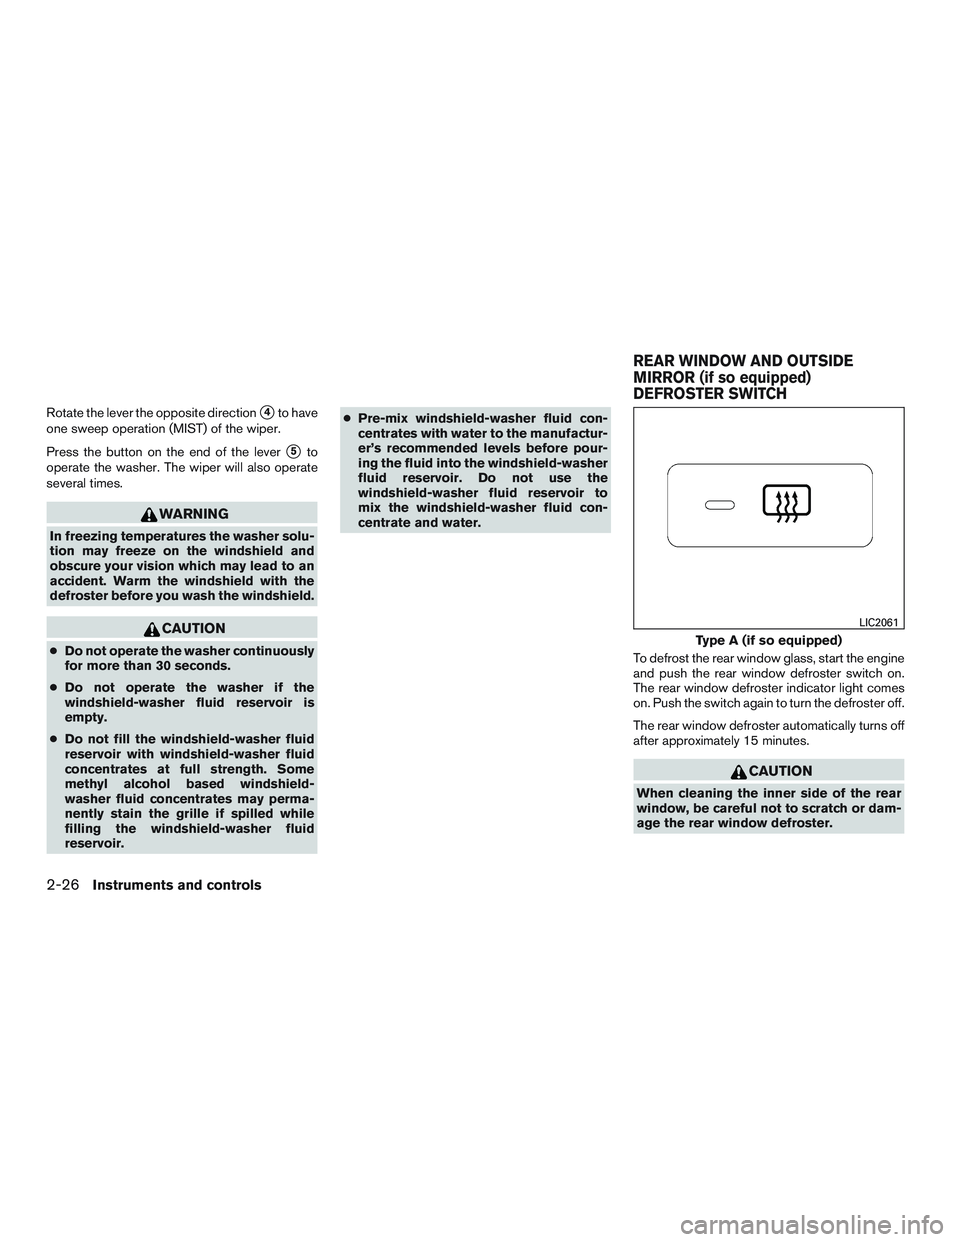
To defrost the rear window glass, start the engine
and push the rear window defroster switch on.
The rear window defroster indicator light comes
on. Push the switch again to turn the defroster off.
The rear window defroster automatically turns off
after approximately 15 minutes.
CAUTION
When cleaning the inner side of the rear
window, be careful not to scratch or dam-
age the rear window defroster.
Type A (if so equipped)
LIC2061
REAR WINDOW AND OUTSIDE
MIRROR (if so equipped)
DEFROSTER SWITCH
2-26Instruments and controls
Page 136 of 380
3 Pre-driving checks and adjustments
Keys .............................................3-2NISSAN Vehicle Immobilizer System keys
(if so equipped) ................................3-2
Doors ............................................3-3
Locking with key ................................3-3
Locking with inside lock knob ....................3-4
Locking with power door lock switch
(if so equipped) ................................3-5
Operating the sliding door .......................3-6
Back doors ....................................3-7
Automatic door locks (if so equipped). . . ..........3-8
Child safety sliding door lock ....................3-8
Remote keyless entry system (if so equipped) .........3-8
How to use remote keyless entry system ..........3-9Hood
........................................... 3-12
Fuel-filler door ................................... 3-13
Opening the fuel-filler door .....................3-13
Fuel-filler cap ................................. 3-13
Steering wheel ................................... 3-15
Tilt operation .................................. 3-15
Sun visors ....................................... 3-16
Storage Clip .................................. 3-16
Mirrors .......................................... 3-17
Rearview mirror (if so equipped) .................3-17
Automatic anti-glare rearview mirror
(if so equipped) ............................... 3-17
Outside mirrors ............................... 3-18
Page 152 of 380
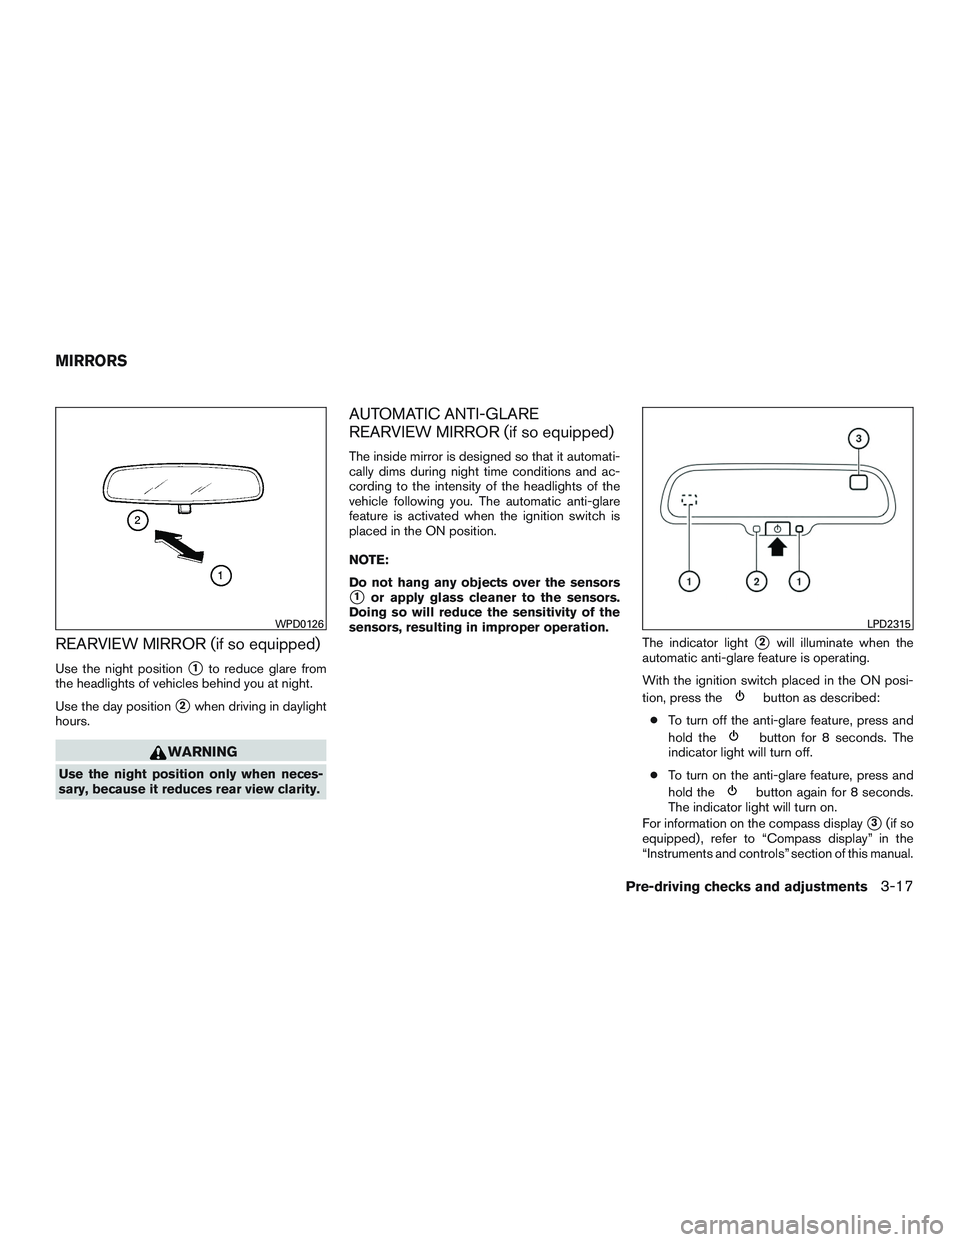
REARVIEW MIRROR (if so equipped)
Use the night position�1to reduce glare from
the headlights of vehicles behind you at night.
Use the day position
�2when driving in daylight
hours.
WARNING
Use the night position only when neces-
sary, because it reduces rear view clarity.
AUTOMATIC ANTI-GLARE
REARVIEW MIRROR (if so equipped)
The inside mirror is designed so that it automati-
cally dims during night time conditions and ac-
cording to the intensity of the headlights of the
vehicle following you. The automatic anti-glare
feature is activated when the ignition switch is
placed in the ON position.
NOTE:
Do not hang any objects over the sensors
�1or apply glass cleaner to the sensors.
Doing so will reduce the sensitivity of the
sensors, resulting in improper operation.
The indicator light
�2will illuminate when the
automatic anti-glare feature is operating.
With the ignition switch placed in the ON posi-
tion, press the
button as described:
● To turn off the anti-glare feature, press and
hold the
button for 8 seconds. The
indicator light will turn off.
● To turn on the anti-glare feature, press and
hold the
button again for 8 seconds.
The indicator light will turn on.
For information on the compass display
�3(if so
equipped) , refer to “Compass display” in the
“Instruments and controls” section of this manual.
WPD0126LPD2315
MIRRORS
Pre-driving checks and adjustments3-17
Page 153 of 380
OUTSIDE MIRRORS
WARNING
Objects viewed in the convex portion of
the mirror are closer than they appear. Be
careful when changing lanes or turning.
Using only the convex mirror could cause
an accident. Use the other mirrors or
glance over your shoulder to properly
judge distances to other objects.
Use the outside mirror remote control to adjust
the top portion of the mirror. The lower portion of the mirror can be moved
manually in any direction for a better rear view.
Pull the trailer tow mirror outward to extend it to
the desired position for better visibility while tow-
ing a trailer.WARNING
Do not extend or retract mirrors while driv-
ing. You may lose control of your vehicle
and cause an accident.
CAUTION
Driving in tight spaces with mirrors ex-
tended may cause damage to the vehicle.
Type A (if so equipped)
LPD2017
Type B (Trailer tow) (if so equipped)
LPD0279
Trailer tow
LPD0268
3-18Pre-driving checks and adjustments
Page 154 of 380
Electric control type
The outside mirror remote control will operate
only when the ignition switch is placed in the
ACC or ON position.
Move the small switch
�1to select the right or left
mirror. Adjust each mirror to the desired position
using the large switch
�2.
Foldable outside mirrors
Pull the outside mirror toward the door to fold it.
Heated mirrors (if so equipped)
Some outside mirrors can be heated to defrost,
defog, or de-ice for improved visibility. For addi-
tional information, refer to “Rear window and
outside mirror (if so equipped) defroster switch”
in the “Instruments and controls” section of this
manual.
LPD0237
Type A (if so equipped)
LPD2019
Type B (Trailer tow) (if so equipped)
LPD0269
Pre-driving checks and adjustments3-19
Page 165 of 380
1. CAMERA buttonWARNING
●Failure to follow the warnings and in-
structions for proper use of the Rear-
View Monitor system could result in se-
rious injury or death. ●
RearView Monitor is a convenience fea-
ture and is not a substitute for proper
backing. Always turn and look out the
windows and check mirrors to be sure
that it is safe to move before operating
the vehicle. Always back up slowly.
LHA3681
REARVIEW MONITOR (if so
equipped)
4-10Monitor, climate, audio, phone and voice recognition systems
Page 170 of 380
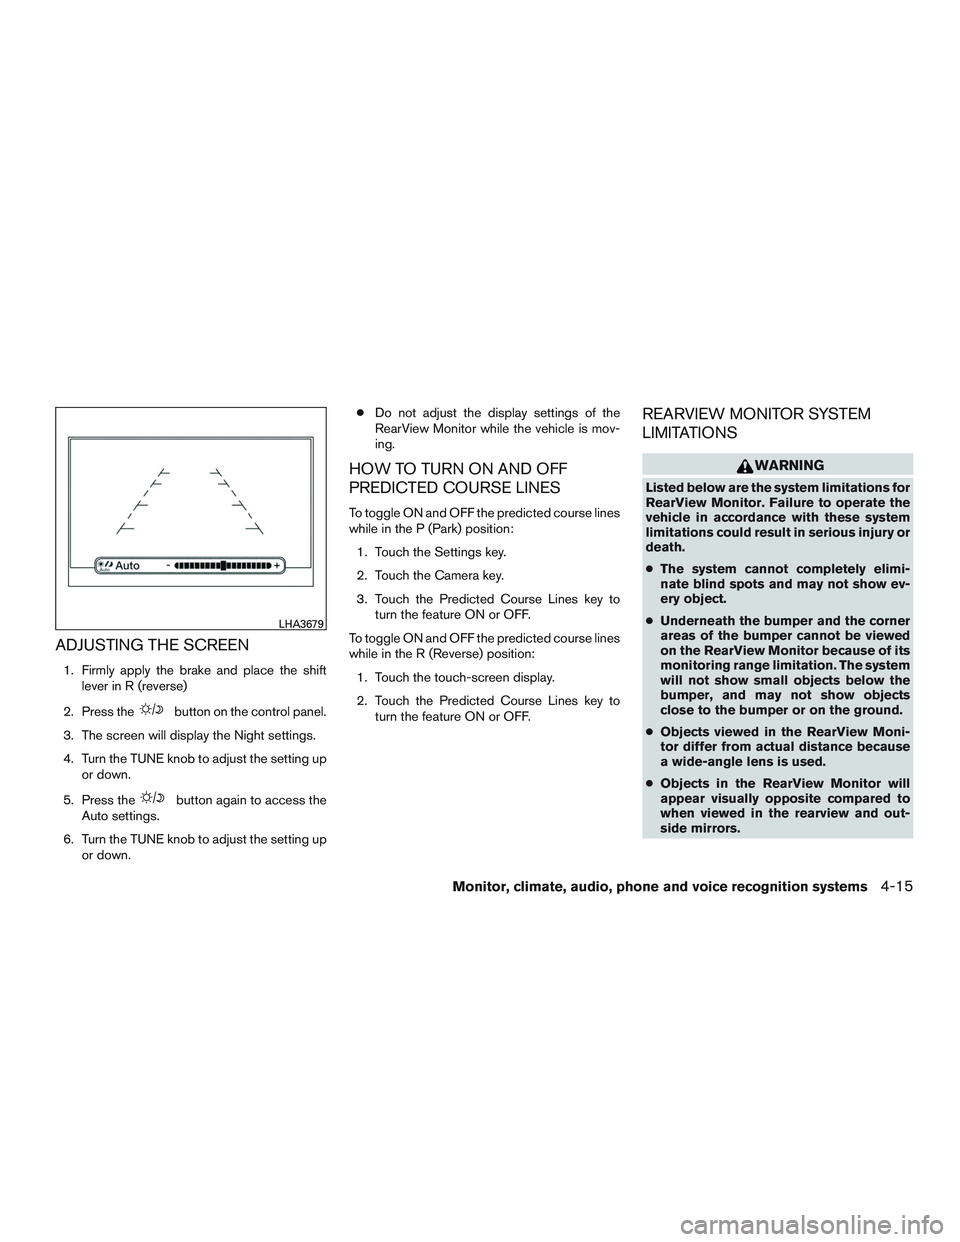
ADJUSTING THE SCREEN
1. Firmly apply the brake and place the shiftlever in R (reverse)
2. Press the
button on the control panel.
3. The screen will display the Night settings.
4. Turn the TUNE knob to adjust the setting up or down.
5. Press the
button again to access the
Auto settings.
6. Turn the TUNE knob to adjust the setting up or down. ●
Do not adjust the display settings of the
RearView Monitor while the vehicle is mov-
ing.
HOW TO TURN ON AND OFF
PREDICTED COURSE LINES
To toggle ON and OFF the predicted course lines
while in the P (Park) position:
1. Touch the Settings key.
2. Touch the Camera key.
3. Touch the Predicted Course Lines key to turn the feature ON or OFF.
To toggle ON and OFF the predicted course lines
while in the R (Reverse) position: 1. Touch the touch-screen display.
2. Touch the Predicted Course Lines key to turn the feature ON or OFF.
REARVIEW MONITOR SYSTEM
LIMITATIONS
WARNING
Listed below are the system limitations for
RearView Monitor. Failure to operate the
vehicle in accordance with these system
limitations could result in serious injury or
death.
●The system cannot completely elimi-
nate blind spots and may not show ev-
ery object.
● Underneath the bumper and the corner
areas of the bumper cannot be viewed
on the RearView Monitor because of its
monitoring range limitation. The system
will not show small objects below the
bumper, and may not show objects
close to the bumper or on the ground.
● Objects viewed in the RearView Moni-
tor differ from actual distance because
a wide-angle lens is used.
● Objects in the RearView Monitor will
appear visually opposite compared to
when viewed in the rearview and out-
side mirrors.
LHA3679
Monitor, climate, audio, phone and voice recognition systems4-15
Page 174 of 380
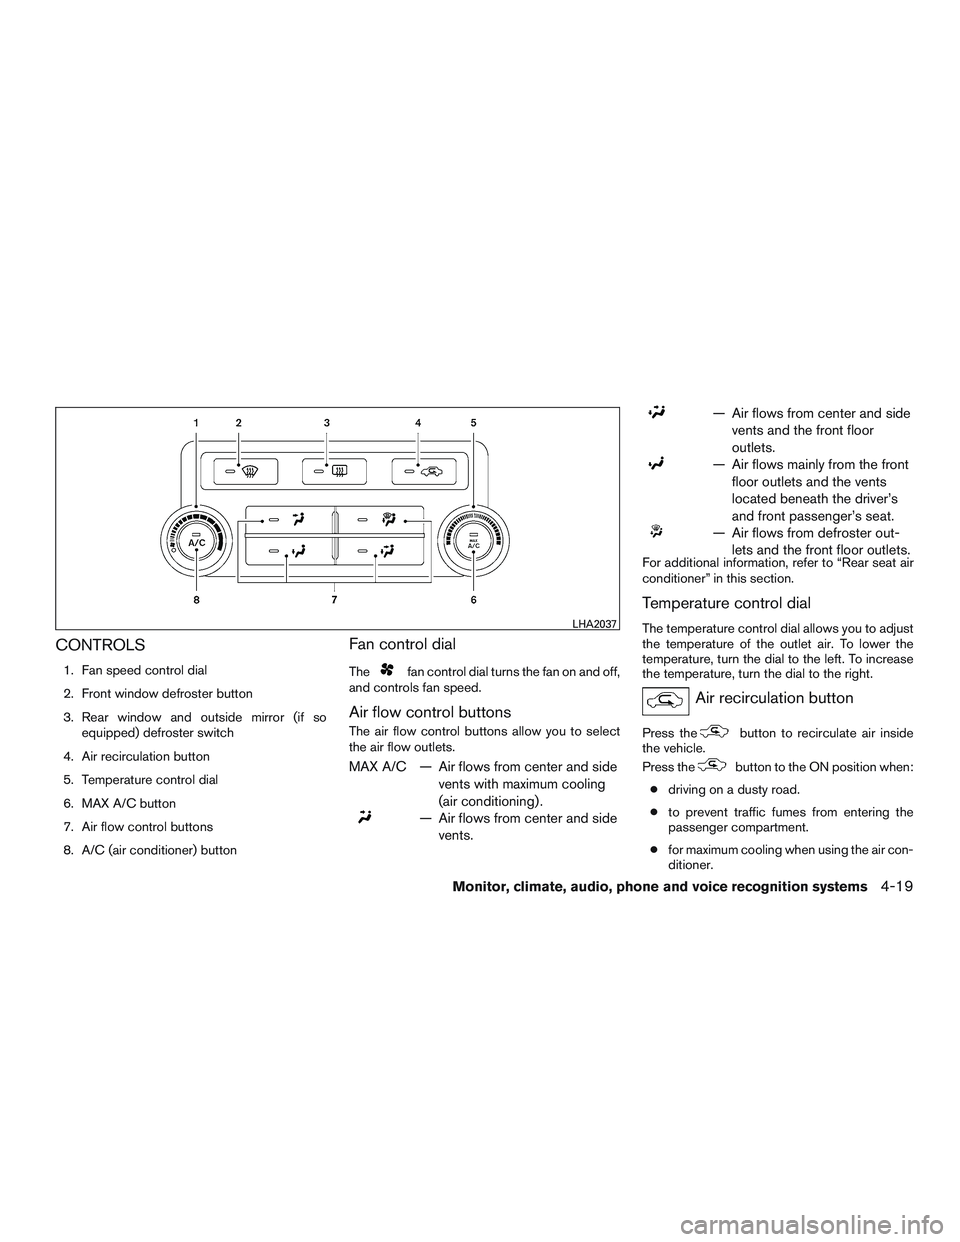
CONTROLS
1. Fan speed control dial
2. Front window defroster button
3. Rear window and outside mirror (if soequipped) defroster switch
4. Air recirculation button
5. Temperature control dial
6. MAX A/C button
7. Air flow control buttons
8. A/C (air conditioner) button
Fan control dial
Thefan control dial turns the fan on and off,
and controls fan speed.
Air flow control buttons
The air flow control buttons allow you to select
the air flow outlets.
MAX A/C — Air flows from center and side
vents with maximum cooling
(air conditioning) .
— Air flows from center and sidevents.
— Air flows from center and sidevents and the front floor
outlets.
— Air flows mainly from the frontfloor outlets and the vents
located beneath the driver’s
and front passenger’s seat.
— Air flows from defroster out-lets and the front floor outlets.
For additional information, refer to “Rear seat air
conditioner” in this section.
Temperature control dial
The temperature control dial allows you to adjust
the temperature of the outlet air. To lower the
temperature, turn the dial to the left. To increase
the temperature, turn the dial to the right.
Air recirculation button
Press thebutton to recirculate air inside
the vehicle.
Press the
button to the ON position when:
● driving on a dusty road.
● to prevent traffic fumes from entering the
passenger compartment.
● for maximum cooling when using the air con-
ditioner.
LHA2037
Monitor, climate, audio, phone and voice recognition systems4-19