2016 MERCEDES-BENZ GLS SUV service
[x] Cancel search: servicePage 183 of 397
Hill start assist will aid you when pulling away on
a hill. Further information on hill start assist
(Y page 151).
Do not shift into transmission position Nwhen
driving off-road. You could lose control of the
vehicle if you attempt to brake the vehicle using
the service brake. If the gradient is too steep for
your vehicle, back up in reverse gear.
Always observe the approach/departure angle
values (Y page 389).
Maximum gradient-climbing capability Always observe the maximum gradient climbing
ability values (Y page 389).
Hilltops When driving up an uphill gradient, slightly
reduce pressure on the accelerator immediately
before reaching the brow of the hill. Make use of the vehicle's own impetus to travel over the
brow.
This style of driving prevents:
R the vehicle from lifting off the ground on the
brow of a hill
R the vehicle from travelling too quickly down
the other side
Driving downhill R
Drive slowly.
R Do not drive at an angle down steep inclines.
Steer into the line of fall and drive with the
front wheels aligned straight. Otherwise, the
vehicle could slip sideways, tip and overturn.
R Before tackling steep downhill gradients, use
the left-hand steering wheel gearshift paddle
to shift to a lower gear.
R Activate DSR. If this is not sufficient, brake
gently. When doing so, make sure that the
vehicle is facing in the direction of the line of fall.
R Check that the brakes are working normally
after a long downhill stretch.
i Off-road ABS is activated when the off-road
program is selected.
At speeds below 30 km/h the front wheels
lock cyclically during braking. The digging-in
effect achieved in the process reduces the
stopping distance when driving off-road. The steerability of the vehicle is considerably
reduced if the wheels lock. Driving systems
Intelligent Drive
Mercedes-Benz Intelligent Drive stands for inno- vative driver assistance and safety systems
which enhance comfort and support the driver in
critical situations. With these intelligent co-ordi- nated systems Mercedes-Benz has set a mile-
stone on the path towards autonomous driving.
Mercedes-Benz Intelligent Drive embraces all
elements of active and passive safety in one well thought-out system – for the safety of the vehi-
cle occupants and that of other road users.
Further information on driving safety systems
(Y page 68). Cruise control
General notes Cruise control maintains a constant road speed
for you. It brakes automatically in order to avoid
exceeding the set speed. You must select a
lower gear in good time on long and steep down-
hill gradients, especially if the vehicle is laden or towing a trailer. By doing so, you will make use of
the braking effect of the engine. This relieves the load on the brake system and prevents the
brakes from overheating and wearing too
quickly.
Use cruise control only if road and traffic con-
ditions are appropriate for maintaining a steady
speed for a prolonged period. You can store any road speed above 30 km/h.
Important safety notes If you fail to adapt your driving style, cruise con-
trol can neither reduce the risk of an accident
nor override the laws of physics. Cruise control
cannot take into account road, weather or traffic
conditions. Cruise control is only an aid. You are
responsible for the distance to the vehicle in
front, for vehicle speed, for braking in good time and for staying in lane. 180
Driving systemsDriving and parking
Page 191 of 397
Stopping
G
WARNING
When leaving the vehicle, even if it is braked
only by DISTRONIC PLUS, it could roll away if:
R there is a malfunction in the system or in
the voltage supply.
R DISTRONIC PLUS has been deactivated
with the cruise control lever, e.g. by a vehi-
cle occupant or from outside the vehicle.
R the electrical system in the engine com-
partment, the battery or the fuses have
been tampered with.
R the battery is disconnected.
R the accelerator pedal has been depressed,
e.g. by a vehicle occupant.
There is a risk of an accident.
If you wish to exit the vehicle, always turn off
DISTRONIC PLUS and secure the vehicle
against rolling away.
If Distance Pilot DISTRONIC detects that the
vehicle in front is stopping, it brakes your vehicle to a stop.
Once your vehicle is stationary, it remains sta-
tionary and you do not need to depress the
brake.
After a short period, the vehicle is secured by
the electric parking brake, thus relieving the
service brake.
Depending on the specified minimum distance,
your vehicle will come to a standstill at a suffi-
cient distance behind the vehicle in front. The
specified minimum distance is set using the
control on the cruise control lever.
The transmission is shifted automatically to
position P if, with Distance Pilot DISTRONIC
activated and the vehicle stationary:
R the driver's door is open and the driver's seat
belt is unfastened
R the engine is switched off, unless it is auto-
matically switched off by the ECO start/stop
function
The electric parking brake secures the vehicle
automatically if, with Distance Pilot DISTRONIC activated and the vehicle stationary:
R a system fault occurs.
R the power supply is insufficient. On steep uphill or downhill inclines or if there is
a malfunction, the transmission may also be
automatically shifted into position P.
Setting a speed Bear in mind that it may take a brief moment
until the vehicle has accelerated or braked to
the set speed.
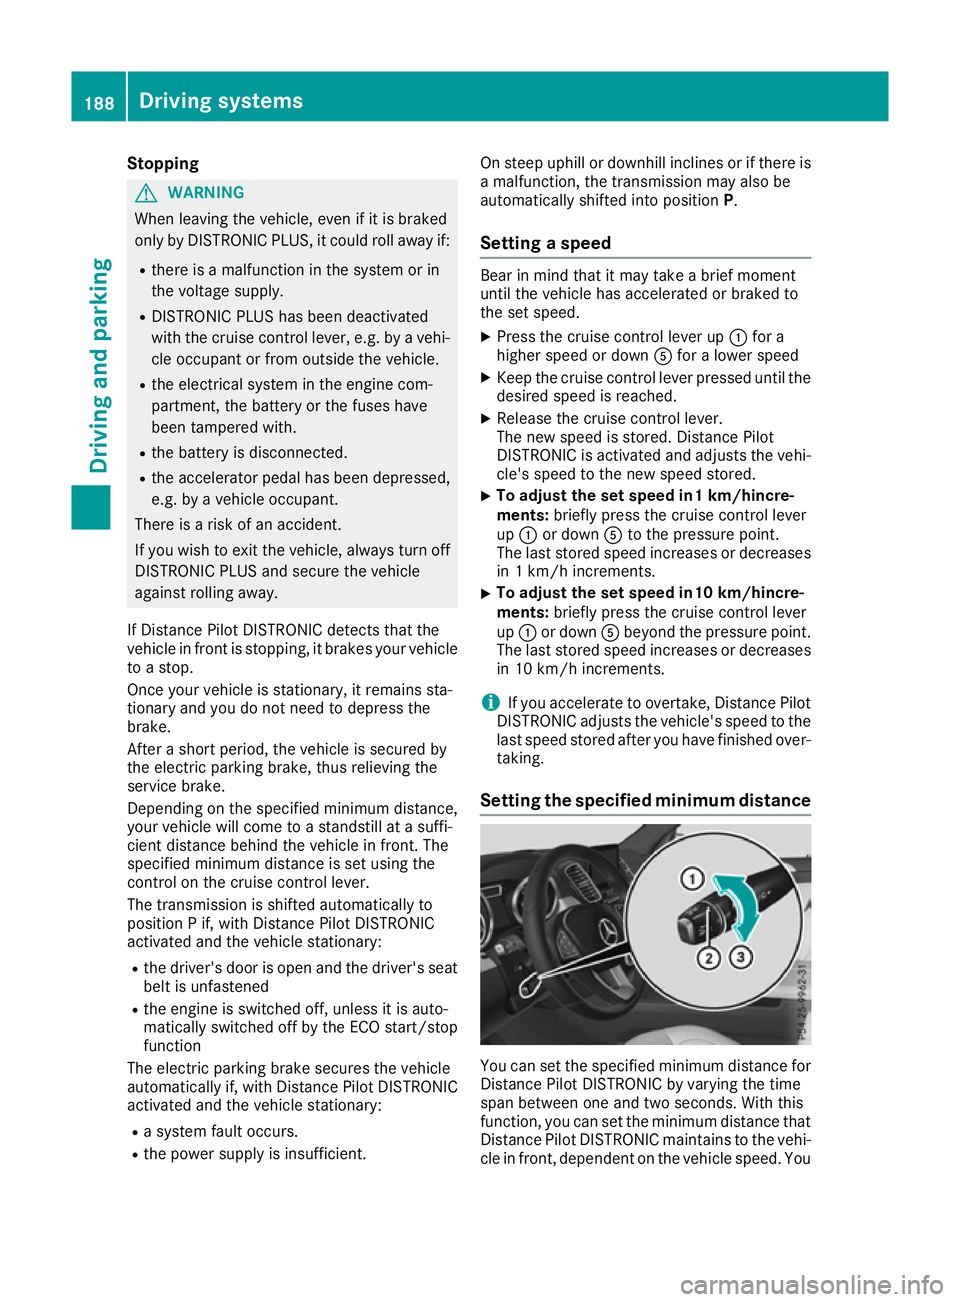
X Press the cruise control lever up :for a
higher speed or down Afor a lower speed
X Keep the cruise control lever pressed until the
desired speed is reached.
X Release the cruise control lever.
The new speed is stored. Distance Pilot
DISTRONIC is activated and adjusts the vehi-
cle's speed to the new speed stored.
X To adjust the set speed in1 km/hincre-
ments:
briefly press the cruise control lever
up : or down Ato the pressure point.
The last stored speed increases or decreases
in 1 km/h increments.
X To adjust the set speed in10 km/hincre-
ments: briefly press the cruise control lever
up : or down Abeyond the pressure point.
The last stored speed increases or decreases
in 10 km/h increments.
i If you accelerate to overtake, Distance Pilot
DISTRONIC adjusts the vehicle's speed to the last speed stored after you have finished over-
taking.
Setting the specified minimum distance You can set the specified minimum distance for
Distance Pilot DISTRONIC by varying the time
span between one and two seconds. With this
function, you can set the minimum distance that
Distance Pilot DISTRONIC maintains to the vehi- cle in front, dependent on the vehicle speed. You 188
Driving systemsDriving and parking
Page 199 of 397
Deactivate the HOLD function (Y
page 196).
Activation conditions You can activate the HOLD function if:
R the vehicle is stationary
R the engine is running or if it has been auto-
matically switched off by the ECO start/stop
function
R the driver's door is closed or if your seat belt
is fastened
R the electric parking brake is released
R the transmission is in position D,Ror N
R Distance Pilot DISTRONIC is deactivated
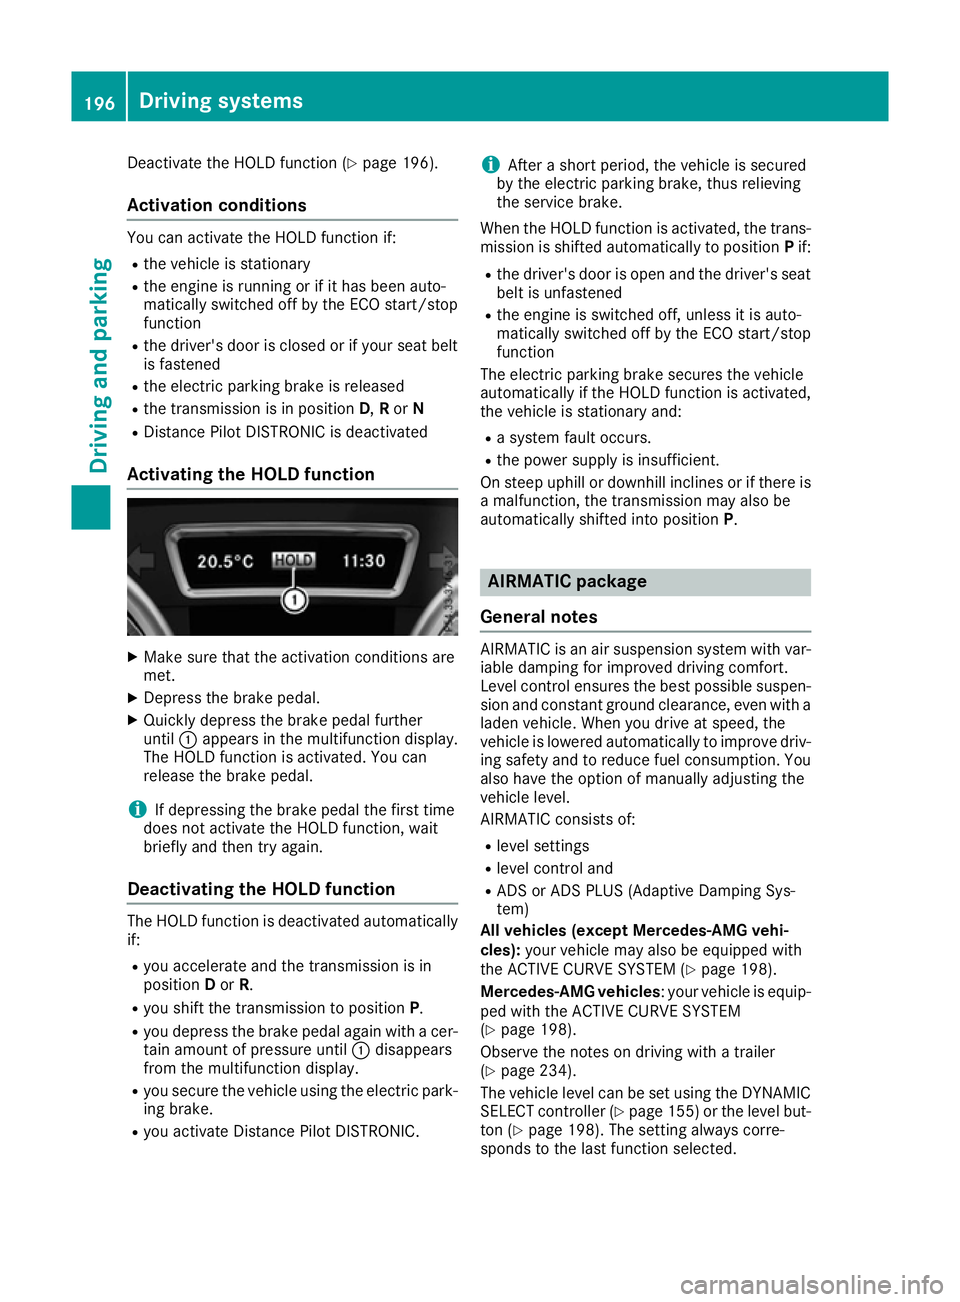
Activating the HOLD function X
Make sure that the activation conditions are
met.
X Depress the brake pedal.
X Quickly depress the brake pedal further
until :appears in the multifunction display.
The HOLD function is activated. You can
release the brake pedal.
i If depressing the brake pedal the first time
does not activate the HOLD function, wait
briefly and then try again.
Deactivating the HOLD function The HOLD function is deactivated automatically
if:
R you accelerate and the transmission is in
position Dor R.
R you shift the transmission to position P.
R you depress the brake pedal again with a cer-
tain amount of pressure until :disappears
from the multifunction display.
R you secure the vehicle using the electric park-
ing brake.
R you activate Distance Pilot DISTRONIC. i
After a short period, the vehicle is secured
by the electric parking brake, thus relieving
the service brake.
When the HOLD function is activated, the trans-
mission is shifted automatically to position Pif:
R the driver's door is open and the driver's seat
belt is unfastened
R the engine is switched off, unless it is auto-
matically switched off by the ECO start/stop
function
The electric parking brake secures the vehicle
automatically if the HOLD function is activated,
the vehicle is stationary and:
R a system fault occurs.
R the power supply is insufficient.
On steep uphill or downhill inclines or if there is
a malfunction, the transmission may also be
automatically shifted into position P. AIRMATIC package
General notes AIRMATIC is an air suspension system with var-
iable damping for improved driving comfort.
Level control ensures the best possible suspen- sion and constant ground clearance, even with a laden vehicle. When you drive at speed, the
vehicle is lowered automatically to improve driv-
ing safety and to reduce fuel consumption. You
also have the option of manually adjusting the
vehicle level.
AIRMATIC consists of:
R level settings
R level control and
R ADS or ADS PLUS (Adaptive Damping Sys-
tem)
All vehicles (except Mercedes-AMG vehi-
cles): your vehicle may also be equipped with
the ACTIVE CURVE SYSTEM (Y page 198).
Mercedes-AMG vehicles : your vehicle is equip-
ped with the ACTIVE CURVE SYSTEM
(Y page 198).
Observe the notes on driving with a trailer
(Y page 234).
The vehicle level can be set using the DYNAMIC
SELECT controller (Y page 155)or the level but-
ton (Y page 198). The setting always corre-
sponds to the last function selected. 196
Driving systemsDriving and parking
Page 220 of 397

X
Select the assistance graphic display for
ATTENTION ASSIST using the on-board com-
puter (Y page 249).
The following information is displayed:
R The length of the journey since the last break
R The attention level determined by ATTENTION
ASSIST, displayed in a bar display in five levelsfrom high to low
R If ATTENTION ASSIST is unable to calculate
the attention level and cannot output a warn-
ing, the System suspended
System suspended message
appears. The bar display then changes the
display, e.g. if you are driving at a speed below
60 km/h or above 200 km/h.
Activating ATTENTION ASSIST X
Activate ATTENTION ASSIST using the on-
board computer (Y page 250).
The system determines the attention level of
the driver depending on the setting selected:
Standard selected: the sensitivity with which
the system determines the attention level is set
to normal.
Sensitive selected: the sensitivity is set higher.
The attention level detected by ATTENTION
ASSIST is adapted accordingly and the driver is
warned earlier.
When ATTENTION ASSIST is deactivated, the
À symbol and OFF appear in the multifunc-
tion display in the assistance graphics display
when the engine is running.
When ATTENTION ASSIST has been deactivated, it is automatically reactivated after the engine
has been switched off. The sensitivity selected
corresponds to the last selection activated
(standard/sensitive).
Warning in the multifunction display If fatigue or increasing lapses in concentration
are detected, a warning appears in the multi-
function display: Attention
Attention Assist: Assist:Take
Takea
a
break!
break!
In addition to the message shown in the multi-
function display, you will then hear a warning
tone.
X If necessary, take a break.
X Confirm the message by pressing the a
button on the steering wheel.
On long journeys, take regular breaks in good
time to allow yourself to rest. If you do not take a break, you will be warned again after
15 minutes at the earliest. This will happen only
if ATTENTION ASSIST still detects typical indi-
cators of fatigue or increasing lapses in concen- tration.
Vehicles with COMAND Online: if a warning is
output in the multifunction display, a service
station search is performed in COMAND Online. You can select a service station and you will then
be navigated to this service station. This func-
tion can be activated and deactivated in
COMAND Online. Traffic Sign Assist
General notes Traffic Sign Assist displays the maximum speed
permitted and overtaking restrictions to the
driver in the instrument cluster. Driving onto a
section of road in the wrong direction triggers a
warning. Traffic Sign Assist detects traffic signs with camera system :attached behind the top
of the windscreen. The data and general traffic
regulations stored in the navigation system are
also used to determine the current speed limit.
If a traffic sign that is relevant to your vehicle is passed, the display of the speed limits and over-
taking restrictions is updated.
The display can also be updated without a visible traffic sign in the following situations:
R The vehicle changes roads (e.g. motorway
exit or slip road)
R A village or town boundary that is stored in the
digital map is passed
R The last traffic sign detected by the camera
has not been repeated
If a sign indicating the end of a restriction (speed
limit or overtaking restriction) is passed, the
sign is displayed for five seconds. The currently Driving systems
217Driving and parking Z
Page 251 of 397

TV operation
The preset position is also displayed only if the
channel :has been stored. Store TV channels
in the multimedia system.
X Switch on the multimedia system and select
TV; see the separate operating instructions.
X Press the =or; button on the steering
wheel to select the Audio
Audio menu.
X To select a stored channel: briefly press the
9 or: button.
X To select a channel from the channel list:
press and briefly hold the 9or: but-
ton.
i Depending on the digital TV broadcaster,
radio stations can also be received. The mul-
tifunction display shows TV (RADIO)
TV (RADIO). Telephone menu
Introduction G
WARNING
Operating the integrated information systems and communications equipment in the vehicle
while driving will distract you from traffic con-
ditions. You could then lose control of the
vehicle. There is a risk of an accident.
Only operate these devices if road traffic con-
ditions permit. If you are unsure about the
surrounding conditions, pull over to a safe
location and make entries only while the vehi-
cle is stationary.
When telephoning, you must observe the legal
requirements for the country in which you are
currently driving.
X Switch on the mobile phone (see the manu-
facturer's operating instructions).
X Switch on the multimedia system (see sepa-
rate operating instructions). X
Insert the mobile phone into the bracket
(Y page 325).
or X Establish a Bluetooth ®
connection to the mul-
timedia system; see the separate operating
instructions.
X Press the =or; button on the steering
wheel to select the Tel
Tel menu.
You will see one of the following display mes-
sages in the multifunction display:
R Telephone ready Telephone ready or the name of the net-
work provider: the mobile phone has found a network and is ready to receive.
R Telephone
Telephone No
No service
service: there is no network
available or the mobile phone is searching for
a network.
i You can obtain further information about
suitable mobile phones and connecting
mobile phones via Bluetooth ®
:
R at any Mercedes-Benz Service Centre
R on the Internet at http://www.mercedes-
benz.com/connect
Accepting a call If someone calls you when you are in the
Tel Tel
menu, a display message appears in the multi-
function display.
You can accept a call at any time irrespective of
the selected menu.
X Press the 6button on the steering wheel
to accept an incoming call.
Rejecting or ending a call You can end or reject a call even if you are not in
the Tel Tel menu.
X Press the ~button on the steering wheel
to reject or end an incoming call.
Selecting an entry from the telephone
book X
Press the =or; button on the steering
wheel to select the Tel
Tel menu.
X Press the 9,:ora button to
switch to the phone book.
X Authorise access to the phone book on the
phone. 248
Menus and submenusOn-board computer and displays
Page 254 of 397
Activating/deactivating Lane Keeping
Assist X
Press the =or; button on the steering
wheel to select the Assist.
Assist. menu.
X Press the 9or: button to select
Lane Keeping Assist
Lane Keeping Assist .
X Press ato confirm.
The current selection appears.
X Press ato confirm.
X Press the :or9 button to set Off
Off ,
Standard
Standard orAdaptive
Adaptive.
When Lane Keeping Assist or Active Lane
Keeping Assist is activated, the multifunction display shows the lane markings as bright
lines in the assistance graphic.
X Press the abutton to save the setting.
Further information about Lane Keeping Assist
(Y page 221).
Further information about Active Lane Keeping
Assist (Y page 224). Service menu
Depending on the equipment fitted in the vehi-
cle, you have the following options in the Ser‐
Ser‐
vice
vice menu:
R Calling up display messages in the message
memory (Y page 258)
R Restarting the tyre pressure loss warning sys-
tem (Y page 366) or checking the tyre pres-
sure electronically (Y page 367)
R Calling up the service due date
(Y page 337) Settings menu
Introduction Depending on the equipment fitted in the vehi-
cle, In the Settings
Settings menu you have the follow-
ing options:
R Changing the instrument cluster settings
(Y page 251)
R Changing the light settings (Y page 252)
R Changing the vehicle settings (Y page 252)
R Changing the heating settings (Y page 253)R
Changing the convenience settings
(Y page 254)
R Restoring the factory settings (Y page 255)
Instrument cluster submenu Selecting the unit of measurement for dis-
tance
The Display unit Speed-/odometer: Display unit Speed-/odometer: func-
tion allows you to choose whether certain dis-
plays appear in kilometres or miles in the mul-
tifunction display.
X Press the =or; button on the steering
wheel to select the Settings Settingsmenu.
X Press the :or9 button to select the
Instrument cluster
Instrument cluster submenu.
X Press ato confirm.
X Press the :or9 button to select the
Display unit Speed-/odometer
Display unit Speed-/odometer function.
You will see the selected setting: km
kmormiles
miles.
X Press the abutton to save the setting.
The selected unit of measurement for distance
applies to the following:
R Digital speedometer in the Trip
Trip menu
R Total distance recorder and the trip meter
R Trip computer
R Current consumption and the range
R Navigation instructions in the Navi
Navi menu
R Cruise control
R Speed limiter
R Distance Pilot DISTRONIC
R ASSYST PLUS service interval display
Selecting permanent display
United Kingdom: this function is unavailable.
The Permanent display:
Permanent display: function allows you
to choose whether the multifunction display
always shows the outside temperature or the
speed.
The speed display is inverse to your speedome- ter.
X Press the =or; button on the steering
wheel to select the Settings Settingsmenu.
X Press the :or9 button to select the
Instrument cluster Instrument cluster submenu.
X Confirm by pressing aon the steering
wheel. Menus and sub
menus
251On-board computer and displays Z
Page 292 of 397
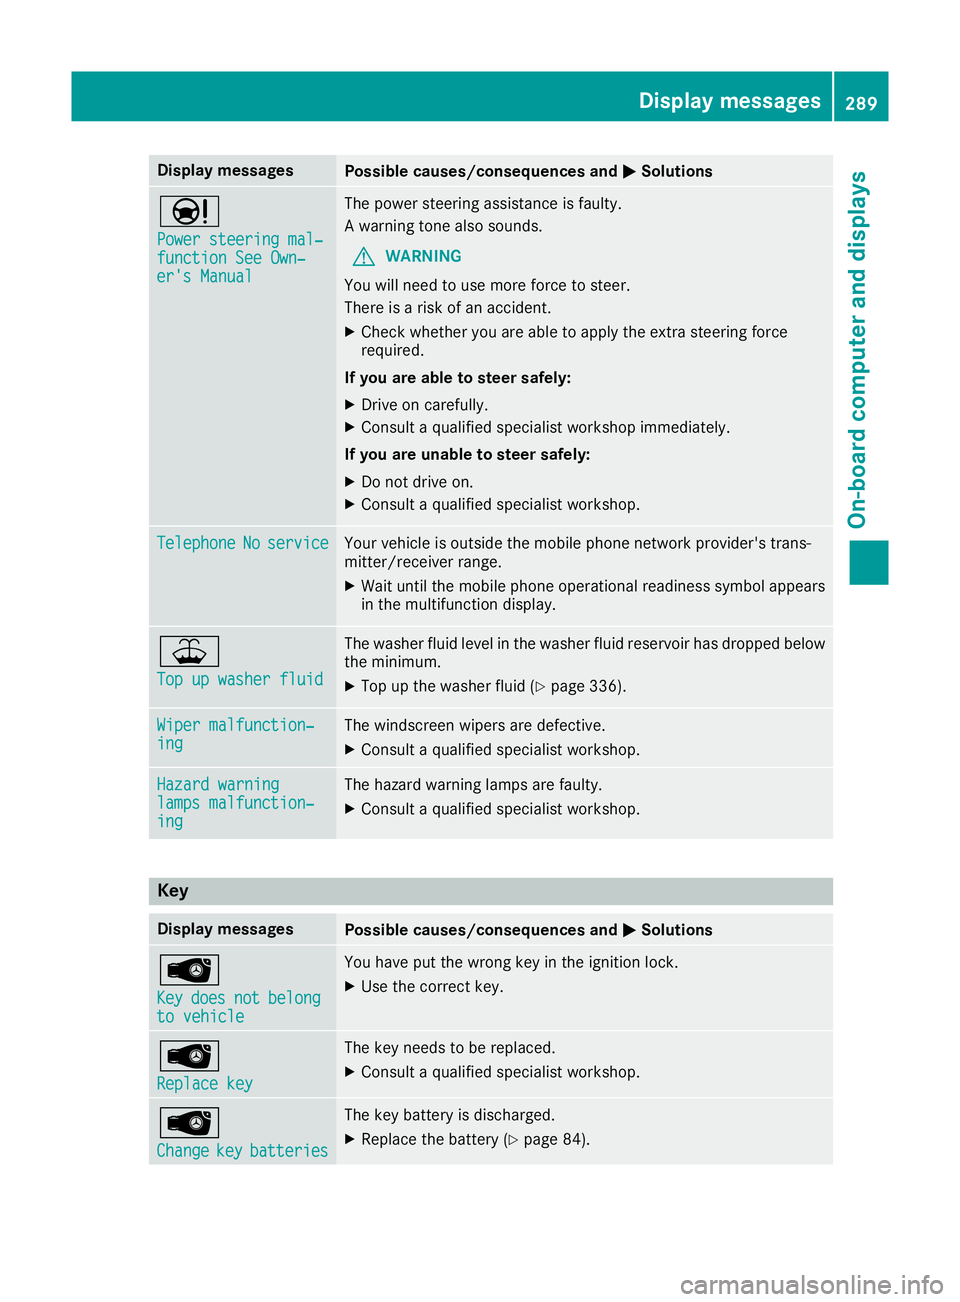
Display messages
Possible causes/consequences and
M
MSolutions Ð
Power steering mal‐ Power steering mal‐
function See Own‐ function See Own‐
er's Manual er's Manual The power steering assistance is faulty.
A warning tone also sounds.
G WARNING
You will need to use more force to steer.
There is a risk of an accident.
X Check whether you are able to apply the extra steering force
required.
If you are able to steer safely:
X Drive on carefully.
X Consult a qualified specialist workshop immediately.
If you are unable to steer safely:
X Do not drive on.
X Consult a qualified specialist workshop. Telephone Telephone
No
Noservice
service Your vehicle is outside the mobile phone network provider's trans-
mitter/receiver range.
X Wait until the mobile phone operational readiness symbol appears
in the multifunction display. ¥
Top up washer fluid Top up washer fluid The washer fluid level in the washer fluid reservoir has dropped below
the minimum.
X Top up the washer fluid (Y page 336).Wiper malfunction‐
Wiper malfunction‐
ing ing The windscreen wipers are defective.
X Consult a qualified specialist workshop. Hazard warning
Hazard warning
lamps malfunction‐ lamps malfunction‐
ing ing The hazard warning lamps are faulty.
X Consult a qualified specialist workshop. Key
Display messages
Possible causes/consequences and
M
MSolutions Â
Key Key
does
does not
notbelong
belong
to vehicle
to vehicle You have put the wrong key in the ignition lock.
X Use the correct key. Â
Replace key Replace key The key needs to be replaced.
X Consult a qualified specialist workshop. Â
Change Change
key
keybatteries
batteries The key battery is discharged.
X Replace the battery (Y page 84). Display
messages
289On-board computer and displays Z
Page 315 of 397
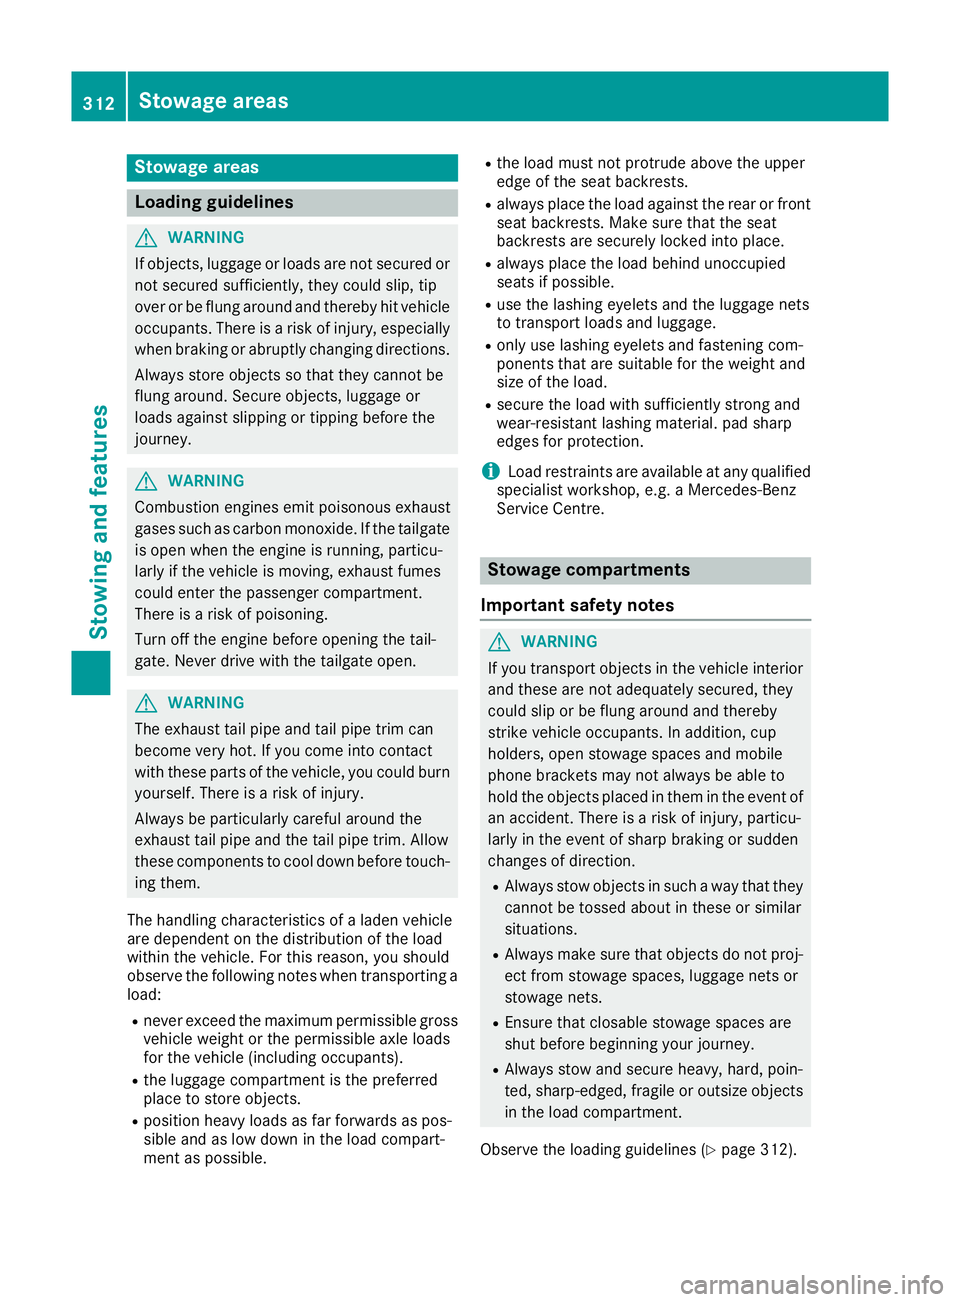
Stowage areas
Loading guidelines
G
WARNING
If objects, luggage or loads are not secured or not secured sufficiently, they could slip, tip
over or be flung around and thereby hit vehicle
occupants. There is a risk of injury, especially when braking or abruptly changing directions.
Always store objects so that they cannot be
flung around. Secure objects, luggage or
loads against slipping or tipping before the
journey. G
WARNING
Combustion engines emit poisonous exhaust
gases such as carbon monoxide. If the tailgate is open when the engine is running, particu-
larly if the vehicle is moving, exhaust fumes
could enter the passenger compartment.
There is a risk of poisoning.
Turn off the engine before opening the tail-
gate. Never drive with the tailgate open. G
WARNING
The exhaust tail pipe and tail pipe trim can
become very hot. If you come into contact
with these parts of the vehicle, you could burn
yourself. There is a risk of injury.
Always be particularly careful around the
exhaust tail pipe and the tail pipe trim. Allow
these components to cool down before touch-
ing them.
The handling characteristics of a laden vehicle
are dependent on the distribution of the load
within the vehicle. For this reason, you should
observe the following notes when transporting a
load:
R never exceed the maximum permissible gross
vehicle weight or the permissible axle loads
for the vehicle (including occupants).
R the luggage compartment is the preferred
place to store objects.
R position heavy loads as far forwards as pos-
sible and as low down in the load compart-
ment as possible. R
the load must not protrude above the upper
edge of the seat backrests.
R always place the load against the rear or front
seat backrests. Make sure that the seat
backrests are securely locked into place.
R always place the load behind unoccupied
seats if possible.
R use the lashing eyelets and the luggage nets
to transport loads and luggage.
R only use lashing eyelets and fastening com-
ponents that are suitable for the weight and
size of the load.
R secure the load with sufficiently strong and
wear-resistant lashing material. pad sharp
edges for protection.
i Load restraints are available at any qualified
specialist workshop, e.g. a Mercedes-Benz
Service Centre. Stowage compartments
Important safety notes G
WARNING
If you transport objects in the vehicle interior and these are not adequately secured, they
could slip or be flung around and thereby
strike vehicle occupants. In addition, cup
holders, open stowage spaces and mobile
phone brackets may not always be able to
hold the objects placed in them in the event of an accident. There is a risk of injury, particu-
larly in the event of sharp braking or sudden
changes of direction.
R Always stow objects in such a way that they
cannot be tossed about in these or similar
situations.
R Always make sure that objects do not proj-
ect from stowage spaces, luggage nets or
stowage nets.
R Ensure that closable stowage spaces are
shut before beginning your journey.
R Always stow and secure heavy, hard, poin-
ted, sharp-edged, fragile or outsize objects
in the load compartment.
Observe the loading guidelines (Y page 312).312
Stowage areasStowing and features