2016 MERCEDES-BENZ GLC-Class light
[x] Cancel search: lightPage 193 of 222
Deleting all files
!
In order to preven tmalfunctions, do no t
use COMAN Ddurin gthis time.
Thi sfunction delete sall files from th eMEDI A
REGISTER.
XIn media mode: press th eÕ button.
The men uappears wit hth eavailable media
sources.
XTo selec tth emedia source :turn th econ-
trolle rand press to confirm .
XTo switch to themen ubar :slid e6 the
controller .
XTo selectOption s:turn and press th econ-
troller.
XSelec tManage Media Register.
XSelec tDelete All Media Files.
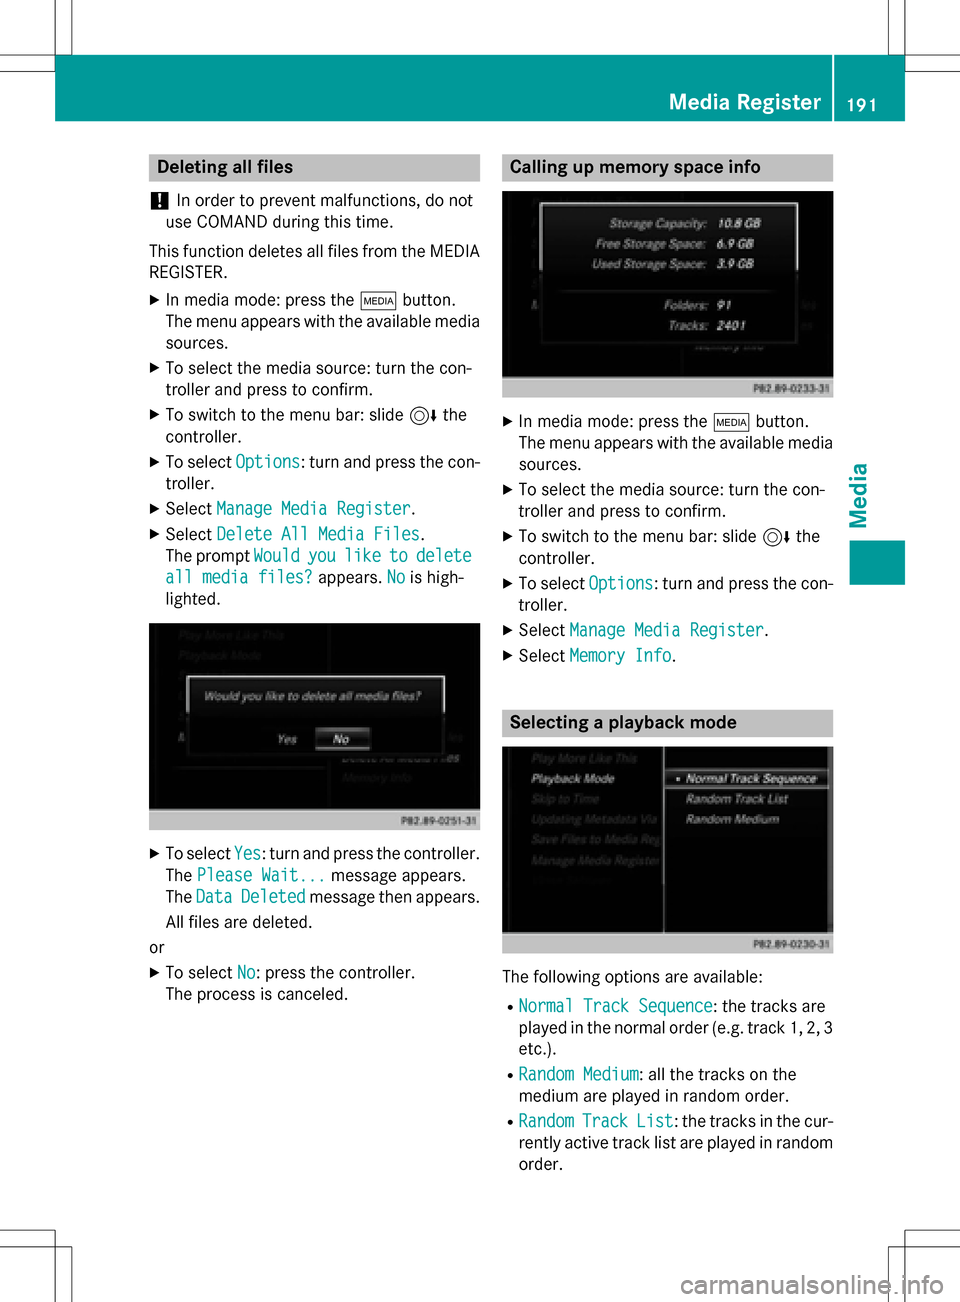
The prompt Would
youliketodelete
all media files?appears .Nois high-
lighted.
XTo selec tYes:turn and press th econtroller .
The Please Wait.. .
message appears .
The Data
Delete dmessage then appears .
Al lfiles are deleted.
or
XTo selec tNo:press th econtroller .
The process is canceled.
Calling up memory space inf o
XIn media mode: press theÕ button.
The men uappears wit hth eavailable media
sources.
XTo selec tth emedia source :turn th econ-
trolle rand press to confirm .
XTo switch to themen ubar :slid e6 the
controller .
XTo selectOption s:turn and press th econ-
troller.
XSelec tManage Media Register.
XSelec tMemory Inf o.
Selectingaplayback mode
The following option sare available :
RNormal Track Sequence:th etrack sare
played in th enormal order (e.g. track 1, 2, 3
etc.).
RRandom Medium: all th etrack son th e
medium are played in random order .
RRandomTrackList:th etrack sin th ecur -
rentl yactive track list are played in random
order .
Media Register191
Media
Z
Page 205 of 222
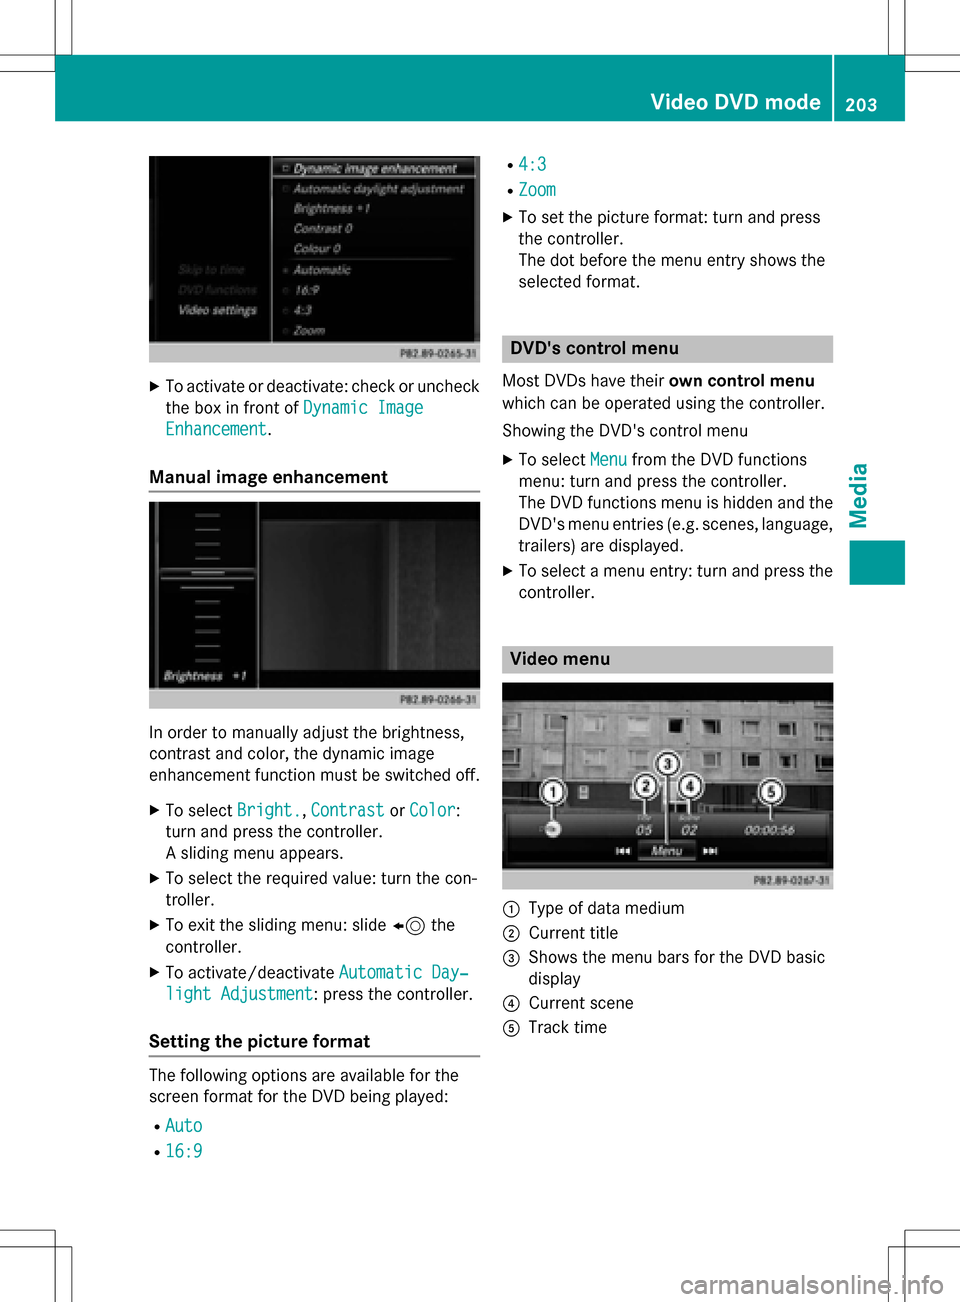
XTo activate or deactivate: check or uncheckthe box in front of Dynamic Image
Enhancement.
Manual image enhancement
In order to manually adjust the brightness,
contrast and color, the dynamic image
enhancement function must be switched off.
XTo selectBright.,Contrastor Color:
turn and press the controller.
A sliding menu appears.
XTo select the required value: turn the con-
troller.
XTo exit the sliding menu: slide 8the
controller.
XTo activate/deactivate Automatic Day‐
light Adjustment: press the controller.
Setting the picture format
The following options are available for the
screen format for the DVD being played:
RAuto
R16:9
R4:3
RZoom
XTo set the picture format: turn and press
the controller.
The dot before the menu entry shows the
selected format.
DVD's control menu
Most DVDs have theirown control menu
which can be operated using the controller.
Showing the DVD's control menu
XTo select Menufrom the DVD functions
menu: turn and press the controller.
The DVD functions menu is hidden and the
DVD's menu entries (e.g. scenes, language,
trailers) are displayed.
XTo select a menu entry: turn and press the
controller.
Video menu
:Type of data medium
;Current title
=Shows the menu bars for the DVD basic
display
?Current scene
ATrack time
Video DVD mode203
Media
Z
Page 206 of 222
Operating the video menu
XTo show: in full-screen video mode, slide
6the controller.
XTo hide: slide 5the controller.
XTo select the next or previous scene: turn
the controller clockwise/counter-clock-
wise.
XTo fast forward or rewind: slide 9or
8 and hold the controller until the
desired position has been reached.
XTo hide the video menu: slide 5the con-
troller.
XTo show the menu bars for the DVD basic
display: press the controller.
The video menu is hidden and the DVD
basic menu appears.
DVD functions
Showing/hiding the DVD functions
XTo show DVD functions: in full-screen
video mode, press the controller.
The DVD functions menu is shown.
XTo hide: in DVD functions select %: turn
and press the controller
XTo show the DVD basic display: select
ò from the DVD functions: turn and
press the controller.
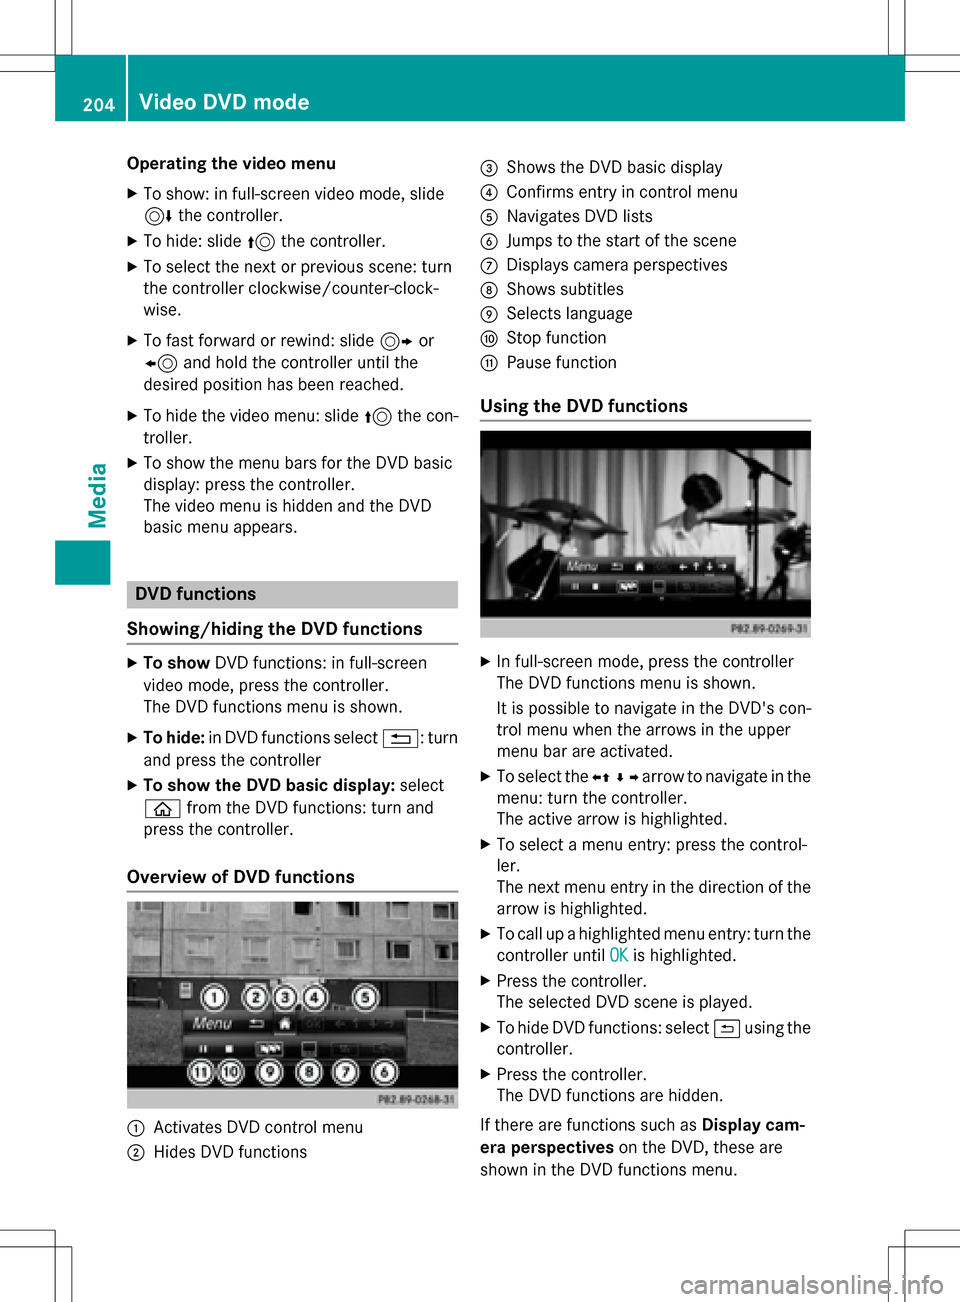
Overview of DVD functions
:Activates DVD control menu
;Hides DVD functions
=Shows the DVD basic display
?Confirms entry in control menu
ANavigates DVD lists
BJumps to the start of the scene
CDisplays camera perspectives
DShows subtitles
ESelects language
FStop function
GPause function
Using the DVD functions
XIn full-screen mode, press the controller
The DVD functions menu is shown.
It is possible to navigate in the DVD's con-
trol menu when the arrows in the upper
menu bar are activated.
XTo select the XZ¬Yarrow to navigate in the
menu: turn the controller.
The active arrow is highlighted.
XTo select a menu entry: press the control-
ler.
The next menu entry in the direction of the arrow is highlighted.
XTo call up a highlighted menu entry: turn the
controller until OK
is highlighted.
XPress the controller.
The selected DVD scene is played.
XTo hide DVD functions: select &using the
controller.
XPress the controller.
The DVD functions are hidden.
If there are functions such as Display cam-
era perspectives on the DVD, these are
shown in the DVD functions menu.
204Video DVD mode
Media
Page 217 of 222
XTo select state/province or city: enter the
first few letters by turning and pressing the
controller.
XTo switch to the list without the character
bar: slide5the controller or select ¬.
XTo delete an entry: select 2in the char-
acter bar and press the controller.
Pressing briefly deletes the last letter
entered.
Pressing and holding longer deletes the
entire entry.
XTo select the state/province or city from
the list: turn and press the controller.
After selecting a state (or province) the list of locations appears.
After selecting a location, the information
chart displays the weather forecast for the
selected location. The data is supplied by
the nearest weather station.
Option 2: selecting the area in the
weather map
XCall up the weather map (Ypage 215).
XMove the weather map so that the cross-
hair is over the desired area (
Ypage 215).
XPress the controller.
The information chart shows the weather
forecast for the selected area. The data is
supplied by the nearest weather station.
Memory functions
Storing the area in the weather memory
You can save locations that are called up fre-
quently in ten preset positions (0, 1-9) in the
weather memory.
XIn the weather memory: select the area
for the weather forecast (
Ypage 213).
The selected location appears at the top in
the status bar.
XTo select Positionin the information
chart: turn and press the controller.
XSelect Presets.
XSelect a preset using the controller.
XPress and hold the controller until you hear
a tone.
The area is entered on the selected preset.
Selecting an area from the weather
memory
XDirectly from the weather memory:
select Position
from the information
chart: turn and press the controller.
XSelect Presets.
XSelect the memory position which contains
the location you require.
The weather data for the selected area is
displayed.
Weather map
Calling up the weather map
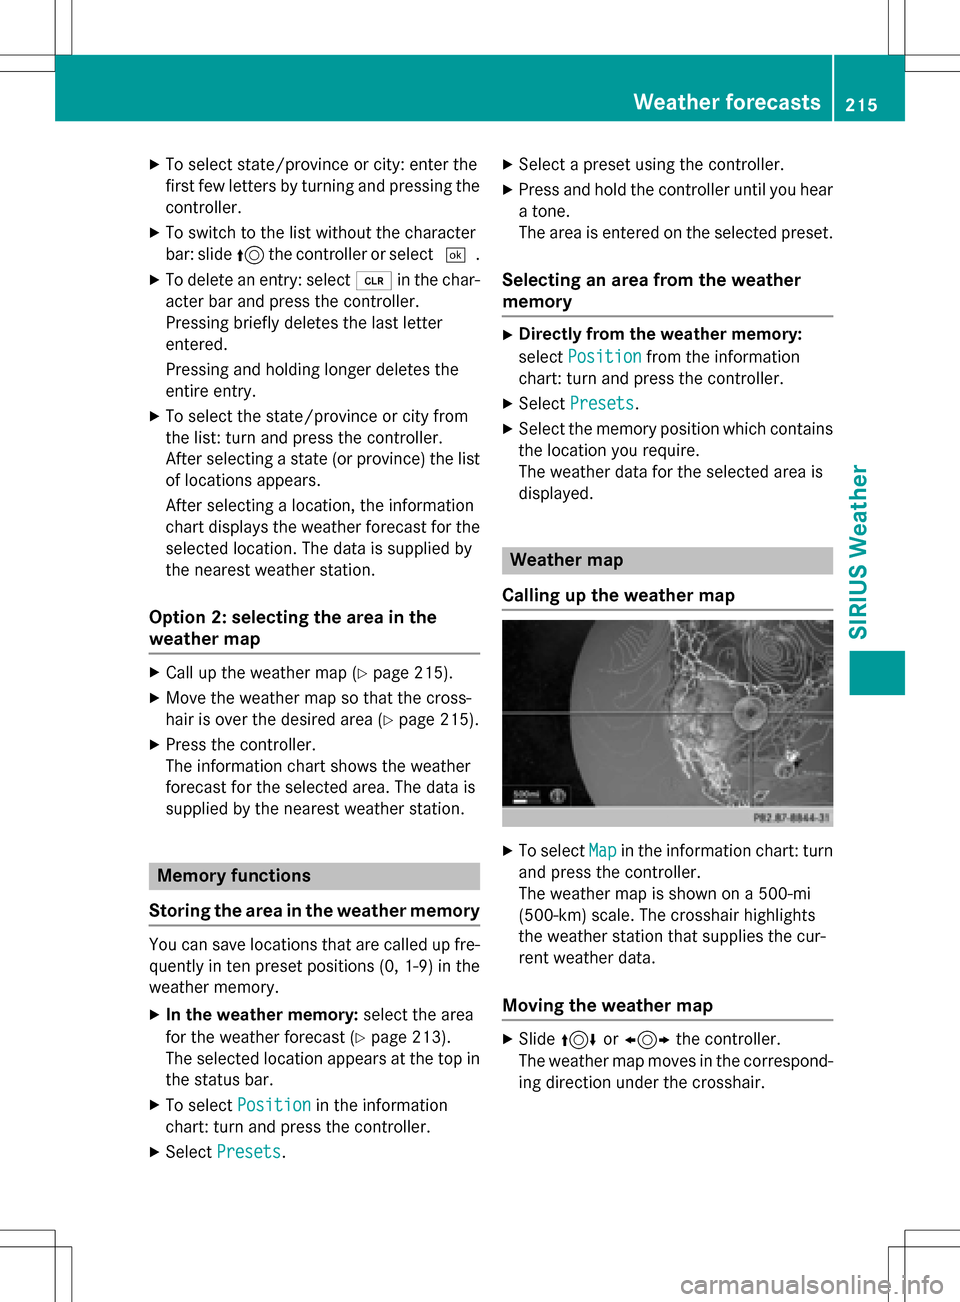
XTo select Mapin the information chart: turn
and press the controller.
The weather map is shown on a 500-mi
(500-km) scale. The crosshair highlights
the weather station that supplies the cur-
rent weather data.
Moving the weather map
XSlide 4 or1 the controller.
The weather map moves in the correspond-
ing direction under the crosshair.
Weather forecasts215
SIRIUS Weather
Page 221 of 222
Region of originCategory
Northwestern
Pacific OceanName of tropical storm
(Typhoon)
Northwestern
Pacific OceanName of tropical storm
(Super-Typhoon)
You can also see the time stamp for the
weather data on map scales of 50 miles and
smaller.
The weather map shows wind directions and
wind speeds.
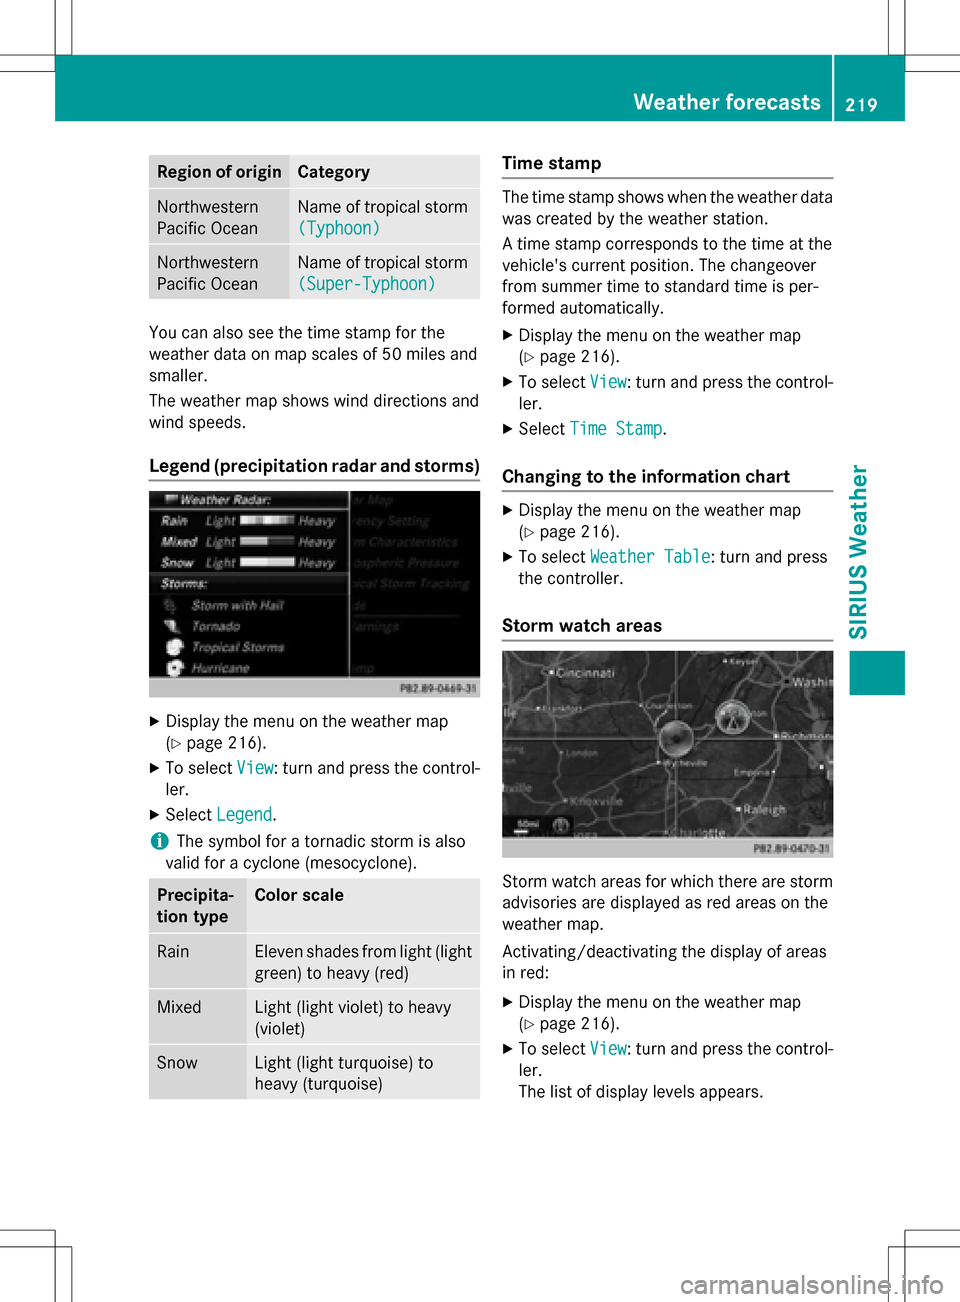
Legend (precipitation radar and storms)
XDisplay the menu on the weather map
(
Ypage 216).
XTo selectView: turn and press the control-
ler.
XSelect Legend.
iThe symbol for a tornadic storm is also
valid for a cyclone (mesocyclone).
Precipita-
tion typeColor scale
RainEleven shades from light (light
green) to heavy (red)
MixedLight (light violet) to heavy
(violet)
SnowLight (light turquoise) to
heavy (turquoise)
Time stamp
The time stamp shows when the weather data
was created by the weather station.
A time stamp corresponds to the time at the
vehicle's current position. The changeover
from summer time to standard time is per-
formed automatically.
XDisplay the menu on the weather map
(
Ypage 216).
XTo select View: turn and press the control-
ler.
XSelect Time Stamp.
Changing to the information chart
XDisplay the menu on the weather map
(
Ypage 216).
XTo select Weather Table: turn and press
the controller.
Storm watch areas
Storm watch areas for which there are storm
advisories are displayed as red areas on the
weather map.
Activating/deactivating the display of areas
in red:
XDisplay the menu on the weather map
(
Ypage 216).
XTo select View: turn and press the control-
ler.
The list of display levels appears.
Weather forecasts219
SIRIUS Weather
Page 222 of 222

XSelectStorm Watch.
XSelectShowSymbolsforStormAreas
On Map.
Depending on the previous setting, activate
O or deactivate ªthe display of areas in
red.
Activating/deactivating the automatic dis-
play of warning popups:
XSelect Display Storm Watch Automat‐
ically.
Depending on the previous setting, activate
O or deactivate ªthe automatic display
of warning popups.
Setting the radius for the popups:
XSelect 5 Miles(5 km), 50 Miles(50 km)
or 200 Miles
(200 km).
Storm overview
Displaying the Storm Guide:
XDisplay the menu on the weather map
(
Ypage 216).
XTo select Guide: turn and press the con-
troller.
A menu appears. The current storm is high-
lighted. There is information about the
storm in the status bar.
XTo select Next: turn and press the control-
ler.
The next storm is marked.
XSelect Previous.
The previous storm is highlighted. Showing storm details:
XSelect
Details.
You see detailed information about the
selected storm.
220Weather forecasts
SIRIUS Weather