2016 MERCEDES-BENZ GLC-Class light
[x] Cancel search: lightPage 88 of 222
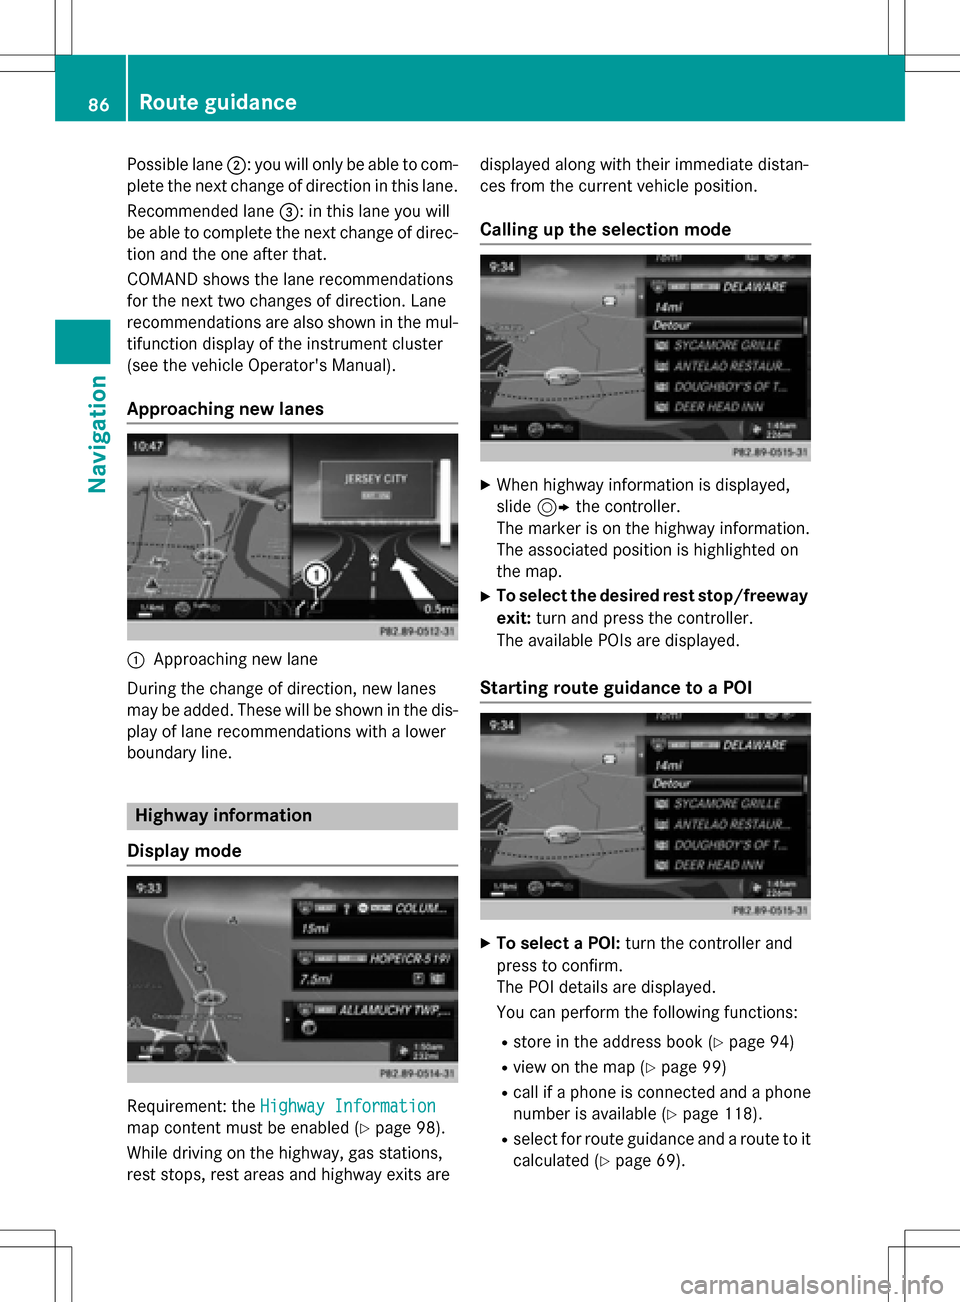
Possible lane;: you will only be able to com-
plete the next change of direction in this lane.
Recommended lane =: in this lane you will
be able to complete the next change of direc-
tion and the one after that.
COMAND shows the lane recommendations
for the next two changes of direction. Lane
recommendations are also shown in the mul- tifunction display of the instrument cluster
(see the vehicle Operator's Manual).
Approaching new lanes
:Approaching new lane
During the change of direction, new lanes
may be added. These will be shown in the dis-
play of lane recommendations with a lower
boundary line.
Highway information
Display mode
Requirement: the Highway Information
map content must be enabled (Ypage 98).
While driving on the highway, gas stations,
rest stops, rest areas and highway exits are displayed along with their immediate distan-
ces from the current vehicle position.
Calling up the selection mode
XWhen highway information is displayed,
slide
9 the controller.
The marker is on the highway information.
The associated position is highlighted on
the map.
XTo select the desired rest stop/freeway
exit: turn and press the controller.
The available POIs are displayed.
Starting route guidance to a POI
XTo select a POI: turn the controller and
press to confirm.
The POI details are displayed.
You can perform the following functions:
Rstore in the address book (Ypage 94)
Rview on the map (Ypage 99)
Rcall if a phone is connected and a phone
number is available (
Ypage 118).
Rselect for route guidance and a route to it
calculated (
Ypage 69).
86Route guidance
Navigation
Page 94 of 222
XTo switch to navigation mode:press the
Ø button.
XTo show the menu: slide6the control-
ler.
XTo select Traffic: turn and press the con-
troller.
If satellite signals cannot be received or
there are no traffic reports, you will see a
message to this effect.
XTo close the report: press the controller.
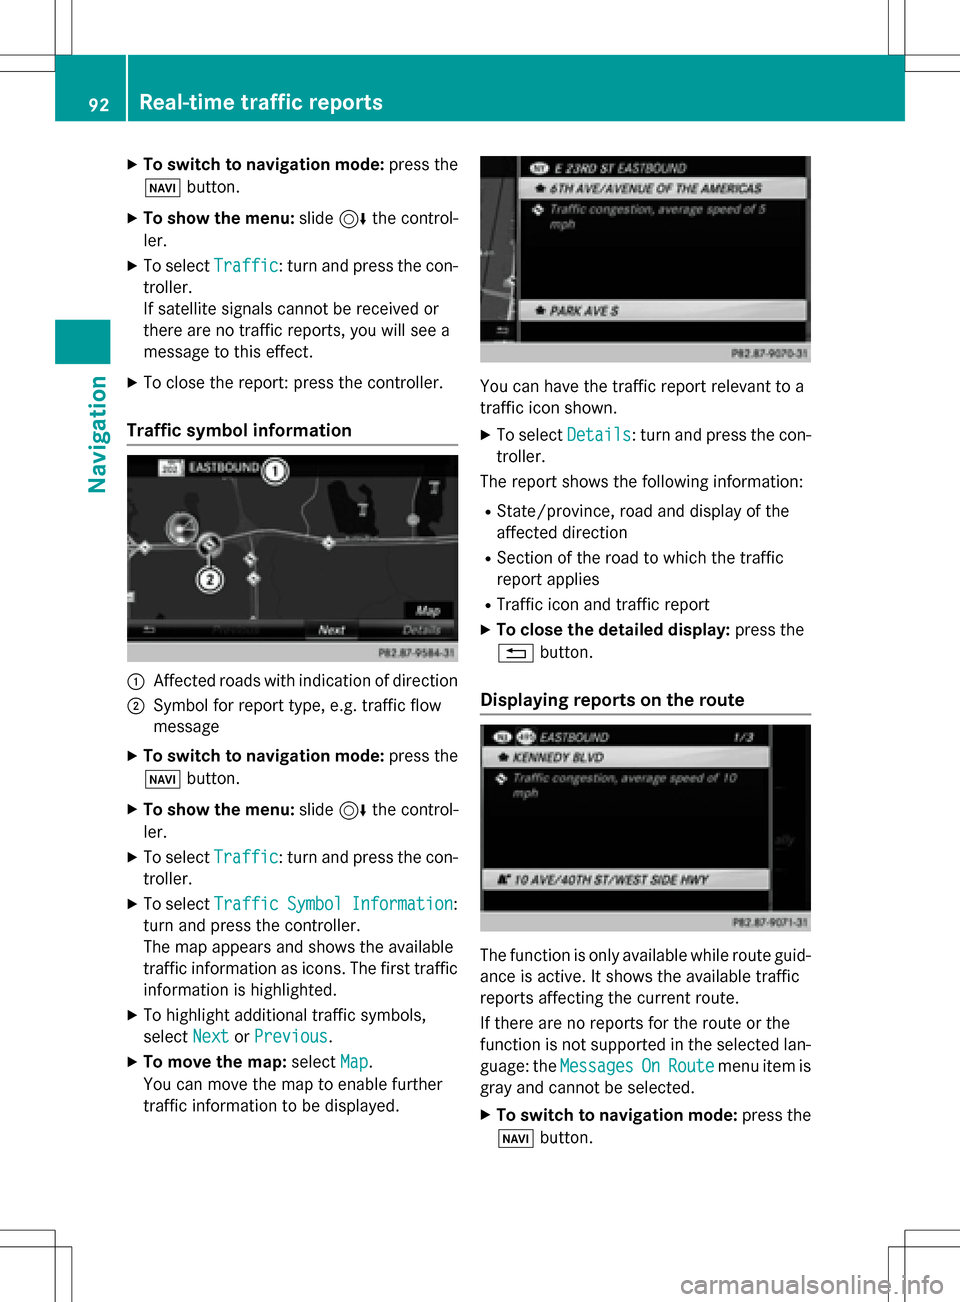
Traffic symbol information
:Affected roads with indication of direction
;Symbol for report type, e.g. traffic flow
message
XTo switch to navigation mode: press the
Ø button.
XTo show the menu: slide6the control-
ler.
XTo select Traffic: turn and press the con-
troller.
XTo select TrafficSymbolInformation:
turn and press the controller.
The map appears and shows the available
traffic information as icons. The first traffic
information is highlighted.
XTo highlight additional traffic symbols,
select Next
orPrevious.
XTo move the map: selectMap.
You can move the map to enable further
traffic information to be displayed.
You can have the traffic report relevant to a
traffic icon shown.
XTo select Details: turn and press the con-
troller.
The report shows the following information:
RState/province, road and display of the
affected direction
RSection of the road to which the traffic
report applies
RTraffic icon and traffic report
XTo close the detailed display: press the
% button.
Displaying reports on the route
The function is only available while route guid-
ance is active. It shows the available traffic
reports affecting the current route.
If there are no reports for the route or the
function is not supported in the selected lan-
guage: the Messages
OnRoutemenu item is
gray and cannot be selected.
XTo switch to navigation mode: press the
Ø button.
92Real-time traffic reports
Navigation
Page 98 of 222
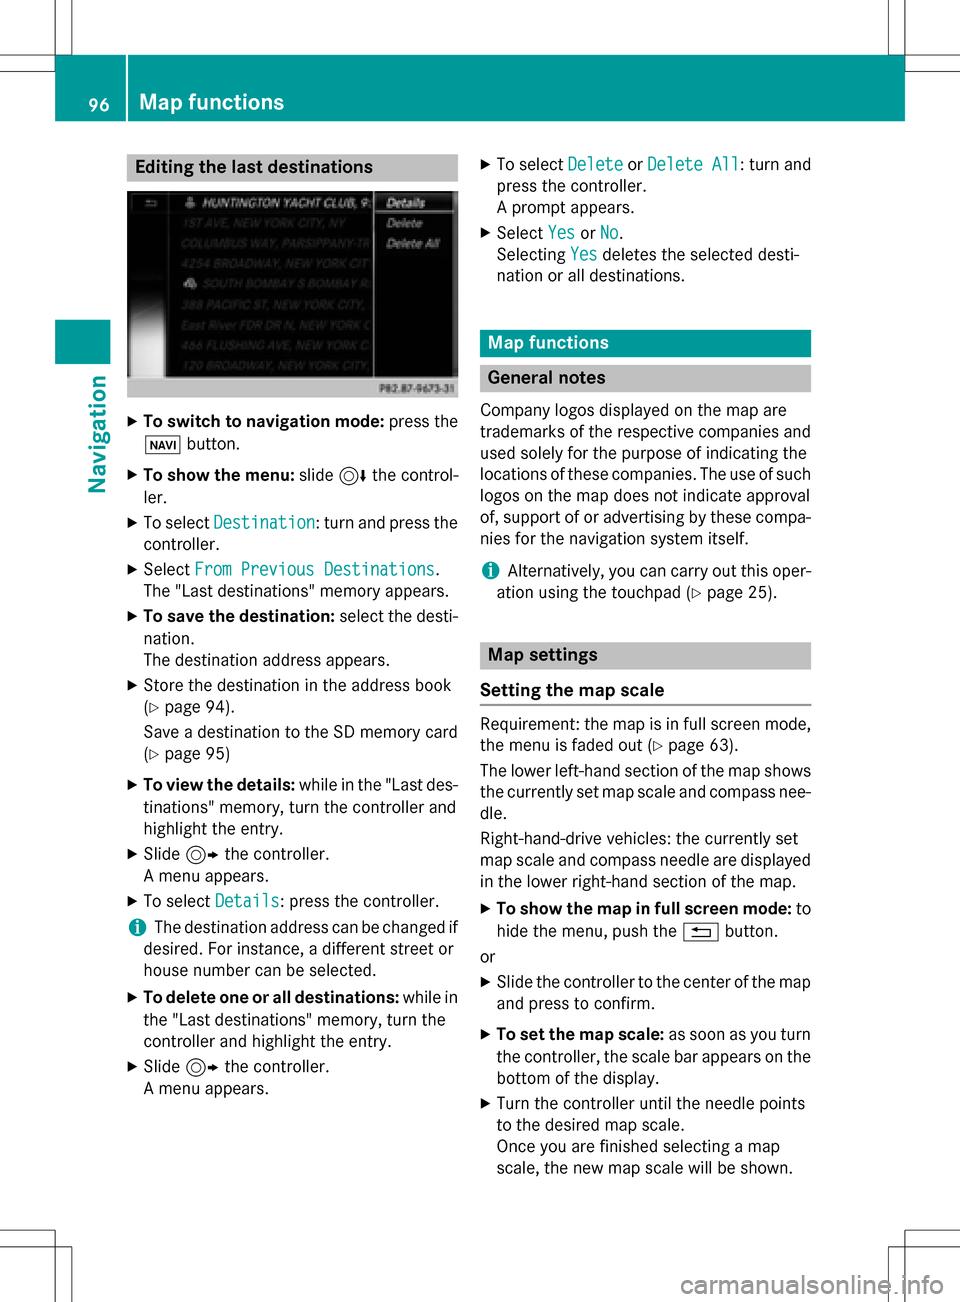
Editing the last destinations
XTo switch to navigation mode:press the
ß button.
XTo show the menu: slide6the control-
ler.
XTo select Destination: turn and press the
controller.
XSelect From Previous Destinations.
The "Last destinations" memory appears.
XTo save the destination: select the desti-
nation.
The destination address appears.
XStore the destination in the address book
(
Ypage 94).
Save a destination to the SD memory card
(
Ypage 95)
XTo view the details: while in the "Last des-
tinations" memory, turn the controller and
highlight the entry.
XSlide 9the controller.
A menu appears.
XTo select Details: press the controller.
iThe destination address can be changed if
desired. For instance, a different street or
house number can be selected.
XTo delete one or all destinations: while in
the "Last destinations" memory, turn the
controller and highlight the entry.
XSlide 9the controller.
A menu appears.
XTo select DeleteorDelete All: turn and
press the controller.
A prompt appears.
XSelect YesorNo.
Selecting Yes
deletes the selected desti-
nation or all destinations.
Map functions
General notes
Company logos displayed on the map are
trademarks of the respective companies and
used solely for the purpose of indicating the
locations of these companies. The use of such
logos on the map does not indicate approval
of, support of or advertising by these compa-
nies for the navigation system itself.
iAlternatively, you can carry out this oper-
ation using the touchpad (
Ypage 25).
Map settings
Setting the map scale
Requirement: the map is in full screen mode, the menu is faded out (
Ypage 63).
The lower left-hand section of the map shows
the currently set map scale and compass nee-
dle.
Right-hand-drive vehicles: the currently set
map scale and compass needle are displayed
in the lower right-hand section of the map.
XTo show the map in full screen mode: to
hide the menu, push the %button.
or
XSlide the controller to the center of the map
and press to confirm.
XTo set the map scale: as soon as you turn
the controller, the scale bar appears on the
bottom of the display.
XTurn the controller until the needle points
to the desired map scale.
Once you are finished selecting a map
scale, the new map scale will be shown.
96Map functions
Navigation
Page 105 of 222
The update can only be performed:
Rat an authorized Mercedes-Benz Center
Rfor map data for North America
The map software is not provided on DVD.
Carrying out a manual update
After the free update of the map data has
expired or when buying map data, you can
update the data yourself.
The update process may take some time (up
to 45 minutes), depending on the size of the
digital map. The update will be completed
more quickly if the vehicle is stationary. If you
start the update with the engine switched off
and the starter battery has insufficient power,
COMAND may automatically switch off. This
protects the battery. In order to prevent this,
a suitable power supply to the vehicle must be
maintained.
Navigation functions
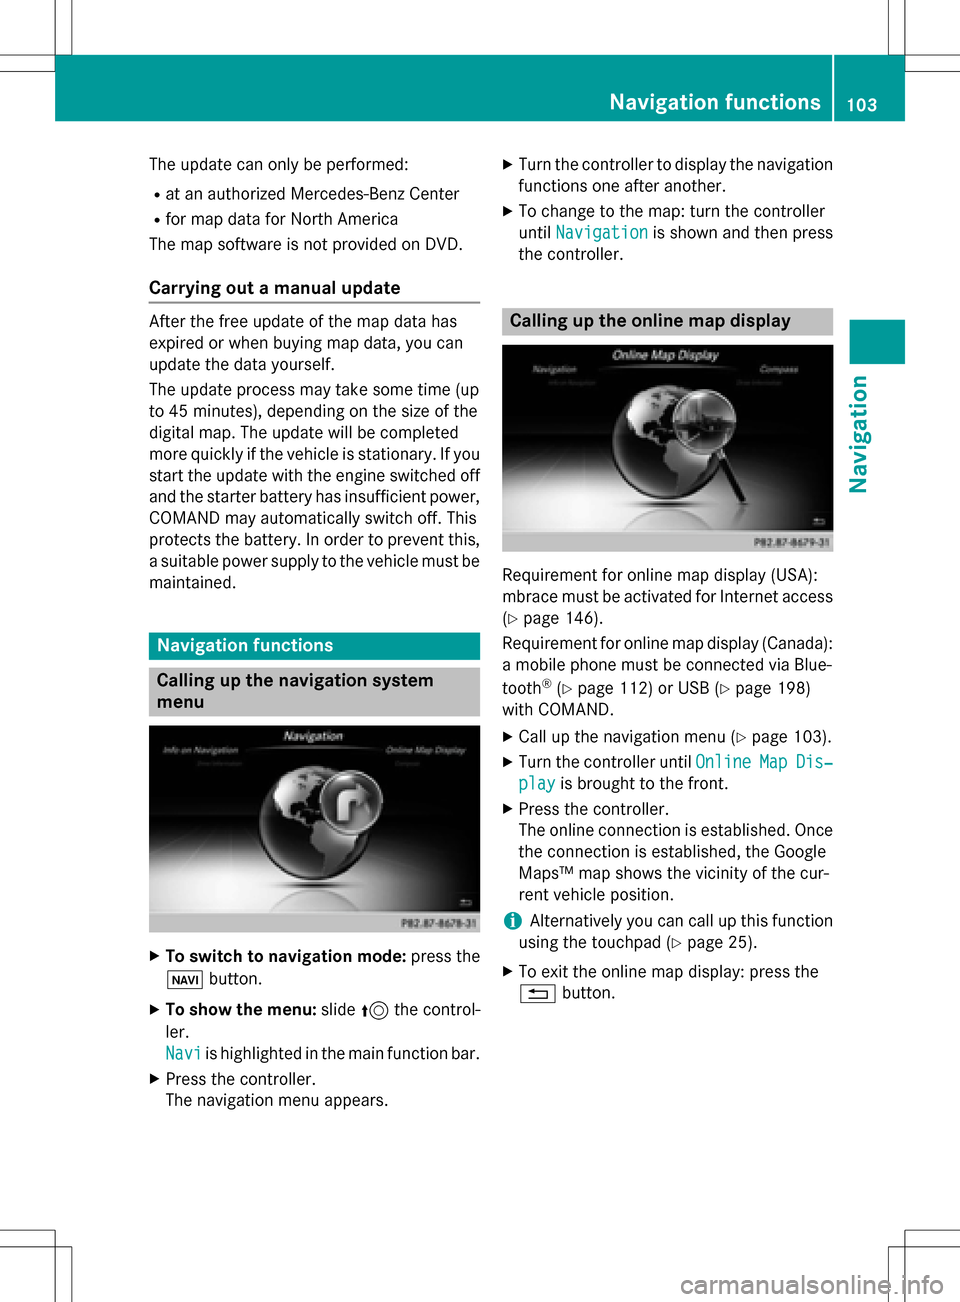
Calling up the navigation system
menu
XTo switch to navigation mode: press the
ß button.
XTo show the menu: slide5the control-
ler.
Navi
is highlighted in the main function bar.
XPress the controller.
The navigation menu appears.
XTurn the controller to display the navigation
functions one after another.
XTo change to the map: turn the controller
until Navigation
is shown and then press
the controller.
Calling up the online map display
Requirement for online map display (USA):
mbrace must be activated for Internet access
(
Ypage 146).
Requirement for online map display (Canada):
a mobile phone must be connected via Blue-
tooth
®(Ypage 112) or USB (Ypage 198)
with COMAND.
XCall up the navigation menu (Ypage 103).
XTurn the controller until OnlineMapDis‐
playis brought to the front.
XPress the controller.
The online connection is established. Once
the connection is established, the Google
Maps™ map shows the vicinity of the cur-
rent vehicle position.
iAlternatively you can call up this function
using the touchpad (
Ypage 25).
XTo exit the online map display: press the
% button.
Navigation functions103
Navigation
Z
Page 106 of 222
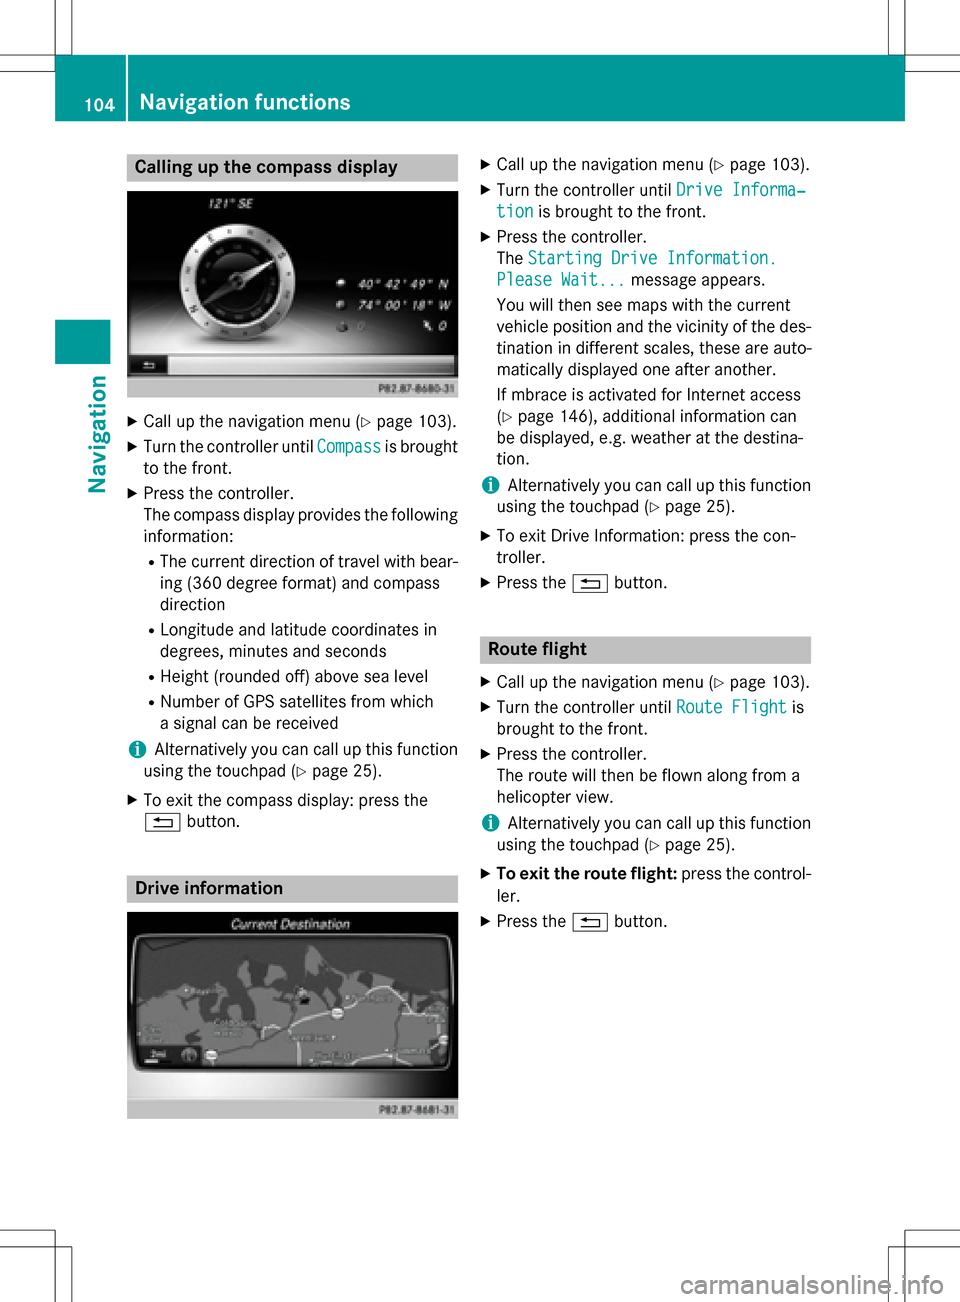
Calling up the compass display
XCall up the navigation menu (Ypage 103).
XTurn the controller untilCompassis brought
to the front.
XPress the controller.
The compass display provides the following information:
RThe current direction of travel with bear-
ing (360 degree format) and compass
direction
RLongitude and latitude coordinates in
degrees, minutes and seconds
RHeight (rounded off) above sea level
RNumber of GPS satellites from which
a signal can be received
iAlternatively you can call up this function
using the touchpad (
Ypage 25).
XTo exit the compass display: press the
% button.
Drive information
XCall up the navigation menu (Ypage 103).
XTurn the controller until Drive Informa‐
tionis brought to the front.
XPress the controller.
TheStarting Drive Information.
Please Wait...message appears.
You will then see maps with the current
vehicle position and the vicinity of the des-
tination in different scales, these are auto-
matically displayed one after another.
If mbrace is activated for Internet access
(
Ypage 146), additional information can
be displayed, e.g. weather at the destina-
tion.
iAlternatively you can call up this function
using the touchpad (
Ypage 25).
XTo exit Drive Information: press the con-
troller.
XPress the %button.
Route flight
XCall up the navigation menu (Ypage 103).
XTurn the controller until Route Flightis
brought to the front.
XPress the controller.
The route will then be flown along from a
helicopter view.
iAlternatively you can call up this function
using the touchpad (
Ypage 25).
XTo exit the route flight: press the control-
ler.
XPress the %button.
104Navigation functions
Navigation
Page 118 of 222

De-authorizing (disconnecting)a
mobile phone
Mercedes-Ben zUSA, LL Crecommends de-
authorization in COMAN Dand on th emobile
phone .Subsequen tauthorization may other -
wise fail .
XTo callup th etelephon emenu: press th e
% button.
XTo sho wthemen ubar :slid e6 thecon-
troller.
XTo selec tConnec tDevice:turn and press
th econtroller .
XTo highlight th edesire dmobile phone in th e
devic elist :turn th econtroller .
XTo selectG: slide9 thecontroller .
XTo selectDeauthorize:turn and press th e
controller .
A prompt appears ,askin gwhether you
really wish to de-authoriz ethis device.
XTo selec tYes:turn and press th econtroller .
The mobile phone is de-authorized.
iBefore re-authorizin gth emobile phone ,
you should also delete th edevic enam eMB
Bluetoothfrom your mobile phone's Blue-
toot h®list.
Displaying connection detail s
XTo callup th etelephon emenu: press th e
% button.
XTo switch to th emen ubar in th etelephon e
menu: slid e6 thecontroller .
XTo selectConnec tDevice:turn and press
th econtroller .
XTo highlight th edesire dmobile phone in th e
devic elist :turn th econtroller .
XTo selectG: slide9 thecontroller .
XTo selectDetail s:turn and press th econ-
troller.
The following information concernin gth e
selecte dmobile phone is shown :
RBluetooth®devicenam e
RBluetoot h®address
RAvailabilit ystatus (shown after ane w
search )
RAuthorization status
XTo close th edetailed display :slid e8
th econtroller .
Reception an dtransmission volume
Once th emobile phone has been authorized,
you can optimize th etransmissio nand recep-
tion volume settings. To fin dout about th e
bes tpossible setting sfo ryour mobile phone ,
visit www.mercedes-benz-mobile.com .
Or cal lth eMercedes-Ben zCustomer Assis -
tanc eCente rat 1-800-FOR-MERCedes
(1-800-367-6372 ) (USA) or Customer Rela-
tions at 1-800-387-0100 (Canada).
XTo call up the telephone menu: press the
% button.
XTo switch to the menu bar: slide 6the
controller.
XTo select Connect Device: turn and press
the controller.
The device list appears.
XTo highlight the desired mobile phone in the
device list: turn the controller.
XTo select G: slide 9the controller.
XTo select Reception VolumeorTrans‐
mission Volume: turn and press the con-
troller.
XTo select a volume setting: turn the con-
troller.
XTo accept changes: press the controller.
116Reception and transmission volume
Telephone
Page 120 of 222

Redial
XTo call up the telephone menu: press the
%button.
XTo select win the telephone menu: turn
and press the controller.
The list of outgoing calls is displayed. The
most recently dialed number is at the top.
XTo select an entry and make a call: turn and
press the controller.
Further information about ending a call
(
Ypage 121).
Using call lists
XTo call up the telephone menu: press the
% button.
XTo switch to the menu bar: slide 6the
controller.
XTo select Call Lists: turn and press the
controller.
XTo select Calls ReceivedorCalls
Dialed: turn and press the controller.
The relevant list is displayed.
XTo select an entry and make a call: turn and
press the controller.
Further information about ending a call
(
Ypage 121).
Using the phone book
XTo call up the telephone menu: press the
% button.
XTo select Namein the telephone menu: turn
and press the controller.
XSearch for a contact (Ypage 122).
XTo make a call: press the controller.
Further information about ending a call
(
Ypage 121).
Using speed dial
XTo call up the telephone menu: press the
% button.
XTo highlight a number from the character
bar: turn the controller.
XPress the controller for longer than two
seconds.
The telephone menu displays the selected
entry. The number is dialed.
Further information on setting up speed dial
(
Ypage 134).
Further information about ending a call
(
Ypage 121).
Functions available during a call
Overview
:To add a call (Ypage 119)
;Person you are calling
=Symbol for active telephone connection
?To end a call
ATo switch the microphone on/off
(
Ypage 119)
BTo send DTMF tones (not possible with all
mobile phones) (
Ypage 119)
Available functions:
RAccepting a waiting call (Ypage 120)
RMaking a second call (Ypage 119)
RCall waiting (Ypage 119)
Availability depends on the network (only pos- sible in the GSM network) and on the Blue-
tooth
®mobile phone.
118Using the telephone
Telephone
Page 121 of 222
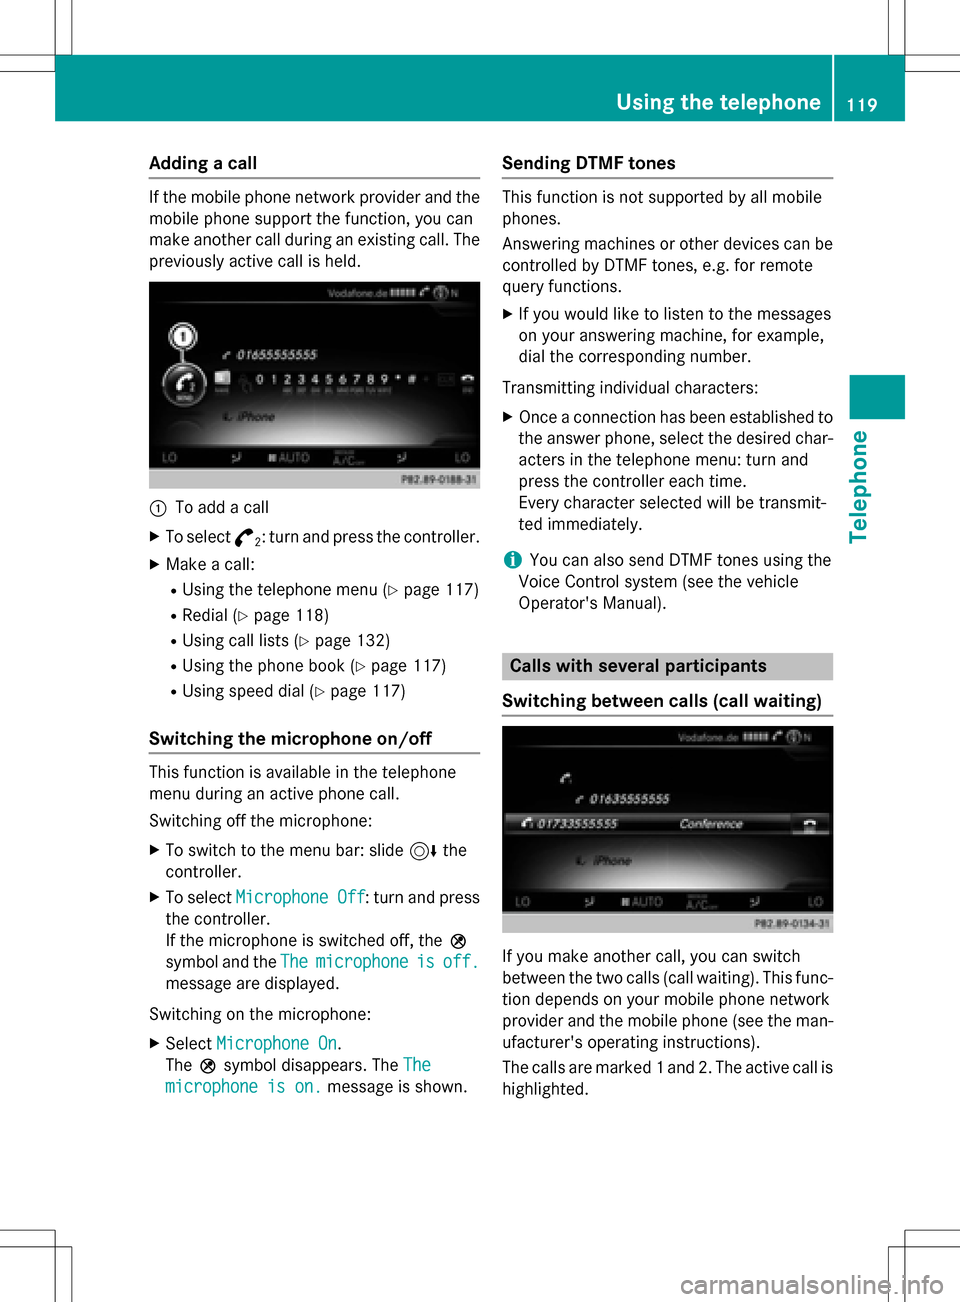
Adding a call
If themobile phone network provide rand th e
mobile phon esupport th efunction ,you can
mak eanother call during an existing call .The
previously active call is held .
:To addacall
XTo select °2:tur nand press th econtroller .
XMake acall:
RUsing th etelephon emen u (Ypage 117)
RRedial (Ypage 118)
RUsing call list s (Ypage 132)
RUsing thephone book (Ypage 117)
RUsing speeddial (Ypage 117)
Switching the microphone on/off
This function is available in th etelephon e
men uduring an active phone call .
Switchin goff th emicrophone:
XTo switch to th emen ubar: slide 6the
controller .
XTo selectMicrophon eOff:tur nand press
th econtroller .
If th emicrophon eis switched off ,th eQ
symbol and th eThe
microphon eisoff.
message are displayed.
Switchin gon th emicrophone:
XSelec tMicrophon eOn.
The Qsymbol disappears. The The
microphoneis on.message is shown.
Sending DTMF tones
This function is no tsupported by all mobile
phones.
Answering machines or other device scan be
controlled by DTMF tones, e.g. for remot e
quer yfunctions.
XIf you would lik eto listen to th emessage s
on your answering machine, for example,
dial th ecorresponding number .
Transmitting individual characters :
XOnceaconnection has been established to
th eanswer phone, select th edesired char-
acters in th etelephon emenu: tur nand
press th econtroller eac htime.
Every characte rselected will be transmit -
te dimmediately.
iYou can also sen dDTMF tone susin gth e
Voic eControl system (see th evehicl e
Operator' sManual).
Calls with several pa rticipants
Switching between calls (call waiting)
If you mak eanother call ,you can switch
between th etwo call s(call waiting). This func-
tion depend son your mobile phone network
provide rand th emobile phone (see th eman -
ufacturer' soperating instructions).
The call sare marke d 1and 2. The active call is
highlighted.
Using the telephone119
Telephone
Z