2016 MERCEDES-BENZ GLC-Class turn signal
[x] Cancel search: turn signalPage 53 of 222
Setting the EASY-ENTRY/EXIT feature
This function makes getting in and out of your
vehicle easier.
XCall upVehicle Settings(Ypage 50).
XTo select Easy Entry/Exit: turn and
press the controller.
The setting element is active.
XTo change the setting: press the controller.
You can find further information on the EASY-
ENTRY/EXIT feature in the vehicle Operator's
Manual.
Activating/deactivating the acoustic
locking confirmation
You can also set an audible signal to confirm
that the vehicle has been locked.
XCall up Vehicle Settings(Ypage 50).
XTo select Acoustic Lock Feedback: turn
and press the controller.
The function switches on or off, depending
on the previous setting.
You can find further information on the lock-
ing feature in the vehicle Operator's Manual.
Activating/deactivating the seat-belt
adjustment function
The Belt Adjustmentfunction adjusts the
driver's and front-passenger seat belt to the
upper body of the occupants.
XCall up Vehicle Settings(Ypage 50).
XTo select Belt Adjustment: turn and
press the controller.
The function switches on or off, depending
on the previous setting.
You can find further information on seat-belt
adjustment in the vehicle Operator's Manual.
Activating/deactivating the auto-
matic folding mirror function
When the AutomaticMirrorFoldingfunc-
tion is activated, the exterior mirrors fold in
automatically as soon as you lock the vehicle
from the outside. The exterior mirrors fold out
automatically again as soon as you unlock the vehicle.
XCall up Vehicle Settings(Ypage 50).
XTo select Automatic Mirror Folding:
turn and press the controller.
The function switches on or off, depending
on the previous setting.
You can find further information on the auto-
matic folding mirror function in the vehicle
Operator's Manual.
Switching locator lighting on/off
If you switch on the LocatorLightingfunc-
tion, the exterior lighting is switched on for a
short time when it is dark. The light switch
must be set to Ã(see the vehicle Opera-
tor's Manual).
The exterior lighting remains on for
40 seconds after the vehicle is unlocked.
When you start the engine, the locator light-
ing is switched off and automatic headlamp
mode is activated.
XCall up Vehicle Settings(Ypage 50).
XTo select Locator Lighting: turn and
press the controller.
XPress the controller.
The function is switched on or off, depend-
ing on the previous status.
You can find further information on the loca-
tor lighting in the vehicle Operator's Manual.
Switching the automatic locking fea-
ture on/off
The vehicle is locked automatically when the
ignition is switched on and the vehicle is trav-
eling faster than walking pace.
Vehicle settings51
Vehicle functions
Z
Page 82 of 222
Personal POIs are filed in categories:
RNot Classified
Standard entry for personal POIs
RMercedes-Benz Apps
Personal POIs (destinations, routes) that
you have imported via the online functions
(
Ypage 156)
RCategories which you have created your-
self, e.g. on your PC
Personal routes are not categorized.
Settings for personal POIs
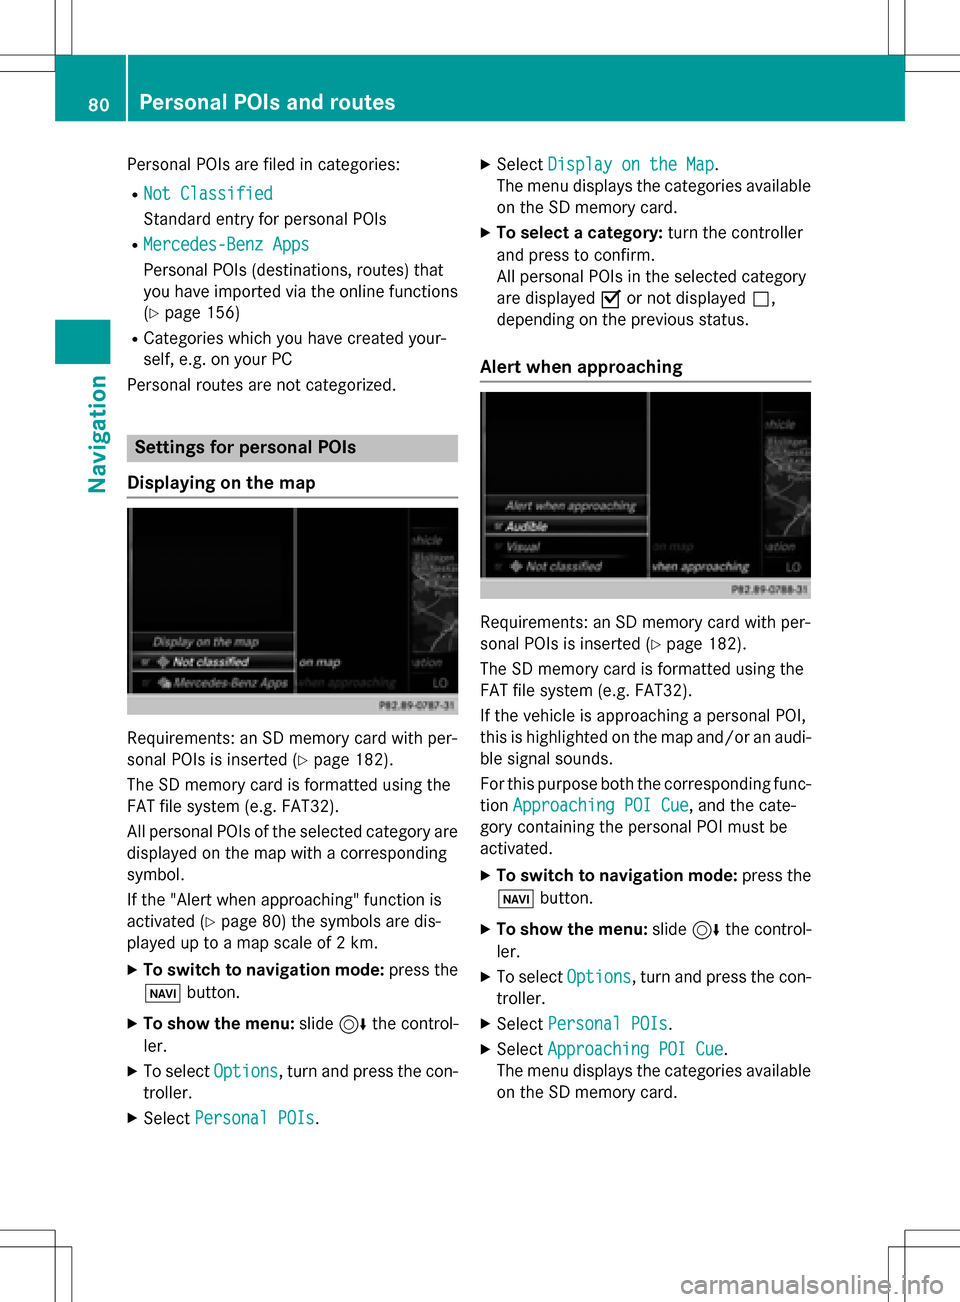
Displaying on the map
Requirements: an SD memory card with per-
sonal POIs is inserted (
Ypage 182).
The SD memory card is formatted using the
FAT file system (e.g. FAT32).
All personal POIs of the selected category are
displayed on the map with a corresponding
symbol.
If the "Alert when approaching" function is
activated (
Ypage 80) the symbols are dis-
played up to a map scale of 2 km.
XTo switch to navigation mode: press the
ß button.
XTo show the menu: slide6the control-
ler.
XTo select Options, turn and press the con-
troller.
XSelect Personal POIs.
XSelectDisplay on the Map.
The menu displays the categories available
on the SD memory card.
XTo select a category: turn the controller
and press to confirm.
All personal POIs in the selected category
are displayed Oor not displayed ª,
depending on the previous status.
Alert when approaching
Requirements: an SD memory card with per-
sonal POIs is inserted (
Ypage 182).
The SD memory card is formatted using the
FAT file system (e.g. FAT32).
If the vehicle is approaching a personal POI,
this is highlighted on the map and/or an audi- ble signal sounds.
For this purpose both the corresponding func-
tion Approaching POI Cue
, and the cate-
gory containing the personal POI must be
activated.
XTo switch to navigation mode: press the
ß button.
XTo show the menu: slide6the control-
ler.
XTo select Options, turn and press the con-
troller.
XSelect Personal POIs.
XSelectApproaching POI Cue.
The menu displays the categories available
on the SD memory card.
80Personal POIs and routes
Navigation
Page 94 of 222
XTo switch to navigation mode:press the
Ø button.
XTo show the menu: slide6the control-
ler.
XTo select Traffic: turn and press the con-
troller.
If satellite signals cannot be received or
there are no traffic reports, you will see a
message to this effect.
XTo close the report: press the controller.
Traffic symbol information
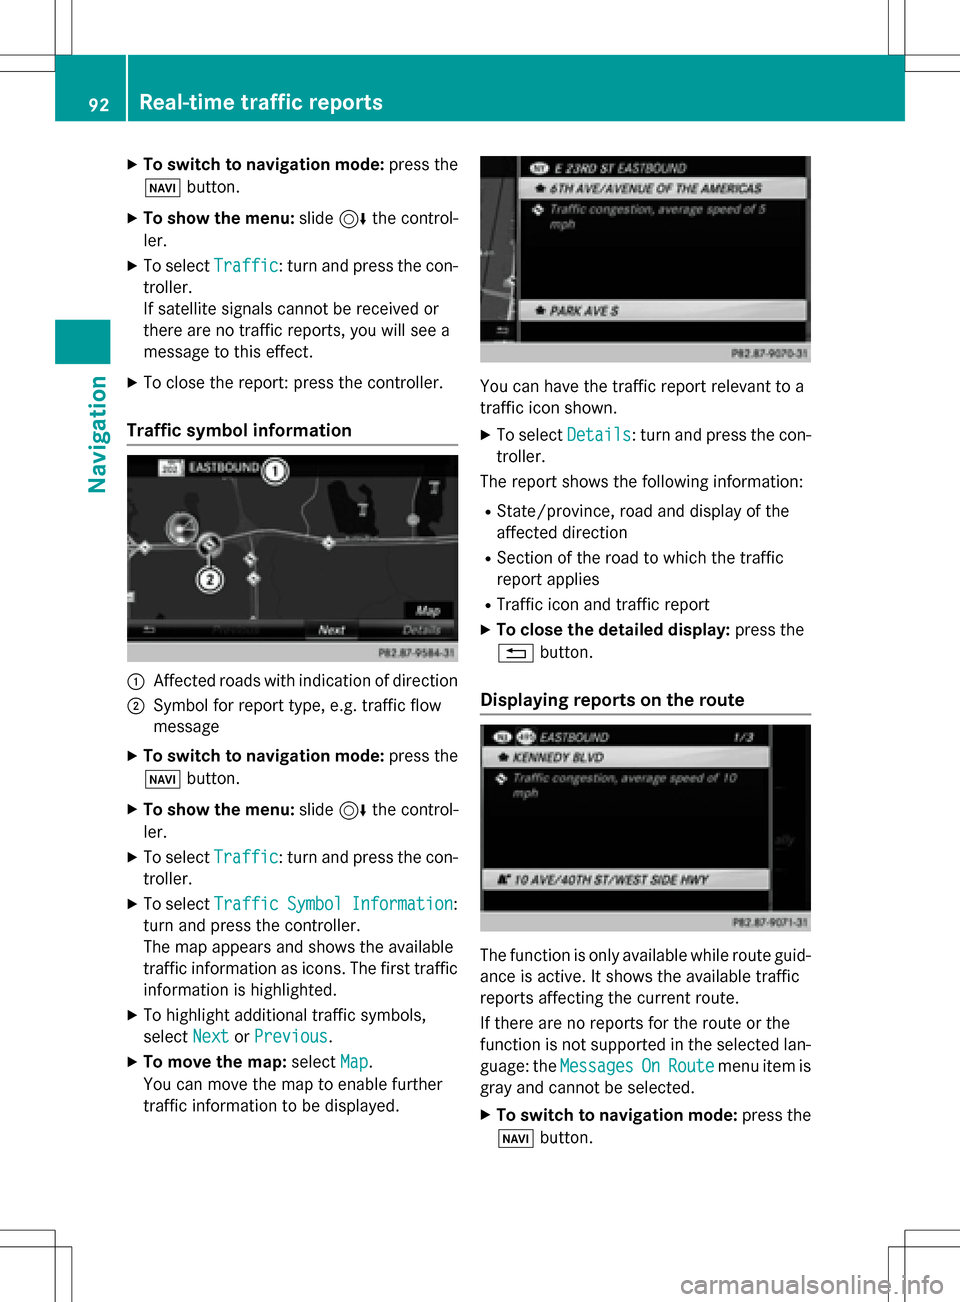
:Affected roads with indication of direction
;Symbol for report type, e.g. traffic flow
message
XTo switch to navigation mode: press the
Ø button.
XTo show the menu: slide6the control-
ler.
XTo select Traffic: turn and press the con-
troller.
XTo select TrafficSymbolInformation:
turn and press the controller.
The map appears and shows the available
traffic information as icons. The first traffic
information is highlighted.
XTo highlight additional traffic symbols,
select Next
orPrevious.
XTo move the map: selectMap.
You can move the map to enable further
traffic information to be displayed.
You can have the traffic report relevant to a
traffic icon shown.
XTo select Details: turn and press the con-
troller.
The report shows the following information:
RState/province, road and display of the
affected direction
RSection of the road to which the traffic
report applies
RTraffic icon and traffic report
XTo close the detailed display: press the
% button.
Displaying reports on the route
The function is only available while route guid-
ance is active. It shows the available traffic
reports affecting the current route.
If there are no reports for the route or the
function is not supported in the selected lan-
guage: the Messages
OnRoutemenu item is
gray and cannot be selected.
XTo switch to navigation mode: press the
Ø button.
92Real-time traffic reports
Navigation
Page 106 of 222
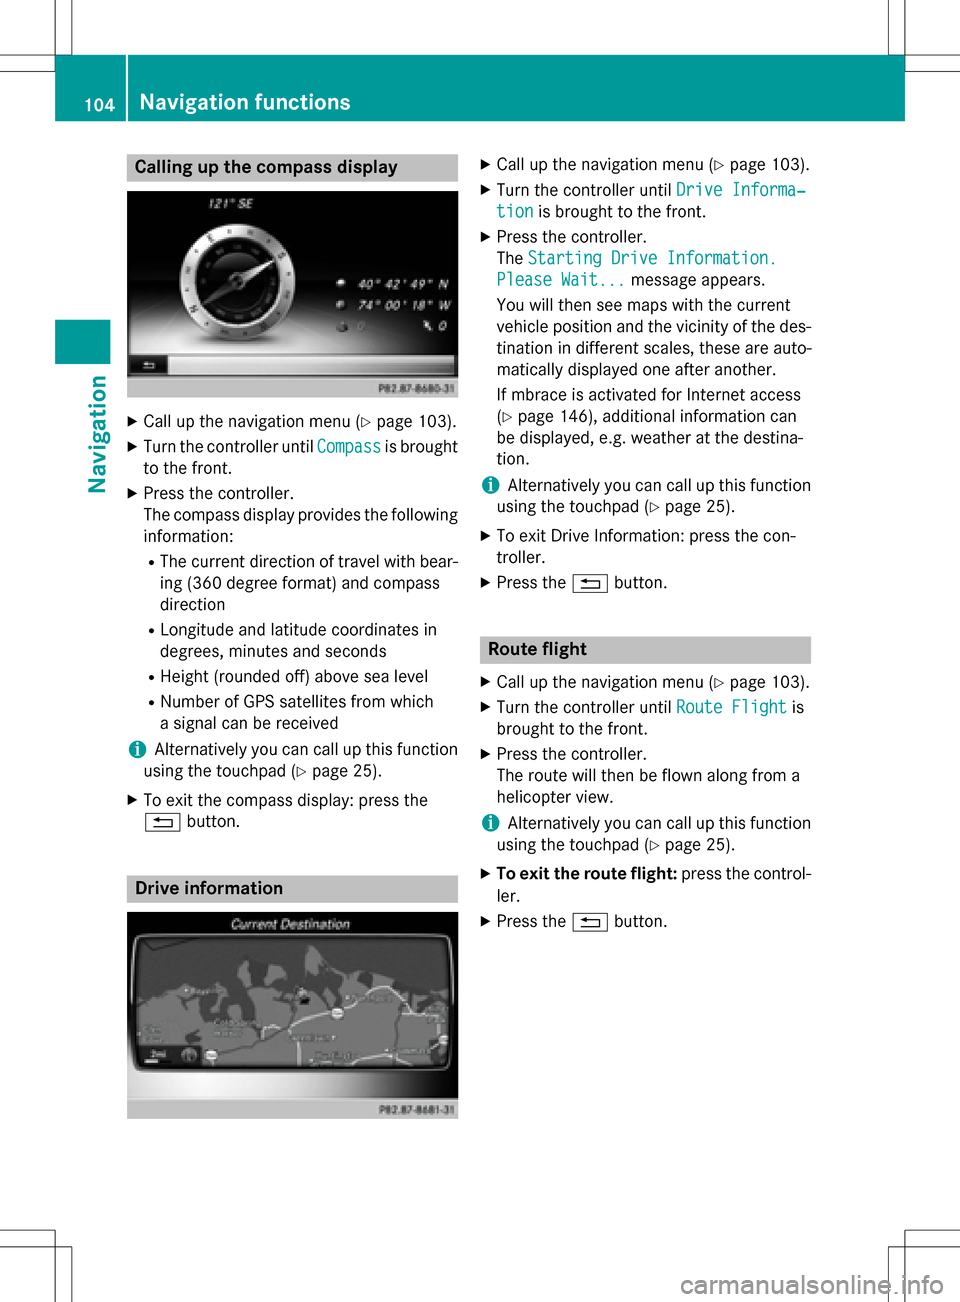
Calling up the compass display
XCall up the navigation menu (Ypage 103).
XTurn the controller untilCompassis brought
to the front.
XPress the controller.
The compass display provides the following information:
RThe current direction of travel with bear-
ing (360 degree format) and compass
direction
RLongitude and latitude coordinates in
degrees, minutes and seconds
RHeight (rounded off) above sea level
RNumber of GPS satellites from which
a signal can be received
iAlternatively you can call up this function
using the touchpad (
Ypage 25).
XTo exit the compass display: press the
% button.
Drive information
XCall up the navigation menu (Ypage 103).
XTurn the controller until Drive Informa‐
tionis brought to the front.
XPress the controller.
TheStarting Drive Information.
Please Wait...message appears.
You will then see maps with the current
vehicle position and the vicinity of the des-
tination in different scales, these are auto-
matically displayed one after another.
If mbrace is activated for Internet access
(
Ypage 146), additional information can
be displayed, e.g. weather at the destina-
tion.
iAlternatively you can call up this function
using the touchpad (
Ypage 25).
XTo exit Drive Information: press the con-
troller.
XPress the %button.
Route flight
XCall up the navigation menu (Ypage 103).
XTurn the controller until Route Flightis
brought to the front.
XPress the controller.
The route will then be flown along from a
helicopter view.
iAlternatively you can call up this function
using the touchpad (
Ypage 25).
XTo exit the route flight: press the control-
ler.
XPress the %button.
104Navigation functions
Navigation
Page 113 of 222

Call disconnection while the vehicle is
in motion
A call may be disconnected if:
Rthere is insufficient network coverage in
certain areas.
Ryou move from one transmitter/receiver
area (cell) into another and no channels are
free.
Ryou use a SIM card that is not compatible
with the network available.
Operating options
You can operate the telephone by:
Rusing the controller by turning, pressing,
sliding1 or4
Rusing the touchpad (Ypage 25)
Rusing the 6or~ button on the mul-
tifunction steering wheel
Rusing the Voice Control System (see the
separate operating instructions)
Unless stated otherwise, the descriptions and
illustrations in this section refer to COMAND.
Function restrictions
You may have to wait before using telephony via COMAND in the following situations:
Rwhen the mobile phone is switched off
Rif Bluetooth®is switched off on the mobile
phone
Rif the mobile phone has not logged on to a
mobile phone network
Rif the Bluetooth®function is switched off in
COMAND
The telephone automatically tries to log on to
a network. If no network is available, you may
not be able to make a " 911" emergency call.
If you attempt to make an outgoing call, the
No Service
message will appear for a short
while.
Telephone menu
:Mobile phone network provider
;Signal strength of the mobile phone net-
work
=Receiver icon ¢or¡
?Telephone menu character bar
ABluetooth®device name of the currently
connected mobile phone
BTo enter characters using the touchpad
CTo display the phone book
Symbols :to= and Aare not shown until
after a mobile phone has been connected to
COMAND. The symbols depend on your
mobile phone and your mobile phone network
provider. Further information on connecting a
mobile phone (
Ypage 112).
Symbol ;shows the current signal strength
of the mobile phone network. If all bars are
filled, you have optimum reception.
If the bars are not filled, you have very poor
reception or no reception at all.
iReceiver icon shows whether a call is
active/being connected ¡or not ¢.
Calls up the telephone menu
XPress %.
Showing the menu bar
XSlide 6the controller.
If the mobile phone connected supports the
MAP Bluetooth
®profile ( Message Access
P rofile), the 1menu item is available. Fur-
ther information on text messages and e-mail
(
Ypage 135).
Telephone menu111
Telephone
Z
Page 137 of 222
XTo highlight a memory position for the
speed dial: turn the controller.
If you highlight an entry that already existsin the speed dial list, this is overwritten with
the new entry.
XTo select G: slide 9the controller.
XSelect Assign Speed Dial Preset.
The phone book is displayed.
XSearch for a contact (Ypage 122).
XTo select a contact: turn and press the con-
troller.
The phone number has been saved as a
speed dial.
Deleting
Deleting a speed dial preset
XTo call up the telephone menu: press the
% button.
XTo call up the menu bar: slide 6the con-
troller.
XTo select Call Lists: turn and press the
controller.
XSelect Speed Dial Preset List.
The speed dial list is displayed.
XTo highlight the memory position you want
to delete: turn the controller.
XTo select G: slide 9the controller.
XTo select Delete Speed Dial Preset:
turn and press the controller.
XTo select Yes: turn and press the controller.
The speed dial preset has been deleted.
or
XTo select No: turn and press the controller.
The process is canceled.
Deleting all speed dial presets
XTo call up the telephone menu: press the
% button.
XTo call up the menu bar: slide 6the con-
troller.
XTo select Call Lists: turn and press the
controller.
XSelect Speed Dial Preset List.
The speed dial list is displayed.
XTo highlight the desired memory position:
turn the controller.
XTo select G: slide 9the controller.
XTo select Delete All Speed Dial Pre‐
sets: turn and press the controller.
XTo selectYes: turn and press the controller.
All speed dials are deleted.
or
XTo select No: turn and press the controller.
The process is canceled.
Messages (text messages and e-
mails)
General notes
New messages are identified by an audible
signal and the /symbol in the COMAND
display. Once you have read all the messages,
the symbol is no longer displayed.
COMAND displays the 100 newest text mes-
sages and e-mails.
The ú symbol is displayed when the
mobile phone's message memory is full. The
symbol is no longer displayed if you delete
messages on the mobile phone.
Function restrictions
Text messages cannot be written while the
vehicle is in motion.
Prerequisites
To use the message functions, the connected mobile phone must support the MAP Blue-
tooth
®profile. The prompt for the MAP Blue-
tooth®profile may have to be confirmed on
the mobile phone.
Messages (text messages and e-mails)135
Telephone
Z
Page 153 of 222
XTo selectG: slide 9the controller.
XTo select Delete Configuration: turn
and press the controller.
A prompt appears asking whether you wish
to delete the Internet configuration.
XTo select Yes: turn and press the controller.
The Internet access permission for the
mobile phone is now canceled. The mobile
phone can now no longer be used by the
system for Internet functions.
or
XTo select No: turn and press the controller.
The process is canceled.
Changing the device name of the mobile
phone
XCall up the device list (Ypage 150).
XTo highlight the desired mobile phone in the
device list: turn the controller.
XTo select G: slide 9the controller.
XSelect Change Internet Device Name.
A character entry appears.
XEnter name and confirm with ¬.
The device name is changed.
Setting automatic disconnection of
the Internet connection
If a preset time has elapsed during which the
Internet functions have not been used, the
Internet automatically disconnects.
XCall up the device list (Ypage 150).
XTo highlight the desired mobile phone in the
device list: turn the controller.
XTo select G: slide 9the controller.
XTo select Disconnect Automatically
When Inactive: turn and press the con-
troller.
XTo select 5 Minutes,10 Minutesor 20
Minutes: turn and press the controller.
Establishing/ending the connection
Establishing the connection
Read the conditions for establishing a con-
nection (
Ypage 146).
A connection can be established by:
Rentering a web address (Ypage 158)
Rcalling up the Mercedes-Benz mobile web-
site (
Ypage 157)
Rcalling up a Mercedes-Benz App
(
Ypage 157)
Rcalling up a favorite
Restablishing an Internet connection via a
wireless networking device. The "Allow
shared WiFi usage" option must be activa-
ted on COMAND for this (
Ypage 42)
Ending the connection
XPress Cancelin the connections window.
Calling up Internet functions
XTo show the main function bar: slide 5
the controller.
XTo select ®: turn and press the controller.
The menu with the Internet functions is dis-
played.
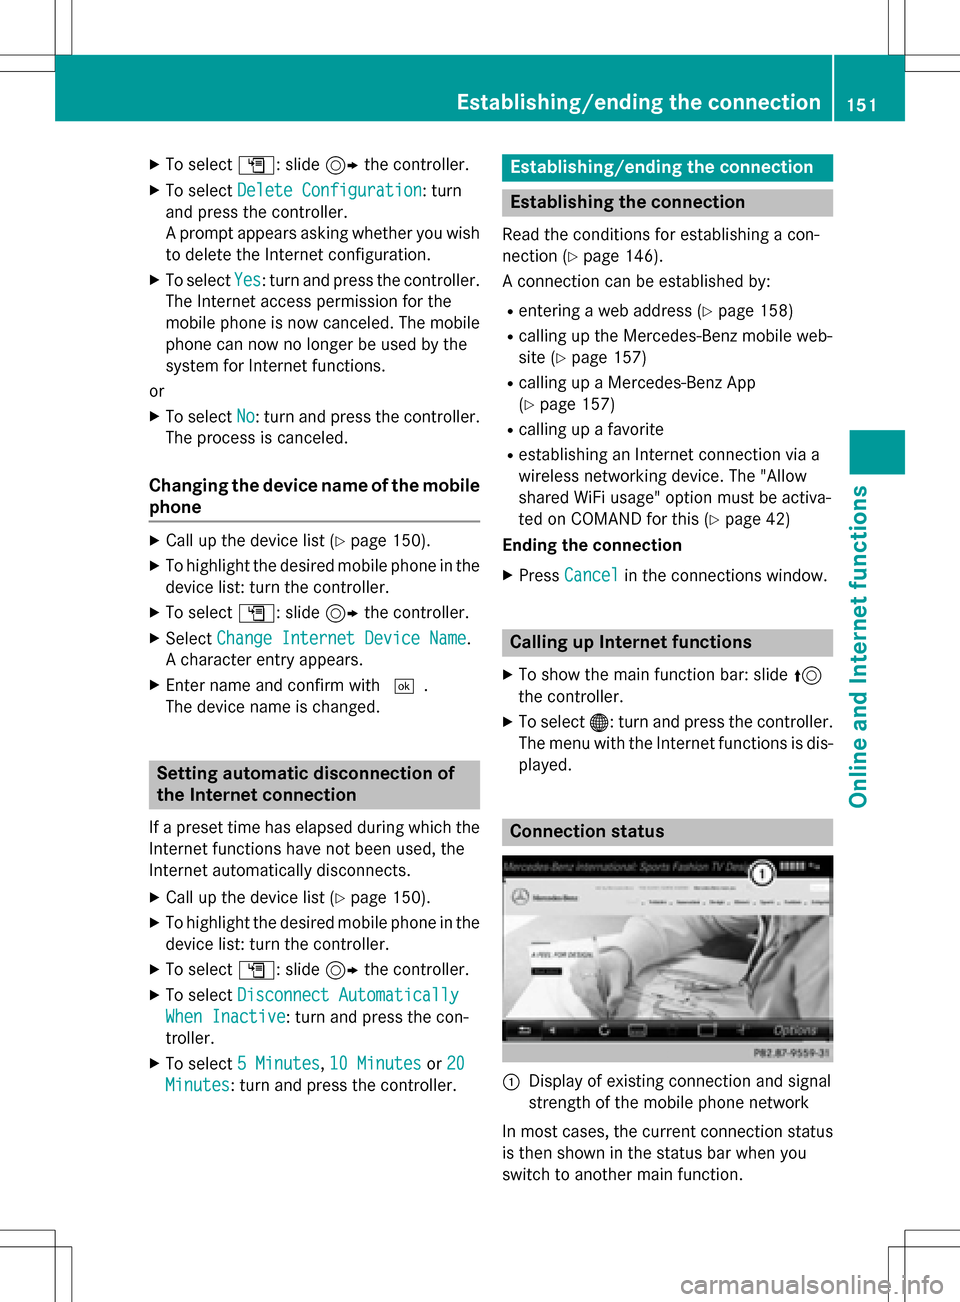
Connection status
:Display of existing connection and signal
strength of the mobile phone network
In most cases, the current connection status
is then shown in the status bar when you
switch to another main function.
Establishing/ending the connection151
Online and Internet functions
Z
Page 171 of 222
XTo select theSave Current Station/
Channeloption: turn and press the con-
troller.
XTo select the position of the required preset
entry: turn and press the controller.
or
XSelect the Edit Station Presetoption.
XSelect the position of the required preset:
turn the controller.
This can also be a preset position that is
already occupied, which is then overwritten
by the current station.
XSlide9the controller.
An additional menu appears.
XTo select the Save Current Station/
Channeloption: turn and press the con-
troller.
The currently set station is stored in the
selected preset position. A tone signals a
successful preset entry.
or
XIn the main display field, press and hold the
controller.
A list of current allocated preset positions
appears.
XTo select the position of the required preset
and confirm: turn the controller and press.
Moving highlighted stations
XIn radio mode: slide 6the controller.
The radio menu bar appears.
XTo select Preset: turn and press the con-
troller.
XSelect Edit Station Preset.
XTo select the required preset entry: turn the
controller.
XSlide9the controller.
An additional menu appears.
XTo select the Move Highlighted Sta‐
tion/Channeloption: turn and press the
controller.
The list of stored stations appears again.
XTo move the highlighted station to the new position: turn the controller and press to
confirm.
Deleting highlighted stations
XIn radio mode: slide 6the controller.
The radio menu bar appears.
XTo select Preset: turn and press the con-
troller.
XSelect Edit Station Preset.
XTo select the required preset entry: turn the
controller.
XSlide9the controller.
XTo select the Delete Highlighted Sta‐
tion/Channeloption in the additional
menu: turn and press the controller.
XTo select Yes: turn and press the controller.
The highlighted station is deleted.
or
XTo select No: turn and press the controller.
The process is canceled.
iFrequencies are already stored in
COMAND. There are 100 preset positions
available.
Activating/deactivating the station
presets display
You can use this function to change to the
station presets display.
Activating
XIn radio mode: slide 6the controller.
XTo select Preset: turn and press the con-
troller.
XTo select StationPresetView:On: turn
and press the controller.
The station preset display appears.
XTo switch between the stored stations: turn
the controller.
Station169
Radio