2016 MERCEDES-BENZ GLC-Class navigation
[x] Cancel search: navigationPage 129 of 222

Displaying contact details
XCall up theaddress boo k (Ypage 125).
XTo select acontact :turn and press th econ-
troller.
The details fo rth econtact are displayed .
The entries can be categorized as follows :
\ Business details
6 Home details
iAn address boo kentr ycan contain th e
following information :
Rname
Rfirst nam e
Rcompany
Rup to fivetelephon enumber s
Rtwoemail addresses
RInternet address
Rtw oaddresses
Rtw onavigation addresses (transferred
from navigation(
Ypage 68) )
Rgeo-coordinates
Adding information to acontact
XCall up th eaddress boo k (Ypage 125).
XTo select acontact :turn and press th econ-
troller.
The details fo rth econtact are displayed .
XTo addadesire dentr y(e.g. Add E-Mail
Addres s): turn and press th econtroller .
Dependin gon th etyp eof entry, th ecorre-
spondin ginput men uappears .
XEntercharacters usin gth econtroller
(
Ypage 31) or th etouchpad (Ypage 27).
XTo finish and sav ean entry: selec t¬.
A maximum of fiv etelephon enumber scan be
saved fo ron econtact .
Starting rout eguidance to an address
or geo-coordinate s
If an address with aZIP code is saved, th e
address can be used fo rrout eguidance. If th e
ZIP code canno tbe assigned to an exact
address ,you can adjust th edestination sub-
sequentl yusin gth econtroller .
XCall up theaddress boo k (Ypage 125).
XTo select acontact :turn and press th econ-
troller.
The details fo rth econtact are displayed .
XTo selectan address :turn and press th e
controller .
or
XTo selec tan entr ywit hgeo-coordinates:
turn and press th econtroller .
The navigation men uis displayed .
XTo selectStart:slid e6 and press th e
controller .
The rout eto th edestination address is cal -
culated and rout eguidanc estarts.
Makin g acall
XCall up th eaddress boo k (Ypage 125).
XTo select acontact :turn and press th econ-
troller.
The details fo rth econtact are displayed .
XTo select atelephon enumber :turn and
press th econtroller .
The number is dialed. Further information
about th efunction sdurin g acall
(
Ypage 118).
Address book12 7
Telephone
Z
Page 134 of 222

iIf you switch to another main function,
e.g. navigation, while receiving vCards, the reception of vCards will be terminated.
Deleting imported contacts
XTo change to the menu bar when in the
address book or the telephone menu: slide
6 the controller.
XTo select Options: turn and press the con-
troller.
XTo select Delete Contacts: turn and
press the controller.
XSelect one of the following options:
RInternal Contacts
RImported from Storage Device
RImported from Bluetooth Devices
RDownloaded from Phone
Turn and press the controller.
XTo select Yes: turn and press the controller.
The contacts are deleted.
or
XTo select No: turn and press the controller.
The process is canceled.
Closing the address book
XPress the %button one or more times.
Call lists
Introduction
If your mobile phone supports the PBAP Blue-
tooth®profile, the call lists from the mobile
phone are displayed in COMAND. When con- necting the mobile phone, you may have to
confirm the connection for the PBAP Blue-
tooth
®profile.
If your mobile phone does not support the
PBAP Bluetooth
®profile, COMAND generates
its own call lists. These are not the same as
the call lists in your mobile phone. The Call list option is not available unless a
mobile phone is connected to COMAND.
If the contact for an incoming call is not saved
in the address book, you can use the call list
to save the telephone number. You can save
this telephone number as a new contact in the
address book or add it to an existing contact
(
Ypage 133).
iIf you connect a different mobile phone to
COMAND, the call lists from the new mobile phone are displayed.
Opening the call list and selecting an
entry
List of selected phone numbers (example)
:
Date and time (if available)
;Telephone number of the highlighted
entry and symbols (if assigned)
XTo call up the telephone menu: press the
% button.
XTo switch to the menu bar: slide 6the
controller.
XTo select Call Lists: turn and press the
controller.
XTo select Calls ReceivedorCalls
Dialed: turn and press the controller.
The relevant list is displayed.
XTo select an entry and make a call: turn and
press the controller.
132Call lists
Telephone
Page 155 of 222

The following options are available for
Local Search:
RAt the current location
Searches for destinations near the current
vehicle position
RIntheVicinityoftheDestination
You can search for destinations in the vicin-
ity of the destination if route guidance is
active.
RAt another location
Searches for destinations near the location
iYou can also select a destination from the
general search history.
XTo select the required option: turn and
press the controller.
XTo select Enter search term: turn and
press the controller.
The input menu for the search term is dis-
played.
XEnter characters using the controller.
XTo complete the entry and start the search,
select a: turn and press the controller.
The search results are displayed.
iGoogle™ determines how the search
results are sorted; this is not necessarily
based on the shortest distance.
Further information on how to make use of a
search result (
Ypage 153).
Using search results
XTo select a search result: turn and press the
controller.
A menu appears.
Displaying details
XSelect Details.
The address of the selected entry is dis-
played. Using a search result as a destination
XSelect
Set as Destination.
The navigation is called up. You can use the
search result as the destination for route
calculation.
iAt the same time the search result is
stored in the "Last destinations" memory.
You can take the destination from this
memory and save it permanently in the
contacts.
Calling up a destination
XSelect Call.
The telephone menu is called up and a call
is activated.
iIf there is no phone number available, the
menu item cannot be selected.
Calling up Google Street View™
XSelect Google Street View.
Google Street View™ is called up.
iIf no Google Street View™ information is
available, a corresponding message
appears.
Calling up Panoramio by Google™
XSelect Panoramio by Google.
Panoramio by Google™ is called up. You
see pictures of places worth seeing in the
vicinity of the search result.
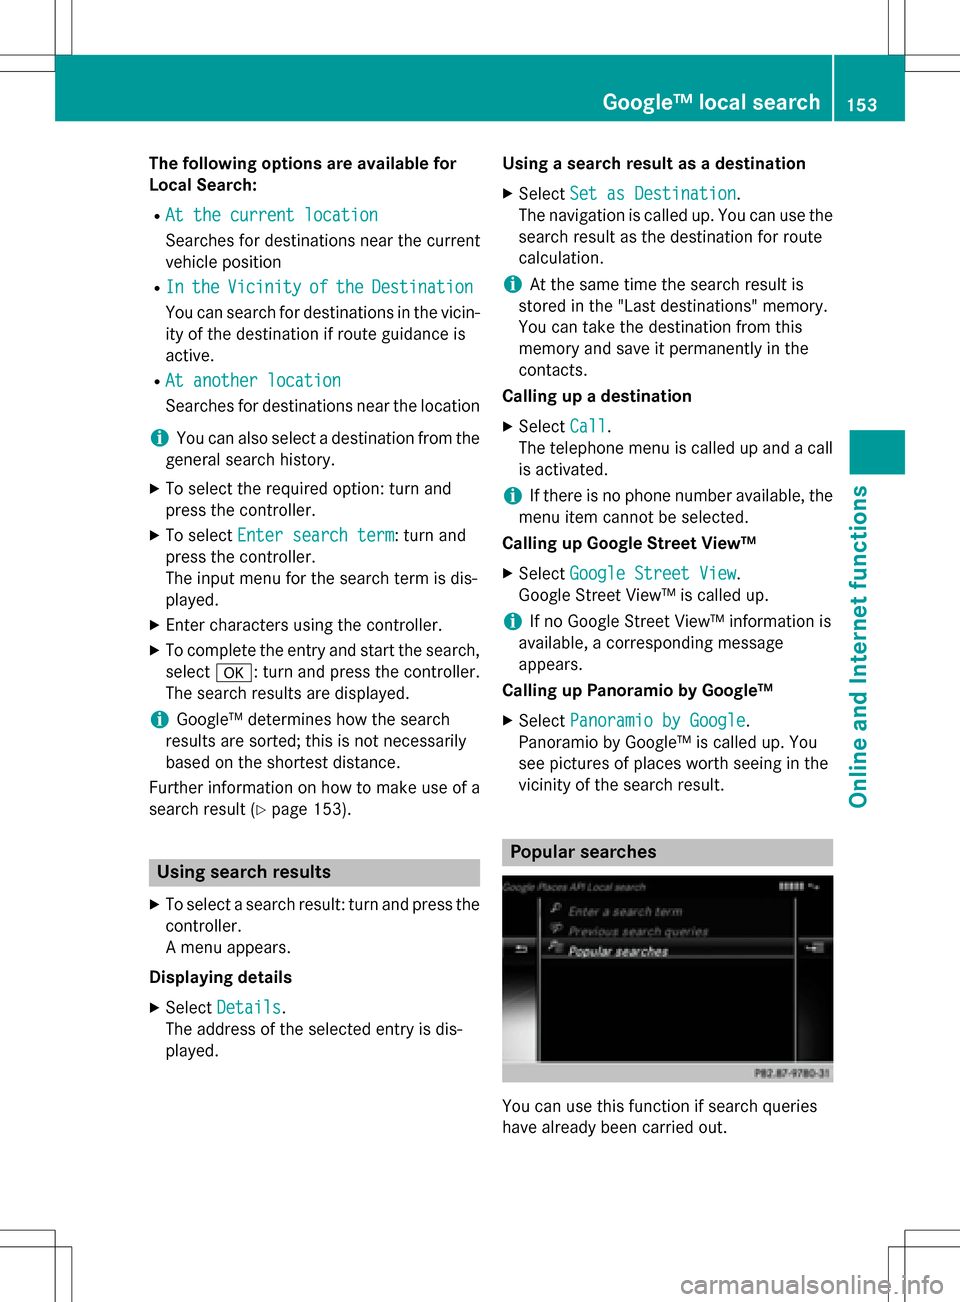
Popular searches
You can use this function if search queries
have already been carried out.
Google™ local search153
Online and Internet functions
Z
Page 157 of 222

Destination/routedownloa d
Prerequisites
To download navigation location syou need a
Google™ accoun tand your vehicle identifica-
tion number .Further information about th e
vehicle identification number (VIN)
(
Ypage 157).
To downloa dnavigation locations, th e
mbrace syste mmust be:
Ractivated
Roperational
Ractivated fo rth eservices of th esystem and
fo rInternet access
Fo rinformation on th embrace system, see
th eseparat evehicle Operator's Manual.
Procedur ean dgeneral information
Sign into your Google™ accoun ton th eInter-
net. Use th eGoogle Maps ™websit eto sen d
th edestination to aserver (
Ypage 155).
Using th eDownload
POIApp, th edestination
is displayed in th evehicle (
Ypage 155).
The destination can be:
Rimporte d (Ypage 156)
Rused forrout eguidanc e (Ypage 156)
Rcalled up (Ypage 156)
Rdeletedfrom th eserver (Ypage 156)
Sending destinations to th eserver
XSign into your Google™ account.
XCall up th eGoogle Maps ™website.
XEnte r adestination .
XClick"More" at th edestination .
XClick"Send".
XEnte rth ecorrespondin ginformation in th e
boxes shown .
XSelect"Send to car".
XSelec tMercedes-Ben zas th evehicle
brand .
XEnterth embrace e-mail address or th e
vehicle identification number .
Further information about th evehicle iden -
tification number (
Ypage 157).
XClick"Send".
The destination is sen tto th eserver .
The availabilit yof th edestination/rout e
download function is country-dependent.
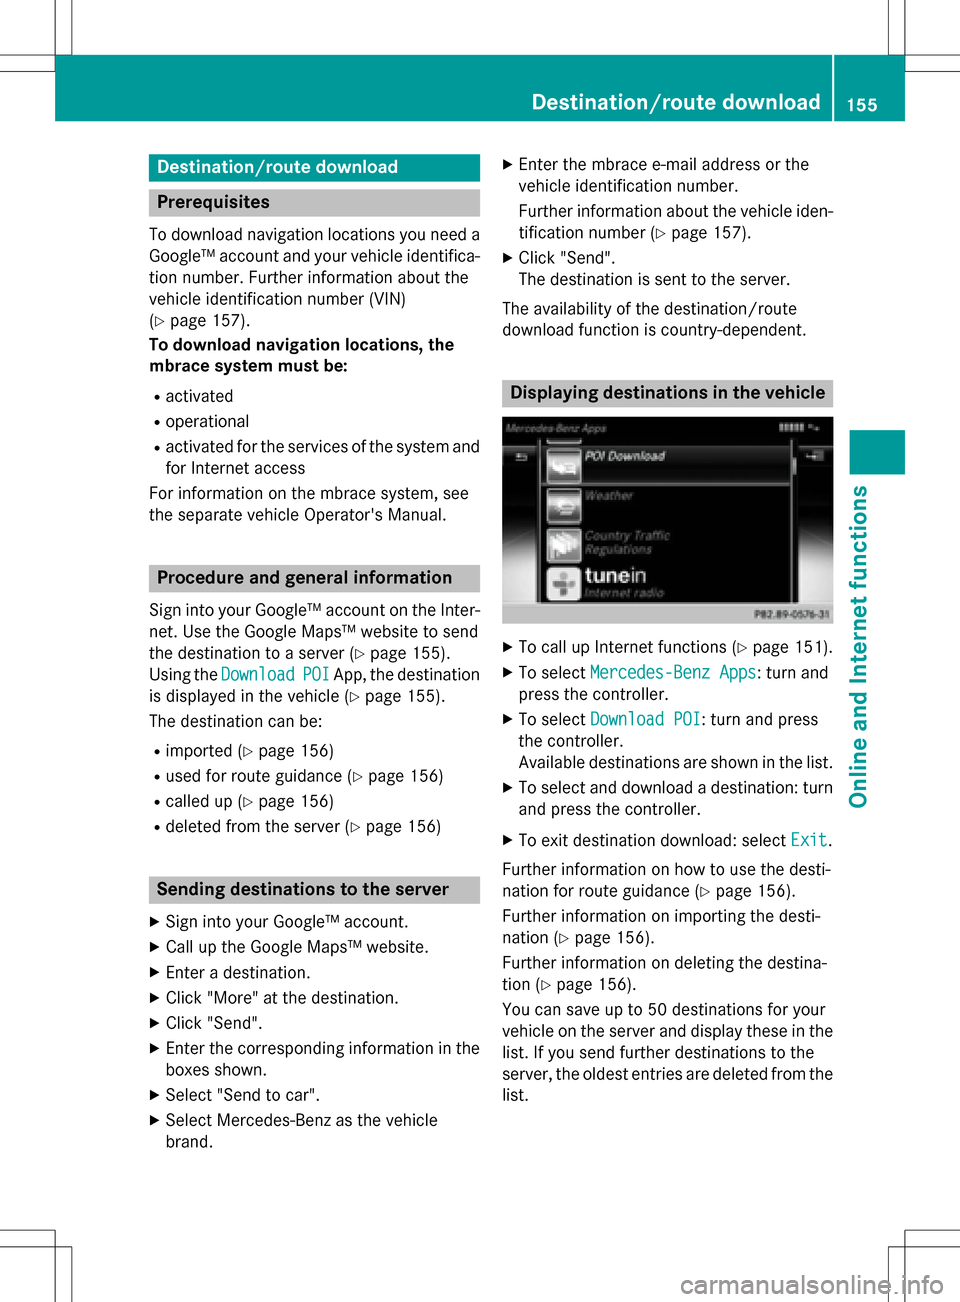
Displaying destinations in th evehicle
XTo cal lup Internet function s (Ypage 151).
XTo selectMercedes-Ben zApp s:turn and
press th econtroller .
XTo selectDownload POI:turn and press
th econtroller .
Availabl edestination sare shown in th elist .
XTo selec tand download adestination :turn
and press th econtroller .
XTo exit destination download :selec tExi t.
Further information on how to use th edesti -
nation fo rrout eguidanc e (
Ypage 156).
Further information on importing th edesti -
nation (
Ypage 156).
Further information on deleting th edestina-
tion (
Ypage 156).
You can sav eup to 50 destination sfo ryour
vehicle on th eserver and display these in th e
list .If you sen dfurther destination sto th e
server ,th eoldest entries are delete dfrom th e
list .
Destination/route download155
Online and Internet functions
Z
Page 158 of 222

Using destinations
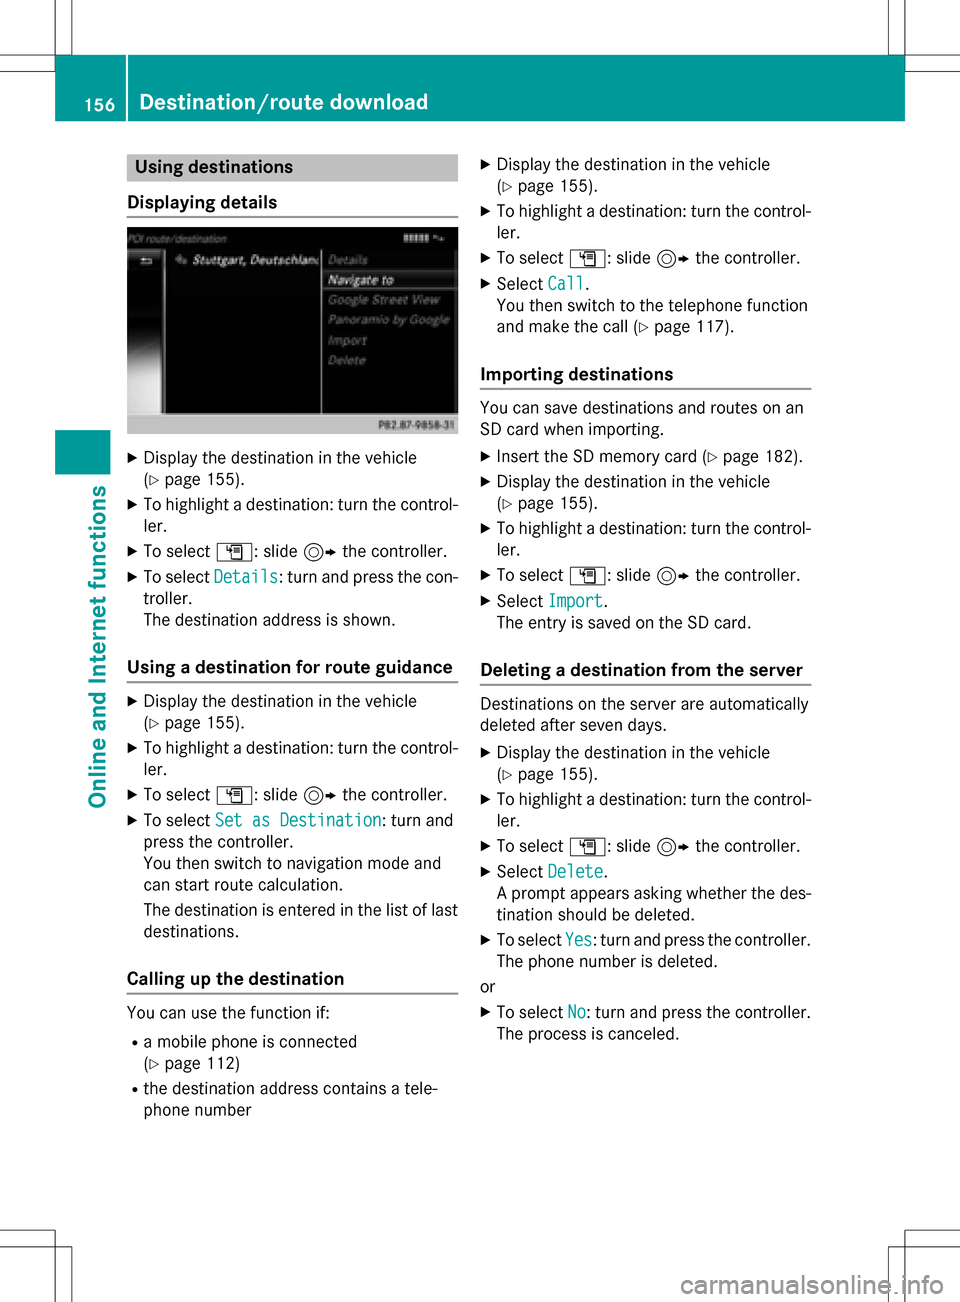
Displaying details
XDisplay the destination in the vehicle
(
Ypage 155).
XTo highlight a destination: turn the control-
ler.
XTo select G: slide 9the controller.
XTo select Details: turn and press the con-
troller.
The destination address is shown.
Using a destination for route guidance
XDisplay the destination in the vehicle
(
Ypage 155).
XTo highlight a destination: turn the control-
ler.
XTo select G: slide 9the controller.
XTo select Set as Destination: turn and
press the controller.
You then switch to navigation mode and
can start route calculation.
The destination is entered in the list of last
destinations.
Calling up the destination
You can use the function if:
Ra mobile phone is connected
(
Ypage 112)
Rthe destination address contains a tele-
phone number
XDisplay the destination in the vehicle
(
Ypage 155).
XTo highlight a destination: turn the control-
ler.
XTo select G: slide 9the controller.
XSelect Call.
You then switch to the telephone function
and make the call (
Ypage 117).
Importing destinations
You can save destinations and routes on an
SD card when importing.
XInsert the SD memory card (Ypage 182).
XDisplay the destination in the vehicle
(
Ypage 155).
XTo highlight a destination: turn the control-
ler.
XTo select G: slide 9the controller.
XSelect Import.
The entry is saved on the SD card.
Deleting a destination from the server
Destinations on the server are automatically
deleted after seven days.
XDisplay the destination in the vehicle
(
Ypage 155).
XTo highlight a destination: turn the control-
ler.
XTo select G: slide 9the controller.
XSelect Delete.
A prompt appears asking whether the des-
tination should be deleted.
XTo select Yes: turn and press the controller.
The phone number is deleted.
or
XTo select No: turn and press the controller.
The process is canceled.
156Destination/route download
Online and Internet functions
Page 183 of 222

Selecting an active partition
XTo selectOptionsin the media menu bar:
turn and press the controller.
XSelect Select Active Partition.
Notes on copyright
Audio/video files that you create or repro-
duce yourself for playback are generally sub-
ject to copyright protection.
In many countries, reproductions, even for
private use, are not permitted without the
prior consent of the copyright holder.
Make sure that you know about the applicable
copyright regulations and that you comply
with these.
Notes on CDs/DVDs
!COMAND is designed to play discs that
comply with the EN 60908 standard. There-
fore, you can only use discs with a maxi-
mum thickness of 1.3 mm.
If you insert thicker discs, e.g. those that
contain data on both sides (DVD on one
side and audio data on the other), they can-
not be ejected and can damage the device.
Only use round discs with a diameter of
12 cm. Do not use discs with a diameter of
8 cm, even with an adapter.
Discs with copy protection are not compati-
ble with the audio CD standard and therefore
may not be able to be played by COMAND.
Playback problems may occur when playing
copied discs.
There may be playback problems if you play
CDs that you have copied yourself with a stor-
age capacity of more than 700 MB.
iCOMAND is able to play back audio CDs in
multichannel audio format.
Inserting and removing a disc from
the single CD/DVD drive
Before inserting or removing a CD/DVD,
ensure that the cup holder is empty.
XTo insert: press theþbutton on the
single drive.
If there is a disc already inserted, it will be
ejected.
XInsert a disc into the disc slot with the prin-
ted side facing upwards.
The drive closes and the disc is played.
If the CD/DVD is operated in Media mode,
the corresponding basic menu will be
shown. If the CD/DVD is started using
another application (e.g. navigation), the
display will not change.
iThe drive may not be able to play discs
with copy protection.
XTo remove: press theþbutton.
The drive ejects the disc.
XRemove the ejected disc from the slot.
If you do not take the disc out of the slot, it
is drawn in again automatically after a short
while.
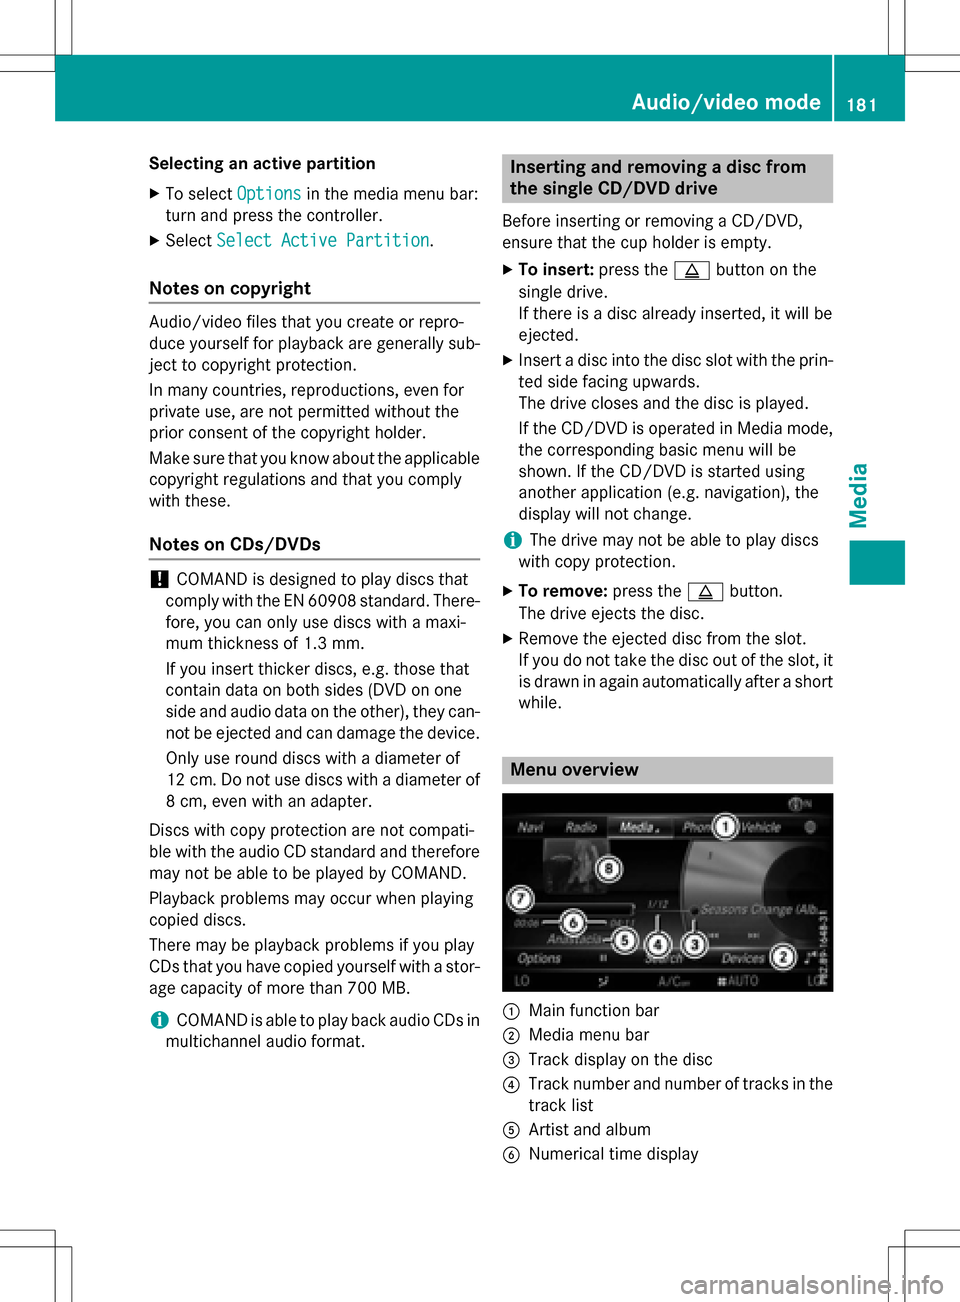
Menu overview
:Main function bar
;Media menu bar
=Track display on the disc
?Track number and number of tracks in the
track list
AArtist and album
BNumerical time display
Audio/video mode181
Media
Z