2016 MERCEDES-BENZ G-CLASS SUV key
[x] Cancel search: keyPage 86 of 261
X
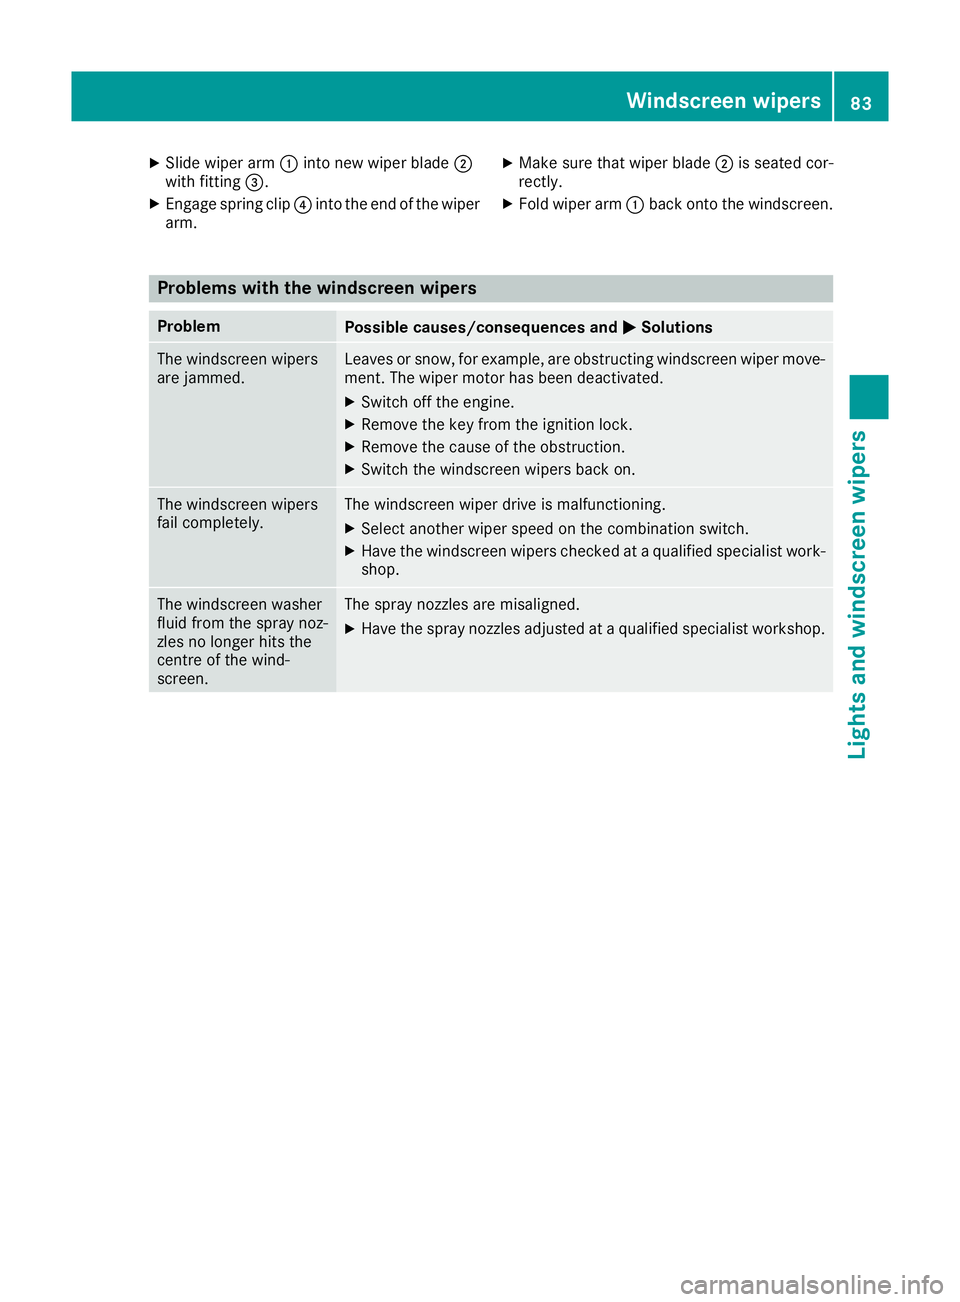
Slide wiper arm :into new wiper blade ;
with fitting =.
X Engag espring clip ?into the end of the wiper
arm. X
Mak esure that wiper blade ;is seated cor-
rectly.
X Fold wiper arm :back onto the windscreen. Problems with the windscreen wipers
Problem
Possible causes/consequences and
M
MSolutions The windscreen wipers
are jammed. Leaves or snow, for example, are obstructing windscreen wiper move-
ment. The wiper motor has been deactivated.
X Switch off the engine.
X Remove the key from the ignition lock.
X Remove the cause of the obstruction.
X Switch the windscreen wipers back on. The windscreen wipers
fail completely. The windscreen wiper drive is malfunctioning.
X Select another wiper speed on the combination switch.
X Have the windscreen wipers checked at aqualified specialist work-
shop. The windscreen washer
fluid from the spray noz-
zles no longer hits the
centre of the wind-
screen. The spray nozzles are misaligned.
X Have the spray nozzles adjusted at aqualified specialist workshop. Windscreenw
ipers
83Lightsand windscreen wipers Z
Page 88 of 261
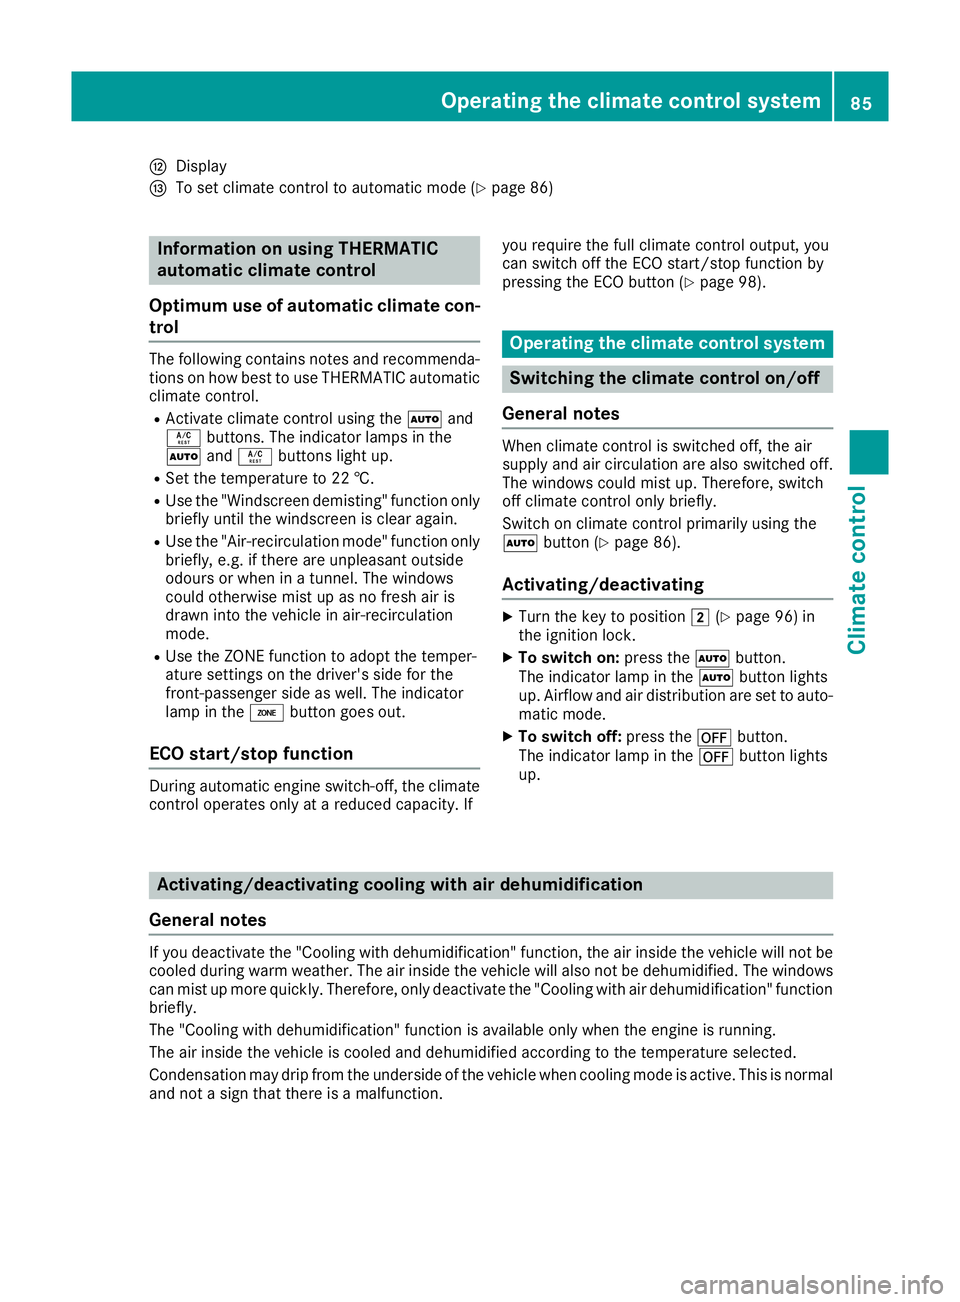
H
Display
I To set climate contro ltoautomatic mod e(Ypage 86) Information on using THERMATIC
automatic climate control
Optimum us eofautomatic climat econ-
trol The followin
gcontains notes and recommenda-
tions on how best to use THERMATIC automatic
climate control.
R Activate climate control using the Ãand
Á buttons. The indicator lamps in the
à andÁ button slight up.
R Set the temperature to 22 †.
R Use the "Windscreen demisting" function only
briefly until the windscreen is clear again.
R Use the "Air-recirculation mode" function only
briefly, e.g. if there are unpleasant outside
odours or when in atunnel. The windows
could otherwise mist up as no fresh air is
drawn into the vehicle in air-recirculation
mode.
R Use the ZONE function to adopt the temper-
ature settings on the driver's side for the
front-passenger side as well. The indicator
lamp in the ábutton goes out.
ECO start/stop function During automatic engine switch-off, th
eclimate
contro lope rates onl yatareducedcapacity. If yo
ur equire th efull climat econtro loutput ,you
can switch off th eECO start/sto pfunction by
pressing th eECO butto n(Ypage 98). Oper
ating the climat econtrol system Switching the climate control on/off
General notes When climate control is switched off, the air
supply and air circulation are also switched off.
The windows could mist up. Therefore, switch
off climate control only briefly.
Switc honc limate control primarily using the
à button (Y page 86).
Activating/deactivating X
Turn the key to position 2(Ypage 96) in
the ignition lock.
X To switch on: press theÃbutton.
The indicator lamp in the Ãbutton lights
up. Airflow and air distribution are set to auto-
matic mode.
X To switch off: press the^button.
The indicator lamp in the ^button lights
up. Activating/deactivating cooling with air dehumidification
General notes If you deactivate the "Cooling with dehumidification
"function, the air inside the vehicle willn ot be
cooled during warm weather. The air inside the vehicle willa lso not be dehumidified. The windows
can mist up more quickly. Therefore, only deactivate the "Cooling with air dehumidification" function briefly.
The "Cooling with dehumidification" function is available only when the engine is running.
The air inside the vehicle is cooled and dehumidified according to the temperature selected.
Condensation may drip from the underside of the vehicle when cooling mode is active. This is normal
and not asign that there is amalfunction. Operating the climate control system
85Climate control
Page 89 of 261
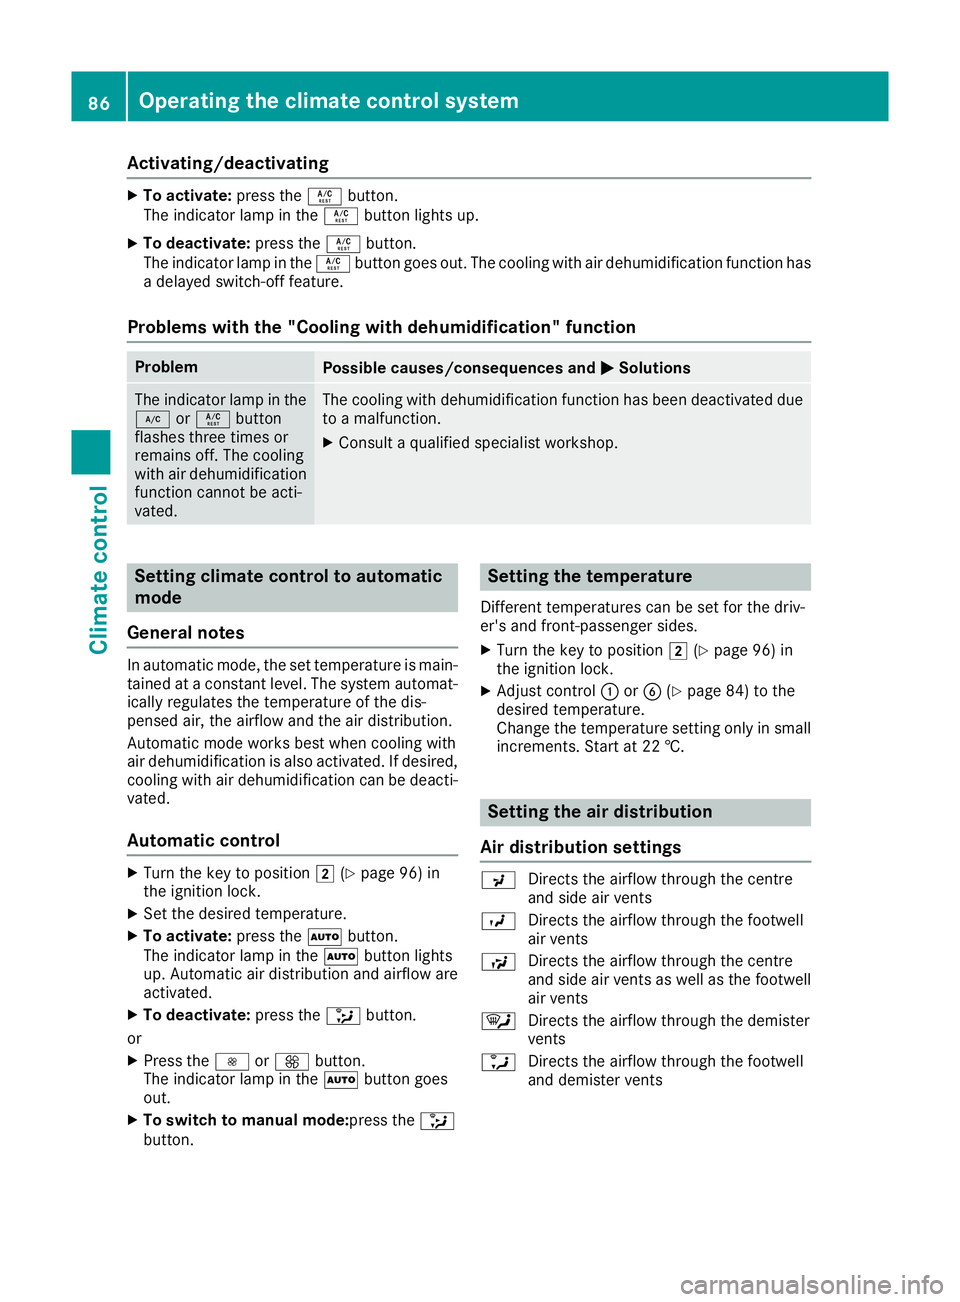
Activating/deactivating
X
To activate: press theÁbutton.
Th eindicator lamp in the Ábutton lights up.
X To deactivate: press theÁbutton.
The indicator lamp in the Ábutton goe sout.T he cooling with ai rdehumidifica tion functionhas
ad elayed switch-off feature.
Problems with the "Cooling with dehumidification" function Problem
Possible causes/consequence
sand M
MSolutions The indicator lamp in the
¿ orÁ button
flashes three times or
remains off. The cooling
with air dehumidification
function cannot be acti-
vated. The cooling with dehumidification function has been deactivated due
to am alfunction.
X Consult aqualified specialist workshop. Setting climate control to automatic
mode
General notes In automatic mode, the set temperature is main-
tained at aconstant level.T he system automat-
icallyr egulates the temperature of the dis-
pensed air, the airflow and the air distribution.
Automatic mode works best when cooling with
air dehumidification is also activated. If desired,
cooling with air dehumidification can be deacti- vated.
Automatic control X
Turn the key to position 2(Ypage 96) in
the ignition lock.
X Set the desire dtemperature.
X To activate: press theÃbutton.
The indicator lamp in the Ãbutton lights
up. Automatic air distribution and airflow are
activated.
X To deactivate: press the_button.
or X Press the IorK button.
The indicator lamp in the Ãbutton goes
out.
X To switch to manual mode:press the _
button. Setting the temperature
Differen ttemperatures can be set for the driv-
er's and front-passenger sides.
X Turn the key to position 2(Ypage 96) in
the ignition lock.
X Adjust control :orB (Ypage 84) to the
desired temperature.
Change the temperature settingo nly in small
increments. Start at 22 †. Setting the air distribution
Air distribution settings P
Directs the airflow throug hthe centre
and side ai rvents
O Directs the airflow throug hthe footwell
ai rv ents
S Directs the airflow throug hthe centre
and side ai rvents as well as the footwell
ai rv ents
¯ Directs the airflow throug hthe demister
vents
a Directs the airflow throug hthe footwell
and demister vents 86
Operatin
gthe climat econtrol systemClimat econt rol
Page 90 of 261
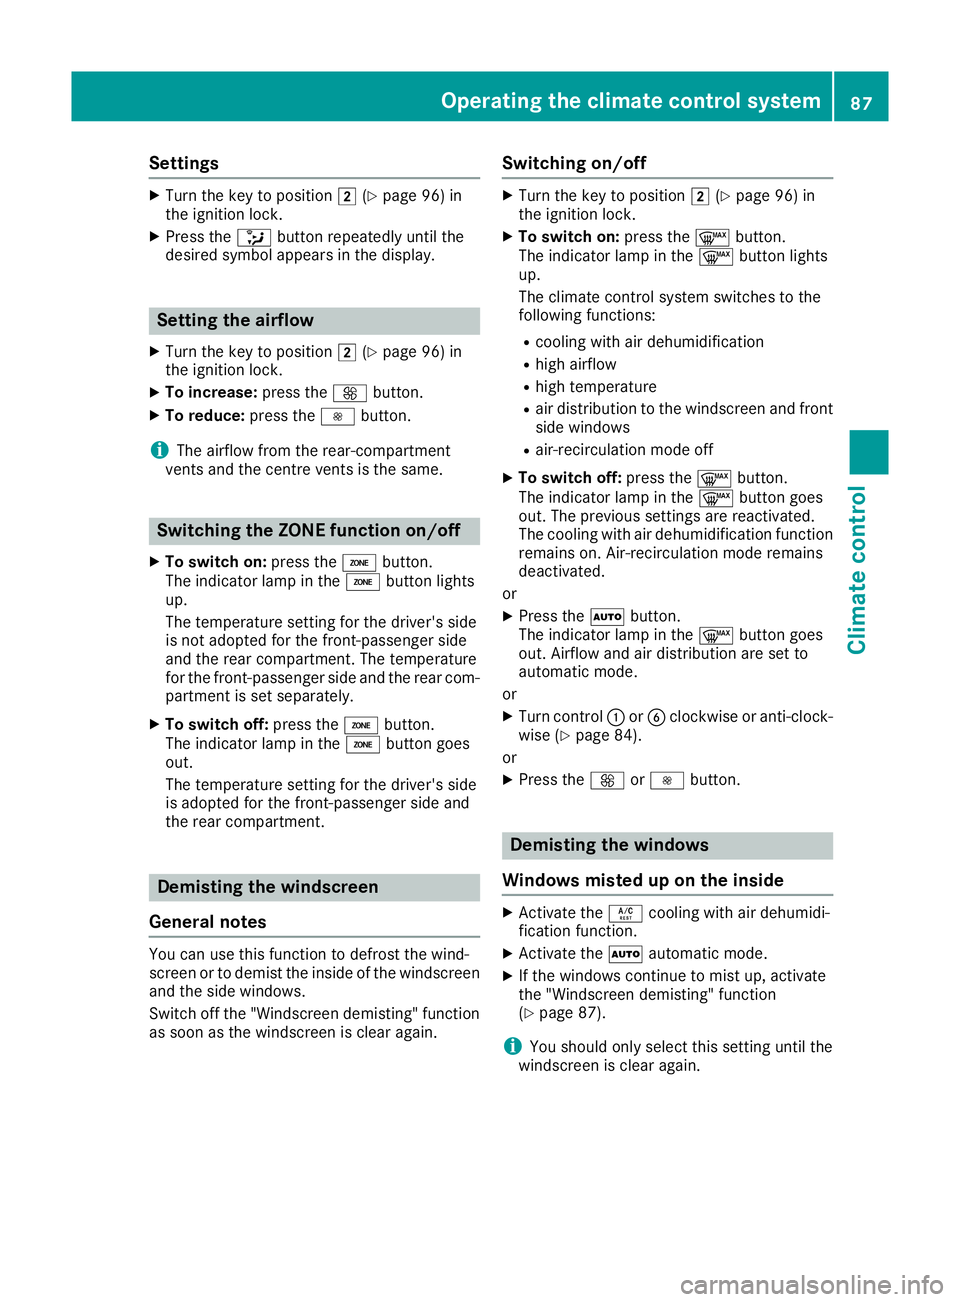
Settings
X
Turn the key to position 2(Ypage 96) in
the ignition lock.
X Press the _button repeatedly until the
desired symbol appears in the display. Setting the airflow
X Turn the key to position 2(Ypage 96) in
the ignition lock.
X To increase: press theKbutton.
X To reduce: press theIbutton.
i The airflow from the rear-compartment
ventsa nd the centre ventsist he same.Switching the ZONE function on/off
X To switch on: press theábutton.
The indicator lamp in the ábutton lights
up.
The temperature settingf or the driver's side
is not adopted for the front-passenger side
and the rear compartment. The temperature
for the front-passenger side and the rear com-
partment is set separately.
X To switch off: press theábutton.
The indicator lamp in the ábutton goes
out.
The temperature settingf or the driver's side
is adopted for the front-passenger side and
the rear compartment. Demisti
ng thewindscreen
General notes You can use this function to defrost the wind-
screen or to demis
tthe inside of the windscreen
and the side windows.
Switch off the "Windscreen demisting" function as soon as the windscreen is clear again. Switching on/off X
Turn the key to position 2(Ypage 96) in
the ignitio nlock.
X To switch on: press the¬button.
The indicator lamp in the ¬button lights
up.
The climate control system switches to the
following functions:
R cooling with air dehumidification
R high airflow
R high temperature
R air distribution to the windscreen and front
side windows
R air-recirculation mode off
X To switch off: press the¬button.
The indicator lamp in the ¬button goes
out. The previous settings are reactivated.
The cooling with air dehumidification function remains on. Air-recirculation mode remains
deactivated.
or
X Press the Ãbutton.
The indicator lamp in the ¬button goes
out. Airflow and air distribution are set to
automatic mode.
or
X Turn control :orB clockwise or anti-clock-
wise (Y page 84).
or
X Press the KorI button. Demisting the windo
ws
Windows misted up on th einside X
Activate the Ácoolin gwitha irdehumidi-
ficatio nfunction.
X Activate the Ãautomatic mode.
X If the windows continue to mis tup,activate
the "Windscreen demisting "fun ction
(Y page 87).
i Yo
us houl donlys elect thi ssetting unti lthe
windscree nisc lear again. Operatin
gthe climat econtrol system
87Climatecont rol
Page 91 of 261
Windows misted up on the outside
X
Switch on the windscreen wiper s(Ypage 81).
X Press the _button repeatedl yuntilthe
P orO symbo lapp ears in the display.
i You shoul
donly select this setting unti lthe
windscreen is clear again.
i If yo
uclean the window sregularly, they do
not mis tupasq uickly. Switching windscree
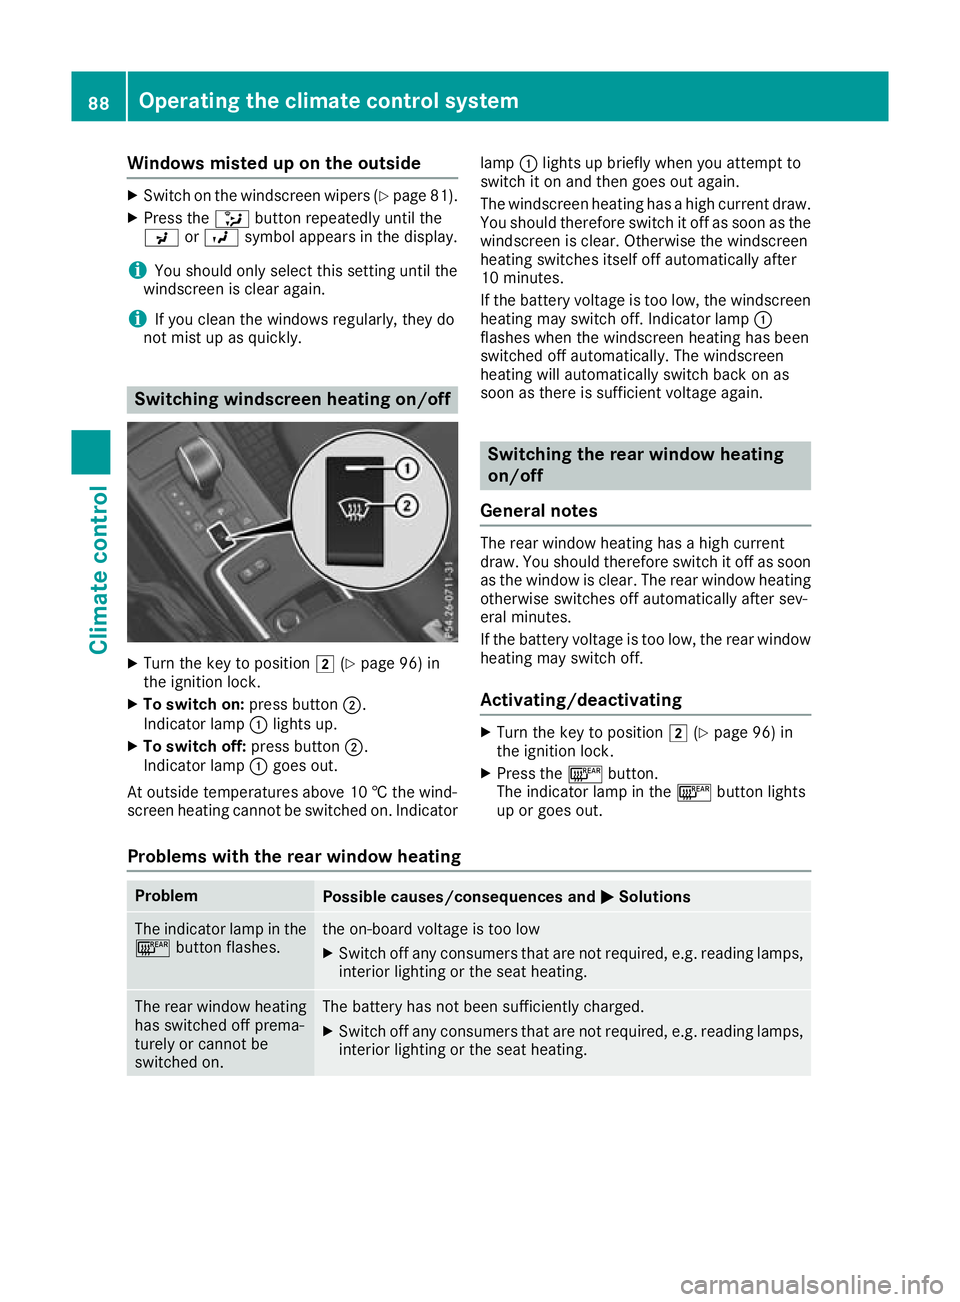
nheating on/off X
Turn the key to position 2(Ypage 96) in
the ignition lock.
X To switch on: press button;.
Indicator lamp :lights up.
X To switch off: press button;.
Indicator lamp :goes out.
At outside temperatures above 10 †the wind-
screen heating cannot be switched on. Indicator lamp
:lights up briefly when you attempt to
switch it on and then goes out again.
The windscreen heating has ahigh current draw.
You should therefore switc hitoff as soon as the
windscreen is clear. Otherwise the windscreen
heatin gswitches itself off automatically after
10 minutes.
If the battery voltage is too low, the windscreen heatin gmay switc hoff.I ndicator lamp :
flashes when the windscreen heatin ghas been
switched off automatically. The windscreen
heatin gwill automatically switc hback on as
soon as there is sufficient voltage again. Switching the rear windo
wheating
on/off
General notes The rear window heating has
ahigh current
draw. You should therefor eswitch it off as soon
as the window is clear. The rear window heating otherwise switches off automatically after sev-
eral minutes.
If the battery voltage is too low, the rear window
heating may switch off.
Activating/deactivating X
Turn the key to position 2(Ypage 96) in
the ignition lock.
X Press the ¤button.
The indicator lamp in the ¤button lights
up or goes out.
Problems with the rear window heating Problem
Possible causes/consequences and
M MSolutions The indicator lamp in the
¤ button flashes. th
eo n-board voltag eistoo low
X Switch off any consumers tha tare not required ,e.g.r eading lamps,
interio rlighting or the seat heating. Th
er ear window heating
has switched off prema-
turely or cannot be
switched on. The battery has not been sufficiently charged.
X Switch off any consumer sthat are not required, e.g. reading lamps,
interior lighting or the seat heating. 88
Operating the climate control systemClimate
control
Page 92 of 261
Activating/deactivating air-recircula-
tion mode
Genera lnotes If yo
uactivate air-recirculation mode, the win-
dows can mist up more quickly, particularly at
low temperatures. Use air-recirculation mode
only briefl ytoprevent the window sfrom misting
up.
Activating/deactivating X
Turn the key to position 2(Ypage 96) in
the ignition lock.
X To activa te:press the dbutton.
The indicator lamp in the dbutton lights
up.
i Air-recirculation mode is automatically acti-
vated at high levels of pollution or at high out-
side temperatures. When air-recirculation
mode is activated automatically, the indicator
lamp in the dbutton is not lit.
Outside air is added after about 30 minutes.
X To deactivate: press thedbutton.
The indicator lamp in the dbutton goes
out.
i Air-recirculation mode is deactivated auto-
matically:
R after approximately five minutes at outside
temperatures below approximately 5†
R after approximately five minutes if "Cooling
with air dehumidification" is deactivated
R after approximately 30 minutes at outside
temperatures above approximately 5†Switching the residual heat on/off
General notes It is possible to make use of the residual heat of
the engine to continue heating the stationary
vehicle for up to 30 minutes after the engine has
been switched off. The heating time depends on
the set interior temperature. Switching on/off X
Turn the key to position g(Ypage 96) in
the ignition lock or remove it.
X To switch on: press theÁbutton.
The indicator lamp in the Ábutton lights
up.
i The blower will run at
alow speed regardless
of the airflow setting.
i If you switch on the residual heat function at
high temperatures, only the ventilation will be
activated.
X To switch off: press theÁbutton.
The indicator lamp in the Ábutton goes
out.
Residua lheat is switched off automatically:
R after approximately 30 minutes
R when the ignition is switched on
R if the battery voltage drops
R if the coolant temperature is too low
R when the auxiliary heating is switched on Auxiliary heating
Important safety notes G
DAN
GER
If th eexhaust pipe is blocke dorsufficient
ventilation is no tpossible, toxic exhaust
fumes can ente rthe vehicle, especially car-
bon monoxide. This is th ecase, e.g. in
enclosed spaces, or if th evehicl eiss tuck in
snow. There is ariskoff atal injuries.
You should switch off th eauxiliary heating in
enclosed spaces whic hdonothav eane xtrac-
tion system, e.g. agarage. If th evehicl eis
stuck in snow and you mus tleav ethe auxiliary
heating running, keep th eexhaust pipe and
th ea rea around th evehicl eclear of snow. To
guarantee asufficien tsupply of fresh air, open
aw indow on th eside of th evehicl eaway from
th ew ind. G
WARNING
When th eauxiliary heating is switched on,
parts of the vehicl ecan become very hot. Operating the climate control system
89Climate control
Z
Page 93 of 261
Flammable materials such as leaves, grass or
twig smay ignite if they come into contact
with:
R hot parts of the exhaust system
R the exhaust ga sitself
There is arisk of fire.
Whe nthe auxiliary heating is switched on,
make sur ethat:
R no flammable materials come into contact
with hot vehicle components
R the exhaust ga scan escape from the
exhaust pip eunhindered
R the exhaust ga sdoesn ot come into contact
with flammable materials.
! Operating the auxiliary heating/ventilation
draws on the vehicle battery. After yo uhave
heated or ventilated the vehicle amaximum of
two times ,drive for alonger distance.
i Switch the auxiliary heating on regularly –
once amonth –for abou tten minutes.
The auxiliary heating heats the ai rinthe vehicle
interior to the set temperature. Thi soccur swith-
ou tu sing the hea tofthe running engine. The
auxiliary heating is operate ddirectly using the
vehicle' sfuel. For this reason, the fue ltank level
mus tbea bove the reserve rang etoensure that
the auxiliary heating functions.
The auxiliary heating or auxiliary ventilation
automaticall yadjusts to changes in tempera-
ture and weathe rconditions. For this reason,
the auxiliary heating could switch from ventila-
tion mode to heating mode or from heating
mode to ventilation mode.
The auxiliary heating switches off automatically afte r30m inutes. Thi stime period can be
altered .Todot his, consult aquali fied specialist
workshop.
You cannot use the auxiliary ventilation to cool
the vehicle interior to atemperature lower than
the outsid etemperature.
Before switchin gonX
Turn the key to position 2(Ypage 96) in
the ignition lock.
X Set the desired temperature.
Auxiliary heating or auxiliary ventilation can also
be switched on if the manually set climate con- trol is activated. Optimum comfort is attained by
settin gthe syste mtoautomatic mode. Set the
temperatur eto22†.
The auxiliary heating or auxiliary ventilatio ncan
be switched on/off using the button on the
centr econsol eorthe remote control.
The on-board compute rcan be used to specify
up to thre edepartur etimes ,one of which may
be preselected (Y page 139).
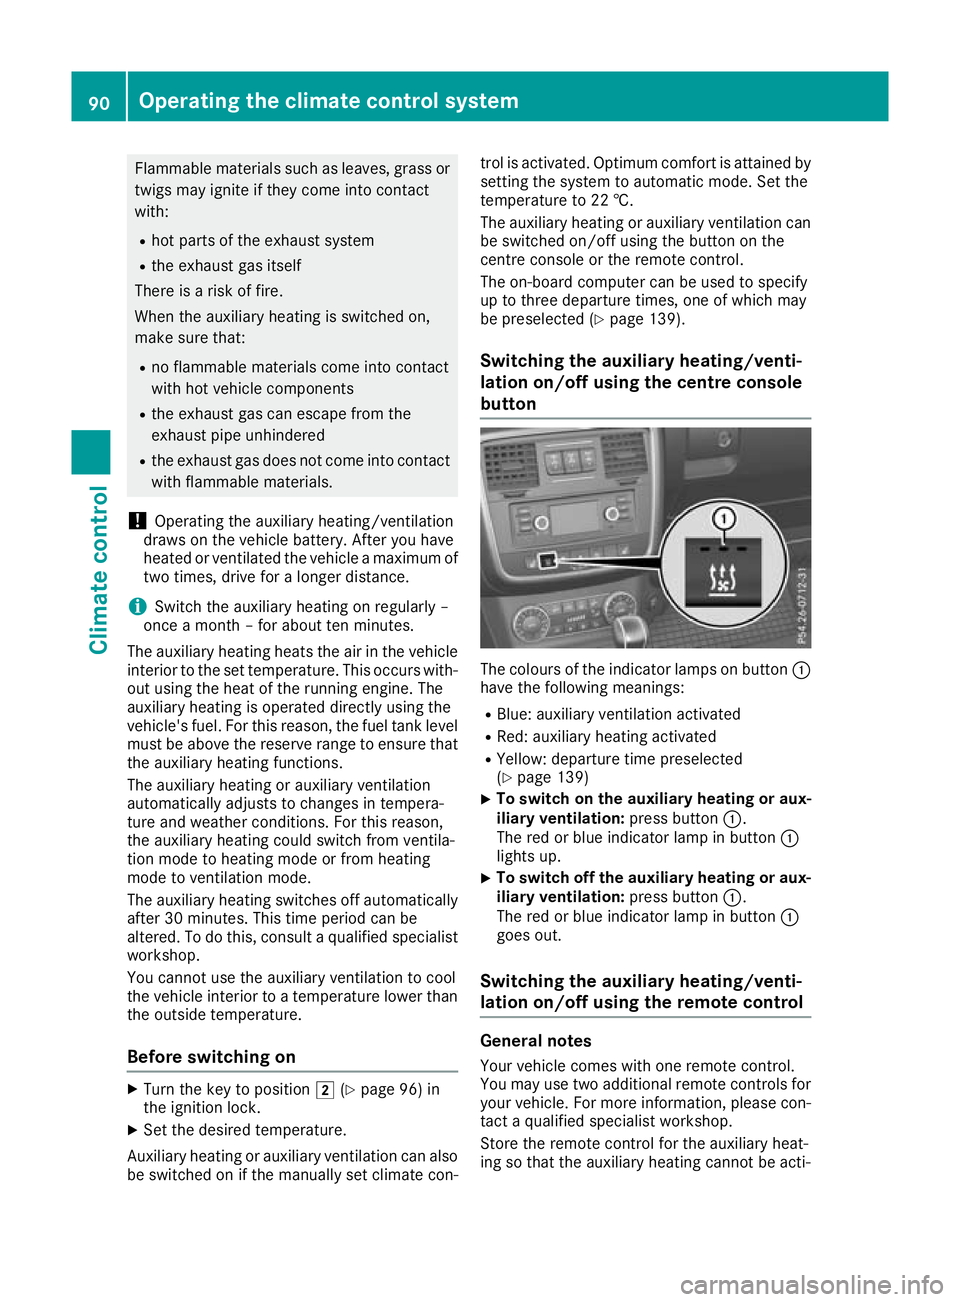
Switchin gthe auxiliary heating/venti-
lation on/off using the centre console
button Th
ec olours of the indicator lamps on button :
have the following meanings:
R Blue: auxiliary ventilation activated
R Red: auxiliary heating activated
R Yellow: departure time preselected
(Y page 139)
X To switch on the auxiliar
yheating or aux-
iliary ventilation: press button:.
The red or blue indicator lamp in button :
lights up.
X To switch off the auxiliar
yheating or aux-
iliary ventilation: press button:.
The red or blue indicator lamp in button :
goes out.
Switching the auxiliar yheating/venti-
lation on/off using the remotec ontrol General notes
Your vehicle comes with one remot econtrol.
You may use two additional remote controls for
yourv ehicle.For more information, please con-
tact aqualified specialist workshop.
Store the remote control for the auxiliary heat-
ing so that the auxiliary heating cannot be acti- 90
Operating the climate control systemClimate control
Page 99 of 261

!
Avoid high engine speeds when the engine
is cold. The engine's service life could other-
wise be significantly shortened. Do not use
the engine's full performance until it has
reached operating temperature. Key positions
g
To remove the key
1 Power supply for some consumers, such as
the windscreen wipers
2 Ignition (power supply for all consumers)
and drive position
3 Starting the vehicle
You can only remove the key if: R the key is in position gin the ignition lock
R the automatic transmission selector lever is
in j Starting the vehicle
Important safety notes G
WARNING
If children are left unsupervised in the vehicle, they can:
R open doors and endanger other persons or
road users
R climb out and be injured by the traffic
R operate vehicle equipment and, for exam-
ple, trap themselves. Children could als
oset th evehicle in motion,
for example by:
R releasin gthe parking brake
R shiftin gthe automatic transmission out of
park position P
R starting th eengine.
Ther eisar iskofana ccidentand injury.
When leaving th evehicle ,always tak ethe key
wit hyou and loc kthe vehicle .Never leave
children unattende dinthevehicle .Always
keep th ekeyout of reac hofchildren. G
WARNING
Combustion engine semit poisonous exhaust
gase ssuch as carbon monoxide .Inhaling
these exhaust gase sleads to poisoning. There
is ar isk of fatal injury .Therefore never leave
the engine running in enclose dspace swith-
out sufficient ventilation. G
WARNING
Flammable materials introduced through
environmental influence or by animals can
ignite if in contact with the exhaust system or parts of the engine that heat up. There is arisk
of fire.
Carry out regular checks to make sure that
there are no flammable foreig nmaterials in
the engine compartment or in the exhaust
system.
! Do not depress the accelerator when start-
ing the engine.
Starting procedure X
Shift the automatic transmissio ntoposition
j.
i You can also star
tthe engine when the auto-
mati ctransmissio nisinpositioni.
X Make sure that the parking brake is applied.
X Turn the key to position 2(Ypage 96) in the
ignition lock.
The % preglow indicator lamp on the
instrument cluster lights up.
X Whe nthe % preglow indicator lamp goes
out, turn the key to position 3(Ypage 96) 96
DrivingDrivin
gand park ing