2016 MERCEDES-BENZ G-CLASS SUV fuel type
[x] Cancel search: fuel typePage 17 of 261
Station list ..................................... 176
Storing stations manually .............. 176
Switching on .................................. 176
Switching to alternative frequen-
cie s................................................ 177
Radio aerial
Assembl ytool ................................ 210
Removing ....................................... 210
Removing the radio aeria l.............. 210
Securing ........................................ 210
Securing the radio aeria l................ 210
Radio-based vehicle components
Declaration of conformity ................ 22
Rear benc hseat
Folding forward .............................. 202
Rear compartment
Setting the ai rvents ........................ 94
Rear door
Displa ymessage ............................ 153
Important safety notes .................... 63
Rear foglamp
Changing the bulb ............................ 81
Displa ymessage ............................ 145
Switching on/of f.............................. 75
Rear seat bench
Folding into an upright position ..... 202
Rear windo wheating
Problem (fault) ................................. 88
Switching on/of f.............................. 88
Rear windo wwiper
Replacing the wipe rblade ................ 82
Switching on/of f.............................. 82
Refuelling
AdBlue ®
......................................... 111
Fue lgauge ....................................... 26
Important safety notes .................. 108
Refuelling process ......................... 109
see Fuel
Remote control
Auxiliary heating/ventilation ............ 90
Changing the batteries (auxiliary
heating) ........................................... 92
Replacing bulbs
Brake lamp ...................................... 80
Important safety notes .................... 78
Overview of bulb types .................... 79
Rear fog lamp .................................. 81
Reversing lamp ................................ 81 Tai
llamp .......................................... 80
Turn signal (rear) .............................. 80
Turn signals (front )........................... 80
Rescue card ......................................... 24
Reserve (fuel tank)
see Fuel
Reserve fuel
Display message ............................1 47
Warning lamp ................................. 162
Residual heat
Switching on/off .............................. 89
Restrain tsystem
Display message ............................ 144
Introduction ..................................... 31
Warning lamp ................................. 161
Warning lamp (function) ................... 31
Rev counter ........................................ 131
Reversing lamp
Replacing bulbs ............................... 81
Reversing lamp (display message) .. 145
Roof carrier ........................................ 206
Roof lining and carpets (cleaning
instructions) ...................................... 221
Roof load (maximum) ........................ 254
Route
Creating ......................................... 184
Deleting ......................................... 186
Display route info ........................... 189
Displaying alternative route s......... 186
Editing ........................................... 185
Setting route options ..................... 189
Route guidance
Changing aroute ........................... 185
Displa y........................................... 187
Lane recommendations ................. 188
Route info ...................................... 189
Traffi creports ................................ 196
Route guidanc eactive ...................... 135 S
Safety Children in the vehicl e..................... 38
see Occupant safety
Safety net
Detachinga nd storing .................... 206
Important safety information ......... 204
Releasing ....................................... 206 14
Index
Page 21 of 261
Unlocking
Emergenc yunlocking .......................62
From inside the vehicle (central
unlocking button) ............................. 62
Updatin gthe digital map .................. 197
USB (audio)
Connecting adevice ...................... 177
Selecting ........................................ 177 V
Vanity mirror Sun visor ........................................ 208
Vehicle
Correct us e...................................... 23
Data acquisition ............................... 24
Displa ymessage ............................ 153
Electronics ..................................... 248
Equipment ....................................... 21
Implied warranty .............................. 23
Individua lsettings .......................... 137
Leaving parked up ......................... 115
Locking (i nanemergency) ............... 62
Locking (key) ................................... 57
Lowering ........................................ 246
Parking .......................................... 113
Pulling away ..................................... 97
Raising ........................................... 244
Registration ..................................... 23
Securing from rolling away ............ 244
Tow-starting ................................... 232
Towing ........................................... 229
Transporting .................................. 231
Unlocking (i nanemergency) ........... 62
Unlocking (key) ................................ 57
Vehicl edata. .................................. 254
Vehicl edata ....................................... 254
Vehicl edata (off-road driving)
Approach/departure angle ............ 255
Fording depth ................................ 255
Maximu mgradient climbing abil-
ity .................................................. 255
Vehicl edimensions ........................... 254
Vehicl eemergenc yloc king ................ 62
Vehicl eidentificatio nnumber
see VIN
Vehicl eidentificatio nplate .............. 249
Vehicl etoolkit.................................. 223 Vehicl
etoolkit pocket ...................... 223
Vehicl eweigh ts................................. 254
Ventilation
Setting the airflow ........................... 87
VIN
Type plate ...................................... 249
Volume
Adjusting ....................................... 170 W
Warning and indicator lamps ABS ................................................ 158
Brake s.......................................... .157
ESP ®
.............................................. 159
ESP ®
OFF ....................................... 160
Fuel tank ........................................ 162
General notes ................................ 155
Overview .......................................... 26
Parking brake ................................ 157
PASSENGER AIR BAG OFF .............. .32
Reserv efuel .................................. .162
Seat bel t........................................ 155
Tyr ep ressure monitor ................... 164
Warning triangle ................................ 222
Washer fluid
Display message ............................ 154
Whee land tyre combinations
Tyres .............................................. 246
Whee lboltt ightening torque ........... 246
Wheels
Changing awheel .......................... 243
Changing/replacing ....................... 243
Checking ........................................ 235
Cleaning ......................................... 218
Fitting anew wheel ........................ 245
Fitting awheel ............................... 243
Important safety notes .................. 235
Information on driving .................... 235
Removing awheel .......................... 245
Snow chains .................................. 237
Storing .......................................... .243
Tightening torqu e........................... 246
Whee lsize/tyre size ..................... .246
Winch ................................................. 210
Windscreen
Demisting ........................................ 87
Windscreen heating ............................ 8818
Index
Page 112 of 261
nozzle. Thi
sdischarge sany electrostatic
charge tha tmayhave buil tup.
Do not get back into the vehicl eduring the refu-
elling process ;otherwise, electrostatic charge
could buil dupagain. G
WARNING
If yo umix diesel fuel with petrol, the flash
point of this fuel mixture is lower than that of pure diesel fuel .When the engine is running,
components in the exhaust system may over-
heatu nnoticed. There is arisk of fire.
Never refue lwith petrol. Never add petrol to
diesel fuel.
! Do not use petrol to refue
lvehicles with a
diesel engine. Do not switch on the ignitio nif
you accidentally refue lwith the wrong fuel.
Otherwise, fuel can enter the fuel system.
Even smal lamounts of the wrong fuel could
result in damage to the fuel system and the
engine. The repair costs are high .Notify a
qualified specialist worksho pand have the
fuel tank and fuel lines drained completely.
! Overfilling the fuel tank coul
ddamage the
fuel system.
! Take care not to spil
lany fuel on painted
surfaces. You coul dotherwise damage the
paintwork.
! Use
afilter when adding fuel from afuel can.
The fuel lines and/or the fuel injection system coul dotherwise be blocked by particles from
the fuel can.
If you overfil lthe fuel tank, some fuel may spray
out when you remove the fuel pump nozzle.
Further information on fuel and fuel quality
(Y page2 50). Refuelling
General information Observe the important safety notes
(Y
page 108).
If you unlock/lock the vehicle from the outside, the fuel filler flap also unlocks/locks.
The positio nofthe8 fuel filler cap is dis-
played on the instrument cluster. The arrow next to the filling pump indicates the side of the vehi-
cle.
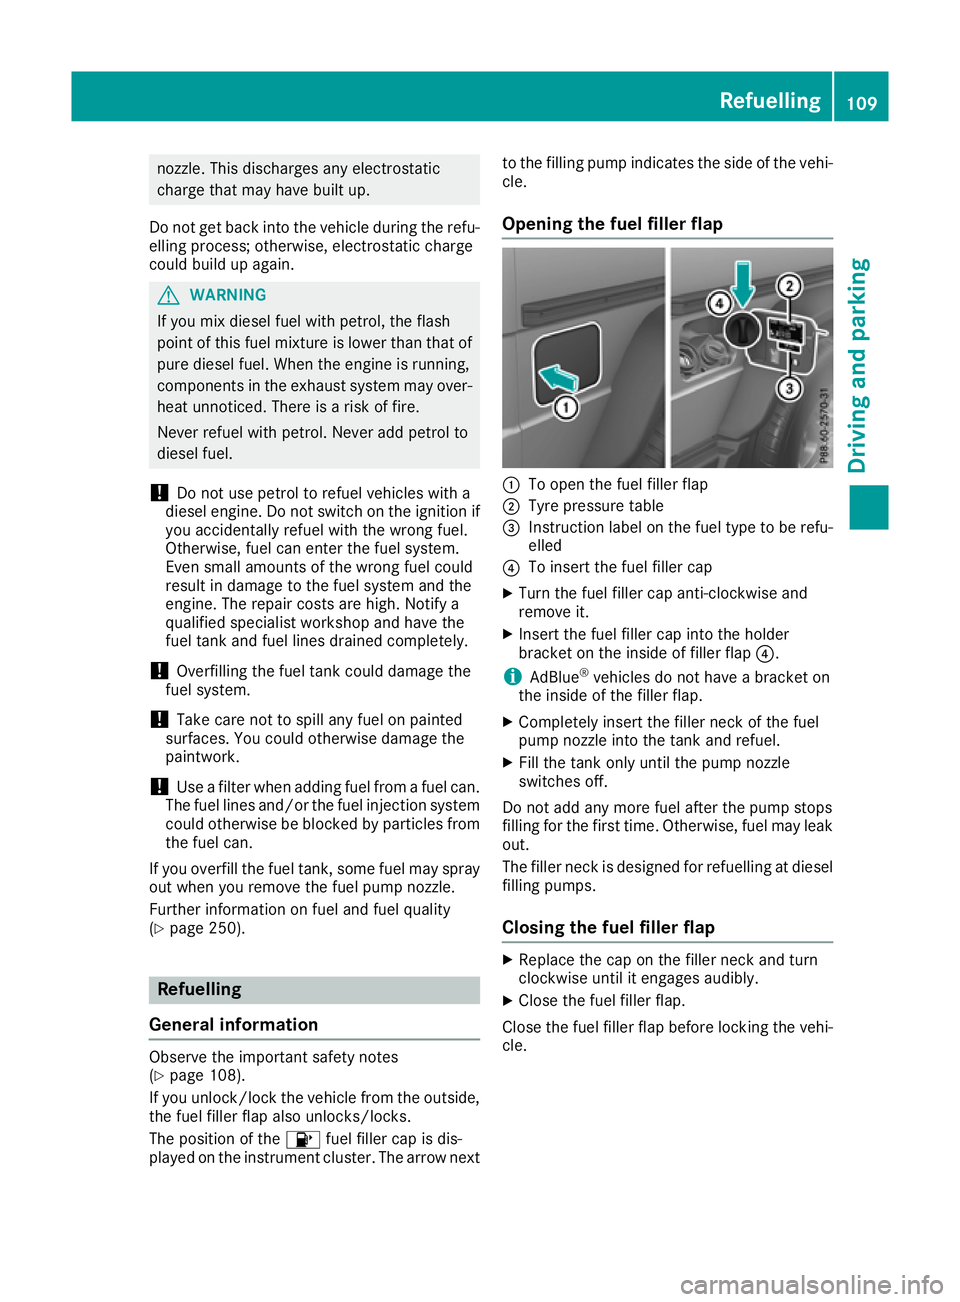
Opening the fuel filler flap :
To open the fuel filler flap
; Tyre pressure table
= Instruction label on the fuel type to be refu-
elled
? To insert the fuel filler cap
X Turn the fuel filler cap anti-clockwise and
remove it.
X Insert the fuel filler cap into the holder
bracket on the inside of filler flap ?.
i AdBlue ®
vehicles do not have abracket on
the inside of the filler flap.
X Completely insert the filler neck of the fuel
pump nozzle into the tank and refuel.
X Fill the tank only until the pump nozzle
switches off.
Do not add any more fuel after the pump stops
filling for the first time. Otherwise, fuel may leak out.
The filler neck is designed for refuelling at diesel
filling pumps.
Closing the fuel filler flap X
Replace the cap on the filler neck and turn
clockwise until it engages audibly.
X Clos ethe fuel filler flap.
Close th efuel filler flap before lockin gthe vehi-
cle. Refuelling
109Driving and parking Z
Page 131 of 261

To avoid hazardous situations:
R make sure to check the noseweight before
each journey
R the noseweight should be as close as possible
to the maximum noseweight
R do not exceed the maximum permissible
noseweight
R the noseweight must not be lower than the
minimum permissible noseweight
Make sure that the following values are not
exceeded:
R the permissible noseweight
R the permissible trailer load
R the permissible rear axle load of the towing
vehicle
R the maximum permissible gross vehicle
weight of both the towing vehicle and the
trailer
When reversin gthe towing vehicle, make sure
there is nobody between the trailer and the vehi- cle.
The applicable permissible values, which must
not be exceeded, can be found:
R in your vehicle documents
R on the type plates for the trailer
R on the vehicle identification plate
If the values differ, the lowest value applies.
You will find the values approved by the manu-
facturer on the identification plates and for the
towing vehicle under "Technical data"
(Y page 256).
When reversin gthe towing vehicle, make sure
there is nobody between the trailer and the vehi- cle.
Couple and uncouple the trailer carefully. If youdo not couple the trailer to the towing vehicle
correctly, the trailer could become detached.
When towing atrailer, your vehicle's handling
characteristics will be different from when driv-
ing without atrailer.
The vehicle/trailer combination:
R is heavier
R is restricted in its acceleration and gradient-
climbing capability
R has an increased braking distance
R is affected more by stron gcrosswinds
R demands more sensitiv esteering
R has alarger turnin gcircle This can impair the vehicle's handling charac-
teristics. Adapt your driving style accordingly.
Maintain asafe distance. Drive carefully.
When towing atrailer, alway sadjust your speed
to the current road and weather conditions. Do
not exceed the maximum permissible speed for
your vehicle/trailer combination. Notes on to
wingatrailer
General notes When towing
atrailer, set the tyre pressure on
the rear axle of the towing vehicle for amaxi-
mum load. Further information on the tyre pres-
sure table in the fuel filler flap (Y page 109).
The height of the ball coupling changes with the load of the vehicle. If necessary, use atrailer
with aheight-adjustable drawbar.
You will find permissible trailer loads under
"Technical data" (Y page 256).
Driving tips X
Observe the information on ESP ®
trailer sta-
bilisation (Y page 55).
X On long and steep downhill gradients, select
shift range 1,2or 3(Y page 105) in good time.
X If necessary, shift the transfer case to LOW
RANGE (Ypage 124).
This will use the braking effect of the engine, so less braking will be required to maintain
the vehicle speed. This relieves the load on
the brake system and prevents the brakes
from overheating and wearing too quickly. If
you need additional braking, depress the
brake pedal repeatedly rather than continu-
ously.
The maximum permissible speed for vehicle/
trailer combinations depends on the type of
trailer. Before beginnin gthe journey, check the
trailer's documents to see what the maximum
permitted speed is. Observe the maximum per-
missible speed in the relevant country.
For certain Mercedes-Benz vehicles, the maxi-
mum permissibler ear axle load is increased
when towing atrailer. See the "Technical data"
section to find out whether this applies to your
vehicle (Y page 256). In the event of increased
rear axle load, the car/trailer combination may
not exceed amaximum speed of 100 km/h for
reasons concerning the operating permit. This 128
Towing
atrailerDriving and parking
Page 165 of 261

Engine
Warning/
indicator
lamp
N N
Signal type
Possible causes/consequences and M
MSolutions ;
N
The yellow engine diagnostics warning lamp lights up whil ethe engine is run-
ning.
There may be afault with the following, for example:
R engine management
R fuel injection system
R exhaust system
R fuel system
The emission limit values may be exceeded and the engine may be runnin gin
emergenc ymode.
X Consult aqualified specialist workshop immediately.
Vehicles with adiesel engine: the fuel tank has been run dry (Y page 110).
X Start the engine three to four times after refuelling.
If the yellow engine diagnostics warning lamp goes out, emergenc ymode is
cancelled. The vehicle does not have to be checked. 8
N
The yellow reserve fuel warning lamp lights up while the engine is running.
The fuel level has dropped into the reserve range.
Operation of the auxiliary heating is deactivated if the fuel level drops into the
reserve range.
X Refuel at the nearest filling station. %
N
On diesel engine vehicles, the preglow indicator lamp does not light up when the
key is in position 2(Y page 96).
The preglow system is malfunctioning.
X Consult aqualified specialist workshop immediately. ?
N
The red coolant warning lamp lights up while the engine is running and the
coolant temperature display is at the start of the scale.
The temperature sensor for the coolant temperature gauge is malfunctioning.
The coolant temperature is no longer being monitored. The engine could be dam-
aged if the coolant temperature is too high.
X Stop the vehicle immediately,p aying attention to road and traffic conditions,
and switch off the engine. Do not continue driving.
X Secure the vehicle against rolling away (Y page 113).
X Consult aqualified specialist workshop. 162
Warning and indicator lamps on the instrument clusterOn-board computer and displays
Page 219 of 261
The ASSYST service interval display inform
syou
of the next service due date.
If as ervice due date has been exceeded, you
also hear awarning tone.
The multifunction display shows aservice mes-
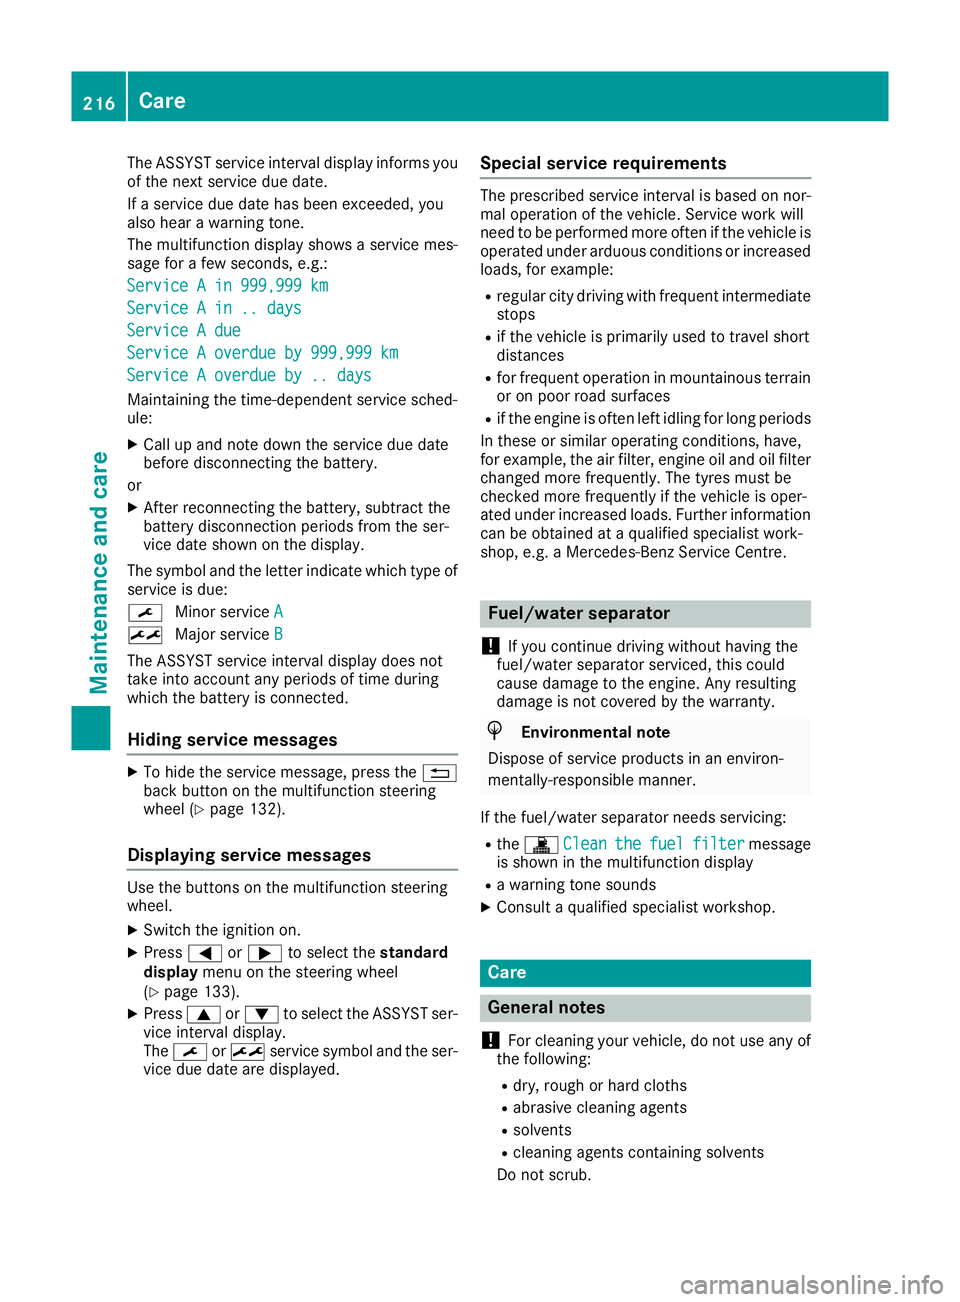
sage for afew seconds, e.g.:
Service Ain999,999 km
Service Ain999,999 km
Service Ain..d ays
Service Ain..d ays
Service Adue
Service Adue
Service Aoverdue by 999,999 km
Service Aoverdue by 999,999 km
Service Aoverdue by .. days
Service Aoverdue by .. days
Maintaining the time-dependent service sched-
ule:
X Call up and noted own the service due date
before disconnectin gthe battery.
or X After reconnecting the battery, subtract the
battery disconnection periods from the ser-
vice date shown on the display.
The symbol and the letter indicate which type of service is due:
¯ Minor service A
A
± Major service B B
The ASSYST service interval display does not
take into account any periods of time during
which the battery is connected.
Hiding service messages X
To hide the service message, press the %
back button on the multifunction steering
wheel (Y page 132).
Displaying service messages Use the buttons on the multifunction steering
wheel.
X Switch the ignition on.
X Press =or; to select the standard
display menu on the steering wheel
(Y page 133).
X Press 9or: to select the ASSYST ser-
vice interval display.
The ¯ or± service symbol and the ser-
vice due date are displayed. Special service requirements The prescribed service interval is based on nor-
mal operation of the vehicle. Servic ework will
need to be performed more often if the vehicle is operated under arduous conditions or increased
loads, for example:
R regular city driving with frequent intermediate
stops
R if the vehicle is primarily used to travel short
distances
R for frequent operation in mountainous terrain
or on poor road surfaces
R if the engine is often left idling for long periods
In these or similar operating conditions, have,
for example, the air filter, engine oil and oil filter changed more frequently. The tyres must be
checked more frequently if the vehicle is oper-
ated under increased loads. Further information can be obtained at aqualified specialist work-
shop, e.g. aMercedes-Benz Servic eCentre. Fuel/water separator
! If you continue driving without having the
fuel/wate rseparato rserviced, this could
caus edamag etotheengine. An yresulting
damag eisnotcovered by th ewarranty. H
Environmenta
lnote
Dispose of servic eproduct sinane nviron-
mentally-responsible manner.
If th efuel/water separator needs servicing:
R the ! Clean
Clean the thefuel
fuel filter
filter message
is shown in th emultifunction display
R aw arning tone sounds
X Consult aqualifie dspecialist workshop. Care
General notes
! For cleaning your vehicle, do not use any of
the following:
R dry ,rough or hard cloths
R abrasive cleaning agents
R solvents
R cleaning agents containing solvents
Do not scrub. 216
CareMaintenanc
eand care
Page 238 of 261
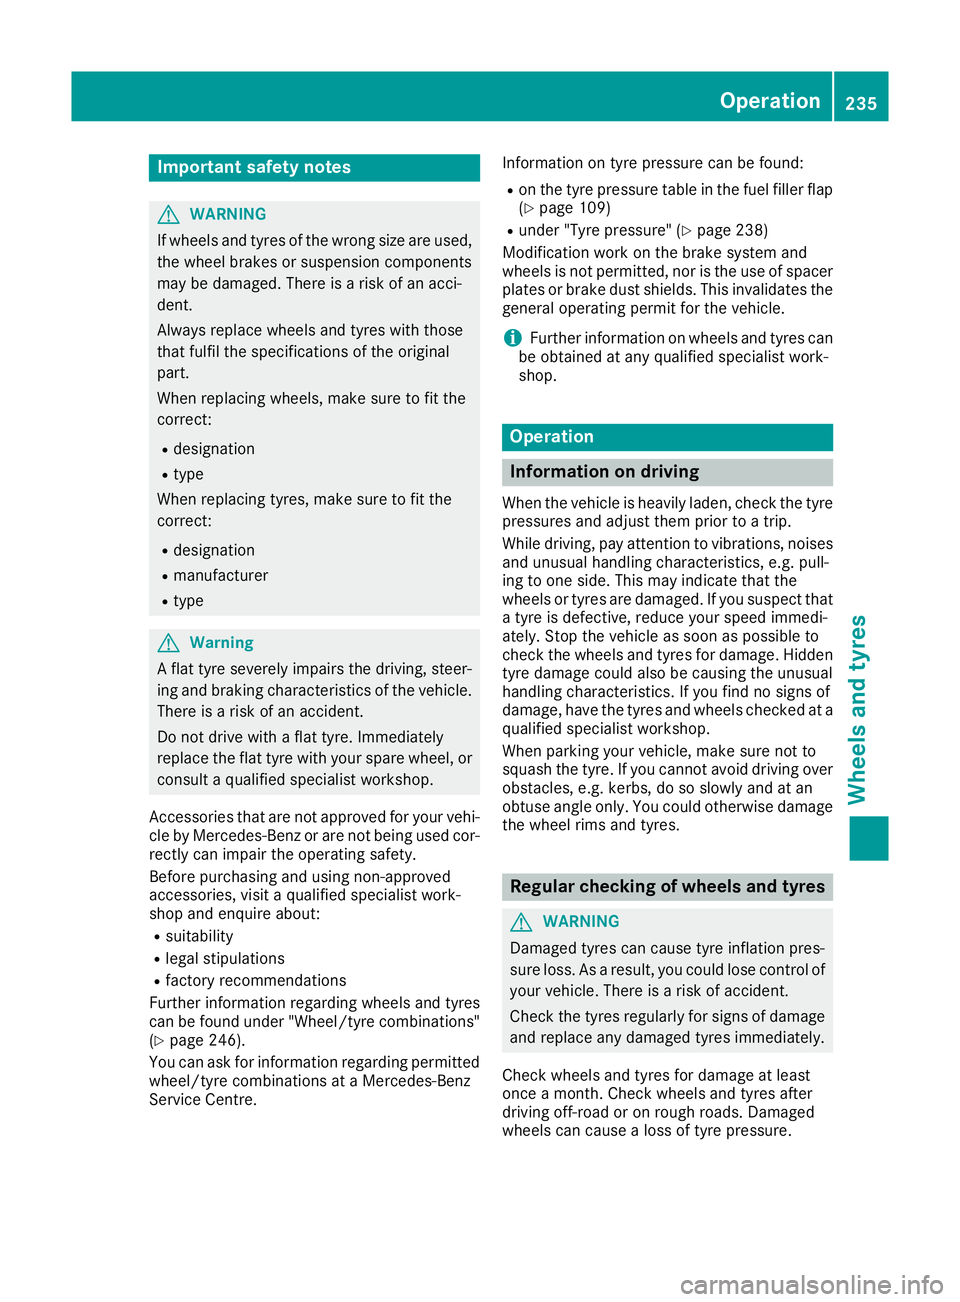
Important safety notes
G
WARNING
If wheels an dtyres of the wrong size are used,
the whee lbrakes or suspension components
may be damaged. There is arisk of an acci-
dent.
Always replace wheels and tyres with those
that fulfi lthe specifications of the original
part.
When replacing wheels, make sure to fit the
correct:
R designation
R type
When replacing tyres, make sure to fit the
correct:
R designation
R manufacturer
R type G
Warning
Af lat tyre severely impairs the driving, steer-
ing and braking characteristics of the vehicle.
There is arisk of an accident.
Do not drive with aflat tyre. Immediately
replace the flat tyre with yours parew heel, or
consult aqualified specialist workshop.
Accessorie sthat are not approved for yourv ehi-
cle by Mercedes-Benz or are not being used cor- rectly can impair the operating safety.
Before purchasing and using non-approved
accessories, visit aqualified specialist work-
shop and enquire about:
R suitability
R lega lstipulations
R factory recommendations
Further information regarding wheels and tyres
can be found under "Wheel/tyre combinations"
(Y page2 46).
You can ask for information regarding permitted
wheel/tyre combinations at aMercedes-Benz
Service Centre. Information on tyre pressure can be found:
R on the tyre pressure table in the fuel fille rflap
(Y page 109)
R under "Tyre pressure" (Y page 238)
Modification work on the brake system and
wheelsisn ot permitted, nor is the use of spacer
plates or brake dust shields. This invalidates the general operating permit for the vehicle.
i Further information on wheelsa
nd tyres can
be obtained at any qualifieds pecialist work-
shop. Operation
Info
rmatio nondriving
When th evehicl eish eavily laden ,check thet yre
pressures and adjust them prio rtoatrip.
While driving ,pay attention to vibrations, noises
and unusual handlin gcharacteristics ,e.g.p ull-
ing to on eside .This may indicat ethatthe
wheels or tyres are damaged. If you suspec tthat
at yreisd efective, reduce your spee dimmedi-
ately. Stop th evehicl eass oonasp ossible to
chec kthe wheels and tyres for damage. Hidden
tyr ed amag ecould also be causing th eunusual
handlin gcharacteristics .Ifyou fin dnos ignsof
damage, hav ethe tyres and wheels checke data
qualified specialist workshop.
When parking your vehicle, mak esuren otto
squas hthe tyre. If you canno tavoi dd riving over
obstacles, e.g. kerbs ,dososlowly and at an
obtuse angle only. You could otherwise damage
th ew hee lrim sa nd tyres. Regular checking of wheels an
dtyres G
WARNING
Damaged tyres can caus etyre inflation pres-
sure loss. As aresult, you coul dlose control of
yourv ehicle. There is arisk of accident.
Check the tyres regularl yfor signs of damage
and replace any damaged tyres immediately.
Check wheels and tyres for damage at least
once amonth. Check wheels and tyres after
driving off-road or on roug hroads. Damaged
wheels can caus ealoss of tyre pressure. Operation
235Wheels and tyres Z
Page 244 of 261
R
If the Rectify tyre pressure
Rectify tyre pressure message
appears in the multifunction display, the tyre
pressure in at least one tyre is too low. The
tyre pressure must be corrected when the
opportunity arises.
R If the Check Check tyre(s)
tyre(s) message appears in the
multifunction display, the tyre pressure in at
least one tyre has droppe dsignificantly. The
tyres must be checked.
R If the Warning tyre defect Warning tyre defect message
appears in the multifunction display, the tyre
pressure in at least one tyre has droppe dsud-
denly.T he tyres must be checked.
Observe the instructions and safety notes in the display messages in the "Tyres" section
(Y page 150).
If the positio nofthe wheelsont he vehicle is
changed, the tyre pressures may be displayedin the wrong positions for ashort time. After afew
minutes of driving, this is rectified and the tyre
pressures are displayedint he correct positions.
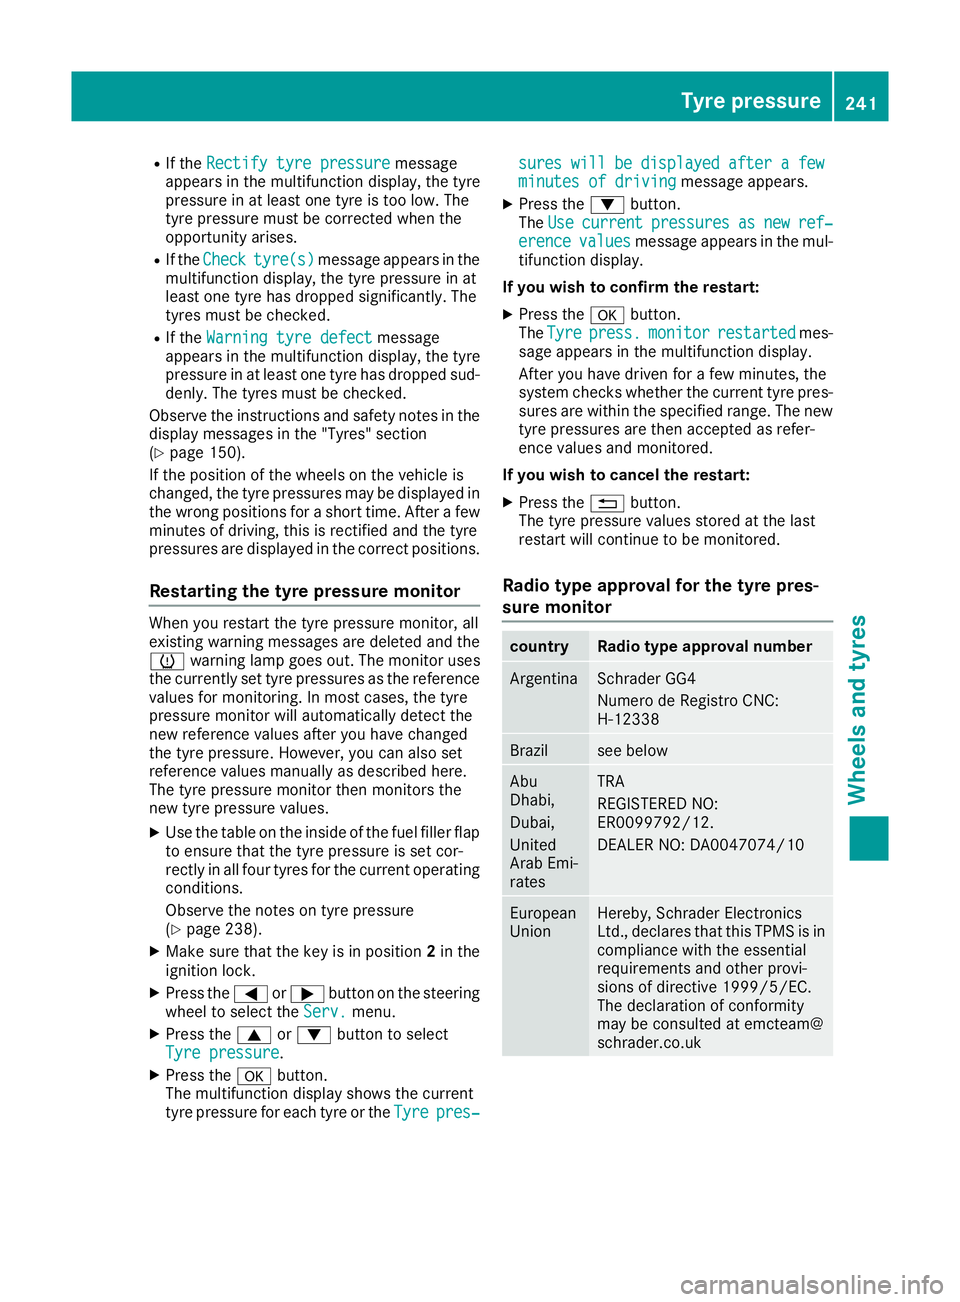
Restarting the tyre pressure monitor When you restart the tyre pressure monitor, all
existing warning messages are deleted and the
h
warning lamp goes out. The monitor uses
the currently set tyre pressures as the reference valuesf or monitoring. In most cases, the tyre
pressure monitor will automatically detect the
new reference values after you have changed
the tyre pressure. However, you can also set
reference values manually as described here.
The tyre pressure monitor then monitors the
new tyre pressure values.
X Use the table on the inside of the fuel filler flap
to ensure that the tyre pressure is set cor-
rectly in all four tyres for the curren toperating
conditions.
Observe the notes on tyre pressure
(Y page 238).
X Make sure that the key is in position 2in the
ignition lock.
X Press the =or; button on the steering
wheel to select the Serv.
Serv. menu.
X Press the 9or: button to select
Tyre pressure Tyre pressure .
X Press the abutton.
The multifunction display shows the current
tyre pressure for each tyre or the Tyre
Tyre pres‐
pres‐ sures
sures
will
willbe
bedisplayed
displayed after a
after afew
few
minutes of driving
minutes of driving message appears.
X Press the :button.
The Use
Use current
current pressures
pressures as
asnew
new ref‐
ref‐
erence
erence values
valuesmessage appears in the mul-
tifunction display.
If you wish to confirm the restart:
X Press the abutton.
The Tyre
Tyre press.
press. monitor
monitor restarted
restarted mes-
sage appears in the multifunction display.
After you have driven for afew minutes, the
system checks whether the current tyre pres-
sures are within the specified range. The new tyre pressures are then accepted as refer-
ence valuesa nd monitored.
If you wish to cancelt he restart:
X Press the %button.
The tyre pressure valuess tored at the last
restart will continue to be monitored.
Radio type approval for the tyre pres-
sure monitor country Radi
otype approva lnumber Argentina Schrader GG4
Numero de Registro CNC:
H-12338
Brazil see below
Abu
Dhabi,
Dubai,
United
Arab Emi-
rates TRA
REGISTERED NO:
ER0099792/12.
DEALER NO: DA0047074/10
European
Union Hereby, Schrader Electronics
Ltd., declare
sthat this TPM Sisin
compliance with the essential
requirements and other provi-
sions of directive 1999/5/EC.
The declaration of conformity
may be consulted at emcteam@
schrader.co.uk Tyre pressure
241Wheels and tyres Z