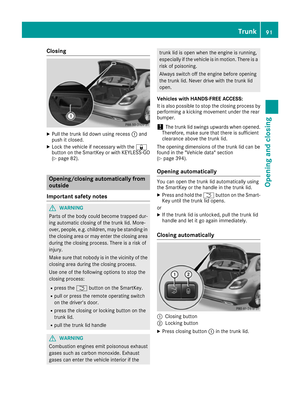
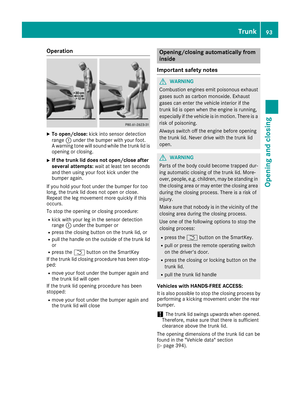
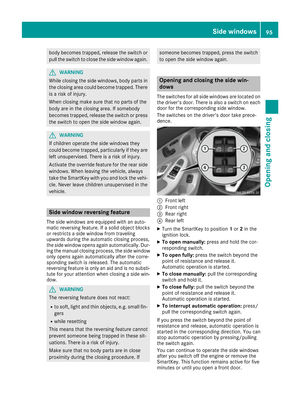
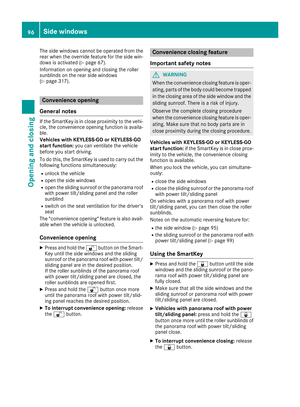
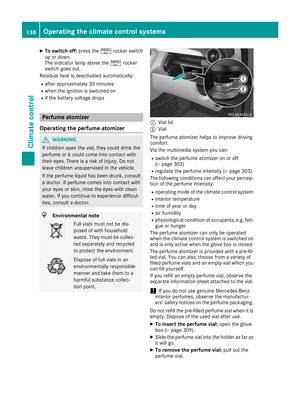
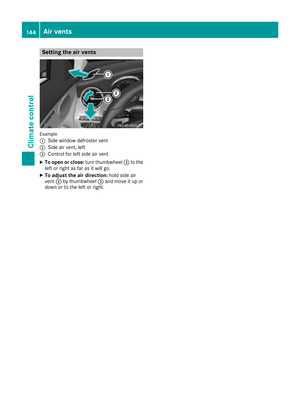
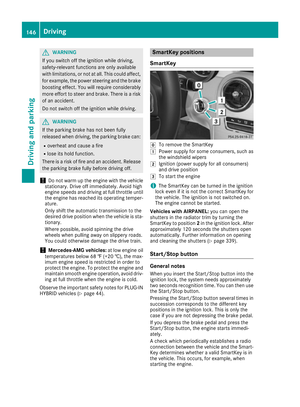
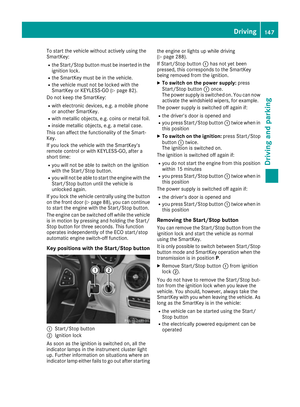
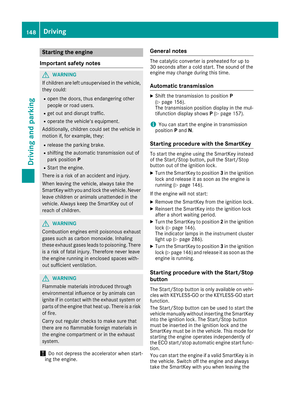
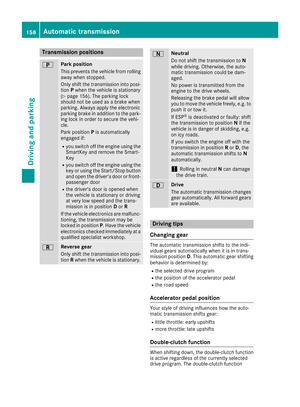
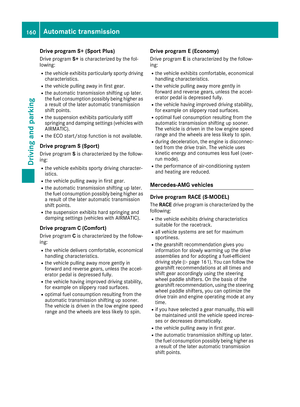
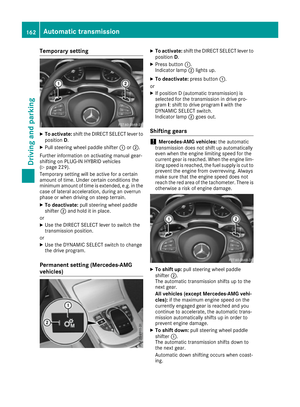
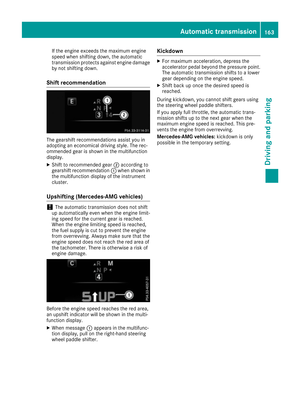
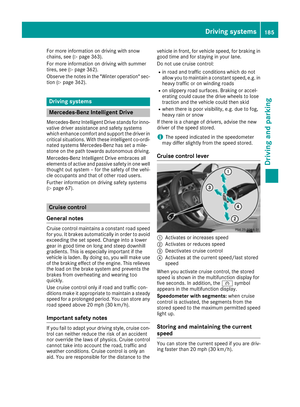
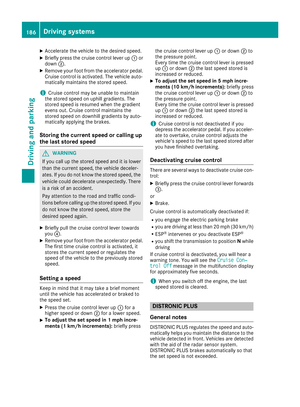
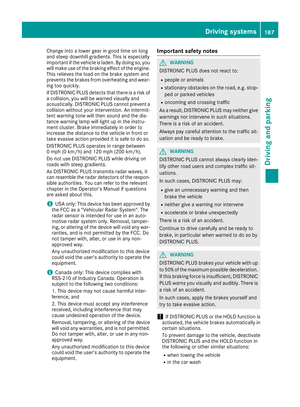
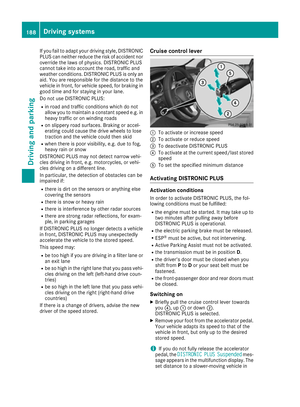
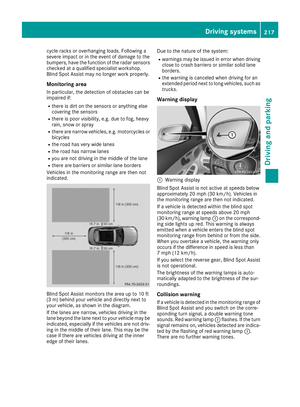
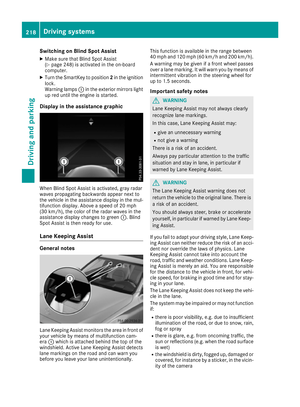
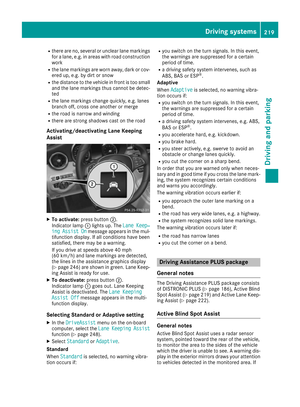
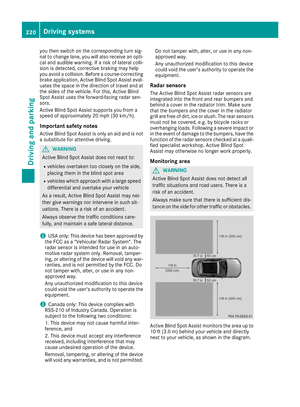
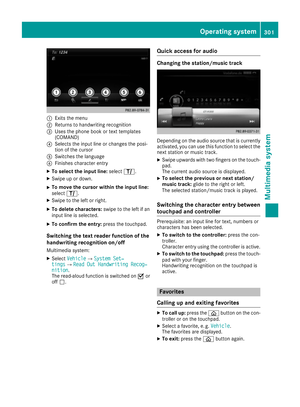
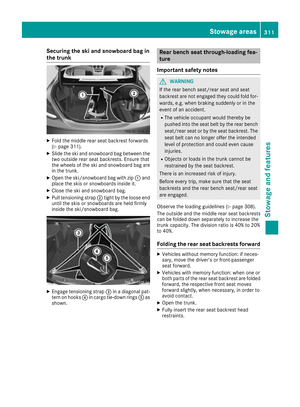
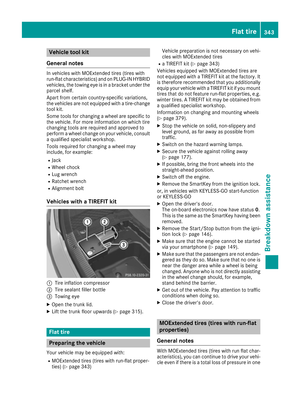
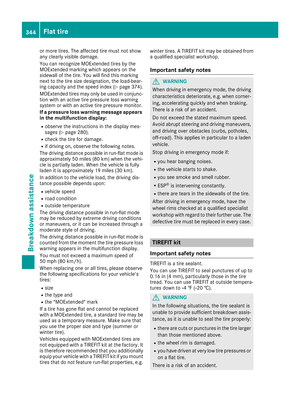
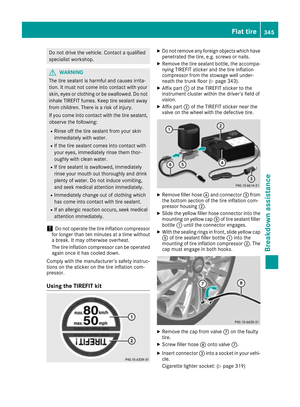
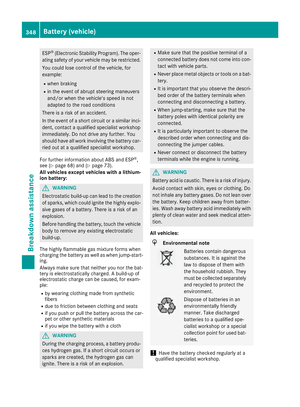
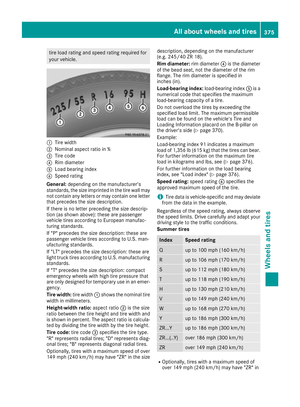
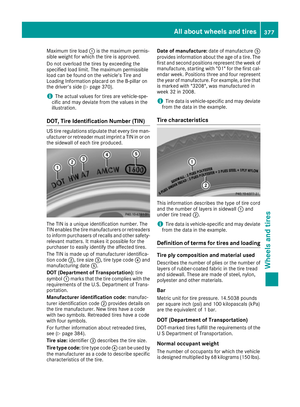
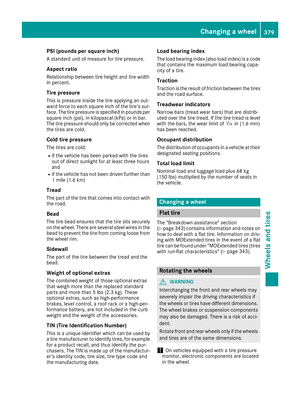
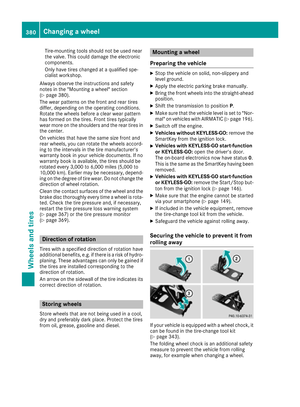
Page 305 of 398

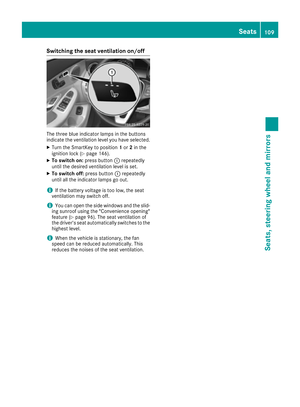
Settings in the climate menu
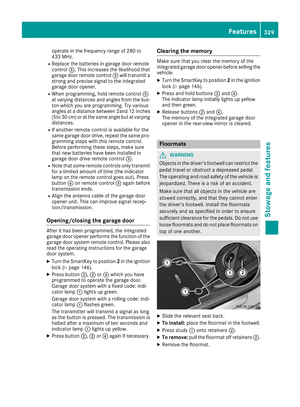
Adjusting the climate mode settings
By setting the climate mode you determine the
type of airflow. The setting is active when the air-
conditioning system is set toÃ
(
Ypage 133).
XCall up the climate control menu
(Ypage 302).
XTo select Climate Mode: turn and press the
controller.
XTo change the setting: turn the controller.
Exiting a menu:
XPress the %button.
The current airflow setting is shown in the cli-
mate control bar: DIFFUSE
,MEDIUMor FOCUS.
Starting/stopping the perfume atomizer
The perfume atomizer makes it possible to scent
the air in individual compartments in the vehicle
interior. Further information (
Ypage 138).
XCall up the climate control menu
(Ypage 302).
XTo select AirFreshener: turn and press the
controller.
The setting element is active.
XTo start/stop the perfume atomizer: press
the controller.
XTo set the intensity: turn the controller when
the atomizer is switched on.
Exiting a menu:
XPress the %button.
Switching the ionization on/off
The ionization has a cleansing effect on the air in
the vehicle interior. Further information
(
Ypage 140).
XCall up the climate control menu
(Ypage 302).
XTo select Ionization: turn and press the
controller.
The setting element is active.
XTo switch the ionization on/off: press the
controller.
Exiting a menu:
XPress the %button.
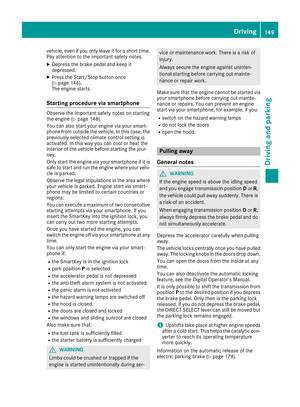
Activating or deactivating pre-entry cli-
mate control via the SmartKey
This function is available for PLUG ‑IN HYBRID
vehicles.
PLUG-IN HYBRID: before getting in, the driver's
seat area can be briefly warmed or ventilated in
advance with the air from the air vents being pre-
cooled.
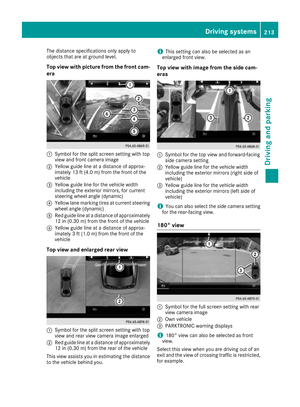
XCall up the climate control menu
(Ypage 302).
XTo select Pre-entry Climate Control
via Key: turn and press the controller.
XTo activate or deactivate: turn the control-
ler.
Exiting a menu:
XPress the %button.
Activating or deactivating pre-entry cli-
mate control at departure time
This function is available for PLUG ‑IN HYBRID
vehicles.
You can climatize the driver's seat and the vehi-
cle interior in time for the departure time set.
XCall up the climate control menu
(Ypage 302).
XTo select Pre-entry Climate Ctrl. at
DepartureTime:turn and press the control-
ler.
A rotary menu appears.
XTo select the desired setting: turn the con-
troller.
The menu symbol, text and image show the
selected setting.
XTo exit a menu:
Press the %button.
Settings in the bottom bar of the cli-
mate control menu
Switching cooling with air dehumidifica-
tion on/off
XCall up the climate control menu
(Ypage 302).
XSlide6the controller repeatedly until the
bottom bar is activated.
XTo select OA/C: turn and press the control-
ler.
XSwitch cooling with air dehumidification on
O or off ª.
Operating system303
Multimedia system
Z
Page 306 of 398

iThe current status of the cooling function is
displayed in the climate control bar: A/C ON
– activated, A/C OFF – deactivated.
iDeactivating the cooling with air dehumidi-
fication function reduces fuel consumption.
Synchronizing the climate control set-
tings
Use OSync(synchronization) to select the cli-
mate control setting for all zones together Oor
separately ª.
XCall up the climate control menu
(Ypage 302).
XSlide6the controller repeatedly until the
bottom bar is activated.
XTo select OSync: turn and press the con-
troller.
XSwitch the synchronization function on Oor
off ª.
For further information on synchronizing climate
control settings, see (
Ypage 135).
Navigation mode
Important safety notes
GWARNING
If you operate information systems and com-
munication equipment integrated in the vehi-
cle while driving, you will be distracted from
traffic conditions. You could also lose control
of the vehicle. There is a risk of an accident.
Only operate the equipment when the traffic
situation permits. If you are not sure that this
is possible, park the vehicle paying attention
to traffic conditions and operate the equip-
ment when the vehicle is stationary.
You must observe the legal requirements for the
country in which you are currently driving when
operating the navigation system.
General notes
Among other things, correct functioning of the
navigation system depends on GPS reception. In
certain situations, GPS reception may be
impaired, there may be interference or there
may be no reception at all, e.g. in tunnels or
parking garages. Audio 20 is equipped with MARGIN
®MAP PILOT
(see the manufacturer's operating instructions).
The Garmin
®MAP PILOT operating instructions
are stored on the SD memory card as a PDF file.
The SD card box contains a quick guide.
The following descriptions apply to navigation
with COMAND. Further information can be
found in the Digital Operator's Manual.
Selecting a route type and route options
Multimedia system:
XSelect NaviQNavigation.
The map shows the vehicle's current position.
XSlide 6the controller.
XSelect OptionsQRoute Settings.
Notes for route types:
REco Route
RDynamic Traffic Route
Traffic reports on the route for the route guid-
ance are taken into account.
RCalculate Alternative Routes
Different routes are being calculated. Instead
of Startselect the Continuemenu item.
Notes for route options:
RUse Toll Roads
The route calculation includes roads which
require you to pay a usage fee (toll).
RUse Vignette Roads(not available in all
countries)
The route calculation includes roads which
require you to pay a time-based fee (vignette).
A vignette allows temporary use of the route
network, e. g. 10 days or 1 year.
RUse Carpool Lanes(only available in the
USA)
Prerequisite: your vehicle meets the access
conditions for carpool lanes.
Carpool lanes will be included if the carpool
lanes option is activated.
Entering an address
Multimedia system:
XSelect NaviQNavigation.
The map shows the vehicle's current position.
XSlide 6the controller.
XSelect DestinationQAddress Entry.
304Operating system
Multimedia system
Page 307 of 398

Enter an address, e.g. as follows:
Rtown or zip code, street, house number
Rcountry, town or zip code
Rcity or zip code, center
Rstreet, city or zip code, intersection
XSelectCity.
The city in which the vehicle is currently loca-
ted (current vehicle position) is at the top.
Below this, you will see locations for which
route guidance has already been carried out.
XEnter the city.
The Gsymbol: the location is contained on
the digital map multiple times.
XTo switch to the list: slide the5control-
ler.
XSelect the location.
If available, the zip code is shown. If there are
different zip codes available for the location,
the corresponding digits are displayed with an
X
.
XEnter the street and house number.
The address is in the menu.
Further options for destination entry:
Rsearch for a keyword
The keyword search finds destinations using
fragments of words.
Rselect the last destination
Rselect a contact
Rselect a POI
You can search for a POI by location, name or
telephone number.
Rselect destination on the map
Renter intermediate destination
You can map the route to the destination
yourself with up to four intermediate destina-
tions.
Rselect destinations from Mercedes-Benz
Apps
Rselect geo-coordinates
Calculating the route
Prerequisite: the address has been entered and
is in the menu.
XSelect StartorContinue.
The route is calculated with the selected route
type and the selected route options. If route guidance has already been activated,
a prompt will appear asking whether you wish
to end the current route guidance.
XSelect
YesorSet as Intermediate Des‐tination.
Yescancels the current route guidance and
starts route calculation to the new destina-
tion.
Set as Intermediate Destination
adds
the new destination in addition to the existing
destination and opens the intermediate des-
tinations list.
Connecting a mobile phone
Prerequisites
For telephony via the Bluetooth®interface, you
require a Bluetooth®-capable mobile phone. The
mobile phone must support Hands-Free Profile
1.0 or above.
Multimedia system:
XSelect VehicleQSystem Set‐tingsQActivate Bluetooth.
XActivate Bluetooth®O.
Mobile phone:
XActivate Bluetooth®and, if necessary, Blue-
tooth®visibility for other devices (see the
manufacturer's operating instructions).
The Bluetooth
®device names for all of one man-
ufacturer's products might be identical. To
make it possible to clearly identify your mobile
phone, change the device name (see the man-
ufacturer's operating instructions).
If the mobile phone supports the PBAP ( Phone
Book Access Profile) and MAP ( Message
A ccess Profile) Bluetooth
®profiles, the follow-
ing information will be transmitted after you
connect:
Rphone book
Rcall lists
Rmessages
iFurther information on suitable mobile
phones can be obtained on the Internet at
http://www.mercedes-benz.com/
connect.
Operating system305
Multimedia system
Z
Page 308 of 398

iIn the USA you can also contact the
Mercedes-Benz Customer Assistance Center
at 1-800-FOR-MERCedes (1-800-367-6372).
In Canada, you can get in touch with the Cus-
tomer Relations Center on 1-800-387-0100.
Searching for and authorizing a mobile
phone
Before using your mobile phone with the multi-
media system for the first time, you will need to search for the phone and then authorize (con-
nect) it. Depending on the mobile phone, author-
ization either takes place by means of Secure
Simple Pairing or by entering a passkey. The
multimedia system automatically makes the
procedure that is relevant for your mobile phone
available. The mobile phone is always connec-
ted automatically after authorization. Further
information on using a mobile phone with the
multimedia system (see the Digital Operator's
Manual).
If the multimedia system does not detect your
mobile phone, this may be due to particular
security settings on your mobile phone (see the
manufacturer's operating instructions).
Only one mobile phone can be connected to themultimedia system at any one time.
Searching for a mobile phone
Audio 20:
XSelect Tel/®QConnect
DeviceQSearch for PhonesQStartSearch.
The available mobile phones are displayed.
COMAND:
XSelect PhoneQConnectDeviceQSearch for PhonesQStartSearch.
The available mobile phones are displayed.
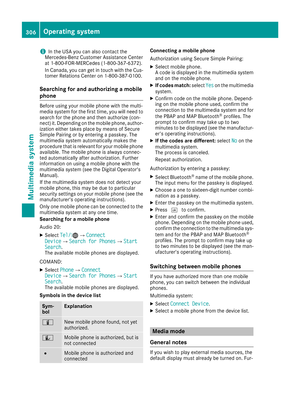
Symbols in the device list
Sym-
bolExplanation
ÏNew mobile phone found, not yet
authorized.
ÑMobile phone is authorized, but is
not connected
#Mobile phone is authorized and
connected
Connecting a mobile phone
Authorization using Secure Simple Pairing:
XSelect mobile phone.
A code is displayed in the multimedia system
and on the mobile phone.
XIf codes match: selectYeson the multimedia
system.
XConfirm code on the mobile phone. Depend-
ing on the mobile phone used, confirm the
connection to the multimedia system and for
the PBAP and MAP Bluetooth
®profiles. The
prompt to confirm may take up to two
minutes to be displayed (see the manufactur-
er's operating instructions).
XIf the codes are different: selectNoon the
multimedia system.
The process is canceled.
Repeat authorization.
Authorization by entering a passkey:
XSelect Bluetooth®name of the mobile phone.
The input menu for the passkey is displayed.
XChoose a one to sixteen-digit number combi- nation as a passkey.
XEnter the passkey on the multimedia system.
XPress ¬to confirm.
XEnter and confirm the passkey on the mobile
phone. Depending on the mobile phone used,
confirm the connection to the multimedia sys-
tem and for the PBAP and MAP Bluetooth
®
profiles. The prompt to confirm may take up
to two minutes to be displayed (see the man-
ufacturer's operating instructions).
Switching between mobile phones
If you have authorized more than one mobile
phone, you can switch between the individual
phones.
Multimedia system:
XSelect Connect Device.
XSelect a mobile phone from the device list.
Media mode
General notes
If you wish to play external media sources, the
default display must already be turned on. Fur-
306Operating system
Multimedia system
Page 309 of 398

ther information on media mode (see the Digital
Operator's Manual).
The following external media sources can be
used:
RApple®devices (e.g. iPhone®)
RUSB devices (e.g. USB stick, MP3 player)
RCD
RDVD (COMAND)
RSD memory cards
Rvia devices connected by Bluetooth®
iInformation on single CD/DVD drive (see
the Digital Operator's Manual).
Activating media mode
Multimedia system:
XSelect MediaQDevices.
The available media sources will be shown.
The #dot indicates the current setting.
XSelect the media source.
Playable files are played.
Inserting and ejecting an SD memory
card
Important safety notes
GWARNING
SD memory cards are small parts. They can be
swallowed and cause asphyxiation. This
poses an increased risk of injury or even fatal injury.
Keep SD memory cards out of the reach of
children. If an SD memory card is swallowed,
seek immediate medical attention.
!If you are no longer using the SD memory
card, you should remove it and take it out of
the vehicle. High temperatures can damage
the card.
Inserting an SD memory card
The SD card slot is located in the stowage com-
partment under the armrest.
XInsert the SD memory card into the SD card
slot until it engages. The side with the con-
tacts must face downwards.
XSelect the media source (Ypage 307).
Ejecting an SD memory card
XPress the memory card.
The memory card is ejected.
XRemove the memory card.
Connecting USB devices
There are two USB ports in the stowage space
under the armrest.
XConnect the USB device to the USB port.
XSelect the media source (Ypage 307).
Operating system307
Multimedia system
Z
Page 310 of 398

Stowage areas
Loading guidelines
GWARNING
Combustion engines emit poisonous exhaust
gases such as carbon monoxide. Exhaust
gases can enter the vehicle interior if the
trunk lid is open when the engine is running,
especially if the vehicle is in motion. There is a
risk of poisoning.
Always switch off the engine before opening
the trunk lid. Never drive with the trunk lid
open.
GWARNING
If objects, luggage or loads are not secured or
not secured sufficiently, they could slip, tip
over or be flung around and thereby hit vehicle
occupants. There is a risk of injury, particu-
larly in the event of sudden braking or a sud-
den change in direction.
Always store objects so that they cannot be
flung around. Secure objects, luggage or
loads against slipping or tipping before the
journey.
GWARNING
The exhaust tail pipe and tail pipe trim can
become very hot. If you come into contact
with these parts of the vehicle, you could burn
yourself. There is a risk of injury.
Always be particularly careful around the
exhaust tail pipe and the tail pipe trim. Allow
these components to cool down before touch-
ing them.
The handling characteristics of a laden vehicle
are dependent on the distribution of the load
within the vehicle. For this reason, you should
observe the following notes when transporting a
load:
RNever exceed the maximum permissible
gross vehicle mass or the gross axle weight
rating for the vehicle (including occupants).
The values are specified on the vehicle iden- tification plate on the B-pillar of the driver's
door.
RThe trunk is the preferred place to carry
objects.
RPosition heavy loads as far forwards as pos-
sible and as low down in the trunk as possible.
RThe load must not protrude above the upper
edge of the seat backrests.
RAlways place the load behind unoccupied
seats if possible.
RSecure the load with sufficiently strong and
wear-resistant tie-downs. Pad sharp edges for
protection.
Stowage spaces
Important safety notes
GWARNING
If objects in the passenger compartment are
stowed incorrectly, they can slide or be
thrown around and hit vehicle occupants. In
addition, cupholders, open stowage spaces
and mobile phone brackets cannot always
retain all objects they contain. There is a risk of injury, particularly in the event of sudden
braking or a sudden change in direction.
RAlways stow objects so that they cannot be
thrown around in such situations.
RAlways make sure that objects do not pro-
trude from stowage spaces, parcel nets or
stowage nets.
RClose the lockable stowage spaces before
starting a journey.
RAlways stow and secure heavy, hard, poin-
ted, sharp-edged, fragile or bulky objects in
the trunk.
Observe the loading guidelines (
Ypage 308).
308Stowage areas
Stowage and features
Page 311 of 398

Stowage compartments in the front
Glove box
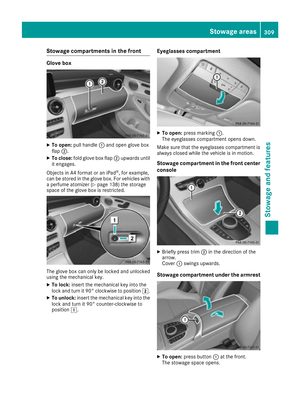
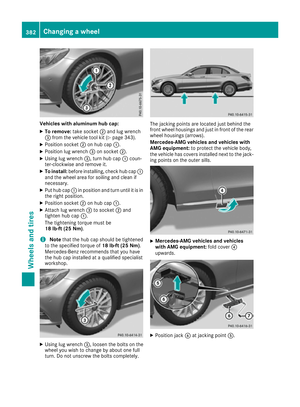
XTo open:pull handle :and open glove box
flap ;.
XTo close: fold glove box flap ;upwards until
it engages.
Objects in A4 format or an iPad
®, for example,
can be stored in the glove box. For vehicles with
a perfume atomizer (
Ypage 138) the storage
space of the glove box is restricted.
The glove box can only be locked and unlocked
using the mechanical key.
XTo lock: insert the mechanical key into the
lock and turn it 90° clockwise to position 2.
XTo unlock:insert the mechanical key into the
lock and turn it 90° counter-clockwise to
position 1.
Eyeglasses compartment
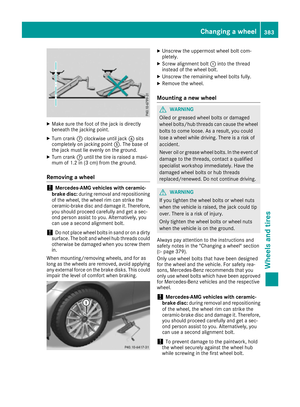
XTo open: press marking :.
The eyeglasses compartment opens down.
Make sure that the eyeglasses compartment is
always closed while the vehicle is in motion.
Stowage compartment in the front center
console
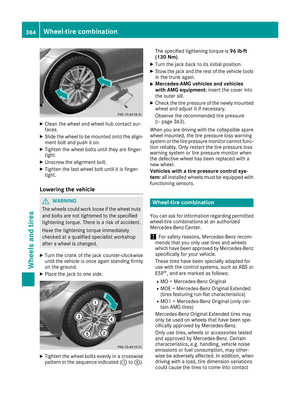
XBriefly press trim ;in the direction of the
arrow.
Cover :swings upwards.
Stowage compartment under the armrest
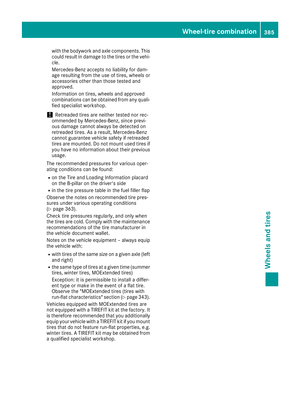
XTo open: press button :at the front.
The stowage space opens.
Stowage areas309
Stowage and features
Z
Page 312 of 398

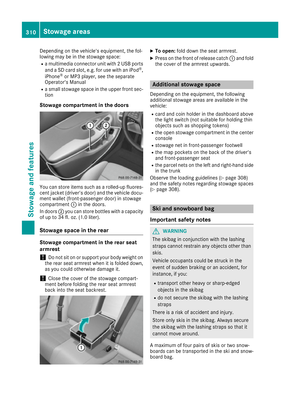
Depending on the vehicle's equipment, the fol-
lowing may be in the stowage space:
Ra multimedia connector unit with 2 USB portsand a SD card slot, e.g. for use with an iPod®,
iPhone®or MP3 player, see the separate
Operator's Manual
Ra small stowage space in the upper front sec-
tion
Stowage compartment in the doors
You can store items such as a rolled-up fluores-
cent jacket (driver's door) and the vehicle docu-
ment wallet (front-passenger door) in stowage
compartment :in the doors.
In doors ;you can store bottles with a capacity
of up to 34 fl. oz. (1.0 liter).
Stowage space in the rear
Stowage compartment in the rear seat
armrest
!Do not sit on or support your body weight on
the rear seat armrest when it is folded down,
as you could otherwise damage it.
!Close the cover of the stowage compart-
ment before folding the rear seat armrest
back into the seat backrest.
XTo open: fold down the seat armrest.
XPress on the front of release catch :and fold
the cover of the armrest upwards.
Additional stowage space
Depending on the equipment, the following
additional stowage areas are available in the
vehicle:
Rcard and coin holder in the dashboard above
the light switch (not suitable for holding thin
objects such as shopping tokens)
Rthe open stowage compartment in the center
console
Rstowage net in front-passenger footwell
Rthe map pockets on the back of the driver's
and front-passenger seat
Rthe parcel nets on the left and right-hand side
in the trunk
Observe the loading guidelines (
Ypage 308)
and the safety notes regarding stowage spaces
(
Ypage 308).
Ski and snowboard bag
Important safety notes
GWARNING
The skibag in conjunction with the lashing
straps cannot restrain any objects other than
skis.
Vehicle occupants could be struck in the
event of sudden braking or an accident, for
instance, if you:
Rtransport other heavy or sharp-edged
objects in the skibag
Rdo not secure the skibag with the lashing
straps
There is a risk of accident and injury.
Store only skis in the skibag. Always secure
the skibag with the lashing straps so that it
cannot move around.
A maximum of four pairs of skis or two snow-
boards can be transported in the ski and snow-
board bag.
310Stowag eareas
Stowag ean d features