Page 377 of 723
•Battery Voltage
Shows the actual battery voltage.
• Transmission Temperature
Shows the actual transmission temperature.G-Force
When selected, this screen displays all four G-Force
values (two lateral and two longitudinal) as well as
steering angle.
SRT Performance Pages — G-Force
4
UNDERSTANDING YOUR INSTRUMENT PANEL 375
Page 379 of 723
Engine
When selected, this screen displays the following values:
•Vehicle Speed
Shows the actual vehicle speed in mph or (km/h). •
Instantaneous Horsepower/Kilowatts
Shows instantaneous engine power.
• Instantaneous Torque
Shows instantaneous engine torque in Foot Pounds (lb/ft).
•Oil Pressure
Shows actual oil pressure in Pounds per Square Inch
(PSI) or Kilopascals (kPa).
• Gear
Shows the current (or pending) operating transmission
gear of the vehicle.
SRT Performance Pages — Engine
4
UNDERSTANDING YOUR INSTRUMENT PANEL 377
Page 381 of 723
The SRT Drive Modes main screen displays the current
drive mode and real-time status of the vehicle’s perfor-
mance configuration. The selectable Drive Modes are
Track, Sport, Auto, Snow, Tow or Custom. Information
shown will indicate the actual status of each system,
along with a vehicle graphic that displays the active drive
mode status. The color red indicates “Track,” orange
“Sport,” yellow “Street” and blue for “Snow.” These
features will reset to AUTO upon an ignition cycle. If the
system status shown does not match the current drive
mode set up, a message will be displayed indicating
which values are not matching the current mode.
NOTE:Electronic Stability Control (ESC) Full-Off can be
activated by pushing and holding the ESC Off button on
the instrument panel switch bank for five seconds. Listed below are the available Drive Modes:
Track Mode
Drive Modes (Track)
4
UNDERSTANDING YOUR INSTRUMENT PANEL 379
Page 394 of 723
•Sport
Press the “Sport” button on the touchscreen to adjust the
steering effort and feel to a greater level.
• Street
Press the “Street� button on the touchscreen to balance
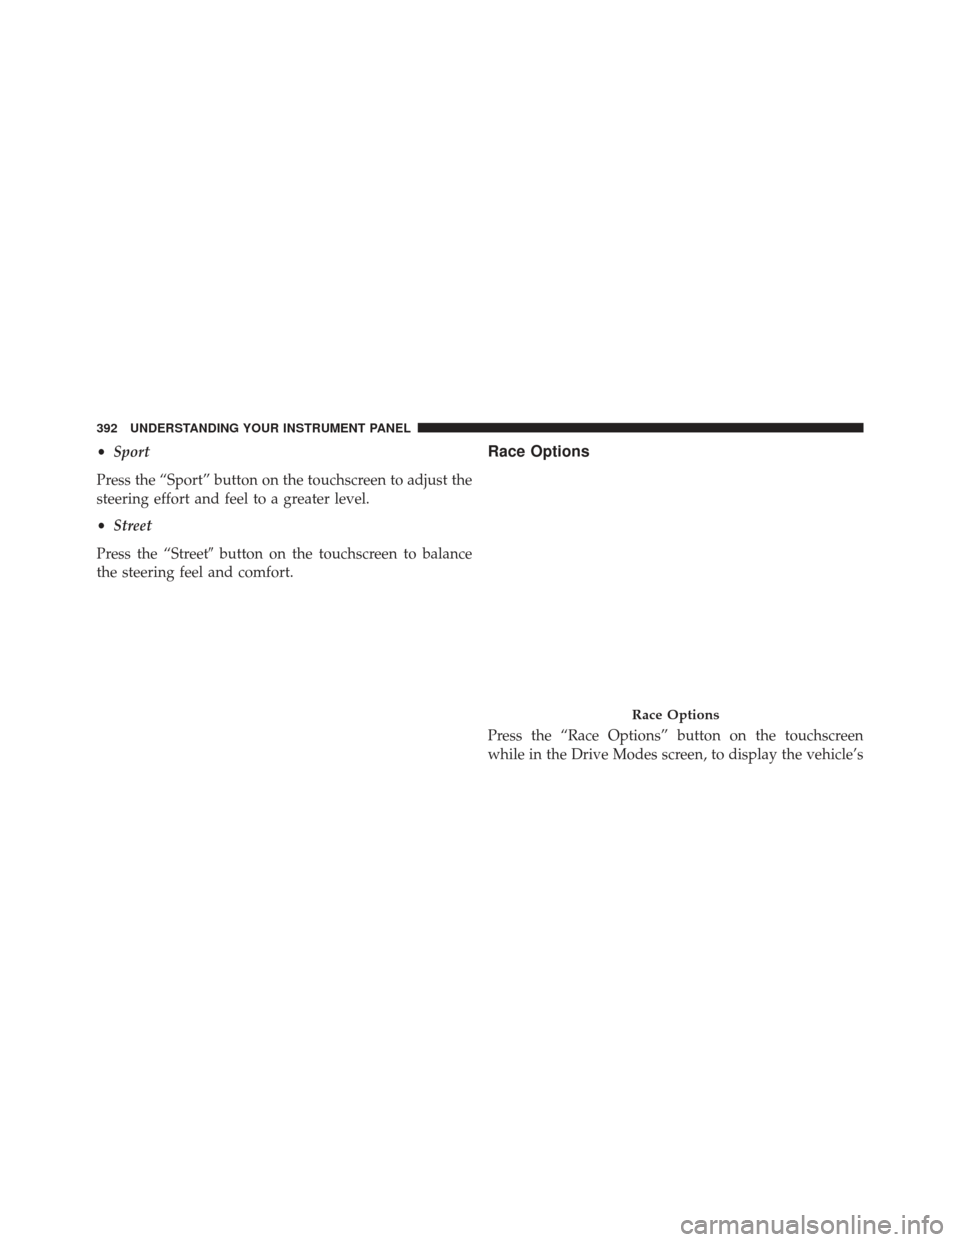
the steering feel and comfort.Race Options
Press the “Race Options” button on the touchscreen
while in the Drive Modes screen, to display the vehicle’s
Race Options
392 UNDERSTANDING YOUR INSTRUMENT PANEL
Page 397 of 723
Shift Light
Your vehicle is equipped with a shift light feature that
illuminates the back lighting of the tachometer (in red)within the Driver Information Display (DID). This fea-
ture is a visual cue to manually up-shift using the paddle
shifters.
To actuate the Shift Light feature, press the “Shift Light”
button on the touchscreen, then press the “Shift Light
On” button on the touchscreen. Activation is shown on
the DID. Pressing the “Shift Light RPM Set-Up” button
on the touchscreen will take you to the Shift Light RPM
Set-Up screen.
NOTE:
You must be in Paddle Shift Mode in order to
activate the shift light. Refer to “Paddle Shift Mode” in
“Starting And Operating” for further information.
Shift Light In Paddle Shift Mode
4
UNDERSTANDING YOUR INSTRUMENT PANEL 395
Page 399 of 723
Valet Mode
To enter Valet Mode press the “Valet” button on the
touchscreen and a popup screen will ask you if you
would like to enter Valet Mode, after selecting “Yes” you
will be asked to enter a 4 digit PIN code. The PIN code isnot set, so you are free to select any 4 digit numeric
combination that will be easy to remember.
While in Valet Mode the following vehicle configurations
are set and locked to prevent unauthorized modification:
•
All-Wheel Drive is set to 50/50.
• Transmission locks out access to first gear and up-
shifts earlier than normal.
• Stability Control, Steering, and Suspension are set to
their STREET settings.
• Steering wheel paddle shifters are disabled.
• The Drive Mode interface is not available. Pushing the
SRT button on Selec-Track switch will display the
unlock keypad.
• The ESC Off button is disabled.
• The Launch Control button is disabled.
Valet Mode Activation
4
UNDERSTANDING YOUR INSTRUMENT PANEL 397
Page 406 of 723

1. Insert a Blu-ray disc into the VES disc player with thelabel facing as indicated on the Blu-ray player. The
radio automatically selects the appropriate mode after
the disc is recognized and displays the menu screen,
the language screen, or starts playing the first track. 2. To watch a Blu-ray disc on Rear 1 for driver’s side rear
passengers, ensure the Remote Control and Head-
phone switch is on Rear 1.
3. To watch a Blu-ray disc on Rear 2 for passenger side rear passengers, ensure the Remote Control and Head-
phone switch is on Rear 2.
NOTE:
• To view a Blu-ray disc on the radio, press the “Media”
button on the touchscreen, and then press the “Disc”
button. Press the “Play” button, and then the “full
screen” button.
• Viewing a Blu-ray disc on the radio screen is not
available in all states/provinces. The vehicle must be
stopped, and the gear selector must be in the PARK
position for vehicles with automatic transmission.
Blu-ray Disc Player Location
404 UNDERSTANDING YOUR INSTRUMENT PANEL
Page 409 of 723
Audio/Video RCA/HDMI Jacks (AUX/HDMI Jacks) on
the side of each seat enable the monitor to display video
directly from a video camera, connect video games for
display on the screen, or play music directly from an MP3
player.When connecting an external source to the AUX/HDMI
input, ensure to follow the standard color coding for the
audio/video jacks:
1. HDMI Input.
2. Right audio in (red).
3. Left audio in (white).
4. Video in (yellow).
NOTE:
Certain high-end video games consoles may
exceed the power limit of the vehicle’s Power Inverter.
Play A DVD/Blu-ray Disc Using The Touchscreen
Radio
1. Insert the DVD/Blu-ray Disc with the label facing as indicated on the DVD/Blu-ray Disc player. The radio
automatically selects the appropriate mode after the
disc is recognized and displays the menu screen or
starts playing the first track.
Audio/Video RCA/HDMI Input Jacks
4
UNDERSTANDING YOUR INSTRUMENT PANEL 407

. •
Instantaneous Horsepower/Kilowatts
Shows instantaneous engine pow")

within the Driver Information Display (DID). This fea-
ture is a visual cue")

 on
the side of each seat enable the monitor to display video
directly from a video camera, connect video games for
display on the screen, or play music dire")