Page 358 of 723

the sensors will not be detected when they are in
close proximity.
• The vehicle must be driven slowly when using
ParkSense in order to be able to stop in time when
an obstacle i")
CAUTION!(Continued)
the sensors will not be detected when they are in
close proximity.
• The vehicle must be driven slowly when using
ParkSense in order to be able to stop in time when
an obstacle is detected. It is recommended that the
driver looks over his/her shoulder when using
ParkSense.
• Front ParkSense Chime Volume
The Front ParkSense Chime Volume settings can be
selected from the Driver Information Display (DID) or
Uconnect System — if equipped. The chime volume
settings include LOW, MEDIUM, and HIGH. The factory
default volume setting is MEDIUM. To make your selec-
tion, press the “ParkSense Front Chime Volume” button
on the touchscreen, until a check-mark appears next to setting, indicating that the setting had been selected.
ParkSense will retain its last known configuration state
through ignition cycles.
•
Rear ParkSense Chime Volume
The Rear ParkSense Chime Volume settings can be se-
lected from the DID or Uconnect System — if equipped.
The chime volume settings include LOW, MEDIUM, and
HIGH. The factory default volume setting is MEDIUM.
To make your selection, press the “ParkSense Rear Chime
Volume” button on the touchscreen, until a check-mark
appears next to setting, indicating that the setting had
been selected. ParkSense will retain its last known con-
figuration state through ignition cycles.
• Rear ParkSense Braking Assist
When this feature is selected, the ParkSense system will
detect objects located behind the vehicle and utilize
356 UNDERSTANDING YOUR INSTRUMENT PANEL
Page 360 of 723

NOTE:If your vehicle has experienced any damage in
the area where the sensor is located, even if the fascia is
not damaged, the sensor may have become misaligned.
Take your vehicle to an authorized dealer to verify sensor
alignment. Having a sensor that is misaligned will result
in the BSM not operating to specification.
• ParkView Backup Camera Active Guidelines
Your vehicle may be equipped with the ParkView Rear
Back Up Camera Active Guidelines that allows you to see
active guidelines over the ParkView Back up camera
display whenever the shift lever is put into REVERSE.
The image will be displayed on the radio touchscreen
display along with a caution note to “check entire sur-
roundings” across the top of the screen. After five sec-
onds, this note will disappear. To change the mode status,
press the “ParkView Backup Camera Active Guidelines” button on the touchscreen, until a check-mark appears
next to setting, indicating that the setting had been
selected.
•
ParkView Backup Camera Delay
When the vehicle is shifted out of REVERSE (with camera
delay turned OFF), the rear camera mode is exited and
the navigation or audio screen appears again. When the
vehicle is shifted out of REVERSE (with camera delay
turned ON), the rear view image with dynamic grid lines
will be displayed for up to 10 seconds after shifting out of
“REVERSE” unless the forward vehicle speed exceeds
8 mph (12 km/h), the transmission is shifted into
“PARK” or the ignition is switched to the OFF position.
To set the ParkView Backup Camera Delay press the
“Controls” button on the touchscreen, the “settings”
button on the touchscreen, then the “Safety & Driving
Assistance” button on the touchscreen. Press the
358 UNDERSTANDING YOUR INSTRUMENT PANEL
Page 369 of 723

NOTE:SiriusXM Travel Link is a separate subscription
and is available for U.S. residents only.
Restore Settings
After pressing the “Restore Settings” button on the
touchscreen the following settings will be available:
• Restore Settings
When this feature is selected it will reset the Display,
Clock, Audio, and Radio Settings to their default settings.
To restore the settings to their default setting, press the
“Restore Settings” button on the touchscreen and pop-up
will appear asking �Are you sure you want to reset your
settings to default?” select “OK” to restore, or “Cancel” to
exit. Once the settings are restored, a pop-up appears
stating �Settings Reset To Default.�
Clear Personal Data
After pressing the “Clear Personal Data” button on the
touchscreen the following settings will be available:
•Clear Personal Data
When this feature is selected it will remove personal data
including Bluetooth devices and presets. To remove
personal information, press the “Clear Personal Data”
button and a pop-up will appear asking �Are you sure
you want to clear all personal data?” select “OK” to
Clear, or “Cancel” to exit. Once the data has been cleared,
a pop up appears stating �Personal Data Cleared.”
System Information
After pressing the “System Information” button on the
touchscreen the following settings will be available:
4
UNDERSTANDING YOUR INSTRUMENT PANEL 367
Page 370 of 723

•System Information
When System Information is selected, a System Informa-
tion screen will appear displaying the system software
version.
SRT Performance Pages
Performance Pages is an application that provides a
display for performance indicators, as received from the
Instrument Cluster, that will help you gain familiarity
with the capabilities of your SRT vehicle in real-time.
To access the SRT Performance Pages, press the “Apps”
button on the touchscreen, then press the “Performance
Pages” button on the touchscreen, or press “SRT Perfor-
mance Pages” in the top left of the touchscreen while in
Drive Modes. Press the desired button on the touchscreen
to access that specific Performance Page.
WARNING!
Measurement of vehicle statistics with the SRT Per-
formance Pages is intended for off-highway or off-
road use only and should not be done on any public
roadways. It is recommended that these features be
used in a controlled environment and within the
limits of the law. The capabilities of the vehicle as
measured by the Performance Pages must never be
exploited in a reckless or dangerous manner, which
can jeopardize the user ’s safety or the safety of
others. Only a safe, attentive, and skillful driver can
prevent accidents.
368 UNDERSTANDING YOUR INSTRUMENT PANEL
Page 373 of 723
•Recent
Pressing the “Recent” button displays a “real time”
summary of performance timers.
• Last
Pressing the “Last” button displays the last recorded run
of performance timers.
• Best
Pressing the “Best” button displays the best recorded run
of performance timers, except for braking data.
• Save
Pressing the “Save” button will let you save the last run.
Any saved run over 10, will overwrite the last saved run
for Uconnect System storage. The operation of the Save
feature is listed below: •
With a USB jump drive installed, press the “USB”
button to save runs to the jump drive.
• With an SD Card installed, press the “SD Card” to save
runs to the SD Card.
Performance Pages — Save
4
UNDERSTANDING YOUR INSTRUMENT PANEL 371
Page 374 of 723
•Press the “Uconnect” button to save the runs to the
Owner web page.
• Press the “Cancel” button to view the last timer
“Ticket.”
The “Tickets” contain the timers listed below:
• 0-60 MPH (0-100 km/h)
Displays the time it takes for the vehicle to go from 0 to
60 mph (0 to 100 km/h).
• 0-100 MPH (0-160 km/h)
Displays the time it takes for the vehicle to go from 0 to
100 mph (0 to 160 km/h).
• ⅛ Mile (200 meter)
Displays the time it takes for the vehicle to go an ⅛Mile
(200 meters). •
¼ mile (400 meter)
Displays the time it takes for the vehicle to go an ¼ mile
(400 meters).
• 60 ft (18 Meters) time
Displays the time it takes for the vehicle to go 60 ft.
• Brake Distance
Displays the distance it takes the vehicle to make a full
stop. Contains current and last data for distance and start
– from speed.
NOTE: The distance measurement will be aborted if the
brake pedal is released before the vehicle comes to a
complete stop.
372 UNDERSTANDING YOUR INSTRUMENT PANEL
Page 375 of 723
•Brake Speed
Displays the speed the vehicle is traveling when the
brake pedal is depressed.
NOTE: Brake Distance and Speed timers will only dis-
play �ready� when vehicle is traveling at greater than 30
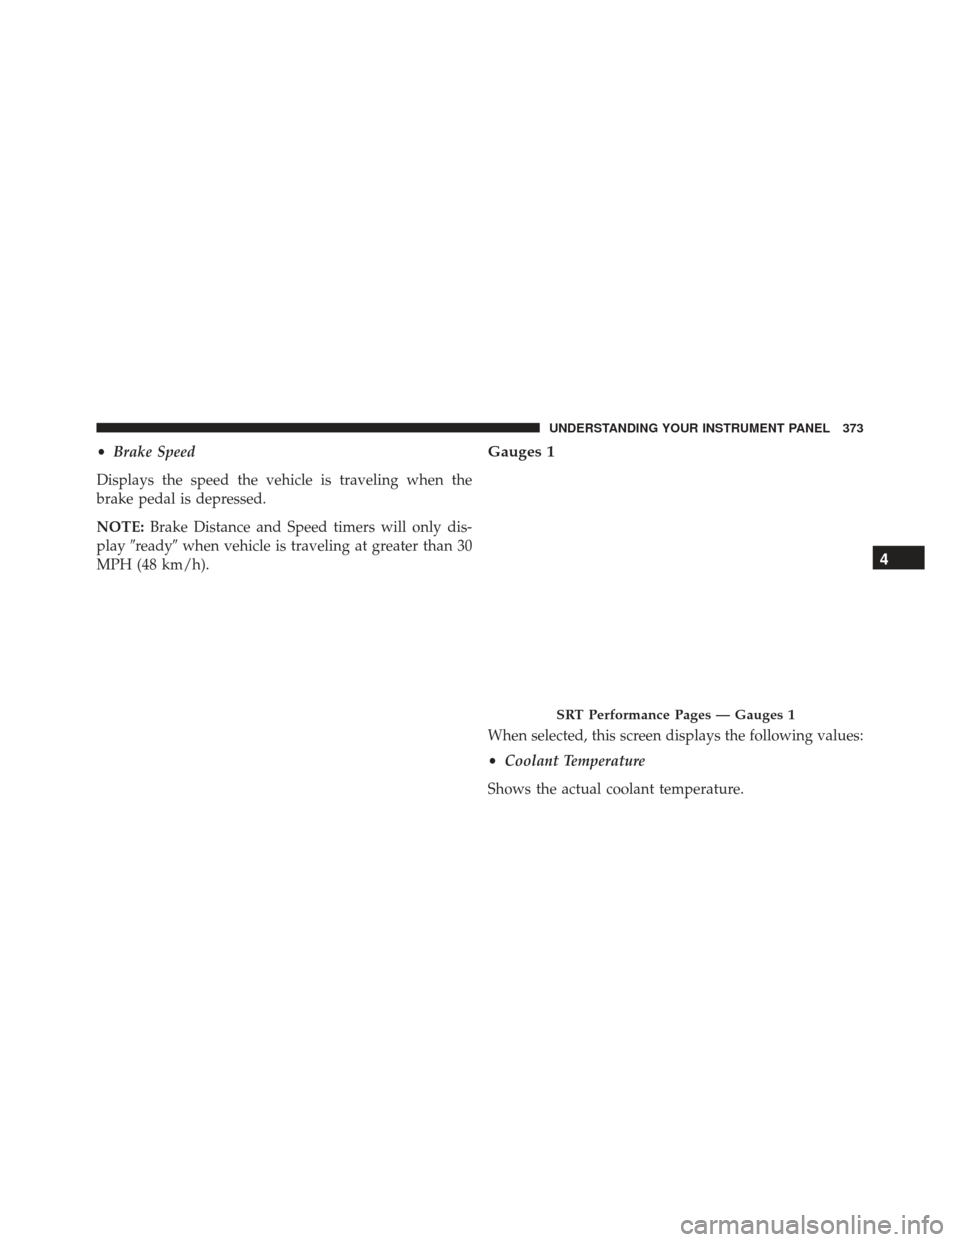
MPH (48 km/h).Gauges 1
When selected, this screen displays the following values:
• Coolant Temperature
Shows the actual coolant temperature.
SRT Performance Pages — Gauges 1
4
UNDERSTANDING YOUR INSTRUMENT PANEL 373
Page 376 of 723
•Oil Temperature
Shows the actual oil temperature.
• Oil Pressure
Shows the actual oil pressure.Gauges 2
When selected, this screen displays the following values:
• Intake Air Temperature
Shows the actual intake air temperature.
SRT Performance Pages — Gauges 2
374 UNDERSTANDING YOUR INSTRUMENT PANEL