Page 412 of 587
jumper
cable from the positive (+)post of the vehicle with the
discharged battery.
If frequent jump starting is required to start your vehicle
you shou")
4. Disconnect the opposite end of the positive(+)jumper
cable from the positive (+)post of the vehicle with the
discharged battery.
If frequent jump starting is required to start your vehicle
you should have the battery and charging system in-
spected at your authorized dealer.
CAUTION!
Accessories plugged into the vehicle power outlets
draw power from the vehicle’s battery, even when not
in use (i.e., cellular devices, etc.). Eventually, if
plugged in long enough without engine operation,
the vehicle’s battery will discharge sufficiently to
degrade battery life and/or prevent the engine from
starting.
ENHANCED ACCIDENT RESPONSE SYSTEM
In the event of an impact, if the communication network
remains intact, and the power remains intact, depending
on the nature of the event, the ORC will determine
whether to have the Enhanced Accident Response Sys-
tem perform the following functions:
• Cut off fuel to the engine.
• Flash hazard lights as long as the battery has power or
until the hazard light button is pressed. The hazard
lights can be deactivated by pressing the hazard light
button.
• Turn on the interior lights, which remain on as long as
the battery has power or for 15 minutes from the
intervention of the Enhanced Accident Response Sys-
tem.
• Unlock the power door locks.
410 IN CASE OF EMERGENCY
Page 413 of 587

•Turn off the Fuel Pump Heater.
• Turn off the HVAC Blower Motor.
• Close the HVAC Circulation Door.
ENHANCED ACCIDENT RESPONSE SYSTEM
RESET PROCEDURE
After the event occurs, when the system is active, a
message regarding fuel cutoff is displayed. Turn the
ignition switch from ignition AVV/START or MAR/
ACC/ON/RUN to ignition STOP/OFF/LOCK. Care-
fully check the vehicle for fuel leaks in the engine
compartment and on the ground near the engine com-
partment and fuel tank before resetting the system and
starting the engine.
Depending on the nature of the event the left and right
turn signal lights, located in the instrument panel, may
both be blinking and will continue to blink. In order to move your vehicle to the side of the road, you must
follow the system reset procedure.
Customer Action Customer Will See
1. Turn Ignition OFF.
(Turn Signal Switch Must Be Placed In Neutral State).
2. Turn Ignition ON. Left Turn Light Is OFF. Right Turn LightBLINKS.
3. Turn Right Turn Signal Switch ON. Right Turn Light Is ON
SOLID. Left Turn Light BLINKS.
4. Turn Left Turn Signal Switch ON. Left Turn Light Is ON
SOLID. Right Turn Signal Light BLINKS.
8
IN CASE OF EMERGENCY 411
Page 463 of 587
 if temperatures b")
•Mix a minimum solution of 50% OAT engine coolant
that meets the requirements of FCA Material Standard
MS.90032 and distilled water. Use higher concentra-
tions (not to exceed 70%) if temperatures below �34°F
(�37°C) are anticipated.
• Use only high purity water such as distilled or deion-
ized water when mixing the water/engine coolant
(antifreeze) solution. The use of lower quality water
will reduce the amount of corrosion protection in the
engine cooling system.
Please note that it is the owner’s responsibility to main-
tain the proper level of protection against freezing ac-
cording to the temperatures occurring in the area where
the vehicle is operated. NOTE:
•
Some vehicles require special tools to add coolant
properly. Failure to fill these systems properly could
lead to severe internal engine damage. If any coolant is
needed to be added to the system, please contact your
local authorized dealer.
• Mixing engine coolant (antifreeze) types is not recom-
mended and can result in cooling system damage. If
HOAT and OAT coolant are mixed in an emergency,
have a authorized dealer drain, flush, and refill with
OAT coolant (conforming to MS.90032) as soon as
possible.
9
MAINTAINING AND CARING FOR YOUR VEHICLE 461
Page 473 of 587

•If the engine compartment is washed with an high
pressure jet, keep it at a distance of at least 8 inches
(20 centimeters) from filler surface.
Special Care
• If you drive on")
CAUTION!(Continued)
•If the engine compartment is washed with an high
pressure jet, keep it at a distance of at least 8 inches
(20 centimeters) from filler surface.
Special Care
• If you drive on salted or dusty roads or if you drive
near the ocean, hose off the undercarriage at least once
a month.
• It is important that the drain holes in the lower edges
of the doors, rocker panels, and trunk be kept clear and
open.
• If you detect any stone chips or scratches in the paint,
touch them up immediately. The cost of such repairs is
considered the responsibility of the owner.
• If your vehicle is damaged due to a collision or similar
cause that destroys the paint and protective coating, have your vehicle repaired as soon as possible. The
cost of such repairs is considered the responsibility of
the owner.
• If you carry special cargo such as chemicals, fertilizers,
de-icer salt, etc., be sure that such materials are well
packaged and sealed.
• If a lot of driving is done on gravel roads, consider
mud or stone shields behind each wheel.
• Use MOPAR Touch Up Paint on scratches as soon as
possible. Your authorized dealer has touch up paint to
match the color of your vehicle.
Wheel And Wheel Trim Care
• All wheels and wheel trim, especially aluminum and
chrome plated wheels, should be cleaned regularly
with a mild soap and water to prevent corrosion.
• To remove heavy soil and/or excessive brake dust, use
MOPAR Wheel Cleaner.9
MAINTAINING AND CARING FOR YOUR VEHICLE 471
Page 475 of 587

Interior Care
Use MOPAR Total Clean to clean fabric upholstery and
carpeting.
Use MOPAR Total Clean to clean vinyl upholstery.
MOPAR Total Clean is specifically recommended for
leather upholstery.
Your leather upholstery can be best preserved by regular
cleaning with a damp soft cloth. Small particles of dirt
can act as an abrasive and damage the leather upholstery
and should be removed promptly with a damp cloth.
Stubborn soils can be removed easily with a soft cloth
and MOPAR Total Clean. Care should be taken to avoid
soaking your leather upholstery with any liquid. Please
do not use polishes, oils, cleaning fluids, solvents, deter-
gents, or ammonia-based cleaners to clean your leather
upholstery. Application of a leather conditioner is not
required to maintain the original condition.
WARNING!
Do not use volatile solvents for cleaning purposes.
Many are potentially flammable, and if used in
closed areas they may cause respiratory harm.
CAUTION!
Direct contact of air fresheners, insect repellents,
suntan lotions, or hand sanitizers to the plastic,
painted, or decorated surfaces of the interior may
cause permanent damage. Wipe away immediately.
CAUTION!
Damage caused by these type of products may not be
covered by your New Vehicle Limited Warranty.
9
MAINTAINING AND CARING FOR YOUR VEHICLE 473
Page 482 of 587
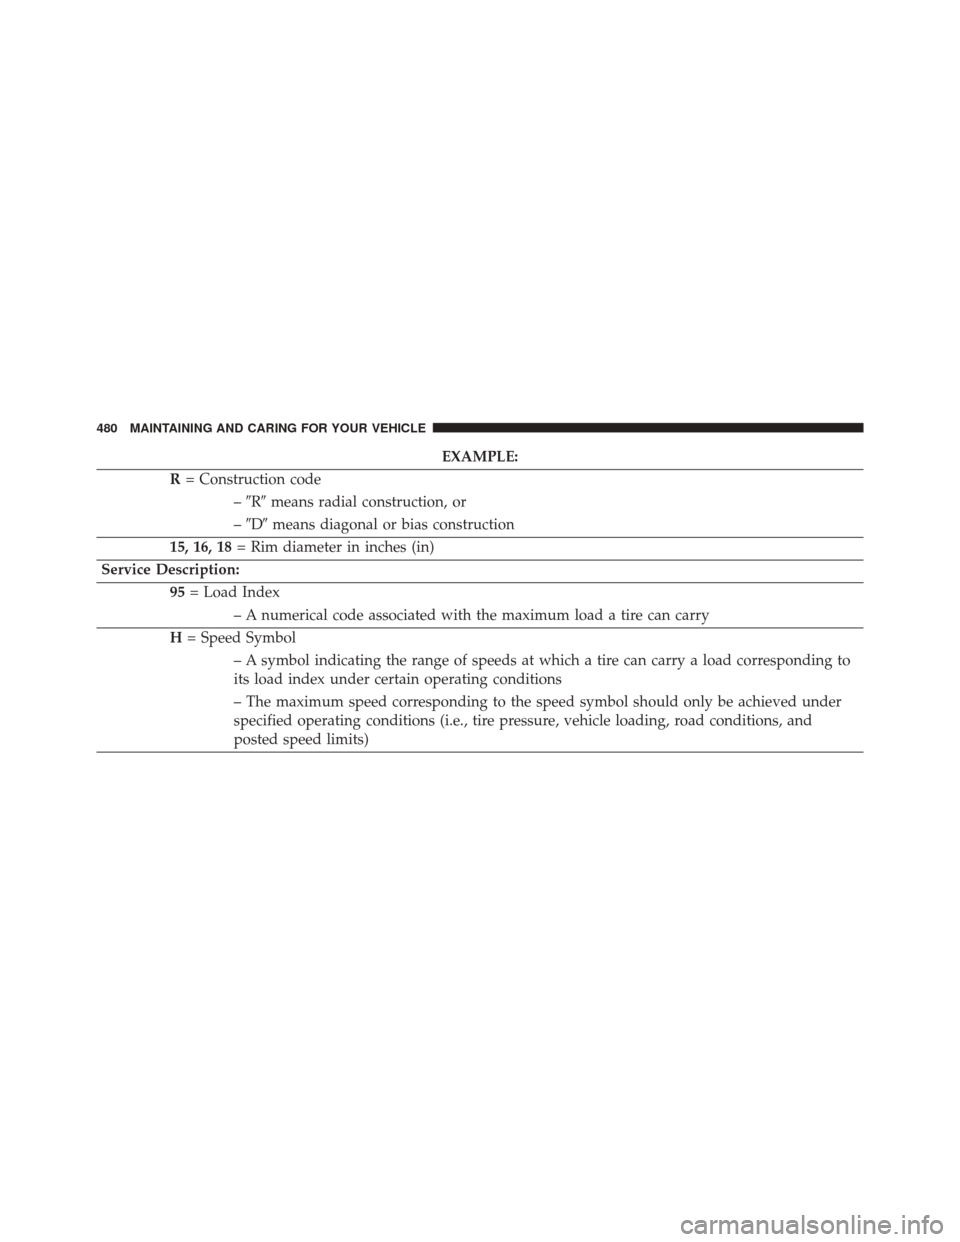
EXAMPLE:
R = Construction code
–�R� means radial construction, or
– �D� means diagonal or bias construction
15, 16, 18 = Rim diameter in inches (in)
Service Description: 95= Load Index
– A numerical code associated with the maximum load a tire can carry
H = Speed Symbol
– A symbol indicating the range of speeds at which a tire can carry a load corresponding to
its load index under certain operating conditions
– The maximum speed corresponding to the speed symbol should only be achieved under
specified operating conditions (i.e., tire pressure, vehicle loading, road conditions, and
posted speed limits)
480 MAINTAINING AND CARING FOR YOUR VEHICLE
Page 492 of 587

•Unequal tire pressures can cause steering prob-
lems. You could lose control of your vehicle.
• Unequal tire pressures from one side of the vehicle
to the other can cause the")
WARNING!(Continued)
•Unequal tire pressures can cause steering prob-
lems. You could lose control of your vehicle.
• Unequal tire pressures from one side of the vehicle
to the other can cause the vehicle to drift to the
right or left.
• Always drive with each tire inflated to the recom-
mended cold tire inflation pressure.
Both under-inflation and over-inflation affect the stability
of the vehicle and can produce a feeling of sluggish
response or over responsiveness in the steering.
NOTE:
• Unequal tire pressures from side to side may cause
erratic and unpredictable steering response.
• Unequal tire pressure from side to side may cause the
vehicle to drift left or right.
Fuel Economy
Underinflated tires will increase tire rolling resistance
resulting in higher fuel consumption.
Tread Wear
Improper cold tire inflation pressures can cause abnor-
mal wear patterns and reduced tread life, resulting in the
need for earlier tire replacement.
Ride Comfort And Vehicle Stability
Proper tire inflation contributes to a comfortable ride.
Over-inflation produces a jarring and uncomfortable
ride.
Tire Inflation Pressures
The proper cold tire inflation pressure is listed on the
driver’s side B-Pillar or rear edge of the driver’s side
door.
490 MAINTAINING AND CARING FOR YOUR VEHICLE
Page 493 of 587

At least once a month:
•Check and adjust tire pressure with a good quality
pocket-type pressure gauge. Do not make a visual
judgement when determining proper inflation. Tires
may look properly inflated even when they are under-
inflated.
• Inspect tires for signs of tire wear or visible damage.
CAUTION!
After inspecting or adjusting the tire pressure, al-
ways reinstall the valve stem cap. This will prevent
moisture and dirt from entering the valve stem,
which could damage the valve stem.
Inflation pressures specified on the placard are always
“cold tire inflation pressure”. Cold tire inflation pressure
is defined as the tire pressure after the vehicle has not
been driven for at least three hours, or driven less than 1 mile (1.6 km) after sitting for a minimum of three hours.
The cold tire inflation pressure must not exceed the
maximum inflation pressure molded into the tire side-
wall.
Check tire pressures more often if subject to a wide range
of outdoor temperatures, as tire pressures vary with
temperature changes.
Tire pressures change by approximately 1 psi (7 kPa) per
12°F (7°C) of air temperature change. Keep this in mind
when checking tire pressure inside a garage, especially in
the Winter.
Example: If garage temperature = 68°F (20°C) and the
outside temperature = 32°F (0°C) then the cold tire
inflation pressure should be increased by 3 psi (21 kPa),
which equals 1 psi (7 kPa) for every 12°F (7°C) for this
outside temperature condition.
9
MAINTAINING AND CARING FOR YOUR VEHICLE 491