Page 170 of 576
1704-1. Before driving
Hitch receiver pin hole position:
46.4 in. (1179 mm)
Use the wire harness stored in the rear end of the vehicle.
■ Service connector for towing brake controller (if equipped)
Positions for towing hitch receiver
1
Connecting trailer lights
Vehicles without towing pack-
ageVehicles with towing package
Your vehicle is equipped with a service
connector for the trailer brake controller
as shown.
Access the service connector.
Remove the scuff plate.
Remove the clip (screw type) and trim
board.
Remove the connector cover.
1
2
3
Page 171 of 576

1714-1. Before driving
4
Driving
Your vehicle will handle differently when towing a trailer. To help avoid
an accident, death or serious injury, keep the following in mind when
towing:
● Speed limits for towing a trailer vary by state or province. Do not
exceed the posted to wing speed limit.
● Toyota recommends that the vehicle-trailer speed limit is 65 mph
(104 km/h) on a flat, straight, dry road. Do not exceed this limit, the
posted towing speed limit or the spe ed limit for your trailer as set
forth in your trailer owner’s manual, whichever is lowest. Instability
of the towing vehicle-trailer combination (trailer sway) increases as
speed increases. Exceeding speed limits may cause loss of control.
● Before starting out, check the trailer lights, tires and the vehicle-
trailer connections. Recheck after driving a short distance.
● Practice turning, stopping and reve rsing with the trailer attached in
an area away from traffic until you become accustomed to the feel
of the vehicle-trailer combination.
● Reversing with a trailer attached is difficult and requires practice.
Grip the bottom of the steering wheel and move your hand to the
left to move the traile r to the left. Move your hand to the right to
move the trailer to the right. (This is generally opposite to reversing
without a trailer attached.) Avoid sharp or prolonged turning. Have
someone guide you when reversing to reduce the risk of an acci-
dent.
● As stopping distance is increased when towing a trailer, vehicle-to-
vehicle distance should be increa sed. For each 10 mph (16 km/h)
of speed, allow at least one vehicle and trailer length.
Trailer towing tips
Page 174 of 576

1744-1. Before driving
■Before towing
Check that the following conditions are met:
●Ensure that your vehicle’s tires are properly inflated. ( P. 517)
● Trailer tires are inflated according to the trailer manufacturer’s recommen-
dation.
● All trailer lights work as required by law.
● All lights work each time you connect them.
● The trailer ball is set at the proper height for the coupler on the trailer.
● The trailer is level when it is hitched.
Do not drive if the trailer is not level, and check for improper tongue weight,
overloading, worn suspension, or other possible causes.
● The trailer cargo is securely loaded.
● The rear view mirrors conform to all applicable federal, state/provincial or
local regulations. If they do not, install rear view mirrors appropriate for tow-
ing purposes.
● Depress TOW/HAUL button (if equipped). ( P. 184)
● The manual headlight leveling dial is correctly adjusted. (if equipped)
(P. 189)
■ Break-in schedule
If your vehicle is new or equipped with any new power train components
(such as an engine, transmission, differ ential or wheel bearing), Toyota rec-
ommends that you do not tow a trailer until the vehicle has been driven for
over 500 miles (800 km).
After the vehicle has been driven for over 500 miles (800 km), you can start
towing. However, for the next 500 miles (800 km), drive the vehicle at a speed
of less than 50 mph (80 km/h) when towing a trailer, and avoid full throttle
acceleration.
■ Maintenance
●If you tow a trailer, your vehicle will require more frequent maintenance due
to the additional load. (See “Owner’s Warranty Information Booklet” or
“Scheduled Maintenance Guide”/“Owner’s Manual Supplement”.)
● Retighten the fixing bolts of the towing ball and bracket after approximately
600 miles (1000 km) of trailer towing.
Page 177 of 576

1774-1. Before driving
4
Driving
CAUTION
■Hitch
Trailer hitch assemblies have different weight capacities established by the
hitch manufacturer. Even though the vehicle may be physically capable of
towing a higher weight, the operator must determine the maximum weight
rating of the particular hitch assembly and never exceed the maximum
weight rating specified for the trailer-hitch. Exceeding the maximum weight
rating set by the trailer-hitch manufacturer can cause an accident resulting
in death or serious personal injuries.
■ When towing a trailer
Toyota recommends trailers with brakes that conform to any applicable fed-
eral and state/provincial regulations.
● If the gross trailer weight exceeds unbraked TWR, trailer brakes are
required. Toyota recommends trailers with brakes that conform to all appli-
cable federal and state/provincial regulations.
● Never tap into your vehicle’s hydraulic system, as this will lower the vehi-
cle’s braking effectiveness.
● Never tow a trailer without using a safety chain securely attached to both
the trailer and the vehicle. If damage occurs to the coupling unit or hitch
ball, there is danger of the trailer wandering into another lane.
NOTICE
■When installing a trailer hitch
Use only the position recommended by your Toyota dealer. Do not install
the trailer hitch on the bumper; this may cause body damage.
■ Do not directly splice trailer lights
Do not directly splice trailer lights. Directly splicing trailer lights may damage
your vehicle’s electrical system and cause a malfunction.
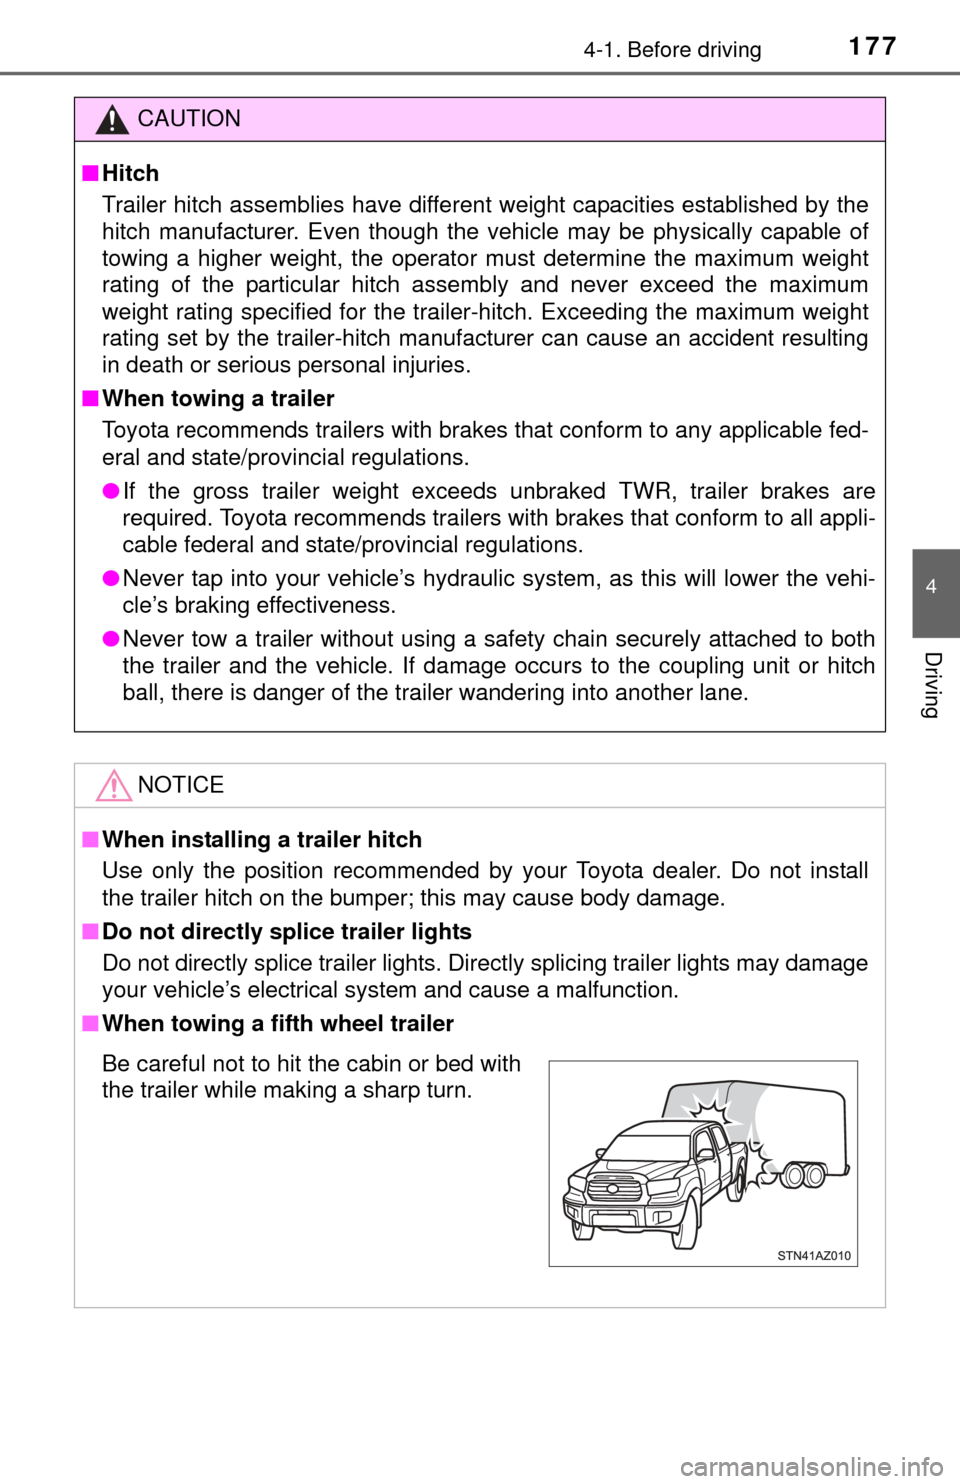
■ When towing a fifth wheel trailer
Be careful not to hit the cabin or bed with
the trailer while making a sharp turn.
Page 186 of 576
1864-2. Driving procedures
Turn signal lever
Right turn
Lane change to the right (push
and hold the lever partway)
The right hand signals will flash
until you release the lever.
Lane change to the left (push
and hold the lever partway)
The left hand signals will flash until
you release the lever.
Left turn
■Turn signals can be operated when
The engine switch is in the “ON” position.
■ If the indicator flashes faster than usual
Check that a light bulb in the front or rear turn signal lights has not burned
out.
Operating instructions
1
2
3
4
Page 188 of 576
1884-3. Operating the lights and wipers
Headlight switch
Turning the end of the lever turns on the lights as follows:(U.S.A.) or (Canada)
Off
Vehicles with the daytime
running light system: The
daytime running lights turn
on.
The side marker, parking,
tail, license plate, daytime
running lights (if equipped)
and instrument panel lights
turn on.
The headlights and all
lights listed above (except
daytime running lights)
turn on.
(If equipped)
The headlights, daytime running lights (if equipped) and all the
lights listed above turn on and off automatically.
(When the engine switch is in the “ON” position.)
The headlights can be operated manually or automatically.
Operating instructions
U.S.A.Canada
1
2
3
4
Page 189 of 576
1894-3. Operating the lights and wipers
4
Driving
With the headlights on, push
the lever away from you to turn
on the high beams.
Pull the lever toward you to the
center position to turn the high
beams off.
Pull the lever toward you and
release it to flash the high
beams once.
You can flash the high beams with the headlights on or off.
The level of the headlights can be adjusted according to the number
of passengers and the loading condition of the vehicle.Raises the level of the head-
lights
Lowers the level of the head-
lights
■Guide to dial settings
Turning on the high beam headlights
1
2
Manual headlight leveling dial (if equipped)
1
2
Loading conditionControl switch position
Towing Hitch (Towing
package)
Payload
Regular CabDouble CabCrewMax
LongStandardLongShort
NoneNone0000
NoneMaximum
load2.52.522.5
Maximum loadNone43.533.5
Page 190 of 576

1904-3. Operating the lights and wipers
■Daytime running light system (if equipped)
●To make your vehicle more visible to other drivers, the daytime running
lights turn on automatically whenever the engine is started and the parking
brake is released. Daytime running lights are not designed for use at night.
● Compared to turning on the headlights, the daytime running light system
offers greater durability and consumes less electricity, so it can help improve
fuel economy.
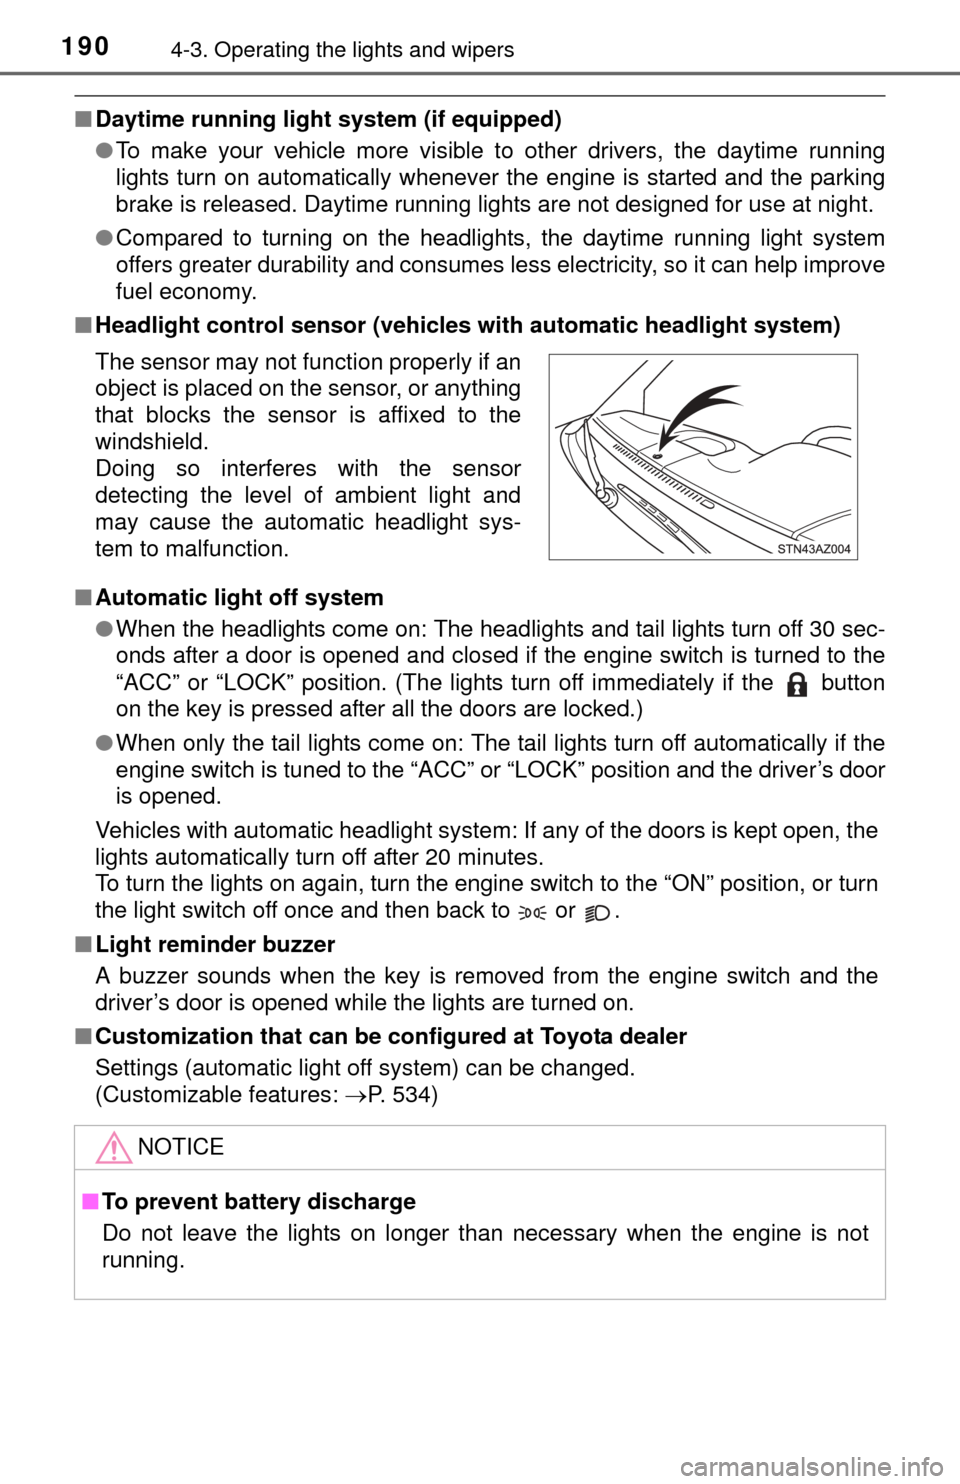
■ Headlight control sensor (vehicl es with automatic headlight system)
■ Automatic light off system
●When the headlights come on: The headlights and tail lights turn off 30 sec-
onds after a door is opened and closed if the engine switch is turned to the
“ACC” or “LOCK” position. (The lights turn off immediately if the button
on the key is pressed after all the doors are locked.)
● When only the tail lights come on: The tail lights turn off automatically if the
engine switch is tuned to the “ACC” or “LOCK” position and the driver’s door
is opened.
Vehicles with automatic headlight system: If any of the doors is kept open, the
lights automatically turn off after 20 minutes.
To turn the lights on again, turn the engine switch to the “ON” position, or turn
the light switch off once and then back to or .
■ Light reminder buzzer
A buzzer sounds when the key is removed from the engine switch and the
driver’s door is opened while the lights are turned on.
■ Customization that can be co nfigured at Toyota dealer
Settings (automatic light off system) can be changed.
(Customizable features: P. 534)
The sensor may not function properly if an
object is placed on the sensor, or anything
that blocks the sensor is affixed to the
windshield.
Doing so interferes with the sensor
detecting the level of ambient light and
may cause the automatic headlight sys-
tem to malfunction.
NOTICE
■
To prevent battery discharge
Do not leave the lights on longer than necessary when the engine is not
running.