Page 363 of 590

363
3-5. Other interior features
3
Interior and exterior features
CAUTION
Observe the following precautions.
Failure to do so may cause the driver’s floor mat to slip, possibly interfering
with the pedals while driving. An unexpectedly high speed may result or it may
become difficult to stop the vehicle, leading to a serious accident.
■
When installing the driver’s floor mat
●Do not use floor mats designed for other models or different model year
vehicles, even if they are Toyota Genuine floor mats.
● Only use floor mats designed for the driver’s seat.
● Always install the floor mat securely using the retaining hooks (clips) pro-
vided.
● Do not use two or more floor mats on top of each other.
● Do not place the floor mat bottom-side up or upside-down.
■ Before driving
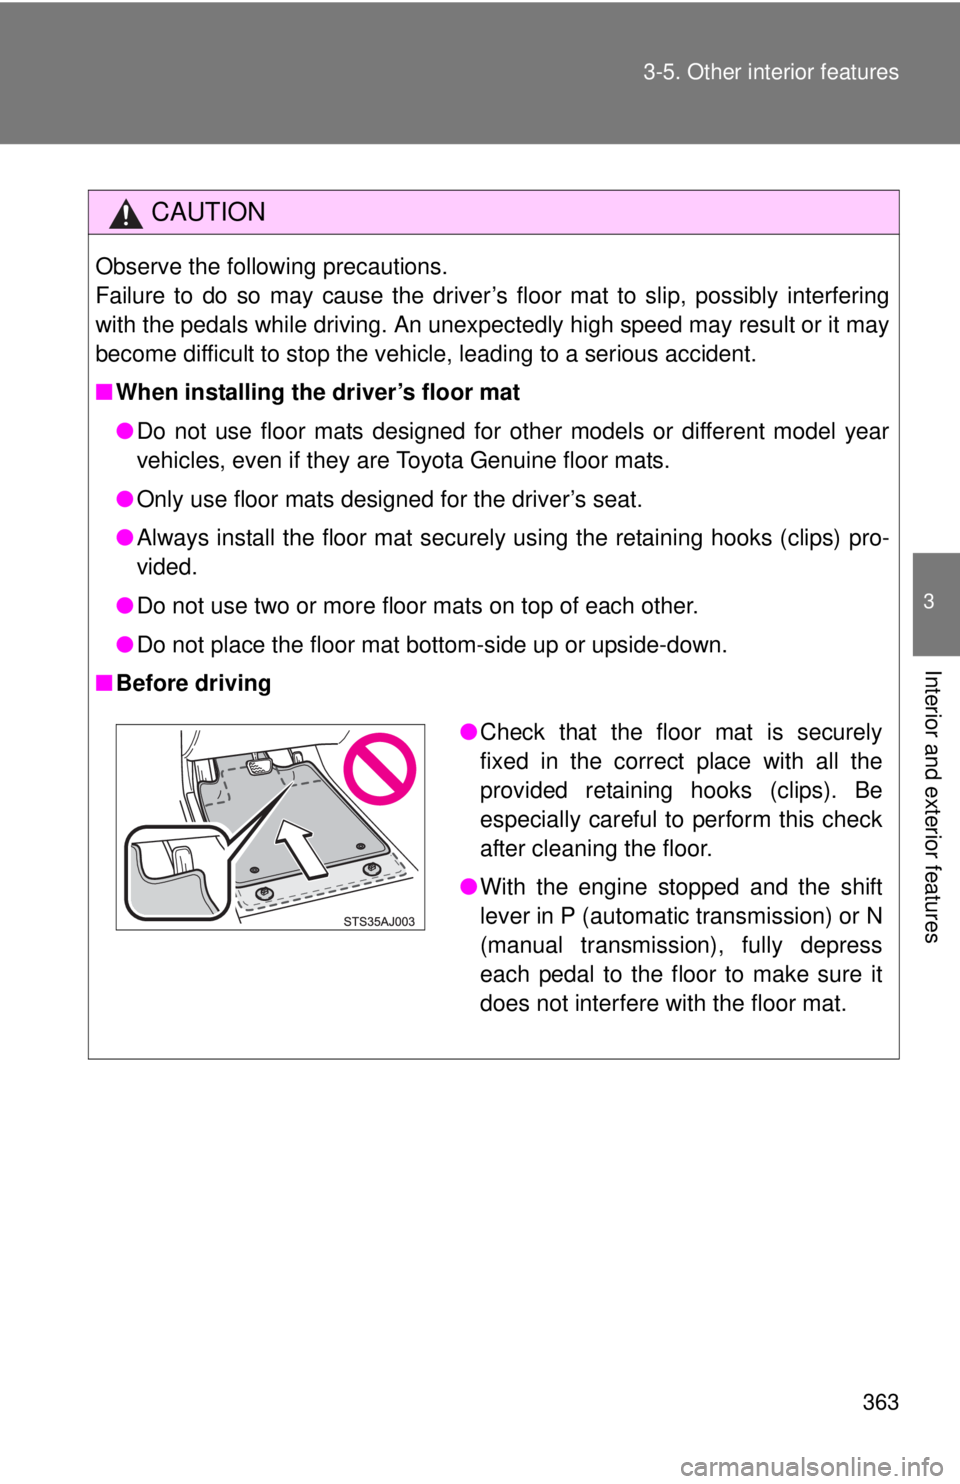
●Check that the floor mat is securely
fixed in the correct place with all the
provided retaining hooks (clips). Be
especially careful to perform this check
after cleaning the floor.
● With the engine stopped and the shift
lever in P (automatic transmission) or N
(manual transmission), fully depress
each pedal to the floor to make sure it
does not interfere with the floor mat.
Page 366 of 590
366 3-5. Other interior features
Deck hooksDeck hooks are provided for
securing loose items.
CAUTION
■Caution while driving
Keep the auxiliary boxes closed and locked.
Injuries may result in the event of an accident or sudden braking.
CAUTION
■When not in use
Keep the deck hooks folded.
Page 367 of 590
367
3-5. Other interior features
3
Interior and exterior features
Tie-down cleats
The deck rail system enables you to insert and move tie-down cleats
to their best location along deck rails to secure a load. Locking plate
Thumb wheel
Tie-down cleat
■ Installing the tie-down cleat
Loosen the thumb wheel in a
counterclockwise motion, and
depress the wheel so that the
locking plate maintains 0.5 in.
(12.7 mm) gap.
Deck rail
Detent
Locking plate
0.5 in.
(12.7 mm)
Page 368 of 590
368 3-5. Other interior features
Insert the locking plate into the
deck rail, rotate the tie-down
cleat 90°, and release the thumb
wheel.
Slide the cleat to the closest
detent in the rail system. You will
feel that the locking plate snaps
into a detent.
Tighten the thumb wheel in a
clockwise motion until the clutch
mechanism ratchets.
Check the tie-down cleat to con-
firm that it is locked into a detent
and securely mounted to the
deck rail system.
Page 369 of 590

369
3-5. Other interior features
3
Interior and exterior features
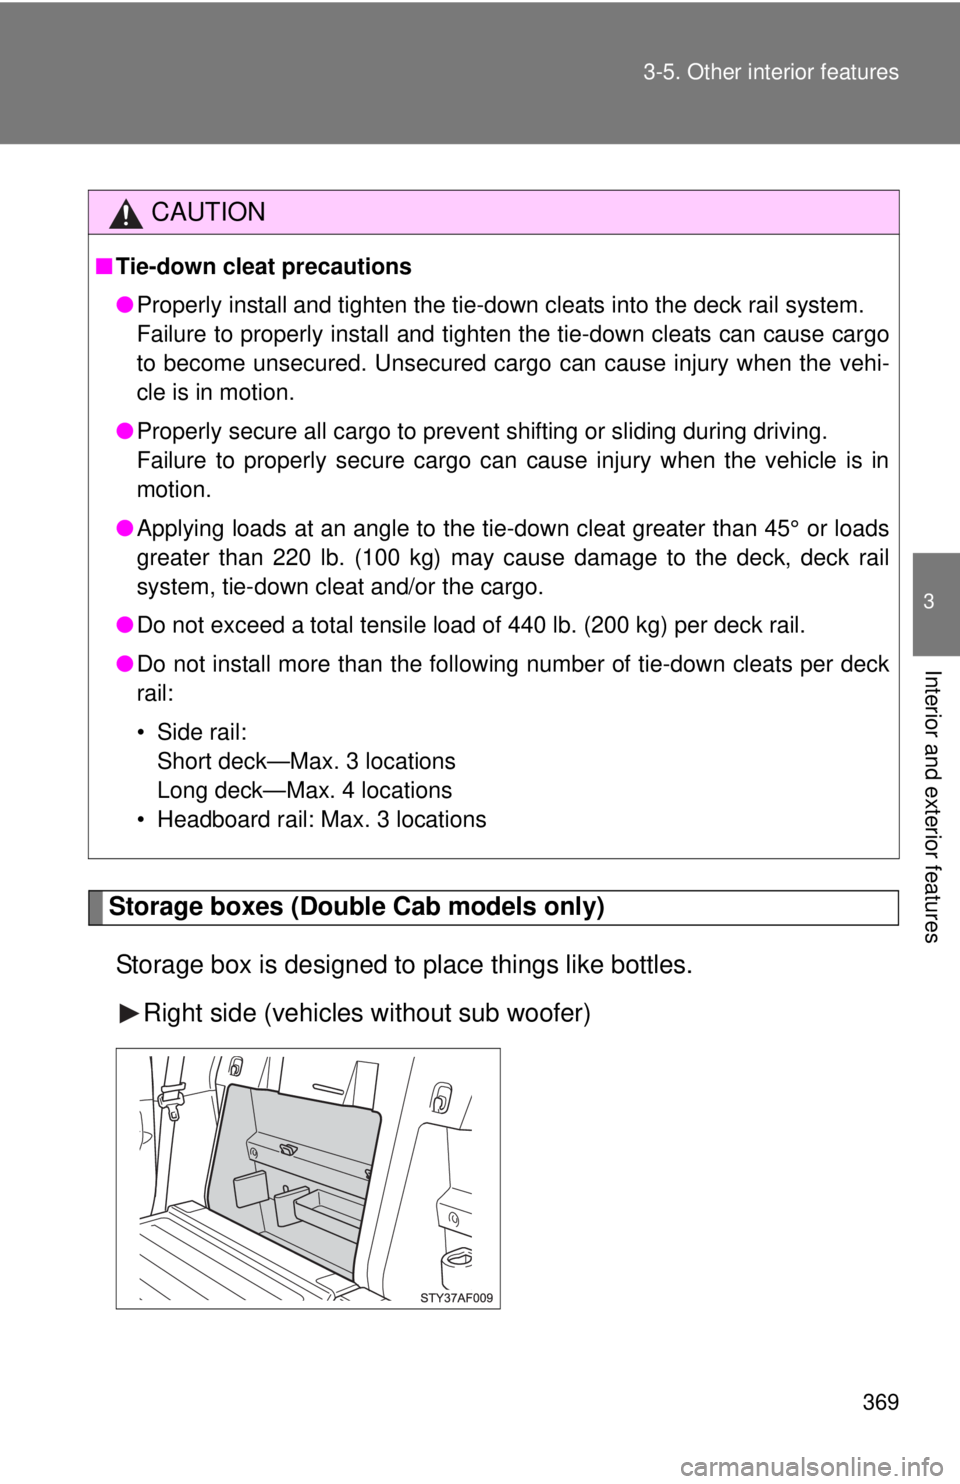
Storage boxes (Double Cab models only)
Storage box is designed to place things like bottles. Right side (vehicles without sub woofer)
CAUTION
■Tie-down cleat precautions
●Properly install and tighten the tie-down cleats into the deck rail system.
Failure to properly install and tighten the tie-down cleats can cause cargo
to become unsecured. Unsecured cargo can cause injury when the vehi-
cle is in motion.
● Properly secure all cargo to prevent shifting or sliding during driving.
Failure to properly secure cargo can cause injury when the vehicle is in
motion.
● Applying loads at an angle to the tie- down cleat greater than 45° or loads
greater than 220 lb. (100 kg) may cause damage to the deck, deck rail
system, tie-down cleat and/or the cargo.
● Do not exceed a total tensile load of 440 lb. (200 kg) per deck rail.
● Do not install more than the following number of tie-down cleats per deck
rail:
• Side rail:
Short deck—Max. 3 locations
Long deck—Max. 4 locations
• Headboard rail: Max. 3 locations
Page 370 of 590
370 3-5. Other interior features
Left side
Flashlight holder (Double Cab models only)
Flashlight holder is designed to
hold the flashlight securely.
■Removing the separator
Remove the separator.
It can be installed in various positions as
required.
Page 373 of 590
373
3-5. Other interior features
3
Interior and exterior features
Garage door opener
The garage door opener (HomeLink® Universal Transceiver) is manufac-
tured under license from HomeLink®.
Training the HomeLink® (for U.S. owners)
The HomeLink
® compatible transceiver in your vehicle has 3 buttons
which can be trained to operate 3 different devices. Refer to the train-
ing method below appropriate for the device.
Indicator light
Buttons
: If equipped
The garage door opener can be trained to operate garage doors,
gates, entry doors, door locks, home lighting systems, security sys-
tems, and other devices.
Page 377 of 590

377
3-5. Other interior features
3
Interior and exterior features
■
Training an entry gate (for U. S. owners)/Training a device in
the Canadian market
Place the remote control transmitter 1 to 3 in. (25 to 75 mm)
away from the HomeLink
® buttons
Keep the HomeLink® indicator light in view while training.
Press and hold the selected HomeLink® button.
Repeatedly press and release (cycle) one of the buttons on
the remote control transmitter for 2 seconds at a time until is completed.
When the HomeLink
® indicator light starts to flash rapidly,
release the buttons on the HomeLink®.
Test the HomeLink
® operation by pressing the newly trained
button. Check to see if the gate/device operates correctly.
Repeat the steps above to train another device for any of the
remaining HomeLink
® buttons.
■ Training other devices
To train other devices such as home security systems, home door
locks and lighting, contact your Toyota dealer for assistance.
■ Retraining a button
The individual HomeLink
® buttons cannot be erased but can be
retrained. To retrain a button, follow the “Retraining a HomeLink®
button” instructions.