Page 1 of 664
SIENNA_OM_01999-08001_(U)
Pictorial indexSearch by illustration
1For safety
and securityMake sure to read through them
2Instrument
clusterHow to read the gauges and meters, the variety of
warning lights and indicators, etc.
3Operation of
each componentOpening and closing the doors and windows,
adjustment before driving, etc.
4DrivingOperations and advices which are necessary for
driving
5Audio systemOperating the audio system
6Interior featuresUsage of the interior features, etc.
7Maintenance
and careCaring for your vehicle and maintenance
procedures
8When trouble
arisesWhat to do in case of malfunction or emergency
9Vehicle
specificationsVehicle specifications, customizable features, etc.
10For ownersReporting safety defects for U.S. owners, and seat
belt and SRS airbag instructions for Canadian
owners
IndexSearch by symptom
Search alphabetically
Page 27 of 664
271-1. For safe use
SIENNA_OM_01999-08001_(U)
1
For safety and security
WARNING
Observe the following precautions.
Failure to do so may result in death or serious injury.
●Do not adjust the position of the driver’s seat while driving.
Doing so could cause the driver to lose control of the vehicle.
● Do not place a cushion between the driver or passenger and the seatback.
A cushion may prevent correct posture from being achieved, and reduce
the effectiveness of the seat belt and head restraint.
● Do not place anything under the front seats.
Objects placed under the front seats may become jammed in the seat
tracks and stop the seat from locking in place. This may lead to an acci-
dent and the adjustment mechanism may also be damaged.
● When driving over long distances, take regular breaks before you start to
feel tired.
Also, if you feel tired or sleepy while driving, do not force yourself to con-
tinue driving and take a break immediately.
Page 64 of 664
641-1. For safe use
SIENNA_OM_01999-08001_(U)
Manual seat
Fold the seatback while pulling
the strap. Return the seatback
and secure it at the 1st lock
position (most upright posi-
tion). Adjust the seatback to the
11th lock position.1st lock position
11th lock position
Power seat
Fold down the seatback by
pressing the folding/returning
switch ( P. 160). Raise the
seatback by pressing the same
switch, the returning switch
( P. 163) or the seatback angle
adjustment switch ( P. 153).
(The seatback will automatically
stop.) Do not touch the switch
while the seatback is moving,
because the operation will stop.
Widen the gap between the seat cu shion and seatback slightly.
Installation with LATCH system (third seat)
1
1
2
1
2
Page 148 of 664
148
SIENNA_OM_01999-08001_(U)
3-3. Adjusting the seats
Front seats
Manual seat
Seat position adjustment lever
Seatback angle adjustment lever
Vertical height adjustment lever (driver’s side only)
Lumbar support adjustment switch (driver’s side only)*
*: If equipped
Power seat
Seat position adjustment switch
Seatback angle adjustment switch
Seat cushion (front) angle adjust ment switch (driver’s side only)
Vertical height adjustment switch (driver’s side only)
Lumbar support adjustment switch (driver’s side only)
Adjustment procedure
1
2
3
4
1
2
3
4
5
Page 150 of 664

150
SIENNA_OM_01999-08001_(U)
3-3. Adjusting the seats
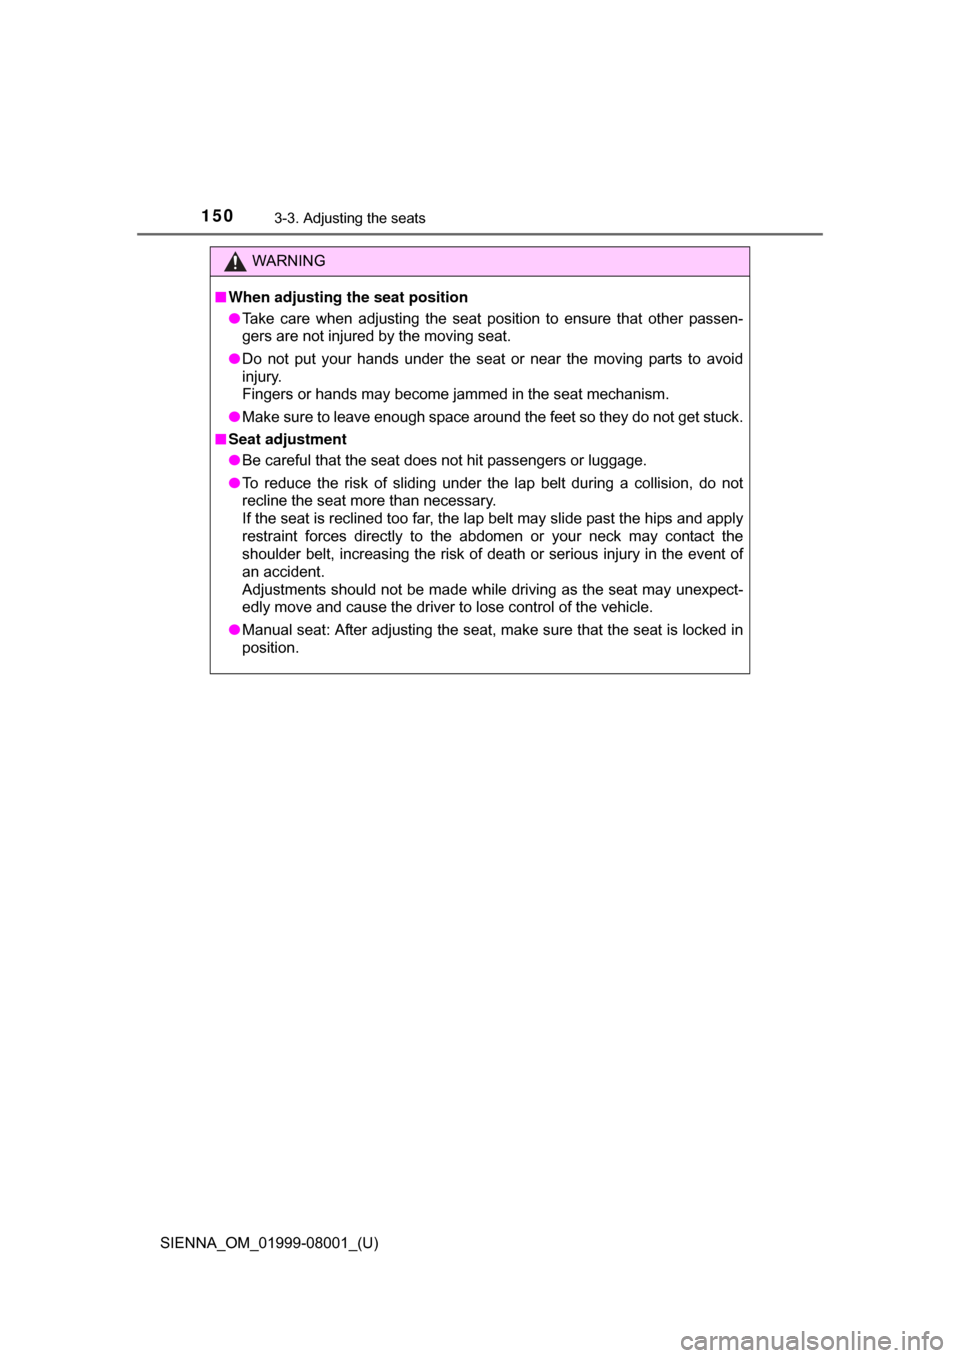
WARNING
■When adjusting the seat position
● Take care when adjusting the seat position to ensure that other passen-
gers are not injured by the moving seat.
● Do not put your hands under the seat or near the moving parts to avoid
injury.
Fingers or hands may become jammed in the seat mechanism.
● Make sure to leave enough space around the feet so they do not get stuck.
■ Seat adjustment
● Be careful that the seat does not hit passengers or luggage.
● To reduce the risk of sliding under the lap belt during a collision, do not
recline the seat more than necessary.
If the seat is reclined too far, the lap belt may slide past the hips and apply
restraint forces directly to the abdomen or your neck may contact the
shoulder belt, increasing the risk of death or serious injury in the event of
an accident.
Adjustments should not be made while driving as the seat may unexpect-
edly move and cause the driver to lose control of the vehicle.
● Manual seat: After adjusting the seat, make sure that the seat is locked in
position.
Page 151 of 664
151
SIENNA_OM_01999-08001_(U)
3-3. Adjusting the seats
3
Operation of each component
Rear seats
■Second seat
Tip-up seat (7-passenger models)
Seat position adjustment
lever
Seatback angle adjustment
lever
Tip-up seat (8-passenger models)
Seat position adjustment
lever
Seatback angle adjustment
lever
Adjustment procedure
1
2
1
2
Page 152 of 664
152
SIENNA_OM_01999-08001_(U)
3-3. Adjusting the seats
Ottoman seat
Seat position adjustment
lever
Seatback angle adjustment
lever
Ottoman angle adjustment
lever
AUTO ACCESS SEAT
Refer to “AUTO ACCESS SEAT OWNER’S MANUAL”.
■Third seats
Manual seat
Seatback angle adjustment
strap
1
2
3
Page 153 of 664
SIENNA_OM_01999-08001_(U)
1533-3. Adjusting the seats
3
Operation of each component
Power seat
Seatback angle adjustment
switch
■Getting in the vehicle
Tip-up seats
Pull the seatback angle adjust-
ment lever and fold down the
seatback. The cushion will tip
up. The seat can slide forward.
Move the seat to the frontmost
position.
Ottoman seats
Pull the seatback angle adjust-
ment lever and fold down the
seatback. The seat can slide
forward.
Move the seat to the frontmost
position.
Moving a second seat for third seat access