Page 436 of 510

CLEANING
If your windshield is not clear after using the
windshield-washer or if a wiper blade chatters
when running, wax or other material may be on
the blade or windshield.
Clean the outside of the windshield with a washer
solution or a mild detergent. Your windshield is
clean if beads do not form when rinsing with clear
water.
Clean each blade by wiping it with a cloth soaked
in a washer solution or a mild detergent. Then
rinse the blades with clear water. If your wind-
shield is still not clear after cleaning the blades
and using the wiper, replace the blades.
CAUTION
Worn windshield wiper blades can dam-
age the windshield and impair driver
vision.
REPLACING
Replace the wiper blades if they are worn.1. Lift the wiper arm away from the windshield.
2. Push the release tab
�Bthen move the wiper
blade down the wiper arm to remove.
3. Remove the wiper blade from wiper arm
�C.
4. Insert the new wiper blade onto the wiper arm until it clicks into place.
5. Rotate the wiper blade so the dimple is in the groove. 6. Return the wiper to its original position and
release it until it has made contact with the
windshield.
CAUTION
●After wiper blade replacement, return
the wiper arm to its original position;
otherwise it may be damaged when the
hood is opened.
● Make sure the wiper blades contact the
glass; otherwise the arms may be dam-
aged from wind pressure.
LDI2475
WINDSHIELD WIPER BLADES
Maintenance and do-it-yourself8-21
Page 437 of 510
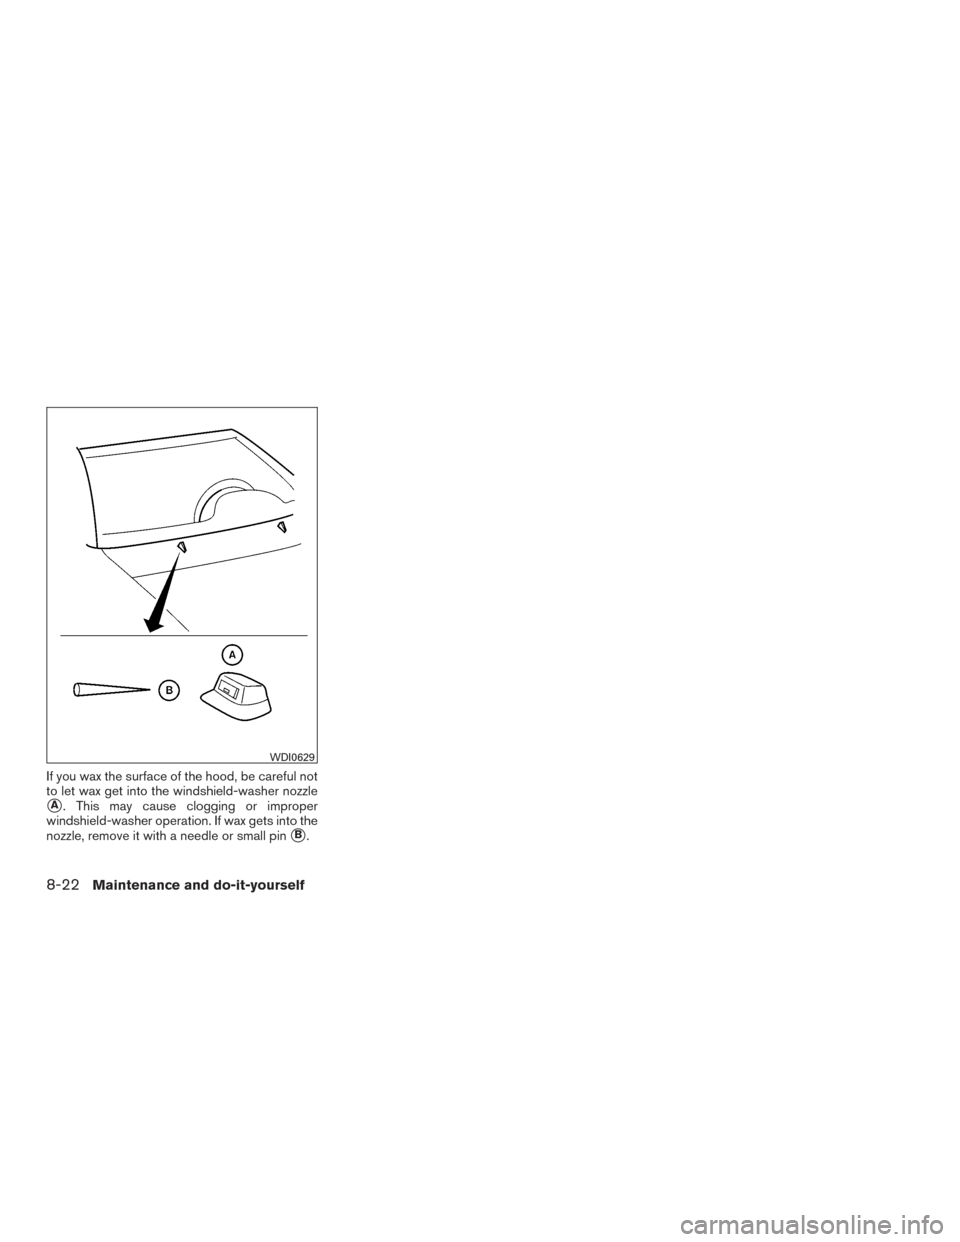
If you wax the surface of the hood, be careful not
to let wax get into the windshield-washer nozzle
�A. This may cause clogging or improper
windshield-washer operation. If wax gets into the
nozzle, remove it with a needle or small pin
�B.
WDI0629
8-22Maintenance and do-it-yourself
Page 438 of 510
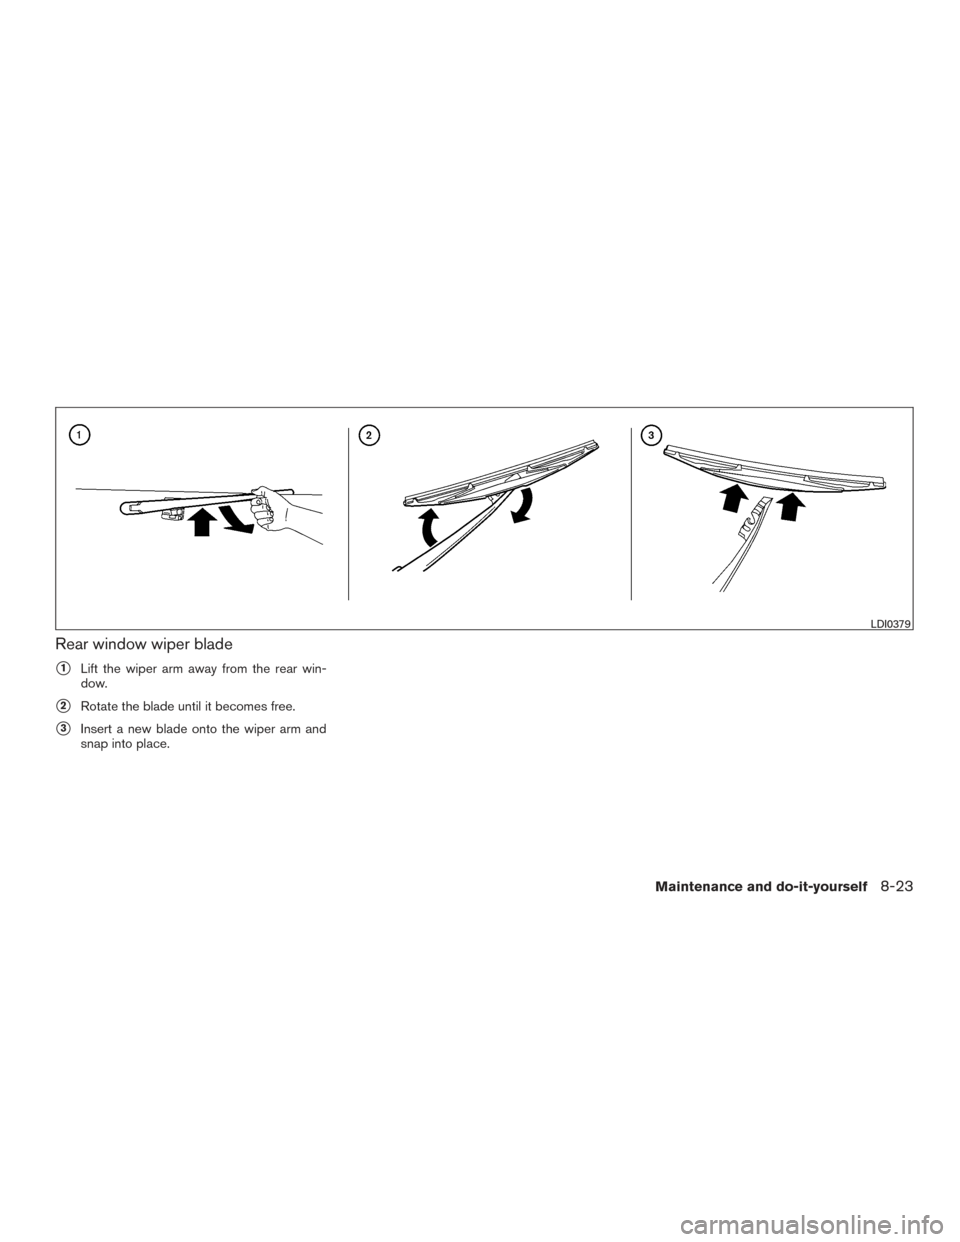
Rear window wiper blade
�1Lift the wiper arm away from the rear win-
dow.
�2Rotate the blade until it becomes free.
�3Insert a new blade onto the wiper arm and
snap into place.
LDI0379
Maintenance and do-it-yourself8-23
Page 439 of 510

If the brakes do not operate properly, have the
brakes checked by a NISSAN dealer.
Self-adjusting brakes
Your vehicle is equipped with self-adjusting
brakes.
The front and rear disc-type brakes self-adjust
every time the brake pedal is applied.
WARNING
See a NISSAN dealer for a brake system
check if the brake pedal height does not
return to normal.
Brake pad wear indicators
The disc brake pads on your vehicle have audible
wear indicators. When a brake pad requires re-
placement, a high pitched scraping or screech-
ing sound will be heard when the vehicle is in
motion. The noise will be heard whether or not the
brake pedal is depressed. Have the brakes
checked as soon as possible if the wear indicator
sound is heard.Under some driving or climate conditions, occa-
sional brake squeak, squeal or other noise may
be heard. Occasional brake noise during light to
moderate stops is normal and does not affect the
function or performance of the brake system.
Proper brake inspection intervals should
be followed.
For additional information regard-
ing brake inspections, refer to the appropriate
maintenance schedule information in the
“NISSAN Service and Maintenance Guide”.
Two types of fuses are used. Type
�Ais used in
the fuse boxes in the engine compartment. Type
�Bis used in the passenger compartment fuse
box.
Type
�Afuses are provided as spare fuses. They
are stored in the passenger compartment fuse
box.
Type
�Afuses can be installed in the engine
compartment and passenger compartment fuse
boxes.
LDI0455
BRAKES FUSES
8-24Maintenance and do-it-yourself
Page 440 of 510
If a type�Afuse is used to replace a type�Bfuse,
the type
�Afuse will not be level with the fuse
pocket as shown in the illustration. This will not
affect the performance of the fuse. Make sure the
fuse is installed in the fuse box securely.
Type
�Bfuses cannot be installed in the under-
hood fuse boxes. Only use type
�Afuses in the
underhood fuse boxes.
ENGINE COMPARTMENT
WARNING
Never use a fuse of a higher or lower
amperage rating than specified on the
fuse box cover. This could damage the
electrical system or electronic control
units or cause a fire.
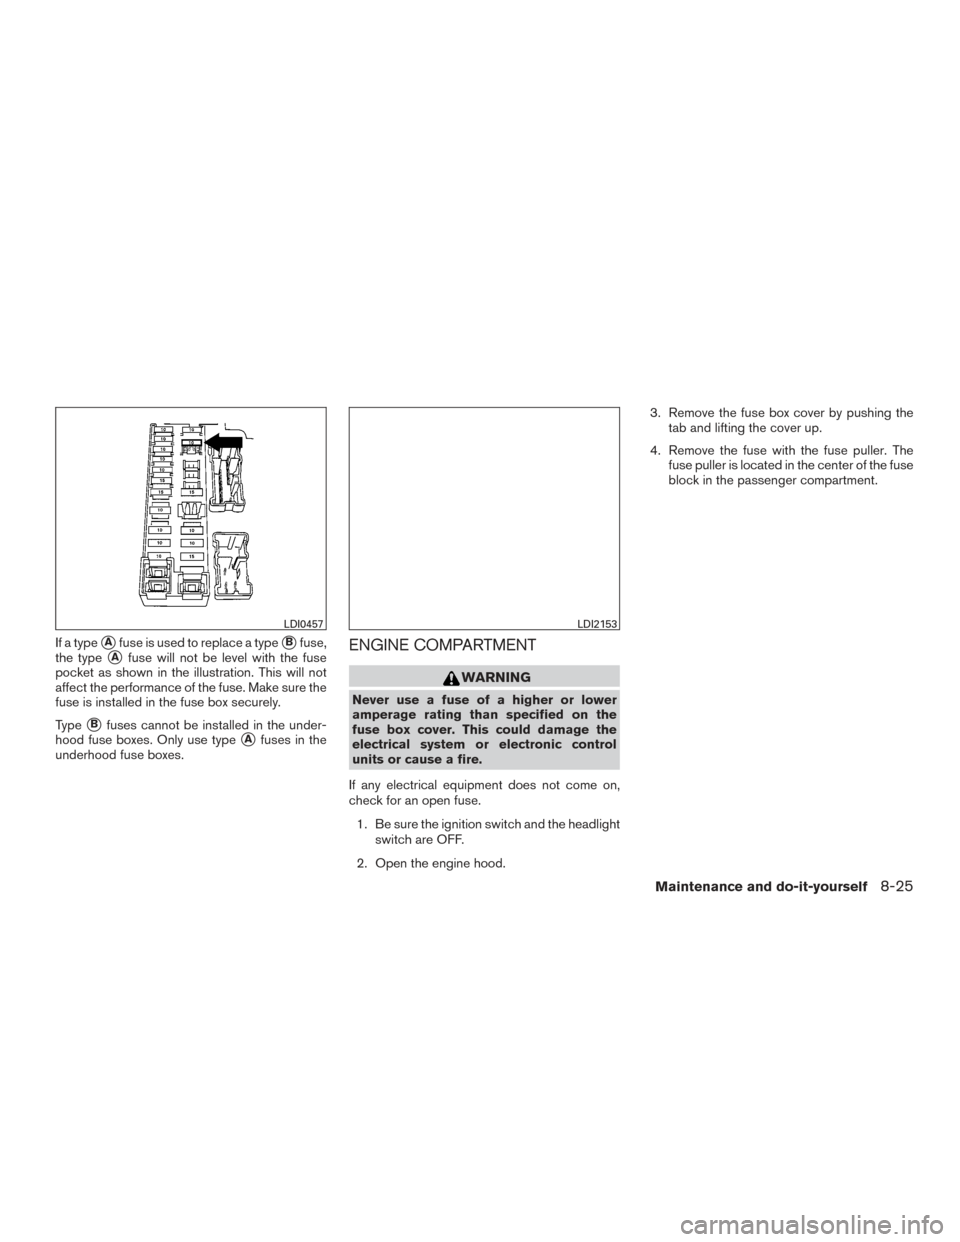
If any electrical equipment does not come on,
check for an open fuse. 1. Be sure the ignition switch and the headlight switch are OFF.
2. Open the engine hood. 3. Remove the fuse box cover by pushing the
tab and lifting the cover up.
4. Remove the fuse with the fuse puller. The fuse puller is located in the center of the fuse
block in the passenger compartment.
LDI0457LDI2153
Maintenance and do-it-yourself8-25
Page 441 of 510
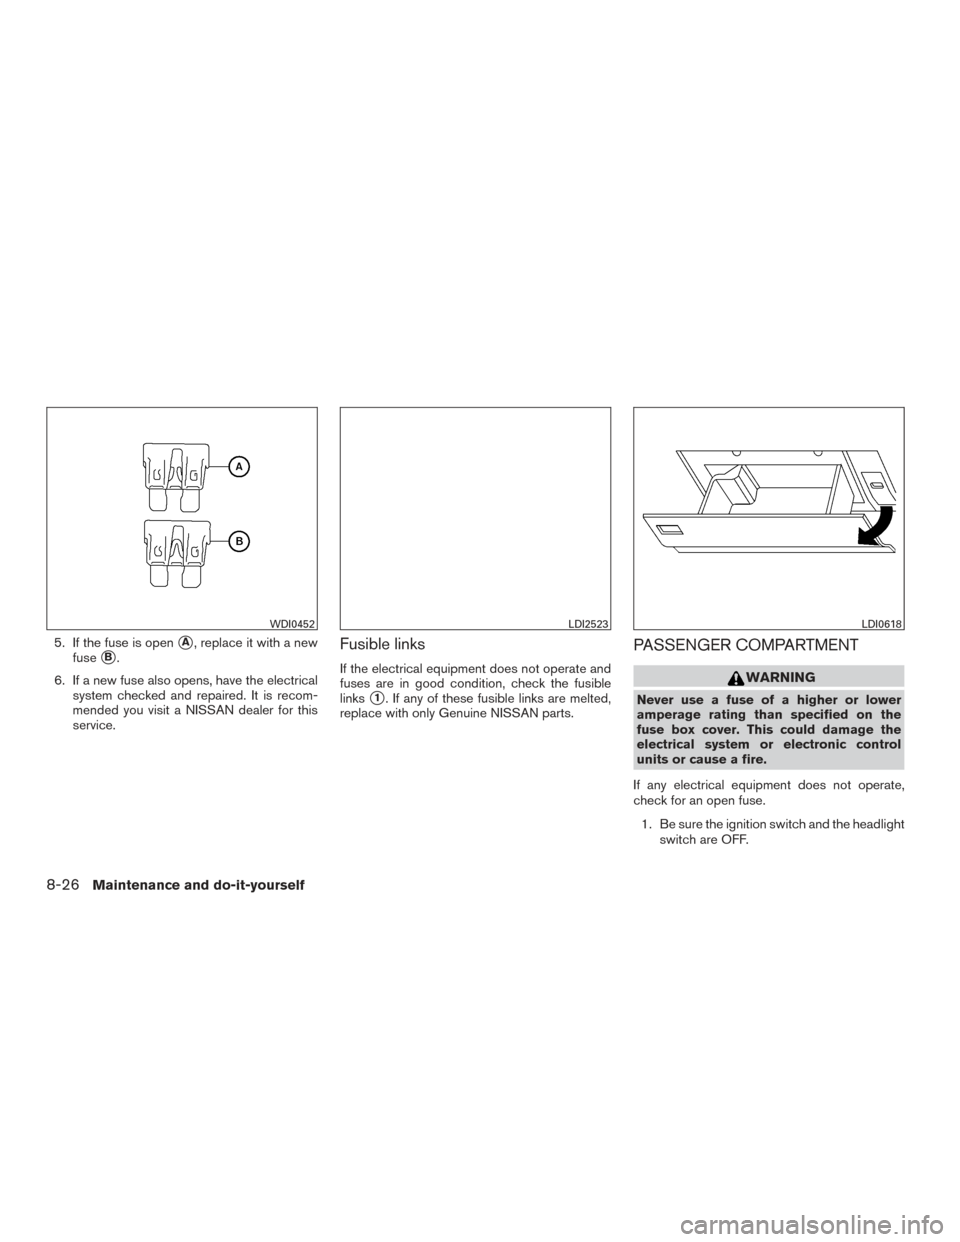
5. If the fuse is open�A, replace it with a new
fuse
�B.
6. If a new fuse also opens, have the electrical system checked and repaired. It is recom-
mended you visit a NISSAN dealer for this
service.Fusible links
If the electrical equipment does not operate and
fuses are in good condition, check the fusible
links
�1. If any of these fusible links are melted,
replace with only Genuine NISSAN parts.
PASSENGER COMPARTMENT
WARNING
Never use a fuse of a higher or lower
amperage rating than specified on the
fuse box cover. This could damage the
electrical system or electronic control
units or cause a fire.
If any electrical equipment does not operate,
check for an open fuse. 1. Be sure the ignition switch and the headlight switch are OFF.
WDI0452LDI2523LDI0618
8-26Maintenance and do-it-yourself
Page 442 of 510
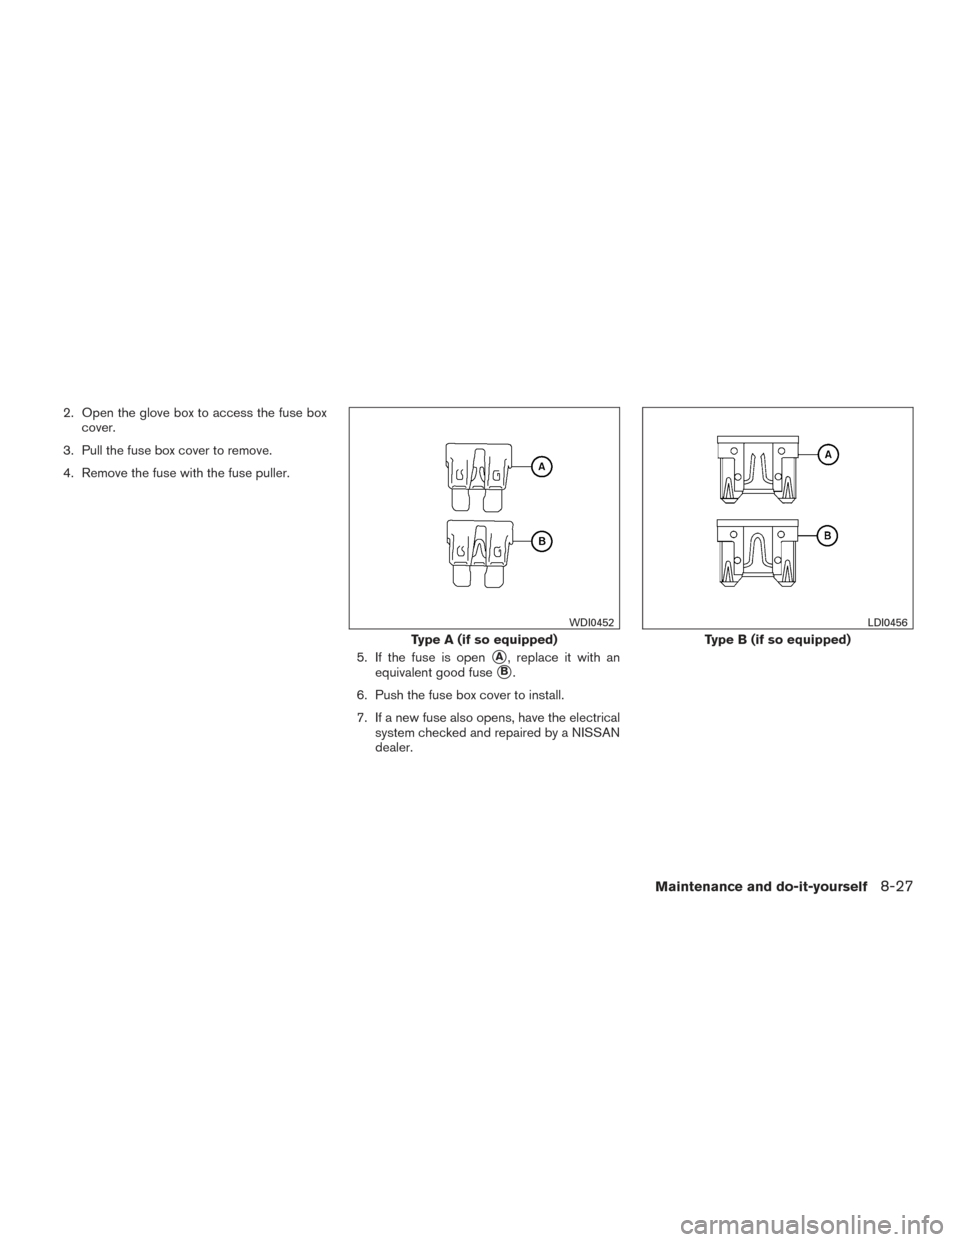
2. Open the glove box to access the fuse boxcover.
3. Pull the fuse box cover to remove.
4. Remove the fuse with the fuse puller.
5. If the fuse is open
�A, replace it with an
equivalent good fuse
�B.
6. Push the fuse box cover to install.
7. If a new fuse also opens, have the electrical system checked and repaired by a NISSAN
dealer.
Type A (if so equipped)
WDI0452
Type B (if so equipped)
LDI0456
Maintenance and do-it-yourself8-27
Page 443 of 510
Extended storage switch
If any electrical equipment does not operate,
remove the extended storage switch and check
for an open fuse.
NOTE:
The extended storage switch is used for
long term vehicle storage. Even if the ex-
tended storage switch is broken it is not
necessary to replace it. Replace only the
open fuse in the switch with a new fuse.How to remove the extended storage
switch:
1. To remove the extended storage switch, be sure the ignition switch is in the OFF or
LOCK position.
2. Be sure the headlight switch is in the OFF position.
3. Remove the fuse box cover.
4. Pinch the locking tabs
�1found on each
side of the storage switch.
5. Pull the storage switch straight out from the fuse box
�2.
CAUTION
Be careful not to allow children to swallow
the battery or removed parts.
LDI2035
BATTERY REPLACEMENT
8-28Maintenance and do-it-yourself