Page 242 of 290

electronic components, such as the
alternator, may be damaged.
R you first remove the negativ eterminal
clamp and then the positive terminal
clamp. Never swap the terminal clamps.
Otherwise, the vehicle's electronic sys-
tem may be damaged.
R the transmission is locked in position P
after disconnectingt he battery. The vehi-
cle is secured against rolling away. You
can then no longer move the vehicle.
The batter yand the cover of the positive
terminal clamp must be installed securely
during operation.
Comply with safety precaution sand take pro-
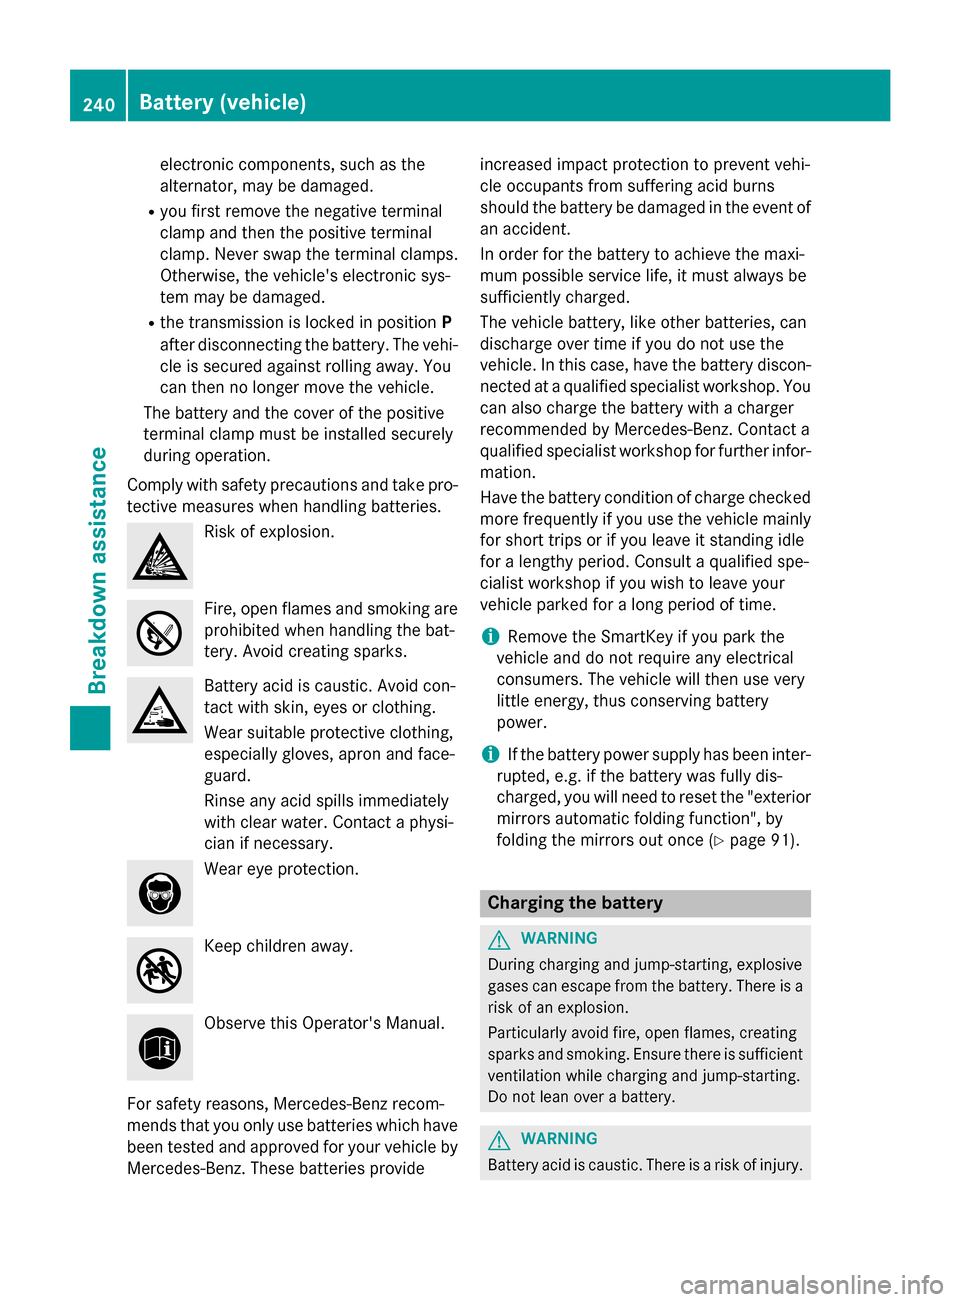
tective measures when handling batteries. Risk of explosion.
Fire, open flames and smoking are
prohibited when handling the bat-
tery. Avoid creating sparks. Battery acid is caustic
.Avoid con-
tact with skin ,eyes or clothing.
Wear suitable protective clothing,
especially gloves, apron and face-
guard.
Rinse any acid spills immediately
with clear water. Contac taphysi-
cian if necessary. Wear eye protection.
Keep children away.
Observe this Operator's Manual.
For safety reasons, Mercedes-Benzr ecom-
mends that you only use batteries which have been tested and approved for your vehicle by
Mercedes-Benz. These batteries provide increased impact protection to preven
tvehi-
cle occupants from sufferin gacid burns
should the batter ybedamaged in the event of
an accident.
In order for the batter ytoachieve the maxi-
mum possible servic elife, it must alway sbe
sufficiently charged.
The vehicle battery, like other batteries, can
discharge over time if you do not use the
vehicle. In this case, have the batter ydiscon-
nected at aqualified specialist workshop. You
can also charge the batter ywithacharger
recommended by Mercedes-Benz. Contac ta
qualified specialist worksho pfor further infor-
mation.
Have the batter ycondition of charge checked
more frequently if you use the vehicle mainly
for short trips or if you leave it standing idle
for alengthy period. Consult aqualified spe-
cialist worksho pifyou wish to leave your
vehicle parked for along period of time.
i Remove the SmartKey if you park the
vehicle and do not require any electrical
consumers. The vehicle will then use very
little energy, thus conservin gbattery
power.
i If the batter
ypower supply has been inter-
rupted, e.g. if the batter ywas fully dis-
charged, you will need to reset the "exterior
mirror sautomatic folding function", by
folding the mirror sout once( Ypage 91). Charging the battery
G
WARNING
Durin gchargin gand jump-starting, explosive
gases can escape from the battery. There is a risk of an explosion.
Particularly avoid fire, open flames, creating
sparks and smoking. Ensure there is sufficient
ventilation while chargin gand jump-starting.
Do not lean over abattery. G
WARNING
Battery acid is caustic .There is arisk of injury. 240
Battery (vehicle)Breakdown assistance
Page 248 of 290

X
Switch on the hazard warning lamps
(Y page 98).
X Make sure tha tthe SmartKey is in position
2 in the ignition and tha tthe engine is run-
ning throughout the towing procedure.
X Mov ethe transmissio ntoNwith the E-
SELECT lever. Check the transmissio nposi-
tion in the instrument cluster. Towin
gavehicle with both axles on
the ground
It is important tha tyou observe the safety
instructions when towing away your vehicle
(Y page 244).
X Switch on the hazard warning lamps
(Y page 98).
i Whe
ntowing with the hazard warning
flashers switche don, us ethe combination
switch as usua ltosignal in which direction
yo ua re changing. In this case, onl ythe
indicator lamps for the direction of travel
flash. Whe nyou reset the combination
switch, the hazard warning flashers start
flashing again.
X Insert the SmartKey into the ignition lock
(Y page 119).
X Start the engine and leave the SmartKey in
the ignition.
X Mov ethe transmissio ntoNwith the E-
SELECT lever.
X Check the transmissio nposition in the
instrument cluster display (Y page 123).
X Leave the engine running throughout the
entir etowing procedure Transporting the vehicle
The towing ey ecan be used to pull the vehicle
onto atraile rort ransporter for transporting
purposes.
! Yo
um ay onl ysecure the vehicl ebythe
wheels, not by parts of the vehicl esuchas axl
eors teering components .Otherwise,
the vehicl ecould be damaged.
X Start the engine.
X Make sure tha tthe SmartKey is in position
2 in the ignition and tha tthe engine is run-
ning during the entir eloadin goperation.
X Mov ethe transmissio ntoNwith the E-
SELECT lever. Check the transmissio nposi-
tion in the instrument cluster.
As soon as the vehicle has been loaded: X Prevent the vehicl efrom rolling away by
applying the electri cparking brake.
X Shift the transmissio ntoPwith the button
in the center console.
X Turn the SmartKey to position 0in the igni-
tion lock and remove the SmartKey from
the ignition lock.
X Secure the vehicle. Fuses
Important safety notes
G
WARNING
If yo umanipulate or bridge afaulty fus eorif
yo ur eplace it with afusew ithah ighe ramper-
age, the electri ccable scould be overloaded.
Thi scould resul tinafire. There is ariskofan
accident and injury.
Alway sreplace faulty fuses with the specified
new fuses having the correct amperage.
! Only us
efuses tha thaveb eena pproved
for Mercedes-Benz vehicles and which
have the correct fus erating for the system
concerned. Otherwise, components or sys-
tems could be damaged.
The fuses in your vehicl eserve to close down
faulty circuits. If afuseb lows ,allthe compo-
nents on the circuit and thei rfunctions stop
operating.
Blown fuses mus tbereplaced with fuses of
the same rating, which yo ucan recognize by 246
FusesBreakdown assistance
Page 256 of 290

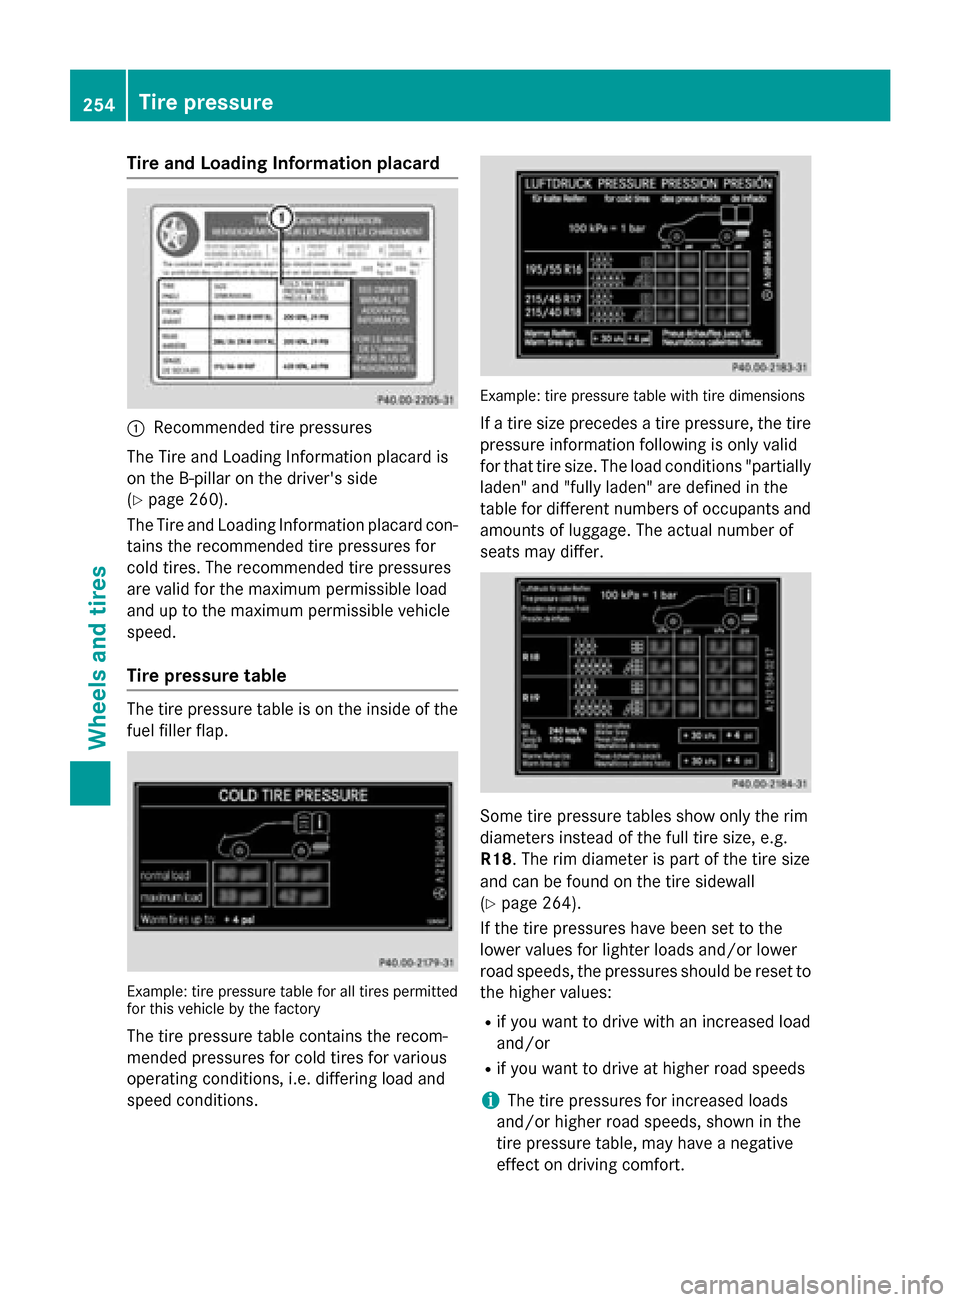
Tire and Loadin
gInfor matio nplacard 0043
Recommended tire pressures
The Tire and Loading Informatio nplacard is
on the B-pillar on the driver's side
(Y page 260).
The Tire and Loading Informatio nplacard con-
tains the recommende dtire pressures for
col dtires. The recommende dtire pressures
ar ev alid for the maximum permissibl eload
and up to the maximum permissibl evehicle
speed.
Tire pressure table The tire pressure table is on the insid
eofthe
fuel fille rflap. Example: tire pressure table for al
ltire sp ermitted
for thi svehicl ebyt he factory
The tire pressure table contains the recom-
mended pressures for col dtiresfor various
operating conditions, i.e .differing load and
spee dconditions. Example: tire pressure table with tire dimensions
If at ire size precedes atire pressure, the tire
pressure informatio nfollowing is onl yvalid
for tha ttire size. The load conditions "partially
laden" and "fully laden" ar edefine dint he
table for different numbers of occupants and
amounts of luggage. The actual numbe rof
seats ma ydiffer. Some tire pressure table
sshowo nlyt he rim
diameters instea dofthe full tire size, e.g.
R18 .The rim diamete rispartoft he tire size
and can be found on the tire sidewall
(Y page 264).
If the tire pressures have been se ttothe
lowe rvalues for lighte rloads and/or lower
roa dspeeds, the pressures shoul dbereset to
the highe rvalues:
R if yo uwanttod rive with an increase dload
and/or
R if yo uwanttod rive at highe rroa ds peeds
i The tire pressures for increase
dloads
and/or highe rroa ds peeds, shown in the
tire pressure table ,mayhave anegative
effect on driving comfort. 254
Tire pressureWheel
sand tires
Page:
< prev 1-8 9-16 17-24