2015 MERCEDES-BENZ GLE SUV climate settings
[x] Cancel search: climate settingsPage 24 of 453
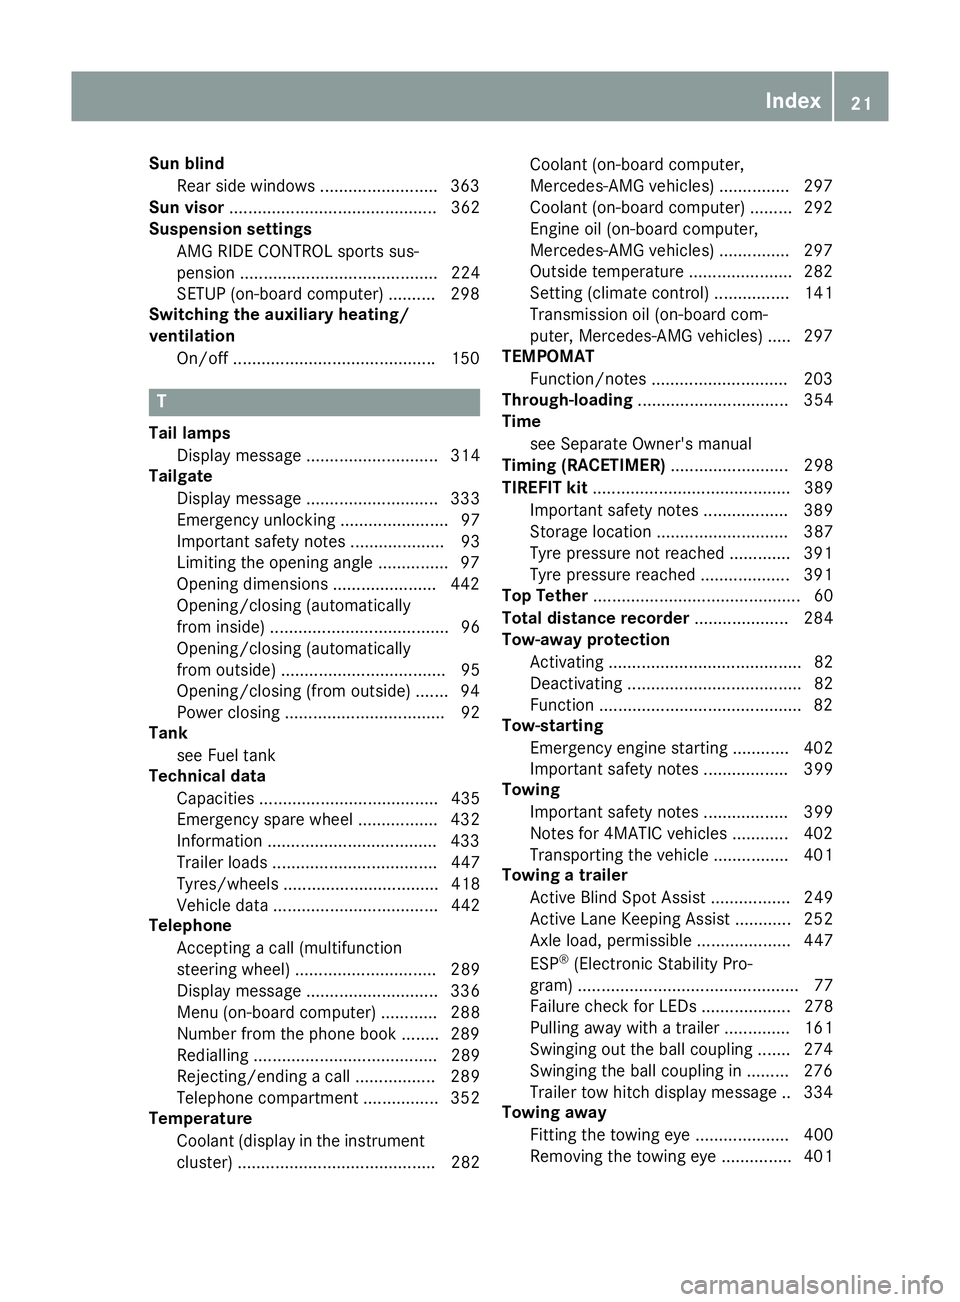
Sun blind
Rear side windows .........................3 63
Sun visor ............................................ 362
Suspension settings
AMG RIDE CONTROL sports sus-
pension .......................................... 224
SETUP (on-board computer) .......... 298
Switching the auxiliary heating/
ventilation
On/off .......................................... .150 T
Tail lamps Display message ............................ 314
Tailgate
Display message ............................ 333
Emergency unlocking ....................... 97
Important safety notes .................... 93
Limiting the opening angle .............. .97
Opening dimensions ......................4 42
Opening/closing (automatically
from inside) ...................................... 96
Opening/closing (automatically
from outside) ................................... 95
Opening/closing (from outside) ....... 94
Power closing .................................. 92
Tank
see Fuel tank
Technical data
Capacities ...................................... 435
Emergency spare wheel ................. 432
Information ................................... .433
Trailer loads ................................... 447
Tyres/wheels ................................. 418
Vehicle data ................................... 442
Telephone
Accepting a call (multifunction
steering wheel) .............................. 289
Display message ............................ 336
Menu (on-board computer) ............ 288
Number from the phone book ....... .289
Redialling ....................................... 289
Rejecting/ending a call ................. 289
Telephone compartment ................ 352
Temperature
Coolant (display in the instrumentcluster) .......................................... 282 Coolant (on-board computer,
Mercedes-AMG vehicles) ..............
.297
Coolant (on-board computer) ......... 292
Engine oil (on-board computer,
Mercedes-AMG vehicles) .............. .297
Outside temperature ..................... .282
Setting (climate control) ................ 141
Transmission oil (on-board com-
puter, Mercedes-AMG vehicles) ..... 297
TEMPOMAT
Function/notes ............................ .203
Through-loading ................................ 354
Time
see Separate Owner's manual
Timing (RACETIMER) ......................... 298
TIREFIT kit .......................................... 389
Important safety notes .................. 389
Storage location ............................ 387
Tyre pressure not reached ............. 391
Tyre pressure reached ................... 391
Top Tether ............................................ 60
Total distance recorder .................... 284
Tow-away protection
Activating ......................................... 82
Deactivating ..................................... 82
Function .......................................... .82
Tow-starting
Emergency engine starting ............ 402
Important safety notes .................. 399
Towing
Important safety notes .................. 399
Notes for 4MATIC vehicles ............ 402
Transporting the vehicle ................ 401
Towing a trailer
Active Blind Spot Assist ................. 249
Active Lane Keeping Assist ............ 252
Axle load, permissibl e.................... 447
ESP ®
(Electronic Stability Pro-
gram) ............................................... 77
Failure check for LEDs ................... 278
Pulling away with a traile r.............. 161
Swinging out the ball coupling ....... 274
Swinging the ball coupling in ......... 276
Trailer tow hitch display message .. 334
Towing away
Fitting the towing ey e.................... 400
Removing the towing eye ............... 401 Index
21
Page 138 of 453
Useful information
i This Owner's Manual describes all models,
series and optional equipment for your vehi-
cle that were available at the time of going to
press. National variations are possible. Note
that your vehicle may not be equipped with all
of the functions described. This is also the
case for systems and functions relevant to
safety.
i Read the information on qualified specialist
workshops: (Y page 28). Overview of climate control systems
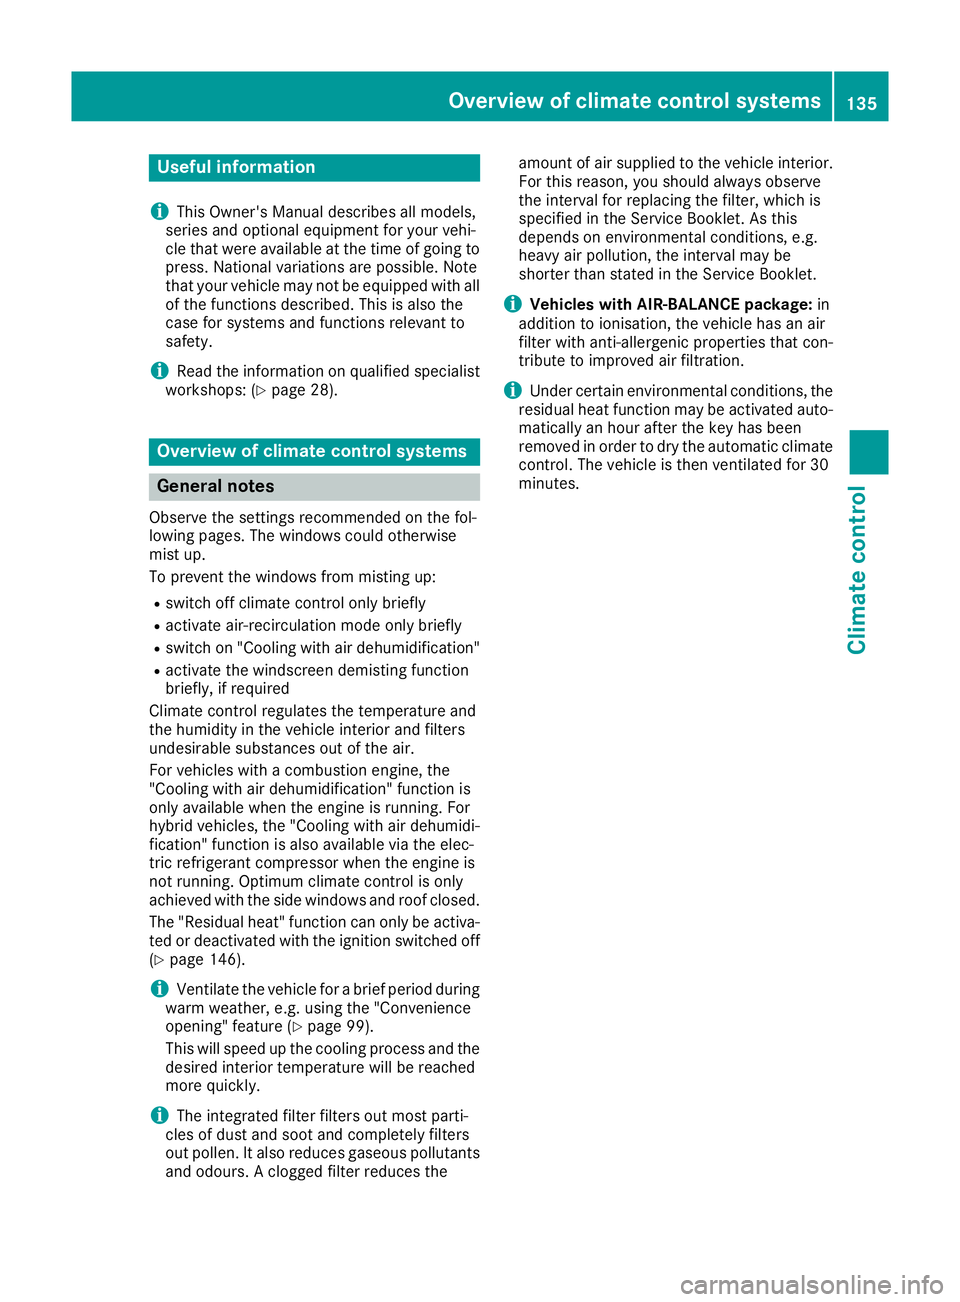
General notes
Observe the settings recommended on the fol-
lowing pages. The windows could otherwise
mist up.
To prevent the windows from misting up:
R switch off climate control only briefly
R activate air-recirculation mode only briefly
R switch on "Cooling with air dehumidification"
R activate the windscreen demisting function
briefly, if required
Climate control regulates the temperature and
the humidity in the vehicle interior and filters
undesirable substances out of the air.
For vehicles with a combustion engine, the
"Cooling with air dehumidification" function is
only available when the engine is running. For
hybrid vehicles, the "Cooling with air dehumidi-
fication" function is also available via the elec-
tric refrigerant compressor when the engine is
not running. Optimum climate control is only
achieved with the side windows and roof closed.
The "Residual heat" function can only be activa-
ted or deactivated with the ignition switched off (Y page 146).
i Ventilate the vehicle for a brief period during
warm weather, e.g. using the "Convenience
opening" feature (Y page 99).
This will speed up the cooling process and the
desired interior temperature will be reached
more quickly.
i The integrated filter filters out most parti-
cles of dust and soot and completely filters
out pollen. It also reduces gaseous pollutants and odours. A clogged filter reduces the amount of air supplied to the vehicle interior.
For this reason, you should always observe
the interval for replacing the filter, which is
specified in the Service Booklet. As this
depends on environmental conditions, e.g.
heavy air pollution, the interval may be
shorter than stated in the Service Booklet.
i Vehicles with AIR-BALANCE package:
in
addition to ionisation, the vehicle has an air
filter with anti-allergenic properties that con-
tribute to improved air filtration.
i Under certain environmental conditions, the
residual heat function may be activated auto-
matically an hour after the key has been
removed in order to dry the automatic climate control. The vehicle is then ventilated for 30
minutes. Overview of climate control systems
135Climate control
Page 140 of 453
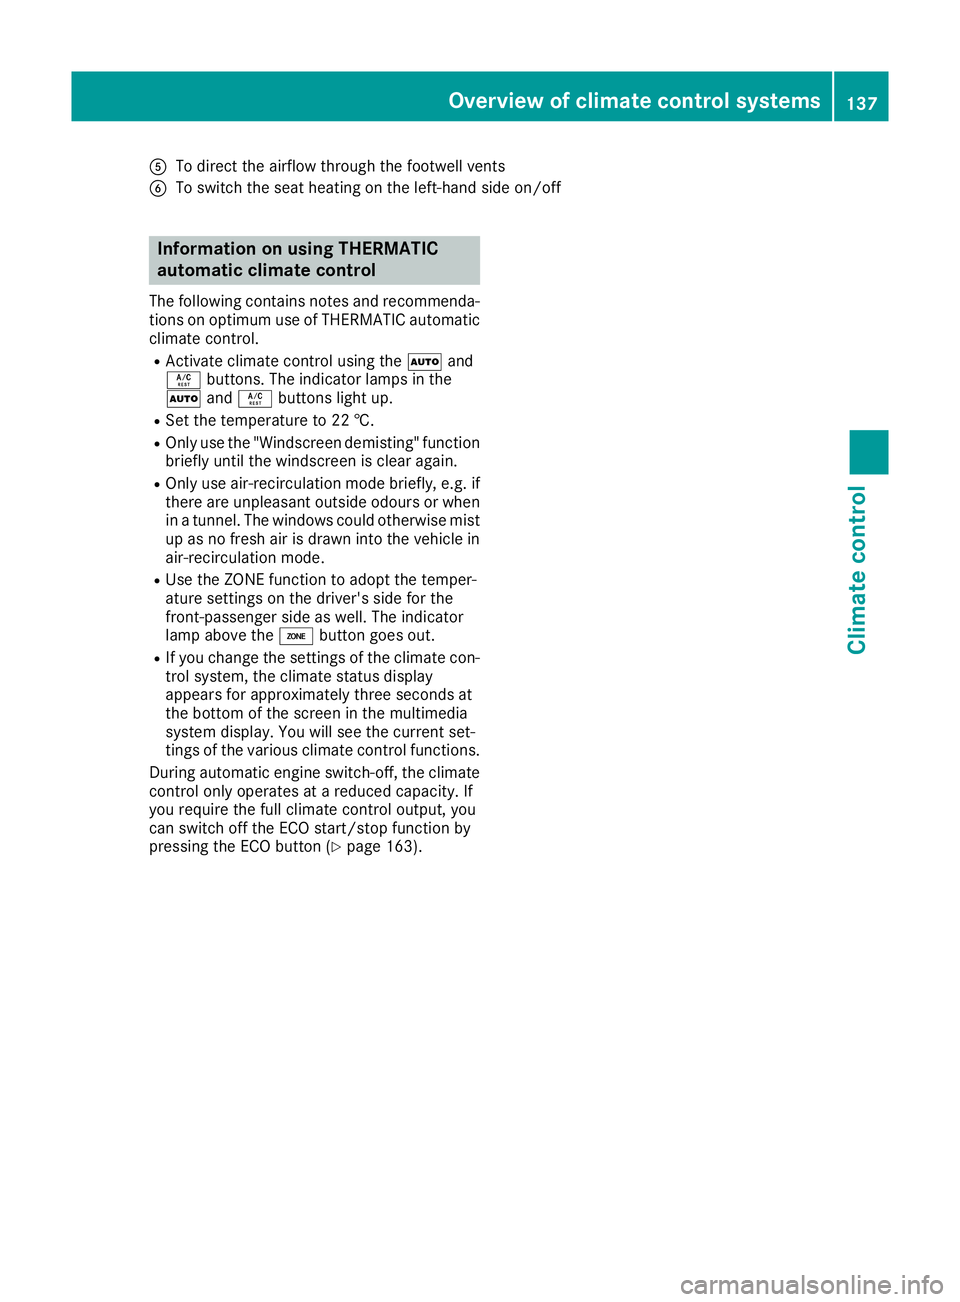
A
To direct the airflow through the footwell vents
B To switch the seat heating on the left-hand side on/off Information on using THERMATIC
automatic climate control
The following contains notes and recommenda-
tions on optimum use of THERMATIC automatic climate control.
R Activate climate control using the Ãand
Á buttons. The indicator lamps in the
à andÁ buttons light up.
R Set the temperature to 22 †.
R Only use the "Windscreen demisting" function
briefly until the windscreen is clear again.
R Only use air-recirculation mode briefly, e.g. if
there are unpleasant outside odours or when
in a tunnel. The windows could otherwise mist
up as no fresh air is drawn into the vehicle in air-recirculation mode.
R Use the ZONE function to adopt the temper-
ature settings on the driver's side for the
front-passenger side as well. The indicator
lamp above the ábutton goes out.
R If you change the settings of the climate con-
trol system, the climate status display
appears for approximately three seconds at
the bottom of the screen in the multimedia
system display. You will see the current set-
tings of the various climate control functions.
During automatic engine switch-off, the climate
control only operates at a reduced capacity. If
you require the full climate control output, you
can switch off the ECO start/stop function by
pressing the ECO button (Y page 163). Overview of climate control systems
137Climate control
Page 142 of 453
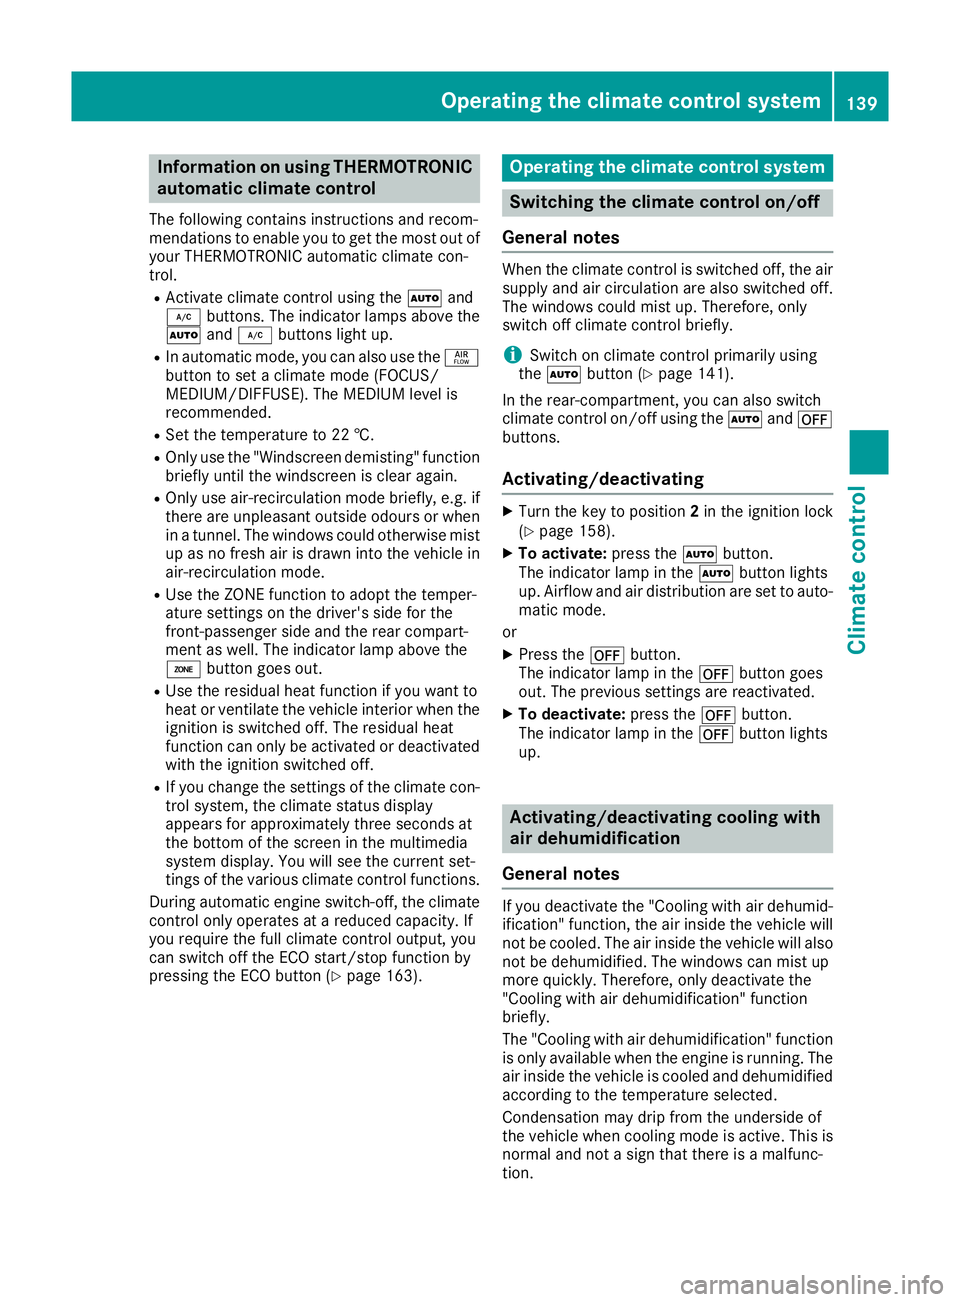
Information on using THERMOTRONIC
automatic climate control
The following contains instructions and recom-
mendations to enable you to get the most out of your THERMOTRONIC automatic climate con-
trol.
R Activate climate control using the Ãand
¿ buttons. The indicator lamps above the
à and¿ buttons light up.
R In automatic mode, you can also use the ñ
button to set a climate mode (FOCUS/
MEDIUM/DIFFUSE). The MEDIUM level is
recommended.
R Set the temperature to 22 †.
R Only use the "Windscreen demisting" function
briefly until the windscreen is clear again.
R Only use air-recirculation mode briefly, e.g. if
there are unpleasant outside odours or when
in a tunnel. The windows could otherwise mist up as no fresh air is drawn into the vehicle inair-recirculation mode.
R Use the ZONE function to adopt the temper-
ature settings on the driver's side for the
front-passenger side and the rear compart-
ment as well. The indicator lamp above the
á button goes out.
R Use the residual heat function if you want to
heat or ventilate the vehicle interior when the
ignition is switched off. The residual heat
function can only be activated or deactivated with the ignition switched off.
R If you change the settings of the climate con-
trol system, the climate status display
appears for approximately three seconds at
the bottom of the screen in the multimedia
system display. You will see the current set-
tings of the various climate control functions.
During automatic engine switch-off, the climate
control only operates at a reduced capacity. If
you require the full climate control output, you
can switch off the ECO start/stop function by
pressing the ECO button (Y page 163). Operating the climate control system
Switching the climate control on/off
General notes When the climate control is switched off, the air
supply and air circulation are also switched off.
The windows could mist up. Therefore, only
switch off climate control briefly.
i Switch on climate control primarily using
the à button (Y page 141).
In the rear-compartment, you can also switch
climate control on/off using the Ãand^
buttons.
Activating/deactivating X
Turn the key to position 2in the ignition lock
(Y page 158).
X To activate: press theÃbutton.
The indicator lamp in the Ãbutton lights
up. Airflow and air distribution are set to auto-
matic mode.
or X Press the ^button.
The indicator lamp in the ^button goes
out. The previous settings are reactivated.
X To deactivate: press the^button.
The indicator lamp in the ^button lights
up. Activating/deactivating cooling with
air dehumidification
General notes If you deactivate the "Cooling with air dehumid-
ification" function, the air inside the vehicle will
not be cooled. The air inside the vehicle will also
not be dehumidified. The windows can mist up
more quickly. Therefore, only deactivate the
"Cooling with air dehumidification" function
briefly.
The "Cooling with air dehumidification" function
is only available when the engine is running. The air inside the vehicle is cooled and dehumidified
according to the temperature selected.
Condensation may drip from the underside of
the vehicle when cooling mode is active. This is
normal and not a sign that there is a malfunc-
tion. Operating the climate control system
139Climate control
Page 145 of 453
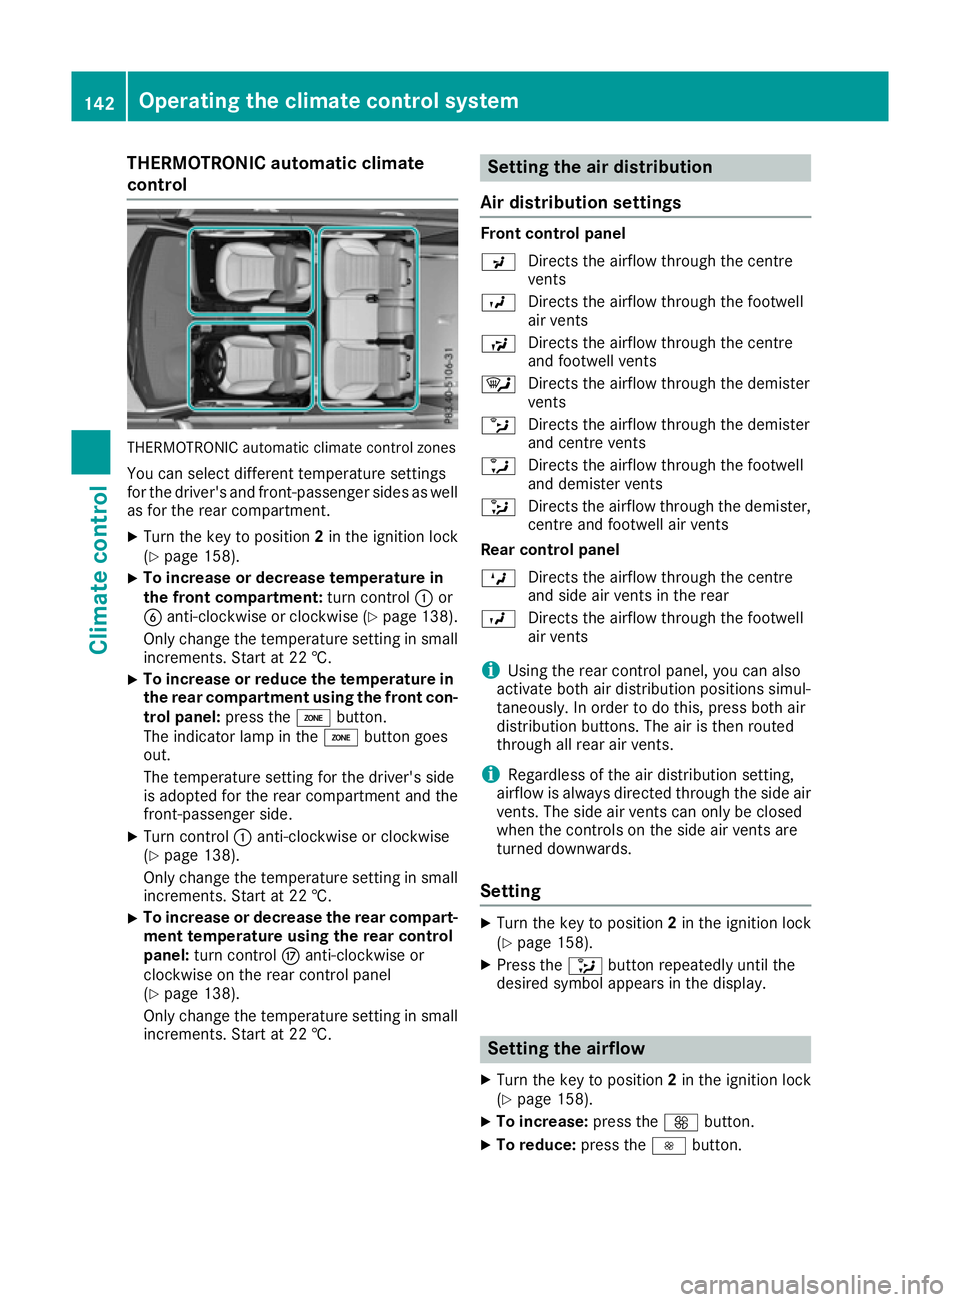
THERMOTRONIC automatic climate
control THERMOTRONIC automatic climate control zones
You can select different temperature settings
for the driver's and front-passenger sides as well
as for the rear compartment.
X Turn the key to position 2in the ignition lock
(Y page 158).
X To increase or decrease temperature in
the front compartment:
turn control:or
B anti-clockwise or clockwise (Y page 138).
Only change the temperature setting in small
increments. Start at 22 †.
X To increase or reduce the temperature in
the rear compartment using the front con-
trol panel: press theábutton.
The indicator lamp in the ábutton goes
out.
The temperature setting for the driver's side
is adopted for the rear compartment and the
front-passenger side.
X Turn control :anti-clockwise or clockwise
(Y page 138).
Only change the temperature setting in small
increments. Start at 22 †.
X To increase or decrease the rear compart-
ment temperature using the rear control
panel: turn control Manti-clockwise or
clockwise on the rear control panel
(Y page 138).
Only change the temperature setting in small
increments. Start at 22 †. Setting the air distribution
Air distribution settings Front control panel
P
Directs the airflow through the centre
vents
O Directs the airflow through the footwell
air vents
S Directs the airflow through the centre
and footwell vents
¯ Directs the airflow through the demister
vents
b Directs the airflow through the demister
and centre vents
a Directs the airflow through the footwell
and demister vents
_ Directs the airflow through the demister,
centre and footwell air vents
Rear control panel
M Directs the airflow through the centre
and side air vents in the rear
O Directs the airflow through the footwell
air vents
i Using the rear control panel, you can also
activate both air distribution positions simul-
taneously. In order to do this, press both air
distribution buttons. The air is then routed
through all rear air vents.
i Regardless of the air distribution setting,
airflow is always directed through the side air vents. The side air vents can only be closed
when the controls on the side air vents are
turned downwards.
Setting X
Turn the key to position 2in the ignition lock
(Y page 158).
X Press the _button repeatedly until the
desired symbol appears in the display. Setting the airflow
X Turn the key to position 2in the ignition lock
(Y page 158).
X To increase: press theKbutton.
X To reduce: press theIbutton. 142
Operating the climate control systemClimate control
Page 146 of 453
i
You can use THERMOTRONIC automatic cli-
mate control to set the airflow in the rear
compartment separately. Switching the ZONE function on/off
X To activate: press theábutton.
The indicator lamp above the ábutton
lights up.
THERMATIC automatic climate control: the
temperature setting for the driver's side is not
adopted for the front-passenger side.
THERMOTRONIC automatic climate control:
the temperature setting for the driver's side is
not adopted for the front-passenger side and
the rear compartment.
X To deactivate: press theábutton.
The indicator lamp above the ábutton
goes out.
THERMATIC automatic climate control: the
temperature setting for the driver's side is
adopted for the front-passenger side.
THERMOTRONIC automatic climate control:
the temperature setting for the driver's side is adopted for the front-passenger side and therear compartment. Demisting the windscreen
General notes You can use this function to defrost the wind-
screen or to demist the inside of the windscreen
and the front side windows.
Switch off the windscreen demisting function as
soon as the windscreen is clear again.
Switching on/off X
Turn the key to position 2in the ignition lock
(Y page 158).
X To activate: press the¬button.
The indicator lamp in the ¬button lights
up.
The climate control system switches to the
following functions:
R high airflow
R high temperature R
air distribution to the windscreen and front
side windows
R air-recirculation mode off
X To deactivate: press the¬button.
The indicator lamp in the ¬button goes
out. The previous settings are reactivated.
Air-recirculation mode remains deactivated.
or X Press the Ãbutton.
The indicator lamp in the ¬button goes
out. Airflow and air distribution are set to
automatic mode.
or X Turn control :orB anti-clockwise or clock-
wise:
THERMATIC automatic climate control
(Y page 136)
THERMOTRONIC automatic climate control
(Y page 138)
or
X Press the KorI button. Demisting the windows
Windows misted up on the inside X
Activate the ¿orÁ cooling with air
dehumidification function.
X Activate automatic mode Ã.
X If the windows continue to mist up, activate
the "Windscreen demisting" function
(Y page 143).
i You should only select this setting until the
windscreen is clear again.
Windows misted up on the outside X
Switch on the windscreen wipers.
X Press the _button repeatedly until the
P orO symbol appears in the display.
i You should only select this setting until the
windscreen is clear again.
i If you clean the windows regularly, they do
not mist up so quickly. Operating the climate control system
143Climate control
Page 295 of 453
Displaying the coolant temperature
The
Coolant
Coolant menu is only available on PLUG-IN
HYBRID vehicles.
Observe the notes on coolant temperature
(Y page 282).
X Press the =or; button on the steering
wheel to select the Settings Settingsmenu.
X Press the :or9 button to select the
Serv.
Serv. submenu.
X Confirm by pressing aon the steering
wheel.
X Press the :or9 button to select the
Coolant
Coolant submenu.
X Press ato confirm your selection.
The coolant temperature is shown in a bar
display. Settings menu
Introduction Depending on the equipment fitted in the vehi-
cle, In the
Settings Settings menu you have the follow-
ing options:
R To change the HYBRID settings (PLUG-IN
HYBRID vehicles) (Y page 292)
R To change the instrument cluster settings
(Y page 293)
R To change the light settings (Y page 293)
R To change the vehicle settings
(Y page 294)
R To change the heating settings
(Y page 295)
R To change the convenience settings
(Y page 296)
R To restore the factory settings (Y page 297)HYBRID submenu (PLUG-IN HYBRID
vehicles) Setting the maximum charge current
Using the Maximum charge current Maximum charge current function,
you can limit the charge current value at which
the high-voltage battery should be charged.
Before charging the high-voltage battery at a
power socket, check the maximum permissible
charge current for the relevant power socket or the building.
Only set the maximum permissible charge cur-
rent using the function if:
R it is not possible to set the charge current on
the charging cable
R the precise maximum permitted charge cur-
rent can only be set via the on-board com-
puter
Before charging the high-voltage battery at a
wallbox or charging station, ensure that the
charging current is not limited by the function. If charging at a wallbox or a charging station,
select the maximum value.
Further information on charging the high-volt-
age battery and setting the charge current
(PLUG-IN HYBRID vehicles) (Y page 183).
X Press the =or; button on the steering
wheel to select the Settings
Settings menu.
X Press the :or9 button to select the
Hybrid Hybrid submenu.
X Confirm by pressing aon the steering
wheel.
X Press the :or9 button to select the
Maximum charge current:
Maximum charge current: function.
You will see the selected setting.
X Press the abutton to save the setting.
The maximum charge current values in the on- board computer may deviate from the charg-
ing cable values.
Further information on charging the high-volt-
age battery (PLUG-IN HYBRID vehicles)
(Y page 183).
Setting the departure time
You can use the "Set departure time" function to
climatise the vehicle interior before departure.
Further information on pre-entry climate control
(Y page 148).
If you recharge the high-voltage battery, the
function also displays the charging prediction. 292
Menus and submenusOn-boa
rdcompu ter and displays