2015 MERCEDES-BENZ GLC SUV cooling
[x] Cancel search: coolingPage 165 of 497
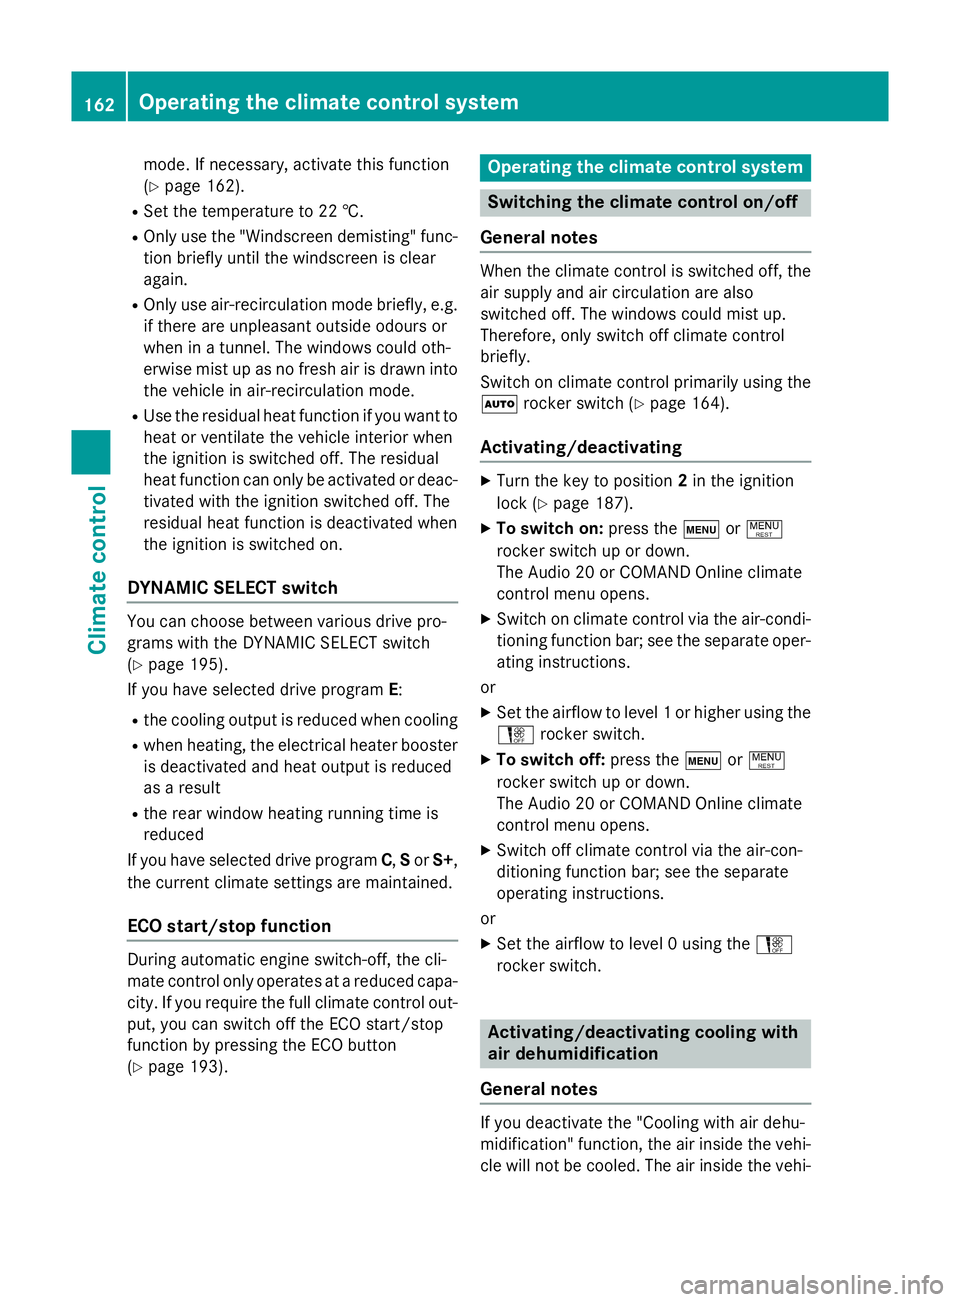
mode. If necessary, activate this function
(Y
page 162).
R Set the temperature to 22 †.
R Only use the "Windscreen demisting" func-
tion briefly until the windscreen is clear
again.
R Only use air-recirculation mode briefly, e.g.
if there are unpleasant outside odours or
when in a tunnel. The windows could oth-
erwise mist up as no fresh air is drawn into the vehicle in air-recirculation mode.
R Use the residual heat function if you want to
heat or ventilate the vehicle interior when
the ignition is switched off. The residual
heat function can only be activated or deac-
tivated with the ignition switched off. The
residual heat function is deactivated when
the ignition is switched on.
DYNAMIC SELECT switch You can choose between various drive pro-
grams with the DYNAMIC SELECT switch
(Y
page 195).
If you have selected drive program E:
R the cooling output is reduced when cooling
R when heating, the electrical heater booster
is deactivated and heat output is reduced
as a result
R the rear window heating running time is
reduced
If you have selected drive program C,Sor S+,
the current climate settings are maintained.
ECO start/stop function During automatic engine switch-off, the cli-
mate control only operates at a reduced capa-
city. If you require the full climate control out-
put, you can switch off the ECO start/stop
function by pressing the ECO button
(Y page 193). Operating the climate control system
Switching the climate control on/off
General notes When the climate control is switched off, the
air supply and air circulation are also
switched off. The windows could mist up.
Therefore, only switch off climate control
briefly.
Switch on climate control primarily using the à rocker switch (Y page 164).
Activating/deactivating X
Turn the key to position 2in the ignition
lock (Y page 187).
X To switch on: press thetor!
rocker switch up or down.
The Audio 20 or COMAND Online climate
control menu opens.
X Switch on climate control via the air-condi-
tioning function bar; see the separate oper- ating instructions.
or
X Set the airflow to level 1 or higher using the
H rocker switch.
X To switch off: press thetor!
rocker switch up or down.
The Audio 20 or COMAND Online climate
control menu opens.
X Switch off climate control via the air-con-
ditioning function bar; see the separate
operating instructions.
or
X Set the airflow to level 0 using the H
rocker switch. Activating/deactivating cooling with
air dehumidification
General notes If you deactivate the "Cooling with air dehu-
midification" function, the air inside the vehi- cle will not be cooled. The air inside the vehi- 162
Operating the climate control systemClimate control
Page 166 of 497
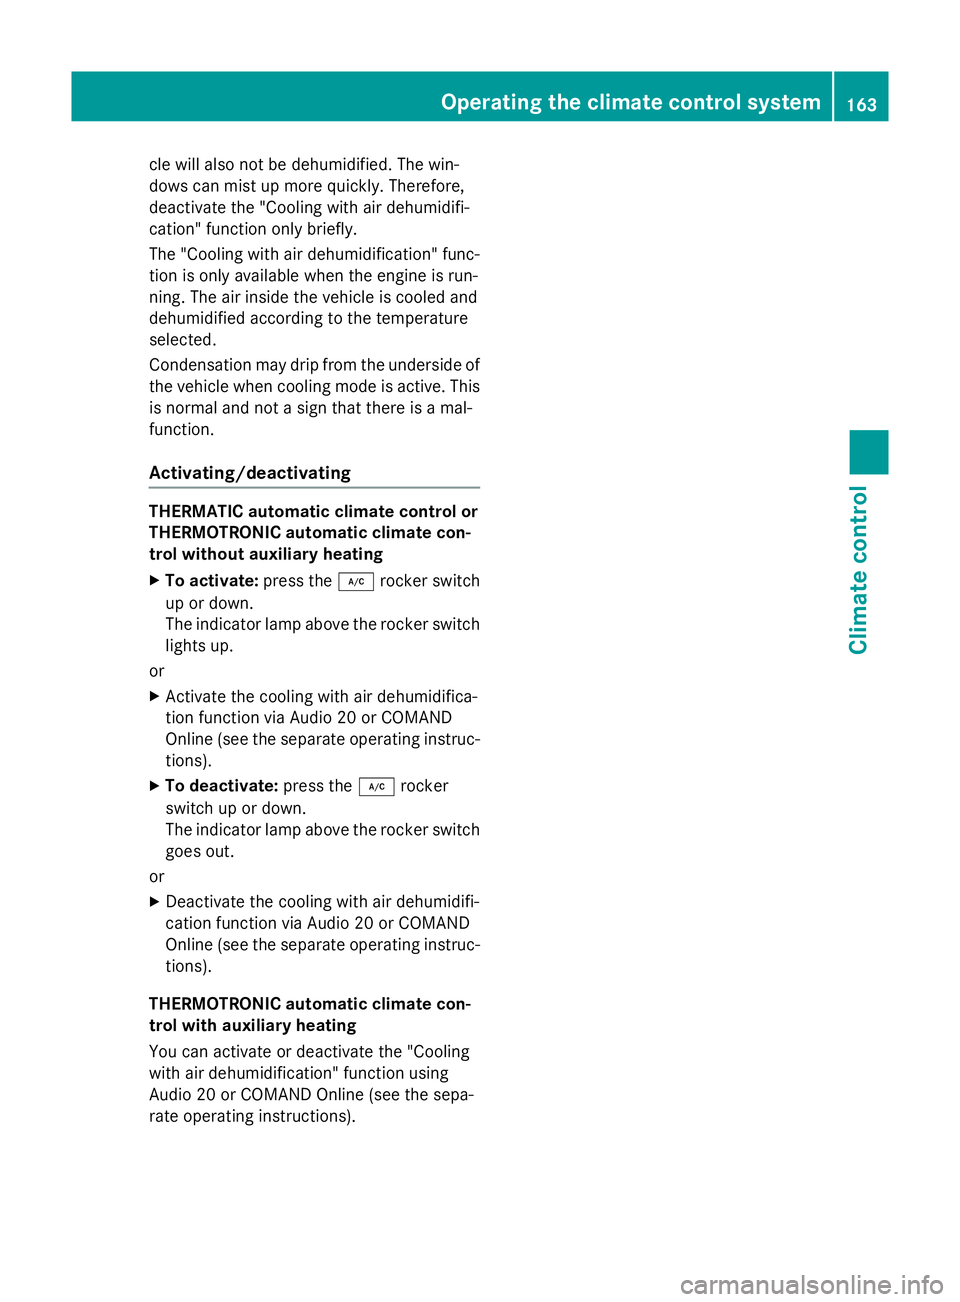
cle will also not be dehumidified. The win-
dows can mist up more quickly. Therefore,
deactivate the "Cooling with air dehumidifi-
cation" function only briefly.
The "Cooling with air dehumidification" func-
tion is only available when the engine is run-
ning. The air inside the vehicle is cooled and
dehumidified according to the temperature
selected.
Condensation may drip from the underside of the vehicle when cooling mode is active. This
is normal and not a sign that there is a mal-
function.
Activating/deactivating THERMATIC automatic climate control or
THERMOTRONIC automatic climate con-
trol without auxiliary heating
X To activate: press the¿rocker switch
up or down.
The indicator lamp above the rocker switch
lights up.
or X Activate the cooling with air dehumidifica-
tion function via Audio 20 or COMAND
Online (see the separate operating instruc-
tions).
X To deactivate: press the¿rocker
switch up or down.
The indicator lamp above the rocker switch
goes out.
or X Deactivate the cooling with air dehumidifi-
cation function via Audio 20 or COMAND
Online (see the separate operating instruc-
tions).
THERMOTRONIC automatic climate con-
trol with auxiliary heating
You can activate or deactivate the "Cooling
with air dehumidification" function using
Audio 20 or COMAND Online (see the sepa-
rate operating instructions). Operating the climate control system
163Climate control
Page 167 of 497
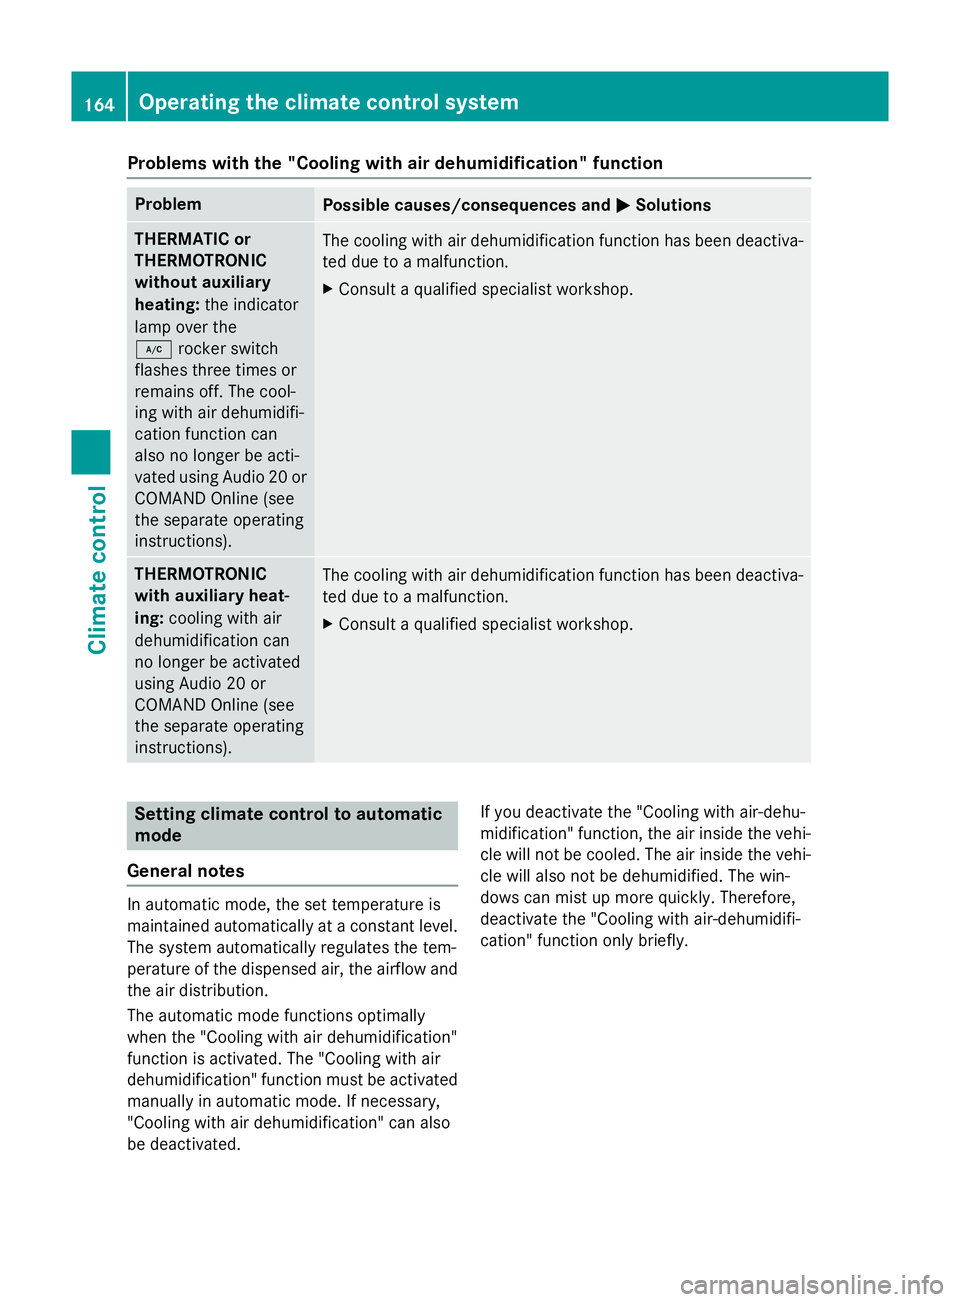
Problems with the "Cooling with air dehumidification" function
Problem
Possible causes/consequences and
M
MSolutions THERMATIC or
THERMOTRONIC
without auxiliary
heating:
the indicator
lamp over the
¿ rocker switch
flashes three times or
remains off. The cool-
ing with air dehumidifi-
cation function can
also no longer be acti-
vated using Audio 20 or
COMAND Online (see
the separate operating
instructions). The cooling with air dehumidification function has been deactiva-
ted due to a malfunction.
X Consult a qualified specialist workshop. THERMOTRONIC
with auxiliary heat-
ing:
cooling with air
dehumidification can
no longer be activated
using Audio 20 or
COMAND Online (see
the separate operating
instructions). The cooling with air dehumidification function has been deactiva-
ted due to a malfunction.
X Consult a qualified specialist workshop. Setting climate control to automatic
mode
General notes In automatic mode, the set temperature is
maintained automatically at a constant level.
The system automatically regulates the tem-
perature of the dispensed air, the airflow and
the air distribution.
The automatic mode functions optimally
when the "Cooling with air dehumidification"
function is activated. The "Cooling with air
dehumidification" function must be activated
manually in automatic mode. If necessary,
"Cooling with air dehumidification" can also
be deactivated. If you deactivate the "Cooling with air-dehu-
midification" function, the air inside the vehi- cle will not be cooled. The air inside the vehi-
cle will also not be dehumidified. The win-
dows can mist up more quickly. Therefore,
deactivate the "Cooling with air-dehumidifi-
cation" function only briefly. 164
Operating the climate control systemClimate control
Page 171 of 497
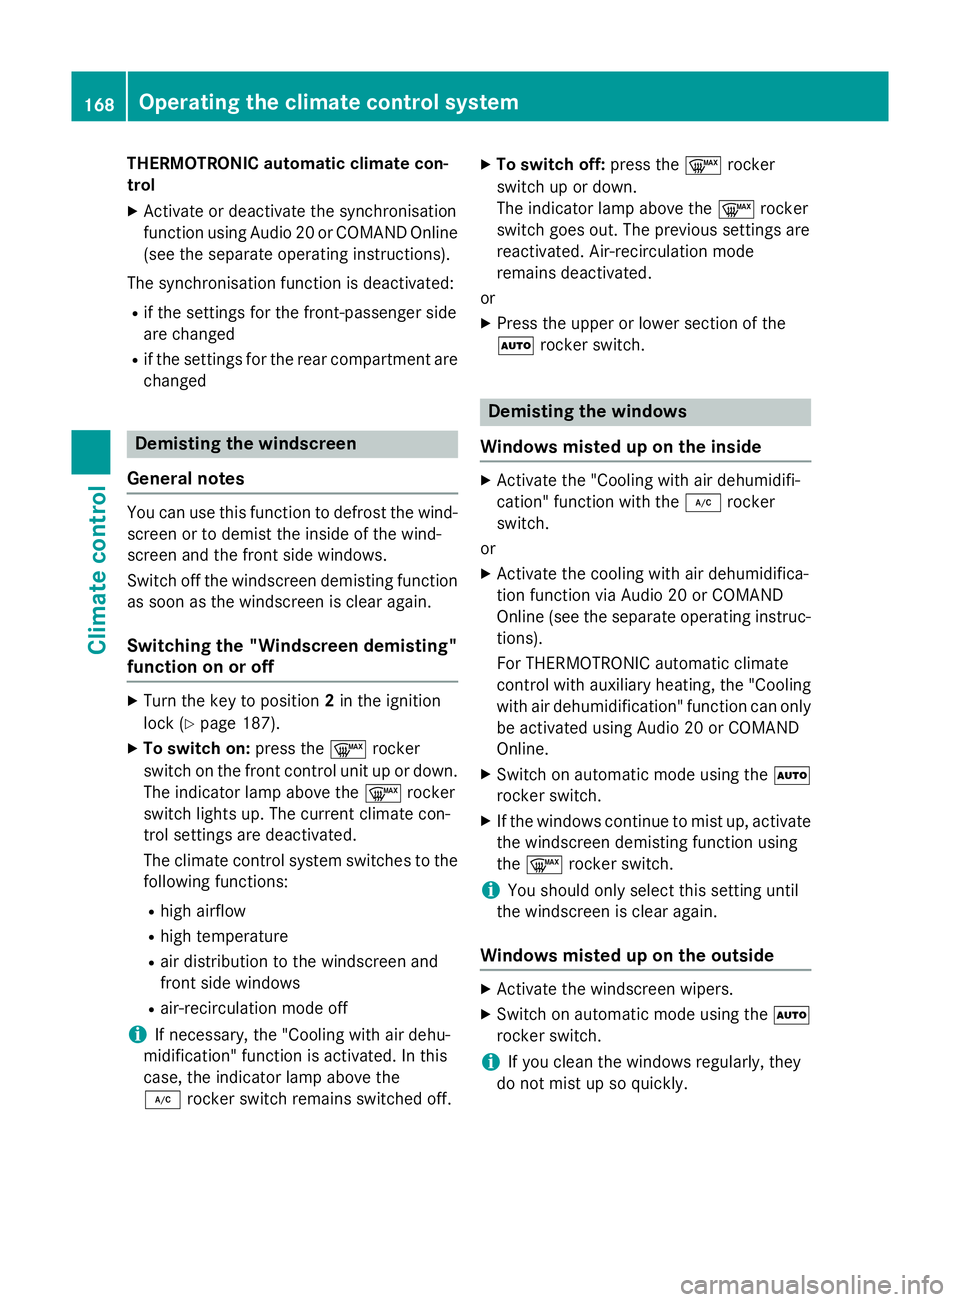
THERMOTRONIC automatic climate con-
trol
X Activate or deactivate the synchronisation
function using Audio 20 or COMAND Online
(see the separate operating instructions).
The synchronisation function is deactivated: R if the settings for the front-passenger side
are changed
R if the settings for the rear compartment are
changed Demisting the windscreen
General notes You can use this function to defrost the wind-
screen or to demist the inside of the wind-
screen and the front side windows.
Switch off the windscreen demisting function as soon as the windscreen is clear again.
Switching the "Windscreen demisting"
function on or off X
Turn the key to position 2in the ignition
lock (Y page 187).
X To switch on: press the¬rocker
switch on the front control unit up or down.
The indicator lamp above the ¬rocker
switch lights up. The current climate con-
trol settings are deactivated.
The climate control system switches to the
following functions:
R high airflow
R high temperature
R air distribution to the windscreen and
front side windows
R air-recirculation mode off
i If necessary, the "Cooling with air dehu-
midification" function is activated. In this
case, the indicator lamp above the
¿ rocker switch remains switched off. X
To switch off: press the¬rocker
switch up or down.
The indicator lamp above the ¬rocker
switch goes out. The previous settings are
reactivated. Air-recirculation mode
remains deactivated.
or X Press the upper or lower section of the
à rocker switch. Demisting the windows
Windows misted up on the inside X
Activate the "Cooling with air dehumidifi-
cation" function with the ¿rocker
switch.
or
X Activate the cooling with air dehumidifica-
tion function via Audio 20 or COMAND
Online (see the separate operating instruc-
tions).
For THERMOTRONIC automatic climate
control with auxiliary heating, the "Cooling
with air dehumidification" function can only be activated using Audio 20 or COMAND
Online.
X Switch on automatic mode using the Ã
rocker switch.
X If the windows continue to mist up, activate
the windscreen demisting function using
the ¬ rocker switch.
i You should only select this setting until
the windscreen is clear again.
Windows misted up on the outside X
Activate the windscreen wipers.
X Switch on automatic mode using the Ã
rocker switch.
i If you clean the windows regularly, they
do not mist up so quickly. 168
Operating the climate control systemClimate control
Page 173 of 497
Problems with the rear window heating
Problem
Possible causes/consequences and
M
MSolutions The rear window heat-
ing has switched off
prematurely or cannot
be activated. The battery has not been sufficiently charged.
X Switch off any consumers that are not required, e.g. reading
lamps, interior lighting or the seat heating.
When the battery is sufficiently charged, the rear window heat- ing can be activated again. Switching air-recirculation mode
on/off
General notes You can also temporarily deactivate the flow
of fresh air manually if unpleasant odours are
entering the vehicle from outside. The air
already inside the vehicle will then be recir-
culated.
If you activate air-recirculation mode, the win-
dows can mist up more quickly, in particular
at low temperatures. Only use air-recircula-
tion mode briefly to prevent the windows
misting up.
Activating/deactivating X
Turn the key to position 2in the ignition
lock (Y page 187).
X To activate: press thegrocker switch
up or down.
The indicator lamp above the grocker
switch lights up.
Air-recirculation mode is activated automati-
cally: R at high outside temperatures
R at high levels of pollution (THERMOTRONIC
automatic climate control only)
R in a tunnel (vehicles with a navigation sys-
tem only)
The indicator lamp above the grocker
switch is not lit when automatic air-recircula- tion mode is activated. Outside air is added
after approximately 30 minutes. X
To deactivate: press thegrocker
switch up or down.
The indicator lamp above the grocker
switch goes out.
Air-recirculation mode is deactivated auto-
matically:
R after approximately five minutes at outside
temperatures below approximately 5 †
R after approximately five minutes if "Cooling
with air dehumidification" is deactivated
R after approximately 30 minutes at outside
temperatures above approximately 5 † if
the "Cooling with air dehumidification"
function is activated Convenience opening or closing using
the air-recirculation button G
WARNING
When the convenience closing feature is oper- ating, parts of the body could become trapped
in the closing area of the side window and the
sliding sunroof. There is a risk of injury.
Observe the complete closing procedure
when the convenience closing feature is oper-
ating. When closing make sure that no parts of the body are in the closing area. G
WARNING
During convenience opening parts of the body could be drawn in or become trapped
between the side window and window frame.
There is a risk of injury. 170
Operating the climate control systemClimate control
Page 181 of 497
X
To activate or deactivate "Immediate
pre-entry climate control": press rocker
switch :up or down.
The blue or red indicator lamp above the
rocker switch lights up or goes out.
The colours of the indicator lamps in rocker
switch :have the following meanings:
R blue: cooling activated
R red: heating activated
R yellow: departure time is preselected Auxiliary heating
Important safety notes G
DANGER
If the exhaust pipe is blocked or sufficient
ventilation is not possible, toxic exhaust
fumes can enter the vehicle, especially car-
bon monoxide. This is the case, e.g. in
enclosed spaces, or if the vehicle is stuck in
snow. There is a risk of fatal injuries.
You should switch off the auxiliary heating in
enclosed spaces which do not have an extrac- tion system, e.g. a garage. If the vehicle is
stuck in snow and you must leave the auxiliary
heating running, keep the exhaust pipe and
the area around the vehicle clear of snow. To guarantee a sufficient supply of fresh air, open
a window on the side of the vehicle away from the wind. G
WARNING
When the auxiliary heating is switched on,
parts of the vehicle can become very hot.
Flammable materials such as leaves, grass or twigs may ignite if they come into contact
with:
R hot parts of the exhaust system
R the exhaust gas itself
There is a risk of fire. When the auxiliary heating is switched on,
make sure that:
R no flammable materials come into contact
with hot vehicle components
R the exhaust gas can escape from the
exhaust pipe unhindered
R the exhaust gas does not come into contact
with flammable materials.
The auxiliary heating is fitted under the front
wing on the right-hand side of the vehicle. The emissions outlet is found behind the front
wheel on the right-hand side of the vehicle.
! Operating the auxiliary heating/ventila-
tion draws on the vehicle battery. After you have heated or ventilated the vehicle a
maximum of two times, drive for a longer
distance.
Switch the auxiliary heating on regularly once a month for about ten minutes.
The auxiliary heating heats the air in the vehi-
cle interior to the set temperature. This
occurs without using the heat of the running
engine. The auxiliary heating is operated
directly using the vehicle's fuel. For this rea-
son, the tank content must be at least at
reserve fuel level to ensure that the auxiliary
heating functions.
The auxiliary heating or auxiliary ventilation
automatically adjusts to changes in temper-
ature and weather conditions. For this rea-
son, the auxiliary heating could switch from
ventilation mode to heating mode or from
heating mode to ventilation mode.
The auxiliary heating switches off when the
engine is switched off. The auxiliary ventila-
tion is not active if the engine is running.
The auxiliary heating or auxiliary ventilation
switches off automatically after 50 minutes.
This time limit can be altered. To do this, visit a qualified specialist workshop.
You cannot use the auxiliary ventilation to
cool the vehicle interior to a temperature
lower than the outside temperature. 178
Operating the climate control systemClimate control
Page 218 of 497
Right indi-
cator lamp
Ý Ý
Flashes
orange The connection between
the vehicle and the current
source is being established
before charging begins.
Flashes
green The high-voltage battery is
charging.
Flashes red A malfunction has occurred
while charging.
The indicator lamp goes out
after approximately
90 seconds. Lights up
orange Charging of the high-voltage
battery has been tempora-
rily interrupted.
The indicator lamp goes out
after approximately
90 seconds. Lights up
green The high-voltage battery is
fully charged.
The indicator lamp goes out
after approximately
90 seconds. i
If the indicator lamps are off, lock or
unlock the vehicle. The indicator lamps will then display the current status of the charg-ing process again. Connecting the charging cable
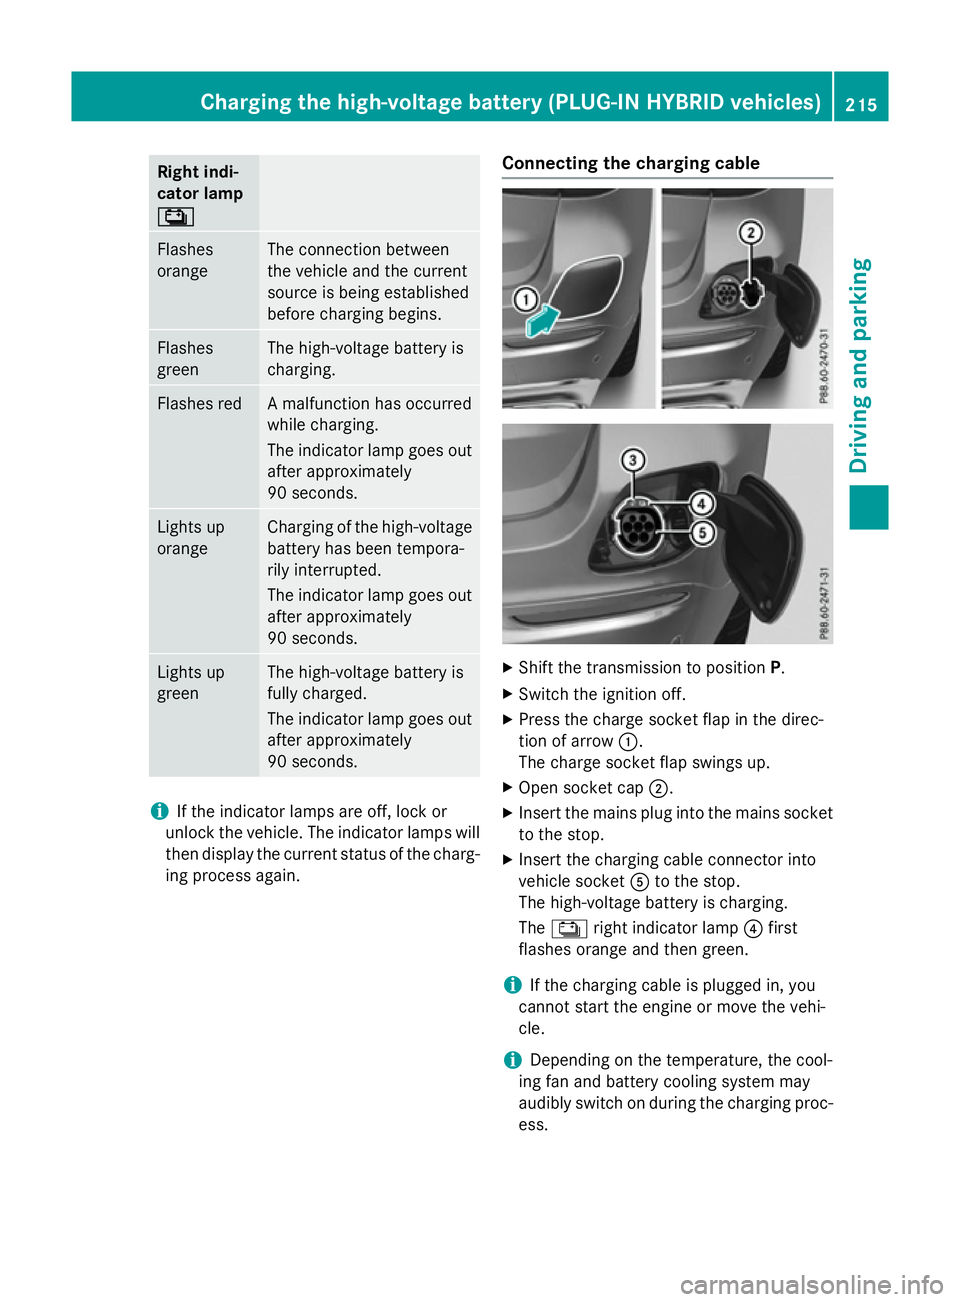
X
Shift the transmission to position P.
X Switch the ignition off.
X Press the charge socket flap in the direc-
tion of arrow :.
The charge socket flap swings up.
X Open socket cap ;.
X Insert the mains plug into the mains socket
to the stop.
X Insert the charging cable connector into
vehicle socket Ato the stop.
The high-voltage battery is charging.
The Ý right indicator lamp ?first
flashes orange and then green.
i If the charging cable is plugged in, you
cannot start the engine or move the vehi-
cle.
i Depending on the temperature, the cool-
ing fan and battery cooling system may
audibly switch on during the charging proc- ess. Charging the high-voltage battery (PLUG-IN HYBRID vehicles)
215Driving and parking Z
Page 219 of 497
Removing the charging cable
The high-voltage battery is fully charged
when:
R the charge level display reaches 100% in
the multifunction display
R the indicator lamp in the vehicle socket
lights up green after unlocking or locking
the vehicle
You can find information on the charge status indicator in the multifunction display in
"PLUG-IN HYBRID operation", section
"Menus and submenus" under "Energy flow
display" (Y page 291).
i After the charging cable has been discon-
nected, the indicator lamps in the vehicle
socket remain lit for some time before
switching off.
X Unlock the vehicle.
X Remove the charging cable from vehicle
socket Awithin 30 seconds. Otherwise,
the vehicle will relock.
X Close socket cap ;.
X Close charge socket flap :.
X Remove the charging cable from the mains
socket.
X Stow the charging cable safely in the vehi-
cle (Y page 213). Charging the high-voltage battery
from the wallbox
General notes It is recommended that you charge your vehi-
cle using a wallbox or at a charging station.
Use the optionally available fast-charging
cable when charging your vehicle from a wall- box. The charging cable is stored in a bag in
the luggage compartment.
Only use charging cables that have been tes-ted and approved by the manufacturer for
charging the high-voltage battery in an elec-
tric vehicle. Observe the "Important safety notes"
(Y
page 210).
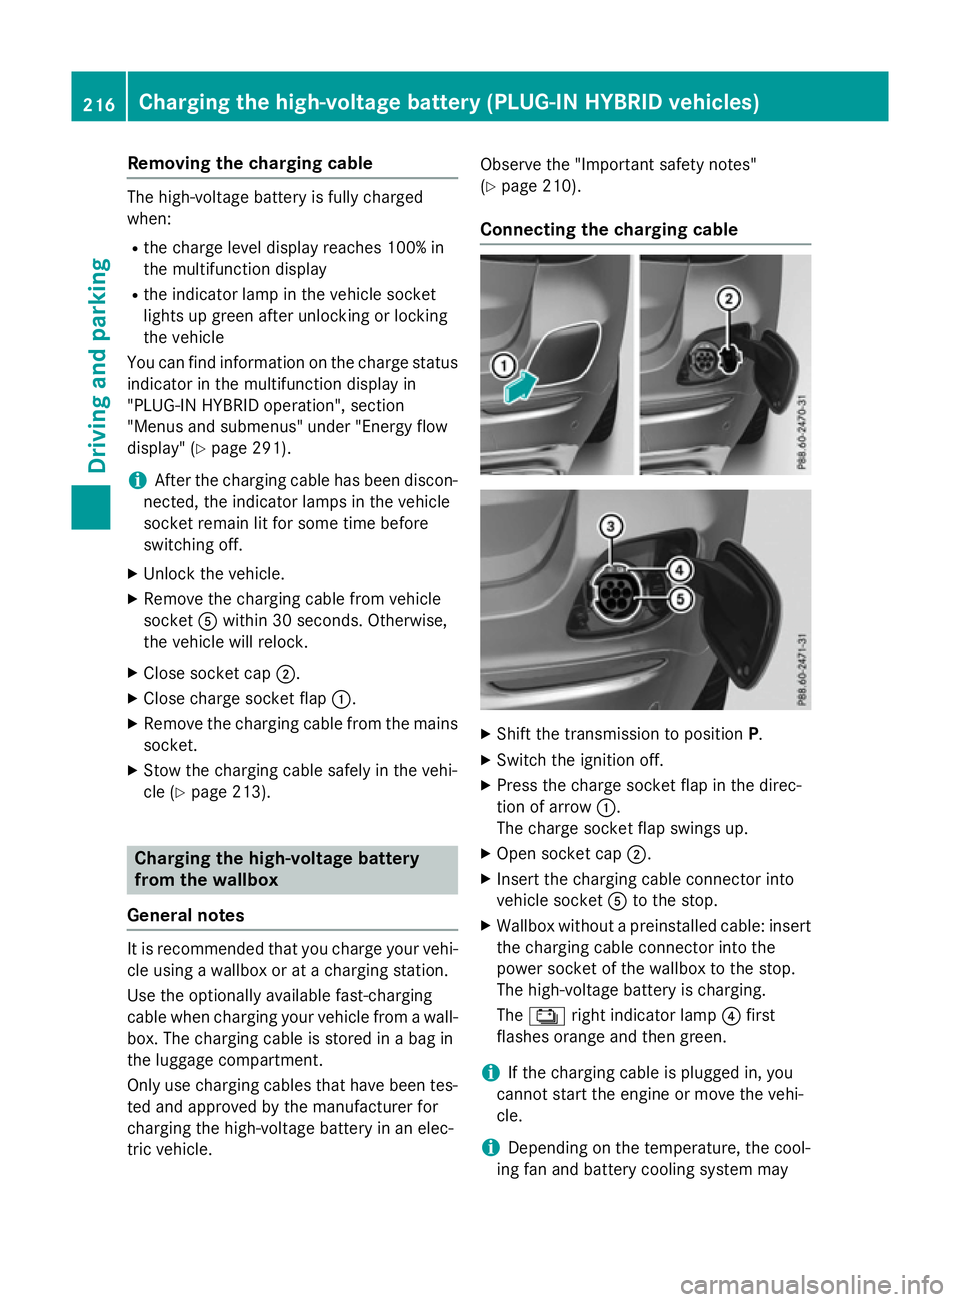
Connecting the charging cable X
Shift the transmission to position P.
X Switch the ignition off.
X Press the charge socket flap in the direc-
tion of arrow :.
The charge socket flap swings up.
X Open socket cap ;.
X Insert the charging cable connector into
vehicle socket Ato the stop.
X Wallbox without a preinstalled cable: insert
the charging cable connector into the
power socket of the wallbox to the stop.
The high-voltage battery is charging.
The Ý right indicator lamp ?first
flashes orange and then green.
i If the charging cable is plugged in, you
cannot start the engine or move the vehi-
cle.
i Depending on the temperature, the cool-
ing fan and battery cooling system may 216
Charging the high-voltage battery (PLUG-IN HYBRID vehicles)Driving and parking