2015 MERCEDES-BENZ C-Class change time
[x] Cancel search: change timePage 125 of 214

X
To select Download Contacts
Download Contacts: turn and
press the controller.
X To select From
From Memory
Memory Card
CardorFrom
From USB
USB
device
device: turn and press the controller.
Receiving vCards via Bluetooth ®COMAND
X
To switch to the menu bar in the telephone
menu or the address book: slide 6the
controller.
X To select Options
Options: turn and press the con-
troller.
X To select Download Contacts
Download Contacts: turn and
press the controller.
X To select From Bluetooth Device
From Bluetooth Device: turn
and press the controller.
If COMAND is connected to a mobile
phone, the connection is terminated.
vCards can now be received by a device
(PC, mobile phone) via Bluetooth ®
.
External device
X Start the data transfer (see the operating
instructions for the device).
The number of vCards received is displayed
in COMAND.
COMAND
X To end reception: press the controller or
the 0038 button.
If a mobile phone was connected, the con-
nection to the mobile phone is established
again.
Received vCards are identified by the 00BA
symbol in the address book. i
If you switch to another main function,
e.g. navigation, while receiving vCards, the
reception of vCards will be terminated. Deleting imported contacts
X To change to the menu bar when in the
address book or the telephone menu: slide
6 the controller.
X To select Options Options: turn and press the con-
troller.
X To select Delete Contacts Delete Contacts: turn and
press the controller.
X Select one of the following options:
R
Internal Contacts Internal Contacts
R Imported from Storage Device
Imported from Storage Device
R Imported from Bluetooth Devices
Imported from Bluetooth Devices
R Downloaded from Phone
Downloaded from Phone
Turn and press the controller.
X To select Yes
Yes: turn and press the controller.
The contacts are deleted.
or
X To select No No: turn and press the controller.
The process is canceled.
i If automatic calling up of the contacts is
deactivated (Y page 121), the Down‐
Down‐
loaded from Phone
loaded from Phone option is available. Closing the address book
X Press the 002Bbutton one or more times. Call lists
Introduction
If your mobile phone supports the PBAP Blue-
tooth ®
profile, the call lists from the mobile
phone are displayed in COMAND. When con-
necting the mobile phone, you may have to
confirm the connection for the PBAP Blue-
tooth ®
profile.
If your mobile phone does not support the
PBAP Bluetooth ®
profile, COMAND generates Call lists
123Telephone Z
Page 145 of 214
Opening/closing the Weather App
X To open: press the 002Bbutton.
The last function called up appears.
X Select TEL/
TEL/00A7 in the main function bar by
sliding 00970052, turning and pressing the con-
troller.
The menu appears.
X To select Internet
Internet: turn and press the
controller.
The Internet menu appears.
X Select the Mercedes-Benz Apps
Mercedes-Benz Apps menu.
The Mercedes-Benz Apps menu is dis-
played.
X Select Weather
Weather from the list.
You see the following information:
R the time of the current weather report
R the current temperature
R information on the weather (e.g. cloudy,
rain)
R the maximum daytime temperature
R the minimum daytime temperature
R the probability of rain
R the forecast for the current day (three time
intervals)
X To switch to the 5-day forecast: select
Current
Current.
A menu appears.
X Select 5-Day
5-Day .
The information chart displays the forecast
for the next five days in the currently
selected location.
X To return to the current weather infor-
mation: select5-Day
5-Day .
A menu appears.
X Select Current
Current.
The information chart shows the current
forecast at the currently selected location.
X To switch to information: selectCur‐
Cur‐
rent rent.
A menu appears. X
Select Info Info.
The information chart displays information
for the selected location.
X To close: press the0038button.
The menu appears. Weather map
Calling up the weather map X
To select Map Mapin the menu: turn and press
the controller.
The map appears in a scale of 20 km.
X To display the crosshair: slide5the
controller.
X To scroll the weather map: slide1,
4 or2 the controller.
The weather map moves in the correspond-
ing direction under the crosshair.
X To change the map scale: as soon as you
turn the controller, the scale bar appears.
X Turn until the desired scale is set.
i The data is downloaded again from the
server for these functions. This can delay
the display of the weather map.
Showing/hiding the menu in the
weather map X
To show: press the controller in the
weather map.
X To hide: slide5the controller. Memory functions
Storing a location in the memory You can save locations that are called up fre-
quently in ten preset positions (0, 1 – 9).
X
Select a location.
The weather data for the location is dis-
played.
X Select Location Location in the menu. Weather
143Online and Internet
Page 150 of 214
X
Press the 002Bbutton.
The last function called up appears.
X Select TEL/
TEL/00A7 in the main function bar by
sliding 5, turning and pressing the con-
troller.
A menu appears.
X To select Internet
Internet: turn and press the
controller.
The menu for the Internet functions
appears.
X To select www
www: turn the controller and press
to confirm.
An input menu appears.
You can enter the web address using either
the character bar or the number keypad.
X To select a web address from the list:
when the character bar is displayed, slide
5 the controller.
The list is activated.
X Select the desired web address.
The web address can still be changed as
desired.
X Select 0054.
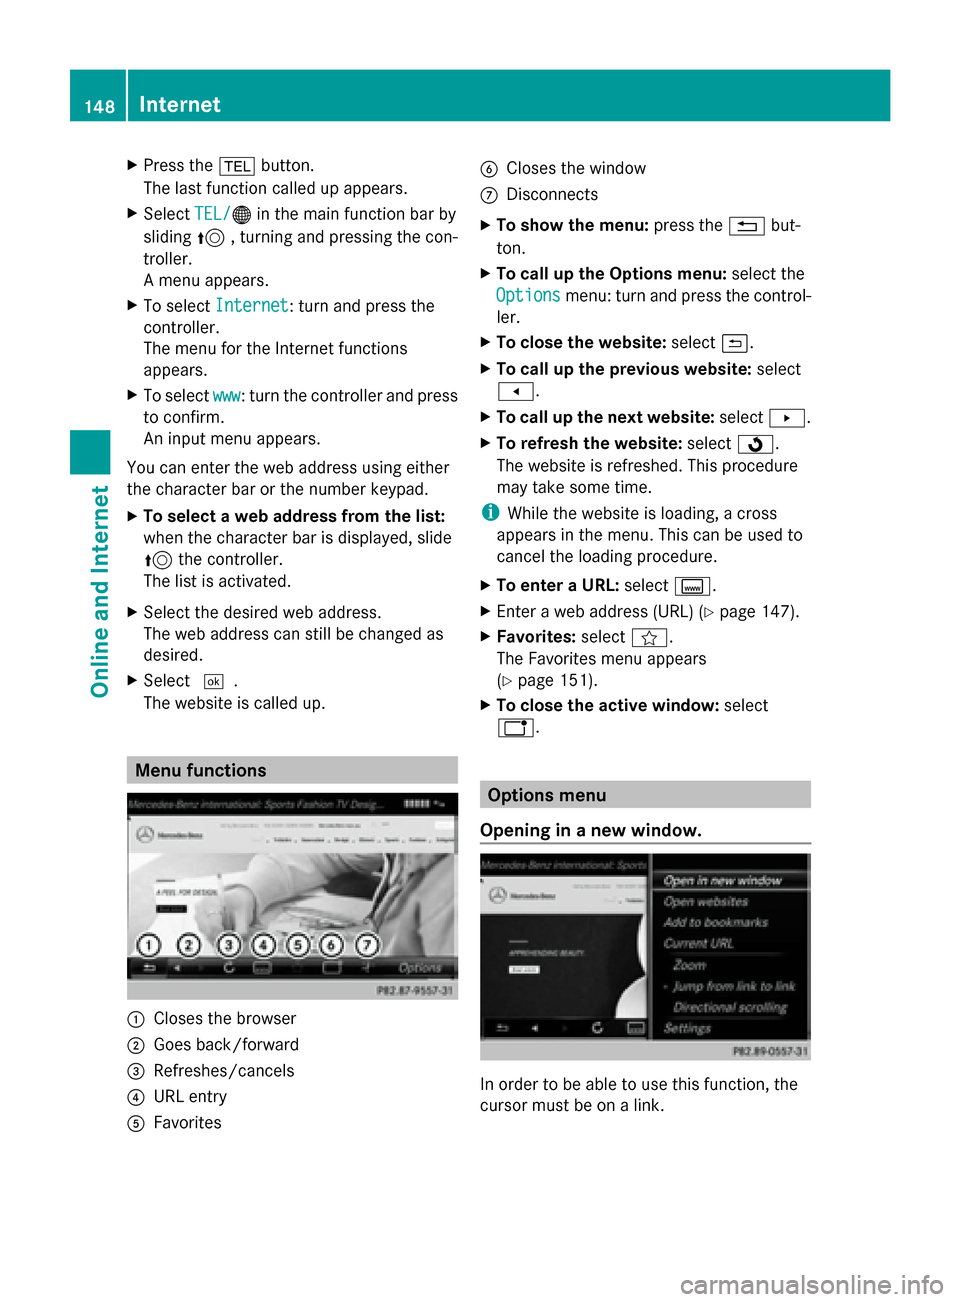
The website is called up. Menu functions
0043
Closes the browser
0044 Goes back/forward
0087 Refreshes/cancels
0085 URL entry
0083 Favorites 0084
Closes the window
006B Disconnects
X To show the menu: press the0038but-
ton.
X To call up the Options menu: select the
Options
Options menu: turn and press the control-
ler.
X To close the website: select0039.
X To call up the previous website: select
007F.
X To call up the next website: select0080.
X To refresh the website: select0080.
The website is refreshed. This procedure
may take some time.
i While the website is loading, a cross
appears in the menu. This can be used to
cancel the loading procedure.
X To enter a URL: selectg.
X Enter a web address (URL) (Y page 147).
X Favorites: selectf.
The Favorites menu appears
(Y page 151).
X To close the active window: select
h. Options menu
Opening in a new window. In order to be able to use this function, the
cursor must be on a link.148
InternetOnline and Internet
Page 152 of 214
Settings
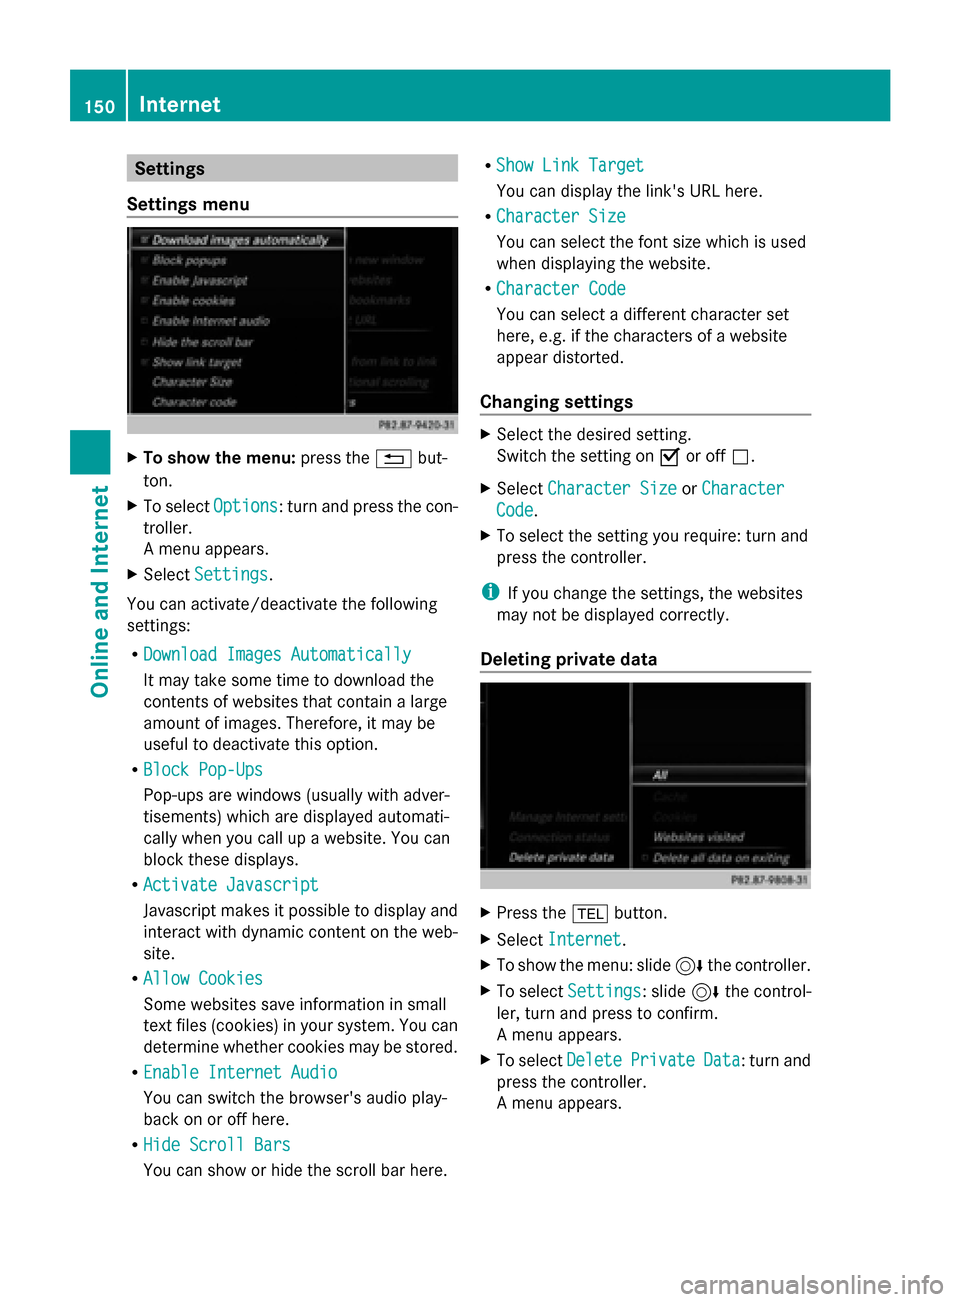
Settings menu X
To show the menu: press the0038but-
ton.
X To select Options
Options: turn and press the con-
troller.
A menu appears.
X Select Settings Settings.
You can activate/deactivate the following
settings:
R Download Images Automatically Download Images Automatically
It may take some time to download the
contents of websites that contain a large
amount of images. Therefore, it may be
useful to deactivate this option.
R Block Pop-Ups
Block Pop-Ups
Pop-ups are windows (usually with adver-
tisements) which are displayed automati-
cally when you call up a website. You can
block these displays.
R Activate Javascript
Activate Javascript
Javascript makes it possible to display and
interact with dynamic content on the web-
site.
R Allow Cookies
Allow Cookies
Some websites save information in small
text files (cookies) in your system. You can
determine whether cookies may be stored.
R Enable Internet Audio
Enable Internet Audio
You can switch the browser's audio play-
back on or off here.
R Hide Scroll Bars
Hide Scroll Bars
You can show or hide the scroll bar here. R
Show Link Target Show Link Target
You can display the link's URL here.
R Character Size Character Size
You can select the font size which is used
when displaying the website.
R Character Code
Character Code
You can select a different character set
here, e.g. if the characters of a website
appear distorted.
Changing settings X
Select the desired setting.
Switch the setting on 0073or off 0053.
X Select Character Size
Character Size orCharacter Character
Code
Code.
X To select the setting you require: turn and
press the controller.
i If you change the settings, the websites
may not be displayed correctly.
Deleting private data X
Press the 002Bbutton.
X Select Internet
Internet.
X To show the menu: slide 6the controller.
X To select Settings
Settings: slide 6the control-
ler, turn and press to confirm.
A menu appears.
X To select Delete DeletePrivate
Private Data
Data: turn and
press the controller.
A menu appears. 150
InternetOnline and Internet
Page 166 of 214

Your COMAND equipment
These operating instructions describe all
standard and optional equipment available
for your COMAND system at the time of pur-
chase. Country-specific differences are pos-
sible. Please note that your COMAND system
may not be equipped with all the features
described. This also applies to safety-relevant
systems and functions. Therefore, the equip-
ment on your COMAND system may differ
from that in the descriptions and illustrations.
Should you have any questions concerning
equipment and operation, please consult an
authorized Mercedes-Benz Center. Activating media mode
General notes
There are several ways to activate media
sources using COMAND.
The relevant sections of the Operator's Man-
ual describe the simplest way to activate a
media source.
This section describes all options for activat-
ing media sources. Using the MEDIA button
X Press the 00FDbutton.
The menu for the last accessed media
source appears.
X To select the media source: keep pressing
the 00FD button until the required media
source has been set.
The media sources appear in the following
order:
R CD/DVD
R Memory card
R Media Register
R Vehicles without Media Interface: USB 1
and USB 2
R Vehicles with Media Interface: Media
Interface 1 and Media Interface 2 R
BT audio
R TV (if your vehicle is equipped with a TV)
R AUX
If playable music files are found, they will
be played by COMAND.
X To display the function bars: slide 00520064the
controller. Switching on automatically
After an external media source has been con-
nected, COMAND will only activate the cor-
responding media mode automatically in the
case of CDs and SD cards. When using USB
devices, depending on the vehicle's equip-
ment, the relevant Media Interface 1, 2 or
USB 1, 2 basic display must already be acti-
vated.
External media sources:
R Apple devices (e.g. iPhone ®
)
R USB devices (e.g. USB stick, MP3 player)
R CD
R DVD
R SD cards
R via AUX cable (automatic activation
depends on the device connected)
R via devices connected by Bluetooth ®
If playable music files are found, they will be
played by COMAND.
i If a media function is already switched on
in COMAND, this will be interrupted and the
basic display of the newly connected
device will appear.
If another function, such as navigation, is
operating, the basic display will not change.
Only the music from the newly connected
media source will play 164
Activa
ting media modeMedia
Page 168 of 214

Inserting and removing a disc from
the single CD/DVD drive
Before inserting a CD/DVD, ensure that the
cup holder is empty.
X To insert: press the00F8button on the
single drive.
If there is a disc already inserted, it will be
ejected.
X Insert a disc into the disc slot with the
printed side facing upwards.
The drive closes and the disc is played.
If the CD/DVD is operated in Media mode,
the corresponding basic menu will be
shown. If the CD/DVD is started using
another application (e.g. navigation), the
display will not change.
i The drive may not be able to play discs
with copy protection.
X To remove: press the00F8button.
The drive ejects the disc.
X Remove the ejected disc from the slot.
If you do not take the disc out of the slot, it
is drawn in again automatically after a short
while. Menu overview
CD mode basic display
0043
Status bar
0044 Main function bar
0087 Track display on the disc
0085 Track number/number of songs in the
track list
0083 Artist and album 0084
Media menu bar
006B Playback time for the current track
006C Climate control status bar
006D Elapsed playback time for the current
track
006E Graphic time display
006F Additional display area with cover view Inserting discs into the DVD changer
The DVD changer has a magazine with six
trays.
Before inserting a CD/DVD, ensure that the
cup holder is empty.
X To insert the CD/DVD into the maga-
zine tray: press the0065button.
The magazine menu appears. X
To select the magazine tray: turn the
controller and press to confirm.
The DVD changer switches to the selected
magazine tray.
You will see the Please PleaseWait...
Wait...message.
You will see the Please insert disc
Please insert disc
Slot_number.
Slot_number. message.
X Insert a disc into the disc slot with the
printed side facing upwards. 166
Audio/video modeMedia
Page 178 of 214
X
Select a track.
The basic display appears and playback
starts. MEDIA REGISTER
General notes
i Keep your original music files, photos and
video files in a secure location. An error in
COMAND may result in the loss of music
files stored in the MEDIA REGISTER.
Mercedes-Benz is not liable for any loss of
data.
You can store music files, photos or video files
in the MEDIA REGISTER. The memory has a
capacity of 10 GB. Switching on the MEDIA REGISTER
X Press the 00FDbutton repeatedly until the
MEDIA REGISTER is switched on.
Pressing the button repeatedly changes
the operating mode in the following order:
R Disc
Disc;
R Memory Card Memory Card;
R Media Register
Media Register;
R USB 1
USB 1 (vehicles without Media Interface)
R Media Interface 1
Media Interface 1 (vehicles without
Media Interface)
R USB 2
USB 2 (vehicles without Media Interface)
R Media Interface 2
Media Interface 2 (vehicles with
Media Interface) R
Bluetooth Audio Bluetooth Audio;
R Aux Aux .
Playback begins at the point last listened to.
If there are no files, you will see a message to
this effect.
Further options for switching on:
R Using the number keypad: (Y page 165)
R Using the main function bar: (Y page 165)
R Using the device list: (Y page 165)
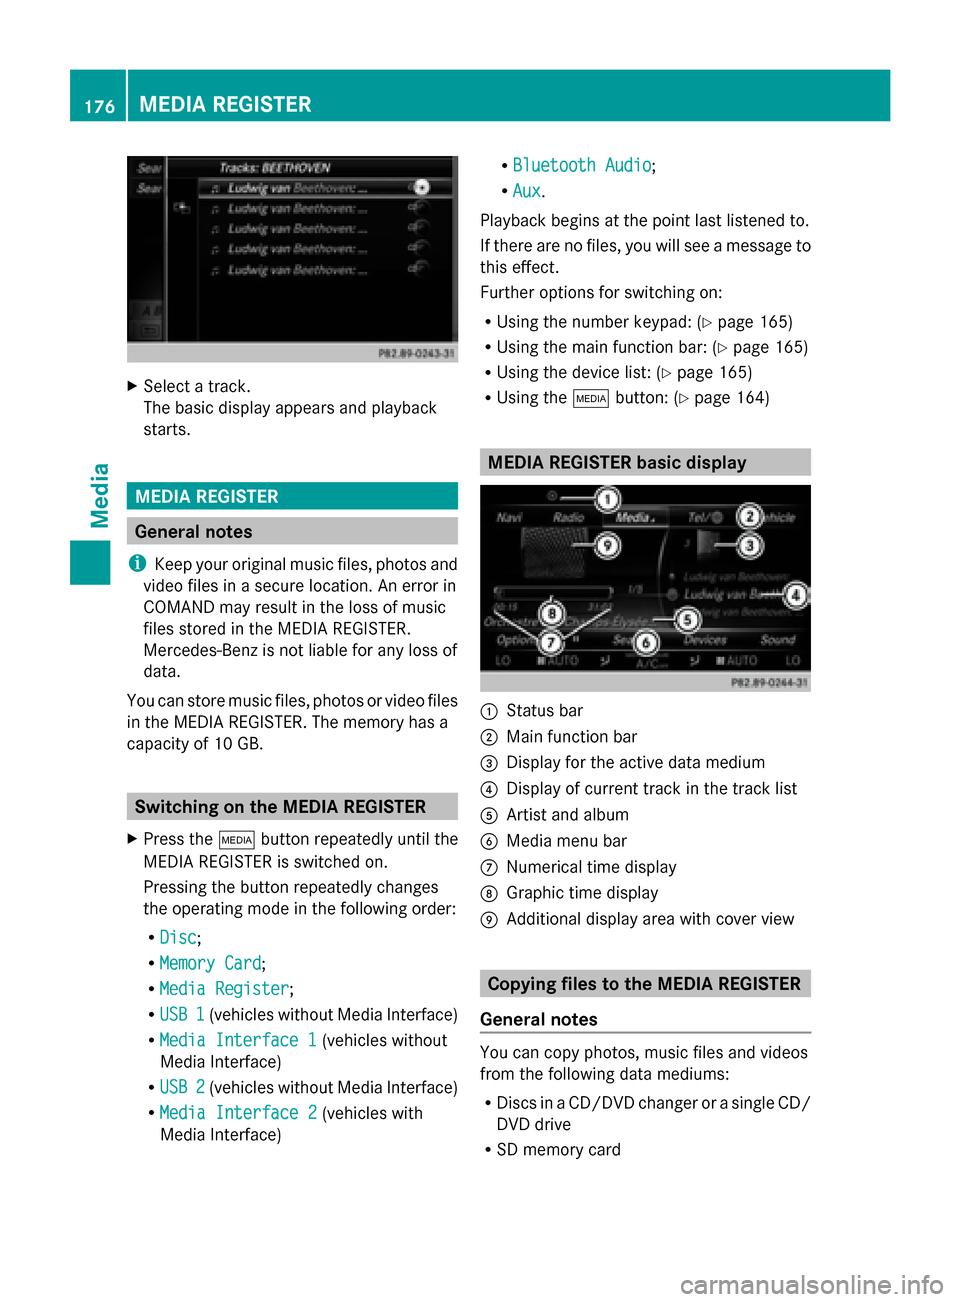
R Using the 00FDbutton: (Y page 164) MEDIA REGISTER basic display
0043
Status bar
0044 Main function bar
0087 Display for the active data medium
0085 Display of current track in the track list
0083 Artist and album
0084 Media menu bar
006B Numerical time display
006C Graphic time display
006D Additional display area with cover view Copying files to the MEDIA REGISTER
General notes You can copy photos, music files and videos
from the following data mediums:
R
Discs in a CD/DVD changer or a single CD/
DVD drive
R SD memory card 176
MEDIA REGISTERMedia
Page 180 of 214
X
Select a folder.
X Select Continue
Continue.
X To select Start
Start: press the controller.
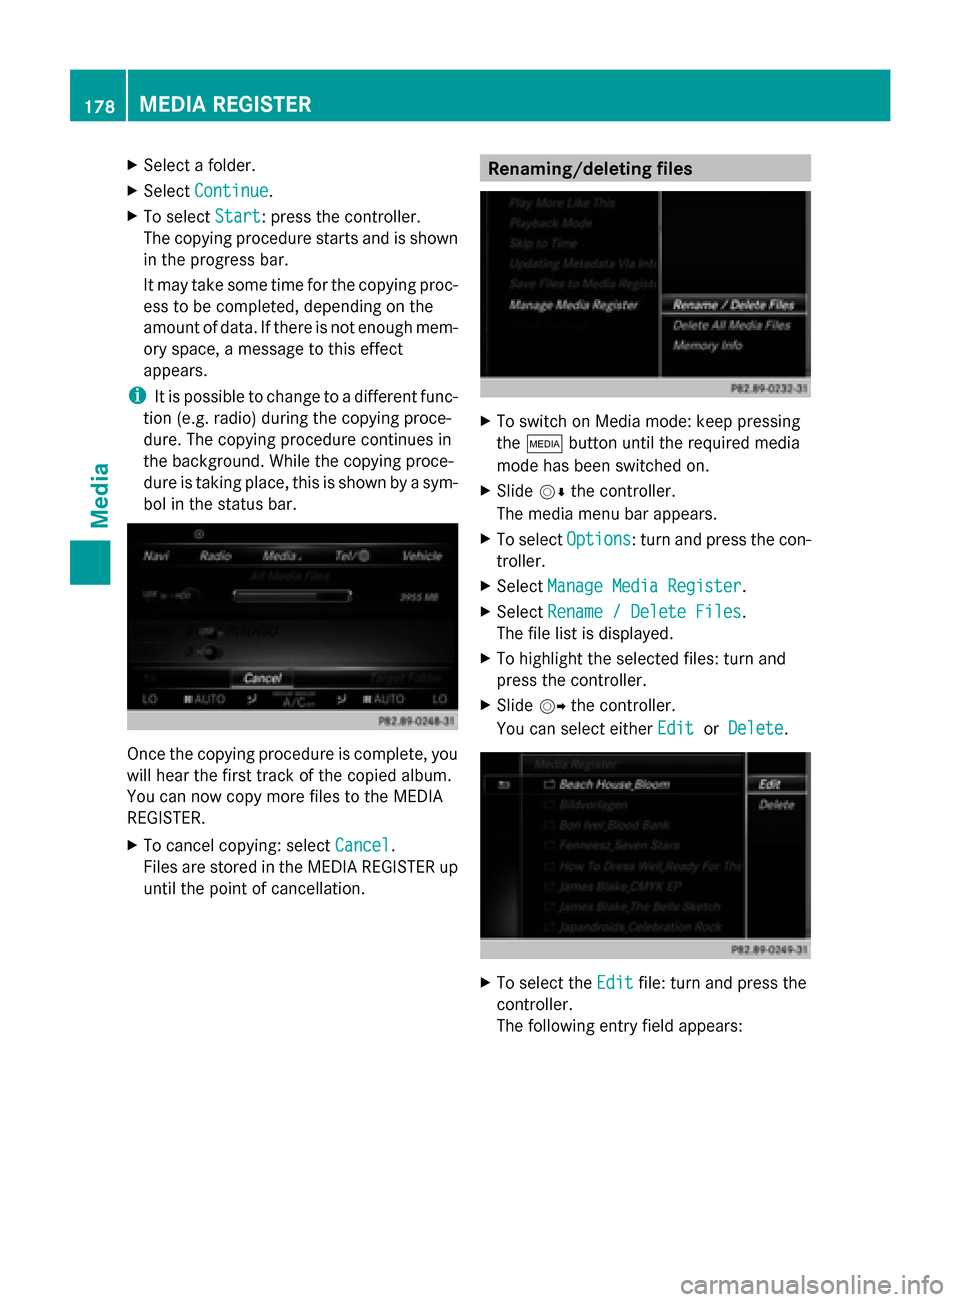
The copying procedure starts and is shown
in the progress bar.
It may take some time for the copying proc-
ess to be completed, depending on the
amount of data. If there is not enough mem-
ory space, a message to this effect
appears.
i It is possible to change to a different func-
tion (e.g. radio) during the copying proce-
dure. The copying procedure continues in
the background. While the copying proce-
dure is taking place, this is shown by a sym-
bol in the status bar. Once the copying procedure is complete, you
will hear the first track of the copied album.
You can now copy more files to the MEDIA
REGISTER.
X To cancel copying: select Cancel Cancel.
Files are stored in the MEDIA REGISTER up
until the point of cancellation. Renaming/deleting files
X
To switch on Media mode: keep pressing
the 00FD button until the required media
mode has been switched on.
X Slide 00520064the controller.
The media menu bar appears.
X To select Options Options: turn and press the con-
troller.
X Select Manage Media Register
Manage Media Register.
X Select Rename / Delete Files
Rename / Delete Files.
The file list is displayed.
X To highlight the selected files: turn and
press the controller.
X Slide 00520096the controller.
You can select either Edit EditorDelete
Delete . X
To select the Edit
Editfile: turn and press the
controller.
The following entry field appears: 178
MEDIA REGISTERMedia