2015 MERCEDES-BENZ C-Class USB
[x] Cancel search: USBPage 125 of 214

X
To select Download Contacts
Download Contacts: turn and
press the controller.
X To select From
From Memory
Memory Card
CardorFrom
From USB
USB
device
device: turn and press the controller.
Receiving vCards via Bluetooth ®COMAND
X
To switch to the menu bar in the telephone
menu or the address book: slide 6the
controller.
X To select Options
Options: turn and press the con-
troller.
X To select Download Contacts
Download Contacts: turn and
press the controller.
X To select From Bluetooth Device
From Bluetooth Device: turn
and press the controller.
If COMAND is connected to a mobile
phone, the connection is terminated.
vCards can now be received by a device
(PC, mobile phone) via Bluetooth ®
.
External device
X Start the data transfer (see the operating
instructions for the device).
The number of vCards received is displayed
in COMAND.
COMAND
X To end reception: press the controller or
the 0038 button.
If a mobile phone was connected, the con-
nection to the mobile phone is established
again.
Received vCards are identified by the 00BA
symbol in the address book. i
If you switch to another main function,
e.g. navigation, while receiving vCards, the
reception of vCards will be terminated. Deleting imported contacts
X To change to the menu bar when in the
address book or the telephone menu: slide
6 the controller.
X To select Options Options: turn and press the con-
troller.
X To select Delete Contacts Delete Contacts: turn and
press the controller.
X Select one of the following options:
R
Internal Contacts Internal Contacts
R Imported from Storage Device
Imported from Storage Device
R Imported from Bluetooth Devices
Imported from Bluetooth Devices
R Downloaded from Phone
Downloaded from Phone
Turn and press the controller.
X To select Yes
Yes: turn and press the controller.
The contacts are deleted.
or
X To select No No: turn and press the controller.
The process is canceled.
i If automatic calling up of the contacts is
deactivated (Y page 121), the Down‐
Down‐
loaded from Phone
loaded from Phone option is available. Closing the address book
X Press the 002Bbutton one or more times. Call lists
Introduction
If your mobile phone supports the PBAP Blue-
tooth ®
profile, the call lists from the mobile
phone are displayed in COMAND. When con-
necting the mobile phone, you may have to
confirm the connection for the PBAP Blue-
tooth ®
profile.
If your mobile phone does not support the
PBAP Bluetooth ®
profile, COMAND generates Call lists
123Telephone Z
Page 166 of 214

Your COMAND equipment
These operating instructions describe all
standard and optional equipment available
for your COMAND system at the time of pur-
chase. Country-specific differences are pos-
sible. Please note that your COMAND system
may not be equipped with all the features
described. This also applies to safety-relevant
systems and functions. Therefore, the equip-
ment on your COMAND system may differ
from that in the descriptions and illustrations.
Should you have any questions concerning
equipment and operation, please consult an
authorized Mercedes-Benz Center. Activating media mode
General notes
There are several ways to activate media
sources using COMAND.
The relevant sections of the Operator's Man-
ual describe the simplest way to activate a
media source.
This section describes all options for activat-
ing media sources. Using the MEDIA button
X Press the 00FDbutton.
The menu for the last accessed media
source appears.
X To select the media source: keep pressing
the 00FD button until the required media
source has been set.
The media sources appear in the following
order:
R CD/DVD
R Memory card
R Media Register
R Vehicles without Media Interface: USB 1
and USB 2
R Vehicles with Media Interface: Media
Interface 1 and Media Interface 2 R
BT audio
R TV (if your vehicle is equipped with a TV)
R AUX
If playable music files are found, they will
be played by COMAND.
X To display the function bars: slide 00520064the
controller. Switching on automatically
After an external media source has been con-
nected, COMAND will only activate the cor-
responding media mode automatically in the
case of CDs and SD cards. When using USB
devices, depending on the vehicle's equip-
ment, the relevant Media Interface 1, 2 or
USB 1, 2 basic display must already be acti-
vated.
External media sources:
R Apple devices (e.g. iPhone ®
)
R USB devices (e.g. USB stick, MP3 player)
R CD
R DVD
R SD cards
R via AUX cable (automatic activation
depends on the device connected)
R via devices connected by Bluetooth ®
If playable music files are found, they will be
played by COMAND.
i If a media function is already switched on
in COMAND, this will be interrupted and the
basic display of the newly connected
device will appear.
If another function, such as navigation, is
operating, the basic display will not change.
Only the music from the newly connected
media source will play 164
Activa
ting media modeMedia
Page 170 of 214
poses an increased risk of injury or even fatal
injury.
Keep SD memory cards out of the reach of
children. If an SD memory card is swallowed,
seek immediate medical attention.
! If you are no longer using the SD memory
card, you should remove it. High tempera-
tures can damage the card.
COMAND supports SD memory cards
(Secure Digital), SDHC memory cards
(Secure DigitalHighCapacity), and SDXC
memory cards (Secure Digital eXtended
Capacity.
Inserting an SD memory card X
Insert the SD memory card into the SD card
slot in the stowage space under the arm-
rest until the SD memory card engages into
place. The side with the contacts must face
downwards.
The music is played while the files are
loaded in the background. If there are no
supported audio/video files, you will see a
message to this effect.
Ejecting an SD memory card X
Press the memory card.
The memory card is ejected.
X Remove the memory card. Connecting USB devices
There are two USB ports in the stowage space
under the armrest.
X Connect the USB device to the USB port.
The data medium will only be played and
the files will only be loaded in the back-
ground if the corresponding media display
is visible. Otherwise, the system does not
automatically switch to USB. If there are no
supported audio/video files, you will see a
message to this effect. i
MP3 players must support Media Transfer
Protocol (MTP). Activating media mode
Switching on automatically After an external media source has been con-
nected, COMAND will only activate the cor-
responding media mode automatically and
show the basic display in the case of CDs and
SD cards. If the CD/DVD is started using
another application (e.g. navigation), the dis-
play will not change.
When using USB devices, depending on the
vehicle's equipment, the relevant Media
Interface 1, 2 or USB 1, 2 basic display must
already be activated.
X Insert the CDs/DVDs (Y page 166)
or
X Insert a SD memory card: (Y page 168)
or
X Connect a USB device: (Y page 168)
COMAND loads the medium inserted and
starts to play it automatically.
Further options for switching on R
Using the number keypad: (Y page 165)
R Using the main function bar: (Y page 165)
R Using the device list: (Y page 165)
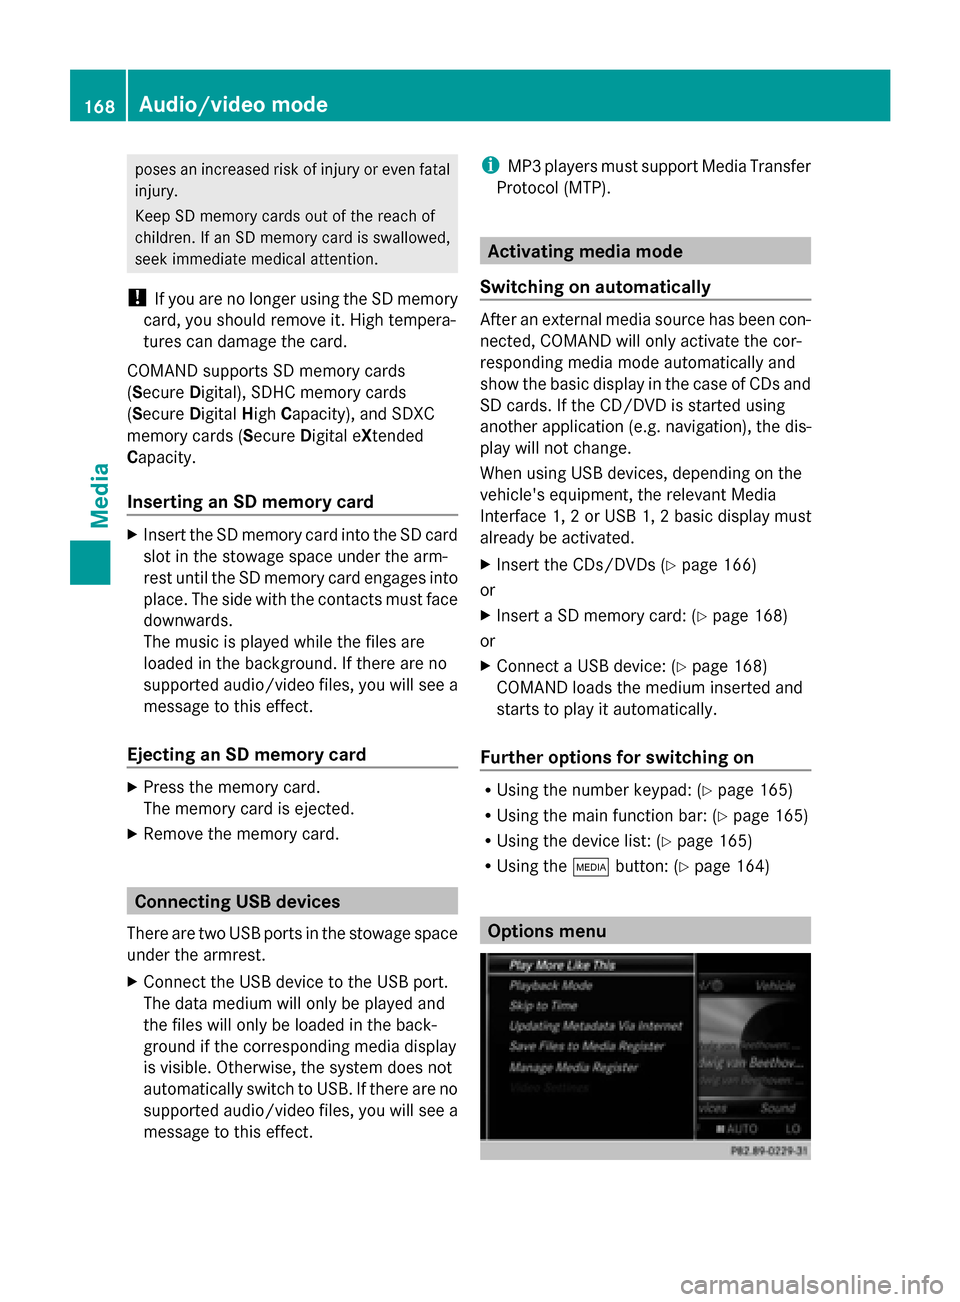
R Using the 00FDbutton: (Y page 164) Options menu168
Audio/video modeMedia
Page 171 of 214
X
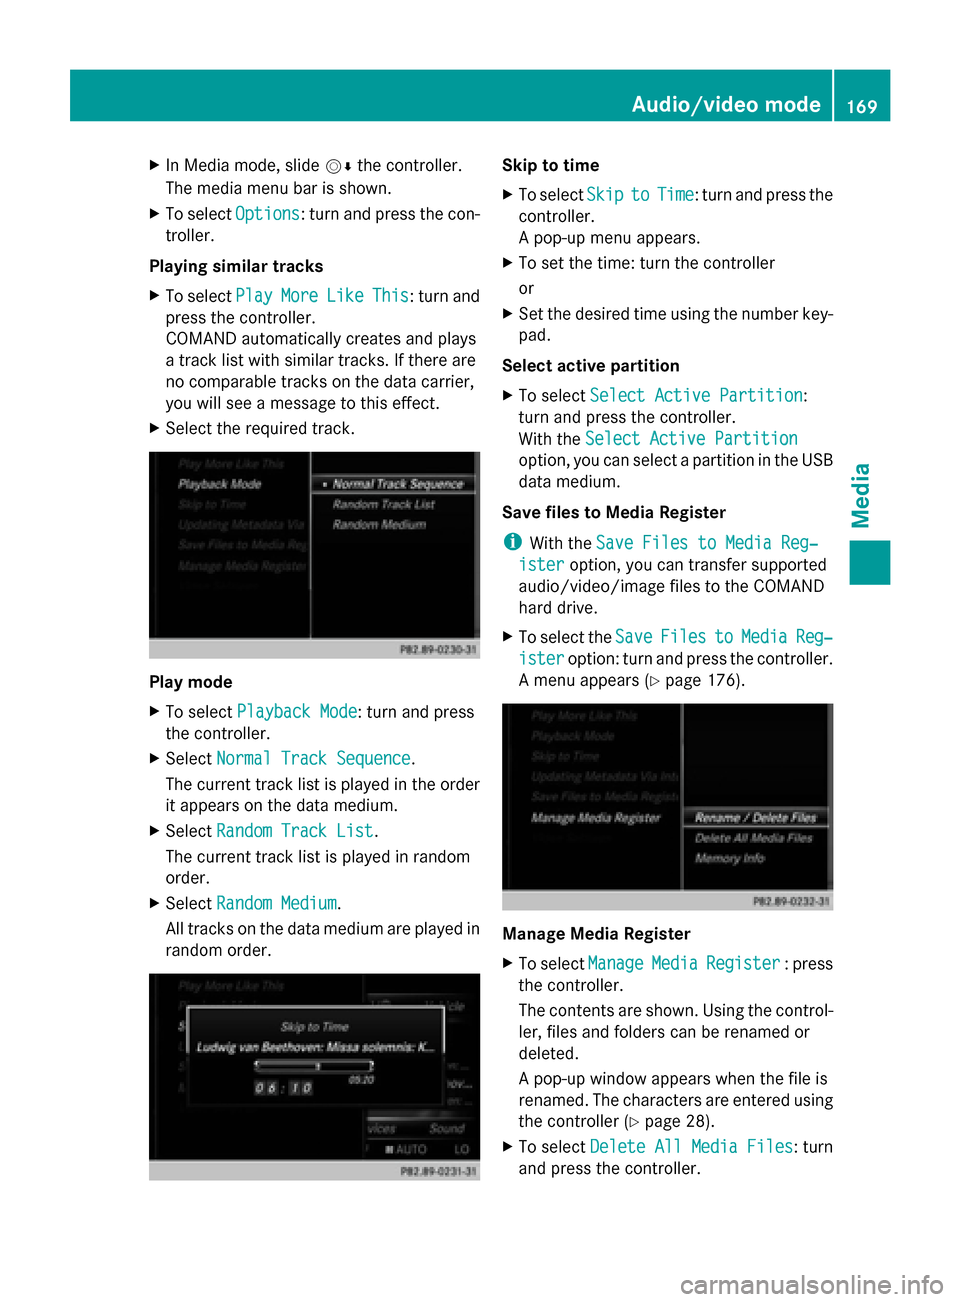
In Media mode, slide 00520064the controller.
The media menu bar is shown.
X To select Options
Options: turn and press the con-
troller.
Playing similar tracks
X To select Play PlayMore
More Like
LikeThis
This: turn and
press the controller.
COMAND automatically creates and plays
a track list with similar tracks. If there are
no comparable tracks on the data carrier,
you will see a message to this effect.
X Select the required track. Play mode
X
To select Playback Mode Playback Mode: turn and press
the controller.
X Select Normal Track Sequence
Normal Track Sequence.
The current track list is played in the order
it appears on the data medium.
X Select Random Track List
Random Track List.
The current track list is played in random
order.
X Select Random Medium
Random Medium.
All tracks on the data medium are played in
random order. Skip to time
X
To select Skip
Skip to toTime
Time : turn and press the
controller.
A pop-up menu appears.
X To set the time: turn the controller
or
X Set the desired time using the number key-
pad.
Select active partition
X To select Select Active Partition Select Active Partition:
turn and press the controller.
With the Select Active Partition Select Active Partition
option, you can select a partition in the USB
data medium.
Save files to Media Register
i With the Save Files to Media Reg‐ Save Files to Media Reg‐
ister
ister option, you can transfer supported
audio/video/image files to the COMAND
hard drive.
X To select the Save SaveFiles
Files to
toMedia
Media Reg‐
Reg‐
ister
ister option: turn and press the controller.
A menu appears (Y page 176). Manage Media Register
X
To select Manage ManageMedia
MediaRegister
Register : press
the controller.
The contents are shown. Using the control-
ler, files and folders can be renamed or
deleted.
A pop-up window appears when the file is
renamed. The characters are entered using
the controller (Y page 28).
X To select Delete All Media Files
Delete All Media Files : turn
and press the controller. Audio/video mode
169Media Z
Page 174 of 214
R
SD memory card
R USB storage device
Permissible file systems R
ISO 9660/Joliet standard for CDs
R UDF for video DVDs
R FAT16, FAT32, exFAT and NTFS for SD
memory card and USB storage media
Multisession CDs For multisession CDs, the content of the first
session determines how COMAND will proc-
ess the CD. COMAND plays only one session
and gives priority to the audio CD session.
File structure of a data carrier When you create a disc with compressed
music files, the tracks can be organized in
folders. A folder may also contain subfolders.
The disc may contain no more than eight
directory levels. Files beyond the eighth level
will not be recognized by the system.
i COMAND supports up to 50,000 files
from one data medium. For data media with
more than 64 GB, only files in the following
folders are supported: music, pictures, vid-
eos.
Track and file names When you create a disc with compressed
music files, you can assign names to the
tracks and folders.
If MP3 or WMA files are stored in the root
directory itself, the root directory will also be
treated as a folder. You should observe the following when
assigning track names:
R
track names must have at least one char-
acter.
R track names must have the ending of a
supported audio/video format, e.g. mp3,
aac or m4v.
R there must be a dot between the track
name and the extension.
Example of a correct track name:
"Track1.mp3".
Permissible formats COMAND supports the following audio for-
mats:
R
MP3
R WMA
R CD-A
R AAC formats: .aac, .mp4, .m4a and .m4b
Copy-protected iTunes music files with
the .m4p file ending are not supported.
COMAND supports the following video for-
mats:
R DVD-V
R MPEG
R wmv
R M4V
R AVI up to 720p.
Permissible bit and sampling rates COMAND supports MP3 files of the following
types:
R
fixed and variable bit rates from 32 kbit/s
to 320 kbit/s
R sampling rates of 8 kHz to 48 kHz
COMAND supports WMA files of the following
types:
R fixed bit rates from 5 kbit/s to 384 kbit/s
R sampling rates of 8 kHz to 48 kHz 172
Audio/video modeMedia
Page 175 of 214
COMAND does not support WMA files of the
following types:
R DRM (Digital Rights Management)
encrypted files
R variable bit rate
R WMA Pro
R 5.1 surround sound
i Only use tracks with a bit rate of at least
128 kbit/s and a sampling rate of at least
44.1 kH z.Lower rates can cause a notice-
able deterioration in quality. This is espe-
cially the case if you have activated a sur-
round sound function.
Selecting an active partition (USB mass
storage devices only) You can select this function for USB storage
devices when the storage device is parti-
tioned. Up to 9 partitions (primary or logical,
FAT, FAT32 and NTFS) are supported.
Select active partition
X To select Options
Options in the Media menu bar:
turn and press the controller.
X Select Select Active Partition
Select Active Partition.
Notes on copyright Audio/video files that you create or repro-
duce yourself for playback are generally sub-
ject to copyright protection.
In many countries, reproductions, even for
private use, are not permitted without the
prior consent of the copyright holder.
Make sure that you know about the applicable
copyright regulations and that you comply
with these.
Notes on CDs/DVDs !
COMAND is designed to play discs that
comply with the EN 60908 standard. There-
fore, you can only use discs with a maxi-
mum thickness of 1.3 mm.
If you insert thicker discs, e.g. those that
contain data on both sides (DVD on one side and audio data on the other), they can-
not be ejected and can damage the device.
Only use round discs with a diameter of
12 cm. Do not use discs with a diameter of
8 cm, even with an adapter.
Discs with copy protection are not compati-
ble with the audio CD standard and therefore
may not be able to be played by COMAND.
Playback problems may occur when playing
copied discs.
There may be playback problems if you play
CDs that you have copied yourself with a stor-
age capacity of more than 700 MB.
i COMAND is able to play back audio CDs
in multichannel audio format. Media search
Starting the media search
X In Media mode, slide 00520064the controller.
The media menu bar appears.
X To select Search Search: turn and press the con-
troller.
The category list appears. General information
COMAND plays back files from the following
data mediums:
R Disc (CD/DVD Audio)
R Memory card
R MEDIA REGISTER
R USB storage device
R Apple devices (folder, year and photos are
not available)
The categories are displayed according to the
data available. Media search
173Media Z
Page 178 of 214
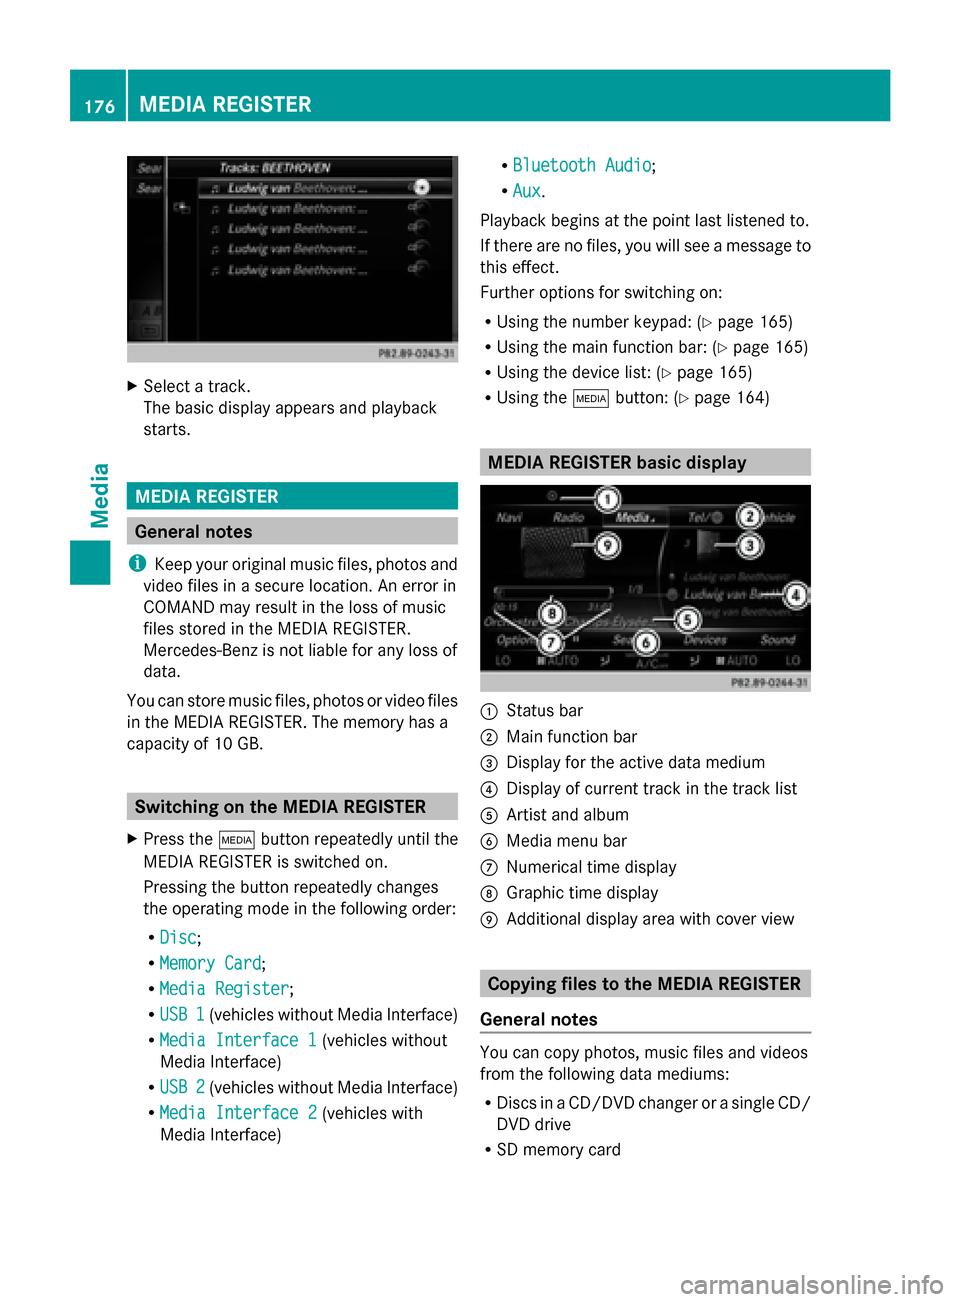
X
Select a track.
The basic display appears and playback
starts. MEDIA REGISTER
General notes
i Keep your original music files, photos and
video files in a secure location. An error in
COMAND may result in the loss of music
files stored in the MEDIA REGISTER.
Mercedes-Benz is not liable for any loss of
data.
You can store music files, photos or video files
in the MEDIA REGISTER. The memory has a
capacity of 10 GB. Switching on the MEDIA REGISTER
X Press the 00FDbutton repeatedly until the
MEDIA REGISTER is switched on.
Pressing the button repeatedly changes
the operating mode in the following order:
R Disc
Disc;
R Memory Card Memory Card;
R Media Register
Media Register;
R USB 1
USB 1 (vehicles without Media Interface)
R Media Interface 1
Media Interface 1 (vehicles without
Media Interface)
R USB 2
USB 2 (vehicles without Media Interface)
R Media Interface 2
Media Interface 2 (vehicles with
Media Interface) R
Bluetooth Audio Bluetooth Audio;
R Aux Aux .
Playback begins at the point last listened to.
If there are no files, you will see a message to
this effect.
Further options for switching on:
R Using the number keypad: (Y page 165)
R Using the main function bar: (Y page 165)
R Using the device list: (Y page 165)
R Using the 00FDbutton: (Y page 164) MEDIA REGISTER basic display
0043
Status bar
0044 Main function bar
0087 Display for the active data medium
0085 Display of current track in the track list
0083 Artist and album
0084 Media menu bar
006B Numerical time display
006C Graphic time display
006D Additional display area with cover view Copying files to the MEDIA REGISTER
General notes You can copy photos, music files and videos
from the following data mediums:
R
Discs in a CD/DVD changer or a single CD/
DVD drive
R SD memory card 176
MEDIA REGISTERMedia
Page 179 of 214
R
USB storage device
R MP3
i Data can only be copied from an MP3
player if this can be configured as a mass
storage device.
Video files from DVD-V cannot be copied.
While copying, several functions will not be
available. If this is the case, you will see a
message to this effect.
1. Selecting a data medium X
To switch on media mode: keep pressing
the 00FD button until the required media
mode has been switched on.
X Slide 00520064the controller.
The media menu bar appears.
X To select Options
Options: turn and press the con-
troller. X
Select Save Files to Media Register Save Files to Media Register .
The media list appears. A data medium
from which files can be copied is selected
automatically.
i The Save Files to Media Register Save Files to Media Register
function can be accessed from any media
application.
X Select the displayed data medium.
The data medium is loaded.
If the data medium contains files that can
be copied, a selection menu appears. 2. Selecting files
X
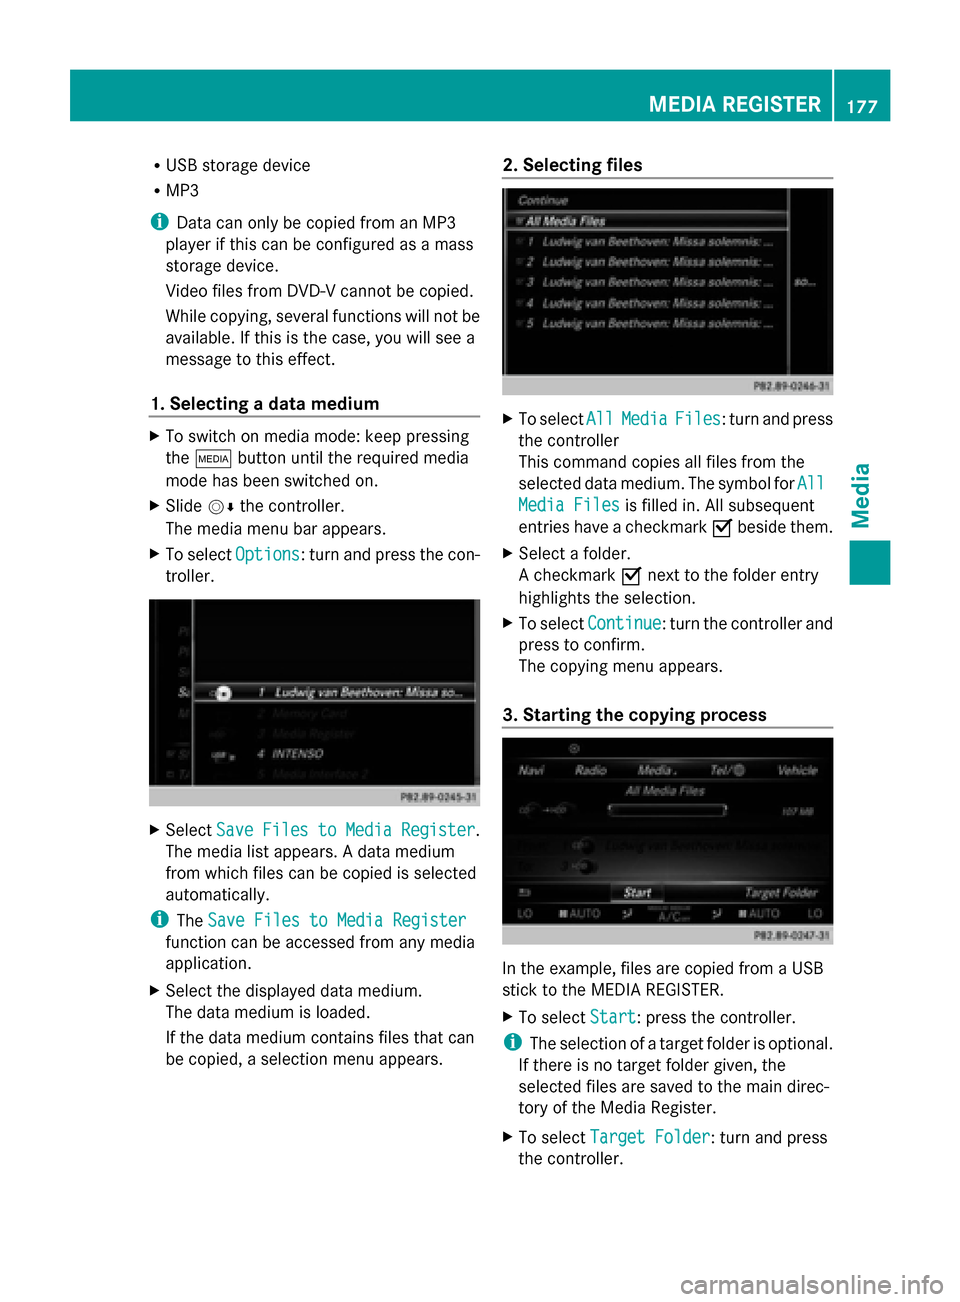
To select All AllMedia
Media Files
Files: turn and press
the controller
This command copies all files from the
selected data medium. The symbol for All
All
Media Files
Media Files is filled in. All subsequent
entries have a checkmark 0073beside them.
X Select a folder.
A checkmark 0073next to the folder entry
highlights the selection.
X To select Continue Continue: turn the controller and
press to confirm.
The copying menu appears.
3. Starting the copying process In the example, files are copied from a USB
stick to the MEDIA REGISTER.
X
To select Start Start: press the controller.
i The selection of a target folder is optional.
If there is no target folder given, the
selected files are saved to the main direc-
tory of the Media Register.
X To select Target Folder
Target Folder: turn and press
the controller. MEDIA REGISTER
177Media Z