2015 MERCEDES-BENZ C-Class display
[x] Cancel search: displayPage 186 of 214
De-authorizing (deregistering) a Blue-
tooth ®
audio device
X To select a Bluetooth ®
audio device from
the Bluetooth ®
device list: turn the control-
ler.
X To select the symbol to the right of the
Bluetooth ®
audio device: slide 00520096and
press the controller.
X To select Deauthorize
Deauthorize : press the control-
ler.
A prompt appears asking whether you
really wish to deauthorize this device.
X To select Yes
Yes orNo No: turn and press the con-
troller.
If you select Yes
Yes , the device will be deleted
from the Bluetooth ®
device list.
If you select No
No the process is canceled.
i Before re-authorizing the Bluetooth ®
audio device, you should also delete the
device name MB Bluetooth
MB Bluetooth from your
Bluetooth ®
audio device's Bluetooth ®
list
(see the Bluetooth ®
audio device's operat-
ing instructions). Switching to Bluetooth
®
audio mode
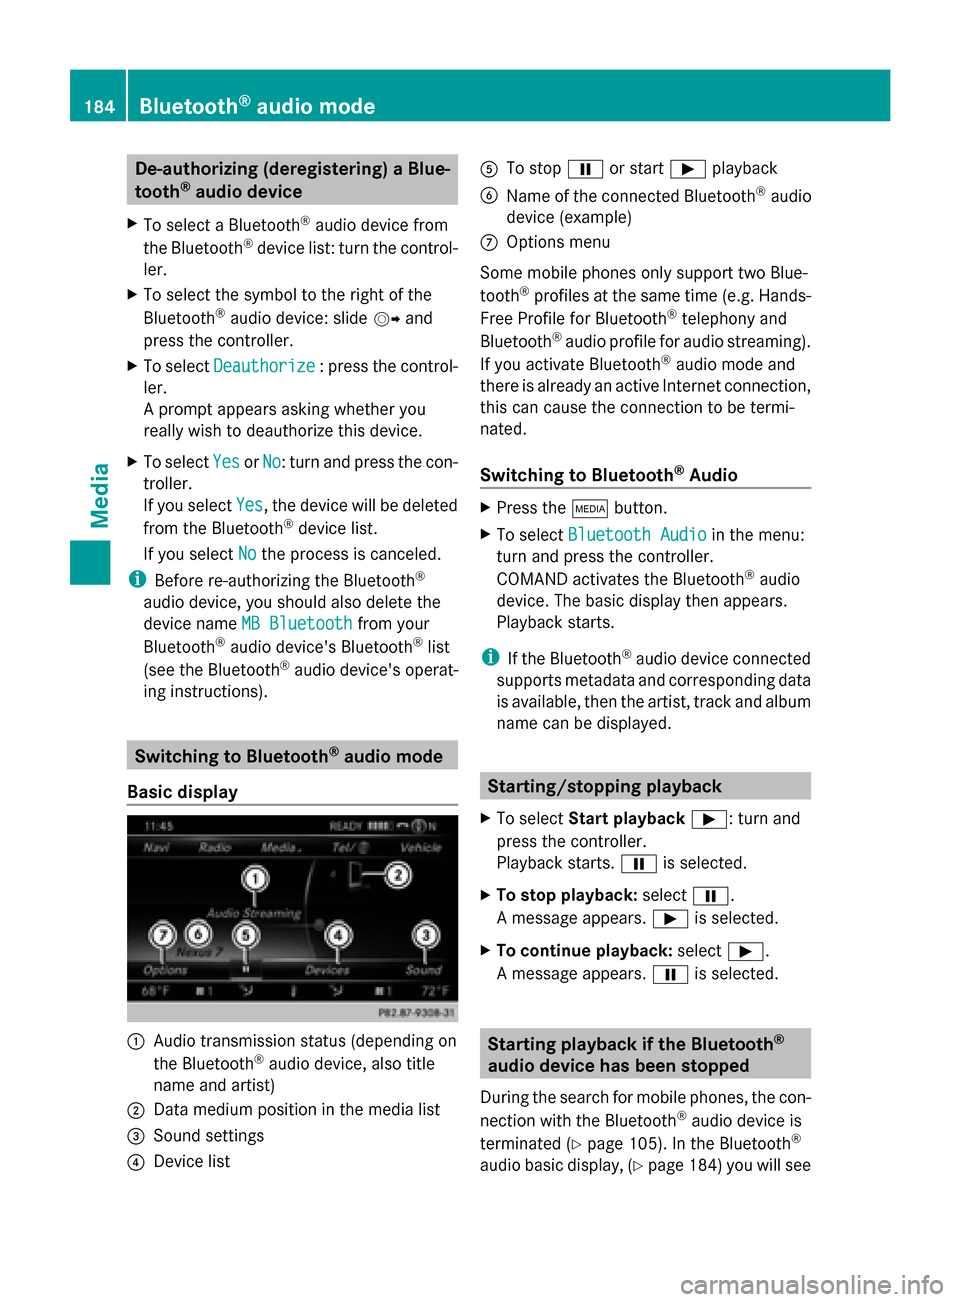
Basic display 0043
Audio transmission status (depending on
the Bluetooth ®
audio device, also title
name and artist)
0044 Data medium position in the media list
0087 Sound settings
0085 Device list 0083
To stop 00CFor start 00D0playback
0084 Name of the connected Bluetooth ®
audio
device (example)
006B Options menu
Some mobile phones only support two Blue-
tooth ®
profiles at the same time (e.g. Hands-
Free Profile for Bluetooth ®
telephony and
Bluetooth ®
audio profile for audio streaming).
If you activate Bluetooth ®
audio mode and
there is already an active Internet connection,
this can cause the connection to be termi-
nated.
Switching to Bluetooth ®
Audio X
Press the 00FDbutton.
X To select Bluetooth Audio Bluetooth Audio in the menu:
turn and press the controller.
COMAND activates the Bluetooth ®
audio
device. The basic display then appears.
Playback starts.
i If the Bluetooth ®
audio device connected
supports metadata and corresponding data
is available, then the artist, track and album
name can be displayed. Starting/stopping playback
X To select Start playback 00D0: turn and
press the controller.
Playback starts. 00CFis selected.
X To stop playback: select00CF.
A message appears. 00D0is selected.
X To continue playback: select00D0.
A message appears. 00CFis selected. Starting playback if the Bluetooth
®
audio device has been stopped
During the search for mobile phones, the con-
nection with the Bluetooth ®
audio device is
terminated (Y page 105). In the Bluetooth ®
audio basic display, (Y page 184) you will see184
Bluetooth ®
audio modeMedia
Page 187 of 214
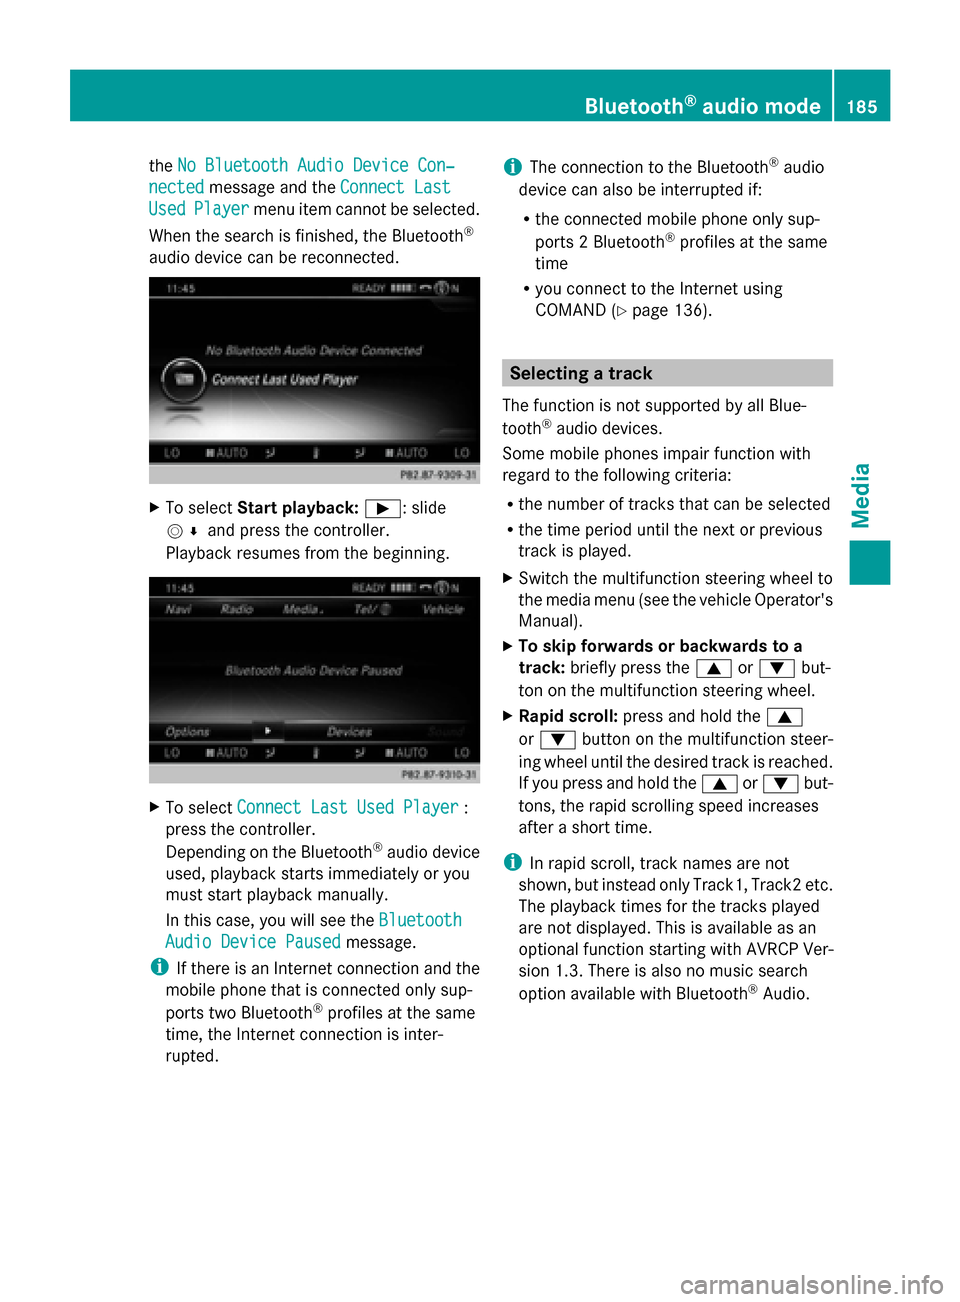
the
No Bluetooth Audio Device Con‐
No Bluetooth Audio Device Con‐
nected
nected message and the Connect Last
Connect Last
Used
Used Player
Player menu item cannot be selected.
When the search is finished, the Bluetooth ®
audio device can be reconnected. X
To select Start playback: 00D0: slide
005200C5 and press the controller.
Playback resumes from the beginning. X
To select Connect Last Used Player
Connect Last Used Player :
press the controller.
Depending on the Bluetooth ®
audio device
used, playback starts immediately or you
must start playback manually.
In this case, you will see the Bluetooth
Bluetooth
Audio Device Paused
Audio Device Paused message.
i If there is an Internet connection and the
mobile phone that is connected only sup-
ports two Bluetooth ®
profiles at the same
time, the Internet connection is inter-
rupted. i
The connection to the Bluetooth ®
audio
device can also be interrupted if:
R the connected mobile phone only sup-
ports 2 Bluetooth ®
profiles at the same
time
R you connect to the Internet using
COMAND (Y page 136). Selecting a track
The function is not supported by all Blue-
tooth ®
audio devices.
Some mobile phones impair function with
regard to the following criteria:
R the number of tracks that can be selected
R the time period until the next or previous
track is played.
X Switch the multifunction steering wheel to
the media menu (see the vehicle Operator's
Manual).
X To skip forwards or backwards to a
track: briefly press the 0063or0064 but-
ton on the multifunction steering wheel.
X Rapid scroll: press and hold the 0063
or 0064 button on the multifunction steer-
ing wheel until the desired track is reached.
If you press and hold the 0063or0064 but-
tons, the rapid scrolling speed increases
after a short time.
i In rapid scroll, track names are not
shown, but instead only Track1, Track2 etc.
The playback times for the tracks played
are not displayed. This is available as an
optional function starting with AVRCP Ver-
sion 1.3. There is also no music search
option available with Bluetooth ®
Audio. Bluetooth
®
audio mode 185Media Z
Page 188 of 214
Selecting playback options
If the Bluetooth ®
audio device supports the
corresponding function, the following options
are available:
R Normal Track Sequence
Normal Track Sequence: the tracks are
played in the normal order (e.g. track 1, 2,
3 etc.).
Audio data playback is determined by the
order in which the tracks are written to the
data medium. Alphabetical order is the
most common. Once all the tracks in a
folder have been played, the tracks in the
next folder are played.
R Random
Random Track TrackList
List: the current track list
is played in random order (e.g. 3, 8, 5 etc.).
R Random
Random Medium
Medium: all tracks on the data car-
rier are played in random order (e.g. track
3, 8, 5 etc.).
Playback options are optional functions
and are not, or only partially, supported by
Bluetooth ®
audio devices.
Selecting playback options
X To select Options
Options: turn and press the con-
troller.
X Select Playback Mode
Playback Mode.
A 003B dot indicates the current setting.
X Select the desired option.
If you select Random RandomTrack
Track List
List, you will
see a corresponding message in the dis-
play/selection window. Increasing the volume using COMAND
X To select Options Options: slide 005200C5and press
the controller.
X To select Volume
Volume: turn and press the con-
troller.
A menu appears. The 003Bdot indicates the
current setting.
X Select Standard
Standard orBoost Boost.
Information on sound settings
(Y page 200). Information on audio AUX mode
(Y
page 189). Operation with the Media Interface
Prerequisite
Media Interface is a universal interface for the
connection of mobile audio and video devi-
ces. Media Interface in COMAND has two
USB connections.
The USB connection sockets are located in
the stowage compartment under the armrest. Media Interface basic display
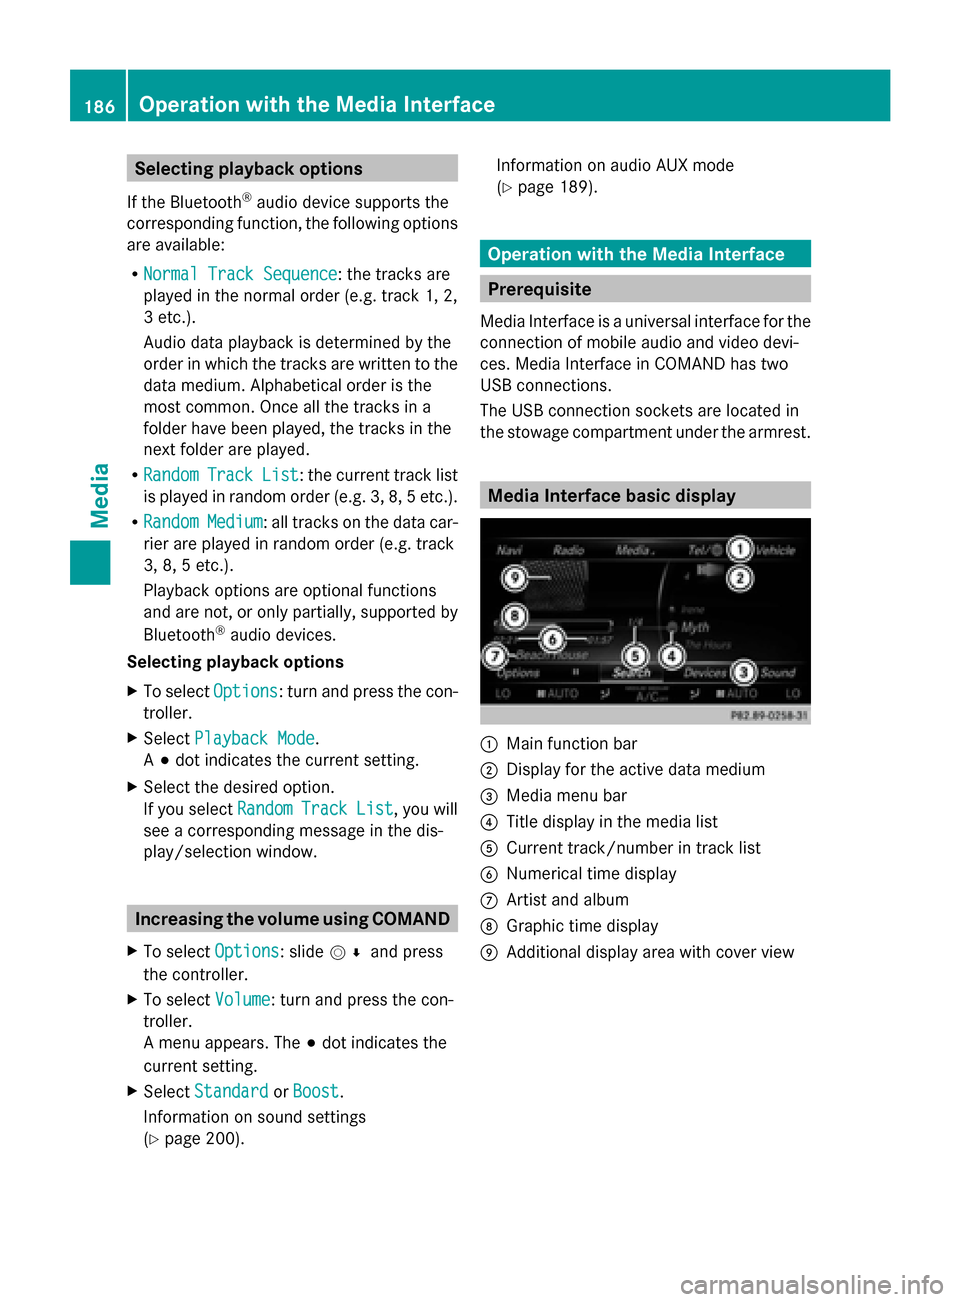
0043
Main function bar
0044 Display for the active data medium
0087 Media menu bar
0085 Title display in the media list
0083 Current track/number in track list
0084 Numerical time display
006B Artist and album
006C Graphic time display
006D Additional display area with cover view 186
Operation with the Media InterfaceMedia
Page 189 of 214
Switching to Media Interface
Switching on automatically X
Connect a data medium to USB port 1 or
USB port 2.
X Make sure that the Media Interface 1 or
Media Interface 2 basic menu is activated.
If playable media files are found, they will
be played by COMAND.
If you remove a device, the No Device
No Device
Connected Connected message appears.
Further options for switching on R
Using the number keypad: (Y page 165)
R Using the main function bar: (Y page 165)
R Using the device list: (Y page 165)
R Using the 00FDbutton: (Y page 164) Supported devices
The following data media can be connected
to COMAND via the Media Interface:
R iPod ®
R iPhone ®
R iPad ®
R MP3
R USB devices
i It is not possible to run two Apple devices
simultaneously. Therefore the device last
connected is loaded.
i iPod ®
, iPhone ®
and iPad ®
are registered
trademarks of Apple Inc., Cupertino, Cali-
fornia, USA.
i Audio files, photos and video files can be
played back.
For details and a list of supported devices,
visit http://www.mbusa-mobile.com. Or
call the Mercedes-Benz Customer Assistance
Center at 1-800-FOR-MERCedes
(1-800-367-6372) (for the USA) or Customer
Relations at 1-800-387-0100 (for Canada). Supported data formats
Music mp3, wma, aac
Video mpeg, wmv, mov,
avi, mp4
Images jpg, jpeg, bmp, png
Selecting a music file
Selecting with the controller X
To display the current track list: press
the controller in the basic display.
The track list for the active data medium
appears.
X To select a track: turn the controller and
press to confirm.
X To skip forwards or backwards to a
track: turn the controller in the basic dis-
play.
The selected track is played.
Fast forward/rewind X
With the media source active in the basic
display, slide 009500520096the controller and hold
it until the desired position has been
reached. Search function
Selecting Search using media menu bar X
Slide 00520064the controller.
The media menu bar appears.
X To select Search Search: turn and press the con-
troller.
The category list appears.
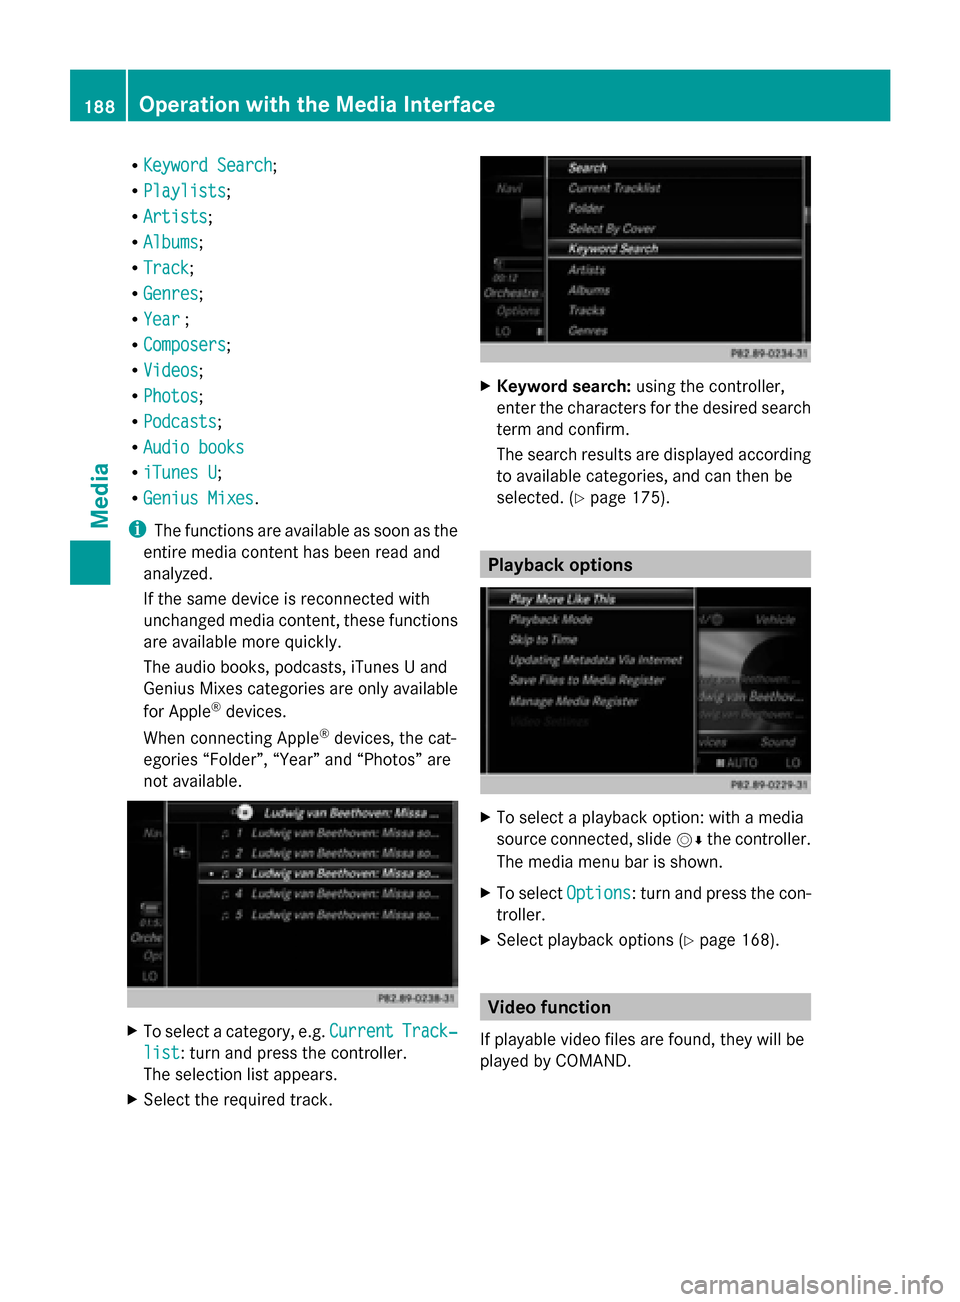
Overview The following categories are listed:
R
Current Tracklist Current Tracklist;
R Folders:
Folders:;
R Select By Cover
Select By Cover; Operation with the Media Interface
187Media Z
Page 190 of 214
R
Keyword Search
Keyword Search;
R Playlists
Playlists;
R Artists
Artists;
R Albums
Albums;
R Track
Track;
R Genres
Genres;
R Year
Year ;
R Composers
Composers;
R Videos
Videos;
R Photos
Photos;
R Podcasts
Podcasts;
R Audio books
Audio books
R iTunes U
iTunes U;
R Genius Mixes
Genius Mixes.
i The functions are available as soon as the
entire media content has been read and
analyzed.
If the same device is reconnected with
unchanged media content, these functions
are available more quickly.
The audio books, podcasts, iTunes U and
Genius Mixes categories are only available
for Apple ®
devices.
When connecting Apple ®
devices, the cat-
egories “Folder”, “Year” and “Photos” are
not available. X
To select a category, e.g. Current
Current Track‐ Track‐
list
list: turn and press the controller.
The selection list appears.
X Select the required track. X
Keyword search: using the controller,
enter the characters for the desired search
term and confirm.
The search results are displayed according
to available categories, and can then be
selected. (Y page 175). Playback options
X
To select a playback option: with a media
source connected, slide 00520064the controller.
The media menu bar is shown.
X To select Options Options: turn and press the con-
troller.
X Select playback options (Y page 168). Video function
If playable video files are found, they will be
played by COMAND. 188
Operation with the Media InterfaceMedia
Page 191 of 214
X
To switch on full-screen mode: press the
controller in the basic display.
X To show the video menu: slide 005200C5the
controller in full-screen mode.
The Media Interface menu bar appears.
X To select Options
Options: turn and press the con-
troller. X
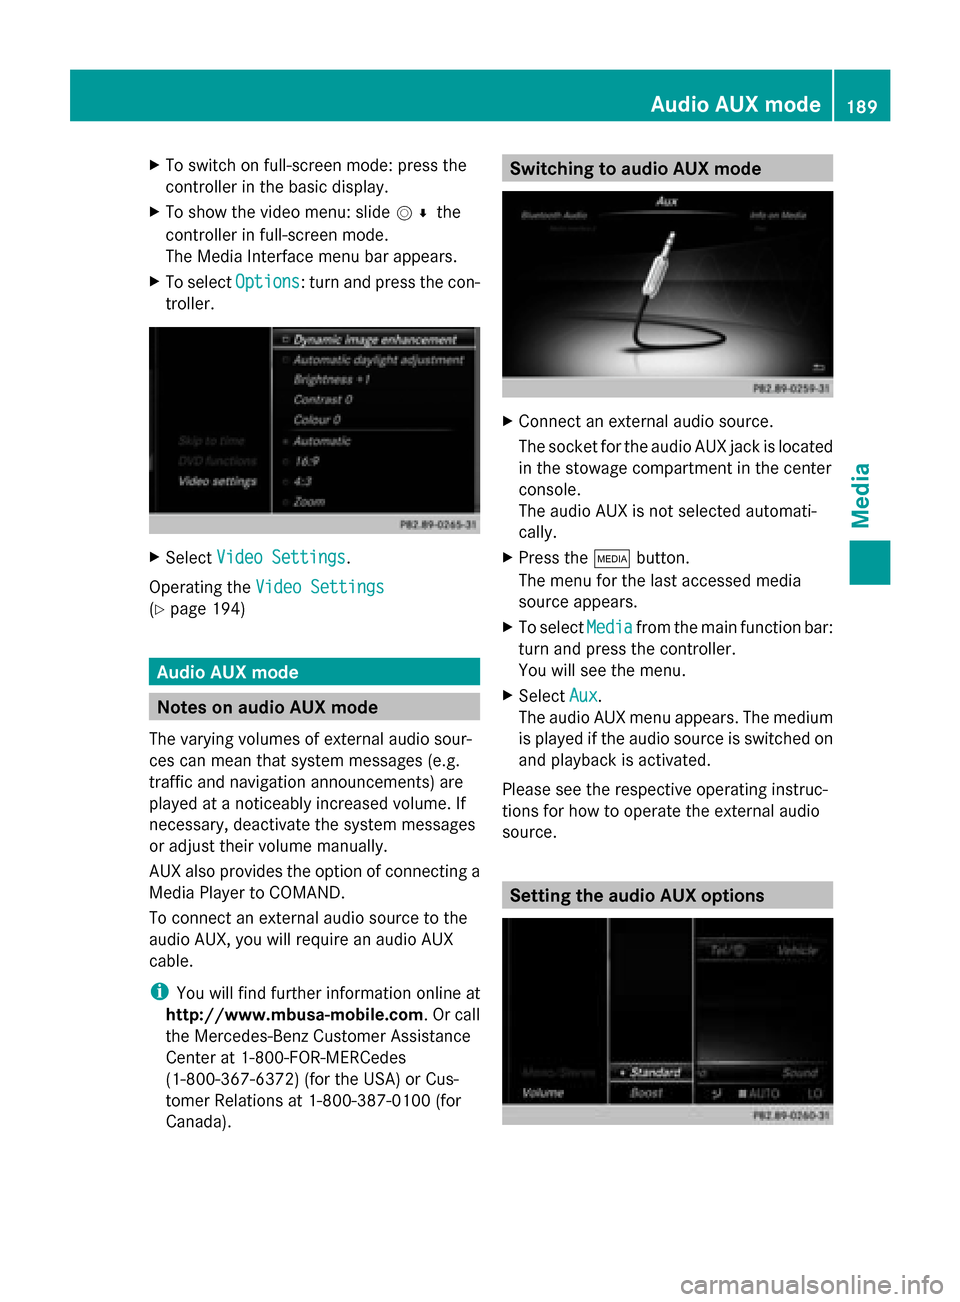
Select Video Settings
Video Settings.
Operating the Video Settings Video Settings
(Y page 194) Audio AUX mode
Notes on audio AUX mode
The varying volumes of external audio sour-
ces can mean that system messages (e.g.
traffic and navigation announcements) are
played at a noticeably increased volume. If
necessary, deactivate the system messages
or adjust their volume manually.
AUX also provides the option of connecting a
Media Player to COMAND.
To connect an external audio source to the
audio AUX, you will require an audio AUX
cable.
i You will find further information online at
http://www.mbusa-mobile.com. Or call
the Mercedes-Benz Customer Assistance
Center at 1-800-FOR-MERCedes
(1-800-367-6372) (for the USA) or Cus-
tomer Relations at 1-800-387-010 0(for
Canada). Switching to audio AUX mode
X
Connect an external audio source.
The socket for the audio AUX jack is located
in the stowage compartment in the center
console.
The audio AUX is not selected automati-
cally.
X Press the 00FDbutton.
The menu for the last accessed media
source appears.
X To select Media Mediafrom the main function bar:
turn and press the controller.
You will see the menu.
X Select Aux Aux.
The audio AUX menu appears. The medium
is played if the audio source is switched on
and playback is activated.
Please see the respective operating instruc-
tions for how to operate the external audio
source. Setting the audio AUX options Audio AUX mode
189Media Z
Page 193 of 214
Switching full-screen mode on/off
X
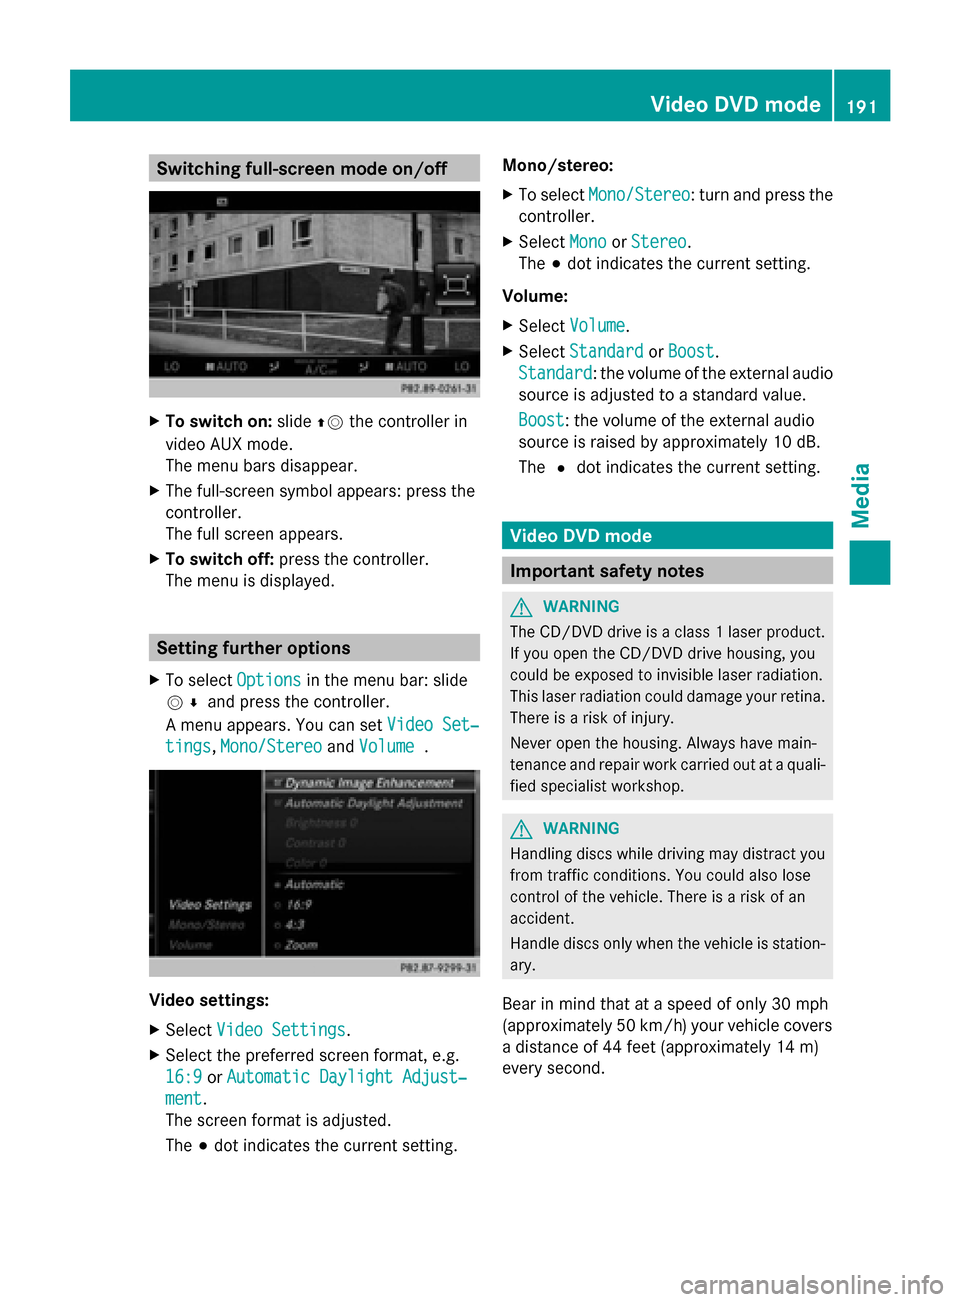
To switch on: slide00970052the controller in
video AUX mode.
The menu bars disappear.
X The full-screen symbol appears: press the
controller.
The full screen appears.
X To switch off: press the controller.
The menu is displayed. Setting further options
X To select Options Optionsin the menu bar: slide
005200C5 and press the controller.
A menu appears. You can set Video Set‐
Video Set‐
tings
tings, Mono/Stereo
Mono/Stereo andVolume
Volume . Video settings:
X
Select Video Settings
Video Settings.
X Select the preferred screen format, e.g.
16:9
16:9 orAutomatic Daylight Adjust‐
Automatic Daylight Adjust‐
ment ment.
The screen format is adjusted.
The 003Bdot indicates the current setting. Mono/stereo:
X
To select Mono/Stereo Mono/Stereo: turn and press the
controller.
X Select Mono
MonoorStereo
Stereo.
The 003Bdot indicates the current setting.
Volume:
X Select Volume Volume.
X Select Standard
Standard orBoost
Boost.
Standard
Standard: the volume of the external audio
source is adjusted to a standard value.
Boost Boost: the volume of the external audio
source is raised by approximately 10 dB.
The 0036dot indicates the current setting. Video DVD mode
Important safety notes
G
WARNING
The CD/DVD drive is a class 1 laser product.
If you open the CD/DVD drive housing, you
could be exposed to invisible laser radiation.
This laser radiation could damage your retina.
There is a risk of injury.
Never open the housing. Always have main-
tenance and repair work carried out at a quali-
fied specialist workshop. G
WARNING
Handling discs while driving may distract you
from traffic conditions. You could also lose
control of the vehicle. There is a risk of an
accident.
Handle discs only when the vehicle is station-
ary.
Bear in mind that at a speed of only 30 mph
(approximately 50 km/h) your vehicle covers
a distance of 44 feet (approximately 14 m)
every second. Video DVD
mode
191Media Z
Page 194 of 214

General notes
Notes on discs !
Do not affix stickers or labels to the discs.
They could peel off and damage COMAND.
Stickers can cause the disc to bend, which
can result in read errors and disc recogni-
tion problems.
! COMAND is designed to play discs that
comply with the EN 60908 standard. There-
fore, you can only use discs with a maxi-
mum thickness of 1.3 mm.
If you insert thicker discs, e.g. those that
contain data on both sides (DVD on one
side and audio data on the other), they can-
not be ejected and can damage the device.
Only use round discs with a diameter of
12 cm. Do not use discs with a diameter of
8 cm, even with an adapter.
The variety of data media, burners and burn
software means there is no guarantee that
the system will be able to play discs that you
have copied yourself.
DVD playback conditions If video DVDs do not conform to the NTSC or
PAL TV standards, they may create picture,
sound or other problems during playback.
COMAND is capable of playing back video
DVDs produced according to the following
standards:
R Region code 1 or region code 0 (no region
code)
R PAL or NTSC standard
You will generally find the relevant details
either on the DVD itself or on the DVD case.
i If you insert a video DVD with a different
region code, a message to this effect
appears.
i COMAND is set to region code 1 at the
factory. This setting can be changed at an
authorized Mercedes-Benz Center. It is also
possible to play video DVDs with a different
region code, provided that they are pro- duced in accordance with the PAL or NTSC
TV standard. The region code can be
changed up to five times.
Control options There are four control menus available in
video DVD mode.
Most DVDs have their own control menu.
The DVD's control menu is operated directly
using the controller or DVD functions.
Control menu and
function Operation
R
DVD's control
menu
Selection of title,
scene, language,
subtitles ... Operation with the
controller
R
Menu Options Options
Selection of
brightness, con-
trast, color, for-
mat Operation using the
menu bar/options/
video settings
R
Video menu
Selection of
scene, fast
forward/rewind In full-screen mode,
slide
005200C5 the con-
troller R
DVD functions
Selection of title,
scene, language,
subtitles ... In full-screen mode,
press the controller
Function restrictions
Depending on the DVD, certain functions or
actions may not function at all. The symbol
0047
appears in the display. 192
Video DVD modeMedia