2015 MERCEDES-BENZ C-Class display
[x] Cancel search: displayPage 195 of 214

Switching to video DVD mode
R Insert and eject a disc from the single drive
(Y page 166)
R Insert a disc into the DVD changer
(Y page 166)
R Eject a disc from the DVD changer
(Y page 167)
Further options for switching on:
R Use the number keypad ( Ypage 165)
R Use the main function bar (Y page 165)
R Use the device list (Y page 165)
R Use the 00FDbutton (Y page 164) DVD basic display
0043
Status bar
0044 Main function bar
0087 Main display field
0085 Media menu bar
0083 Climate control status bar
The DVD basic display appears once the DVD
has been inserted. DVD full-screen mode
Once the DVD has been inserted, the disc is
played. The video will first appear in the over-
view display. X
To set full-screen mode : slide00520097the
controller.
The main function bar and menu bar are
hidden. A full-screen symbol will be shown.
X Press the controller.
The full-screen mode appears.
X To show the DVD basic display in full-
screen mode: slide005200C5 the controller.
The video menu appears.
X Press the controller.
The basic display appears. Menu options
X
To select options: in full-screen mode,
slide 005200C5 the controller.
The video menu appears.
X Press the controller.
The DVD basic display appears.
X To select Options Optionsin the menu bar: turn
and press the controller.
The Options Options menu appears.
Skip to time
X To select Skip
Skip to toTime
Time : turn and press the
controller.
A menu appears.
X To set the time: turn the controller.
or
Set the desired time using the number key-
pad.
X To hide the menu: press the 0038button. Video DVD mode
193Media Z
Page 196 of 214

DVD functions
X
To select DVD Functions DVD Functions : turn and press
the controller.
A menu appears ( Ypage 195). Video settings
Dynamic image enhancement The
Dynamic Image Enhancement Dynamic Image Enhancement function
automatically matches BrightnessCon‐
BrightnessCon‐
trast
trast andColor
Color to the film being played. X
To activate or deactivate: place or remove
a tick in front of Dynamic
DynamicImage
ImageEnhance‐
Enhance‐
ment
ment.
Manual image enhancement In order to manually adjust the brightness,
contrast and color, the dynamic image
enhancement function must be switched off. X
To select BrightnessContrast
BrightnessContrast orColor
Color:
turn and press the controller.
A sliding menu appears.
X To select the required value: turn the con-
troller.
X To exit the sliding menu: slide 00950052the con-
troller.
X To switch the Automatic Daylight Automatic Daylight
Adjustment
Adjustment on/off: press the controller.
Setting the picture format The following options are available for the
screen format in the DVD playing:
R Auto Auto;
R 16:9
16:9;
R 4:3
4:3 ;
R Zoom
Zoom.
X To set the picture format: turn and press
the controller.
The dot before the menu entry shows the
selected format. DVD's control menu
Most DVDs have their own control menu
which can be operated using the controller.
Showing the DVD's control menu
X To select Menu Menufrom the DVD functions
menu: turn and press the controller.
The DVD functions menu is hidden and the
DVD's menu entries (e.g. scenes, language,
trailers) are displayed.
X To select a menu entry: turn and press the
controller. 194
Video DVD
modeMedia
Page 197 of 214

Video menu
0043
Type of data medium
0044 Current title
0087 Shows the menu bars for the DVD basic
display
0085 Current scene
0083 Track time
Operating the video menu
X To show: in full-screen video mode, slide
00520064 the controller.
X To hide: slide 00970052the controller.
X To select the next/previous scene: turn the
controller to the clockwise/counter-clock-
wise.
X To fast forward/rewind: slide 009500520096and
hold the controller until the desired posi-
tion has been reached.
X To hide the video menu: slide 00970052the con-
troller.
X To show the menu bars for the DVD basic
display: press the controller.
The video menu is hidden and the DVD
basic menu appears. DVD functions
Showing/hiding the DVD functions X
To show DVD functions: in full-screen
video mode, press the controller.
The DVD functions menu is shown. X
To hide: in DVD functions select 0038: turn
and press the controller
X To show the DVD basic display: select
00E2 from the DVD functions: turn and
press the controller.
Overview of DVD functions 0043
Activates DVD control menu
0044 Hides DVD functions
0087 Shows the DVD basic display
0085 Confirms entry in control menu
0083 Navigates DVD lists
0084 Jumps to the start of the scene
006B Displays camera perspectives
006C Shows subtitles
006D Selects language
006E Stop function
006F Pause function
Using the DVD functions X
In full-screen mode, press the controller
The DVD functions menu is shown. Video DVD mode
195Media Z
Page 198 of 214

It is possible to navigate in the DVD's
control menu when the arrows in the upper
menu bar are activated.
X To select the 0095009700C50096arrow to navigate in the
menu: turn the controller.
The active arrow is highlighted.
X To select a menu entry: press the control-
ler.
The next menu entry in the direction of the
arrow is highlighted.
X To call up a highlighted menu entry: turn
the controller until ok
ok is highlighted.
X Press the controller.
The selected DVD scene is played.
X To hide DVD functions: select 0039using the
controller.
X Press the controller.
The DVD functions are hidden.
If there are functions such as Display cam-
era perspectives on the DVD, these are
shown in the DVD functions menu.
X To call up Display camera perspectives:
turn and press the controller
Stop function X
Show the DVD functions (Y page 195).
X Interrupting playback
To select 00DBfrom the DVD functions
menu: turn and press the controller.
The 00CF display changes to 00D0. The
video image is hidden.
X To continue playback: select00D0.
Playback continues from the point where it
was interrupted.
X To stop playback: select00DBagain while
playback is interrupted.
X To start playback again: select00D0.
Playback restarts from the beginning.
Pause function X
Show the DVD functions (Y page 195).
X Pausing playback To select
00CF: turn and press the control-
ler.
The 00CF display changes to 00D0.
X To continue playback: select00D0. Selecting a scene/chapter
If the film is divided into scenes or chapters,
these can be selected directly while the film
is running, or skipped forwards step by step.
This is not possible at certain points for some
DVDs (e.g. during the opening credits).
It may also be possible to select the scene/
chapter from the functions stored on the
DVD.
X To skip forwards or back: in the video
menu, turn the controller.
The next or previous scene in the film is
skipped to.
i The DVD functions can also be used to
make selections (Y page 195) Picture viewer
General notes
If there are pictures on the active data
medium, you can view them on the COMAND
display.
The following data media and picture formats
are supported:
R Data medium: MEDIA REGISTER, CD,
DVD, USB devices, SD memory cards
R Picture formats: jpeg, jpg, bmp, png
The maximum image resolution is 20 mega-
pixels
It is not possible to view a picture from the
driver's side while the vehicle is in motion. 196
Picture viewerMedia
Page 199 of 214

Displaying pictures
X
In the media basic display, press the con-
troller.
The Search
Search with a category list appears.
X To select Photos
Photos in the category list: turn
and press the controller.
A directory list appears. Folders and picture
files can be shown.
X Select a folder or picture.
If there is no picture on the data medium,
an empty list is shown.
You can search for pictures on other data
media.
Searching for pictures on other data
media
X In the directory list, slide
00950052 the controller.
The device list appears. Example: the directory list displays the existing
picture files X
To select a data medium with picture files:
turn the controller and press to confirm.
A directory list appears. Folders and picture
files can be shown.
X Select a folder or picture. Starting a slide show
X While viewing a picture, press the control-
ler.
The image menu appears.
X To select Start Slideshow Start Slideshow : turn and
press the controller.
The slide show starts.
X To end the slide show: press the controller.
The image menu appears.
X Select End Slide Show End Slide Show. Changing the picture view
X
Press the controller.
The image menu appears.
X To select Turn Clockwise Turn Clockwise : turn and press
the controller.
The picture rotates 90 degrees.
X Select Turn Counterclockwise Turn Counterclockwise.
The picture rotates 90 degrees.
X Select Zoom In Zoom In.
The size of the picture increases.
After you have zoomed into the picture, you
can move the section of the picture.
X To move the section of the picture: slide
009700520064 and009500520096 the controller. Picture viewer
197Media Z
Page 202 of 214

Your COMAND equipment
These operating instructions describe all
standard and optional equipment available
for your COMAND system at the time of pur-
chase. Country-specific differences are pos-
sible. Please note that your COMAND system
may not be equipped with all the features
described. This also applies to safety-relevant
systems and functions. Therefore, the equip-
ment on your COMAND system may differ
from that in the descriptions and illustrations.
Should you have any questions concerning
equipment and operation, please consult an
authorized Mercedes-Benz Center. Sound settings
Calling up the sound menu
You can make various sound settings for the
different audio and video sources. It is possi-
ble to set more bass for radio mode than for
audio CD mode, for example. The respective
sound menu can be called up from the menu
of the desired mode.
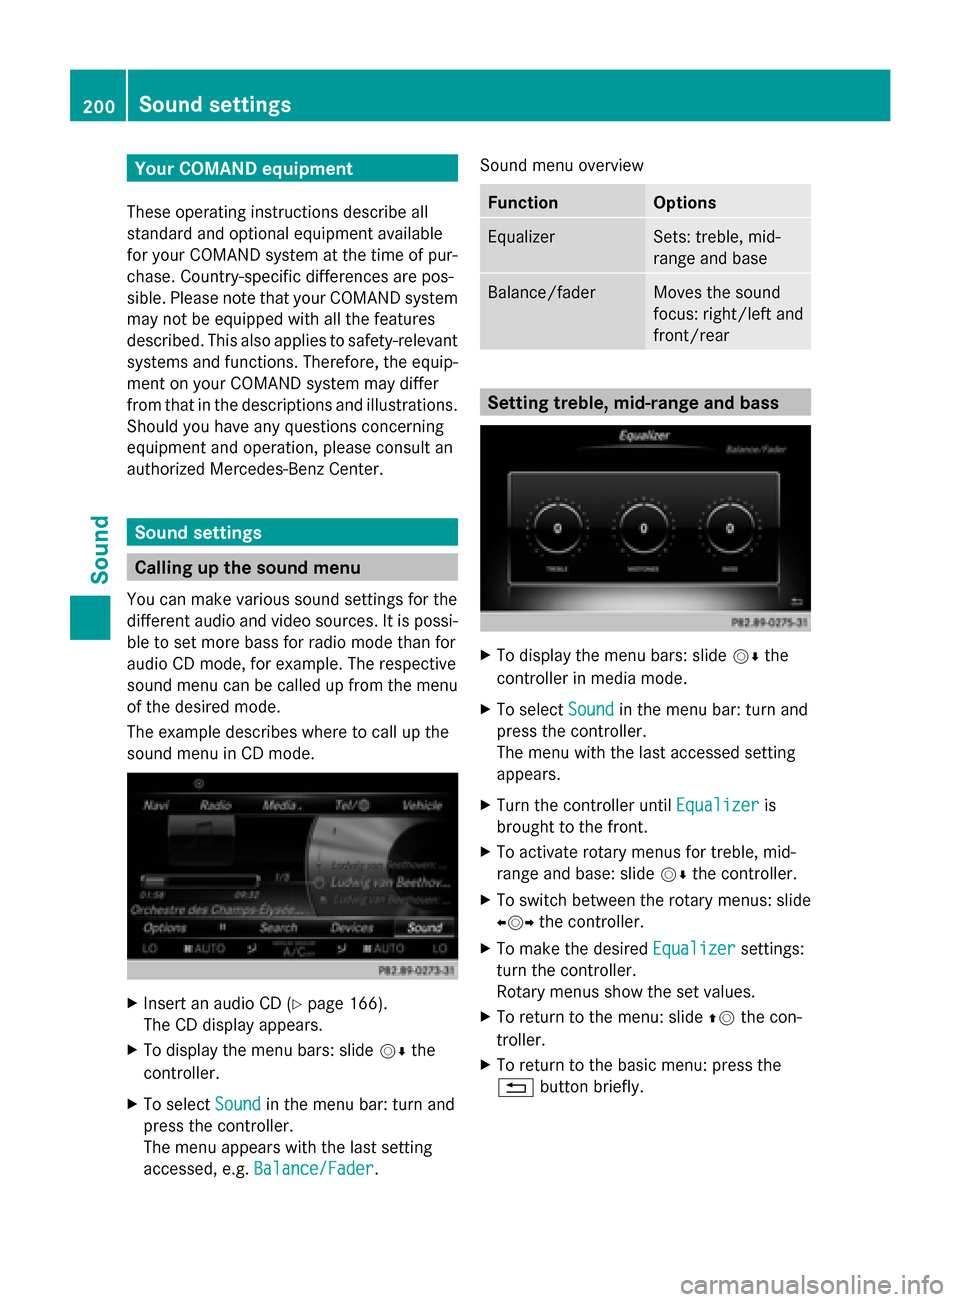
The example describes where to call up the
sound menu in CD mode. X
Insert an audio CD (Y page 166).
The CD display appears.
X To display the menu bars: slide 00520064the
controller.
X To select Sound
Sound in the menu bar: turn and
press the controller.
The menu appears with the last setting
accessed, e.g. Balance/Fader Balance/Fader. Sound menu overview Function Options
Equalizer Sets: treble, mid-
range and base
Balance/fader Moves the sound
focus: right/left and
front/rear
Setting treble, mid-range and bass
X
To display the menu bars: slide 00520064the
controller in media mode.
X To select Sound Soundin the menu bar: turn and
press the controller.
The menu with the last accessed setting
appears.
X Turn the controller until Equalizer Equalizeris
brought to the front.
X To activate rotary menus for treble, mid-
range and base: slide 00520064the controller.
X To switch between the rotary menus: slide
00950052 the controller.
X To make the desired Equalizer
Equalizer settings:
turn the controller.
Rotary menus show the set values.
X To return to the menu: slide 00970052the con-
troller.
X To return to the basic menu: press the
0038 button briefly. 200
Sound set
tingsSound
Page 203 of 214

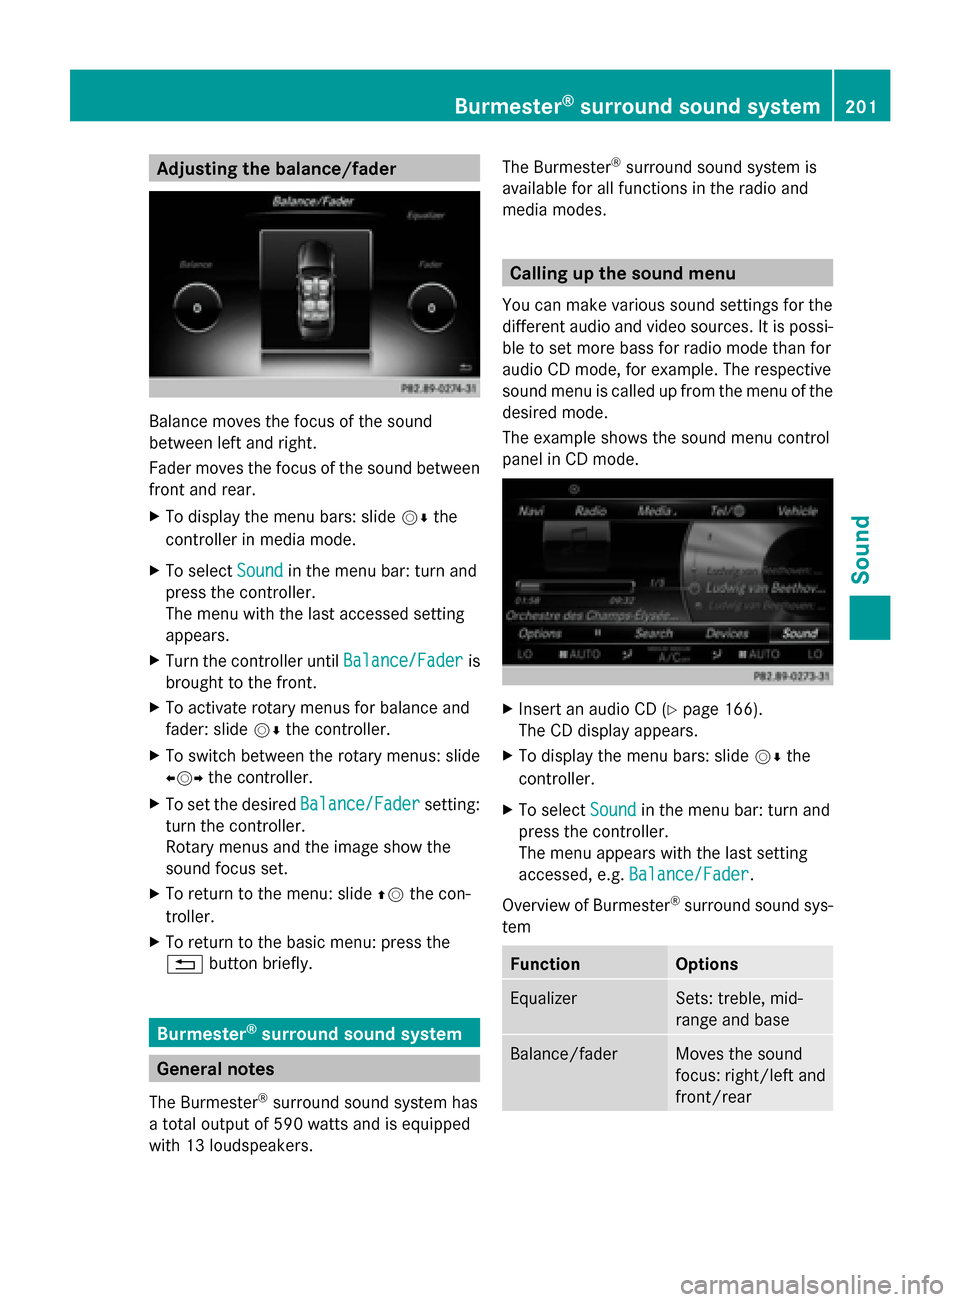
Adjusting the balance/fader
Balance moves the focus of the sound
between left and right.
Fader moves the focus of the sound between
front and rear.
X To display the menu bars: slide 00520064the
controller in media mode.
X To select Sound Soundin the menu bar: turn and
press the controller.
The menu with the last accessed setting
appears.
X Turn the controller until Balance/Fader
Balance/Fader is
brought to the front.
X To activate rotary menus for balance and
fader: slide 00520064the controller.
X To switch between the rotary menus: slide
009500520096 the controller.
X To set the desired Balance/Fader
Balance/Fader setting:
turn the controller.
Rotary menus and the image show the
sound focus set.
X To return to the menu: slide 00970052the con-
troller.
X To return to the basic menu: press the
0038 button briefly. Burmester
®
surround sound system General notes
The Burmester ®
surround sound system has
a total output of 590 watts and is equipped
with 13 loudspeakers. The Burmester
®
surround sound system is
available for all functions in the radio and
media modes. Calling up the sound menu
You can make various sound settings for the
different audio and video sources. It is possi-
ble to set more bass for radio mode than for
audio CD mode, for example. The respective
sound menu is called up from the menu of the
desired mode.
The example shows the sound menu control
panel in CD mode. X
Insert an audio CD (Y page 166).
The CD display appears.
X To display the menu bars: slide 00520064the
controller.
X To select Sound Soundin the menu bar: turn and
press the controller.
The menu appears with the last setting
accessed, e.g. Balance/Fader Balance/Fader.
Overview of Burmester ®
surround sound sys-
tem Function Options
Equalizer Sets: treble, mid-
range and base
Balance/fader Moves the sound
focus: right/left and
front/rearBurmester
®
surround sound system 201Sound
Page 204 of 214

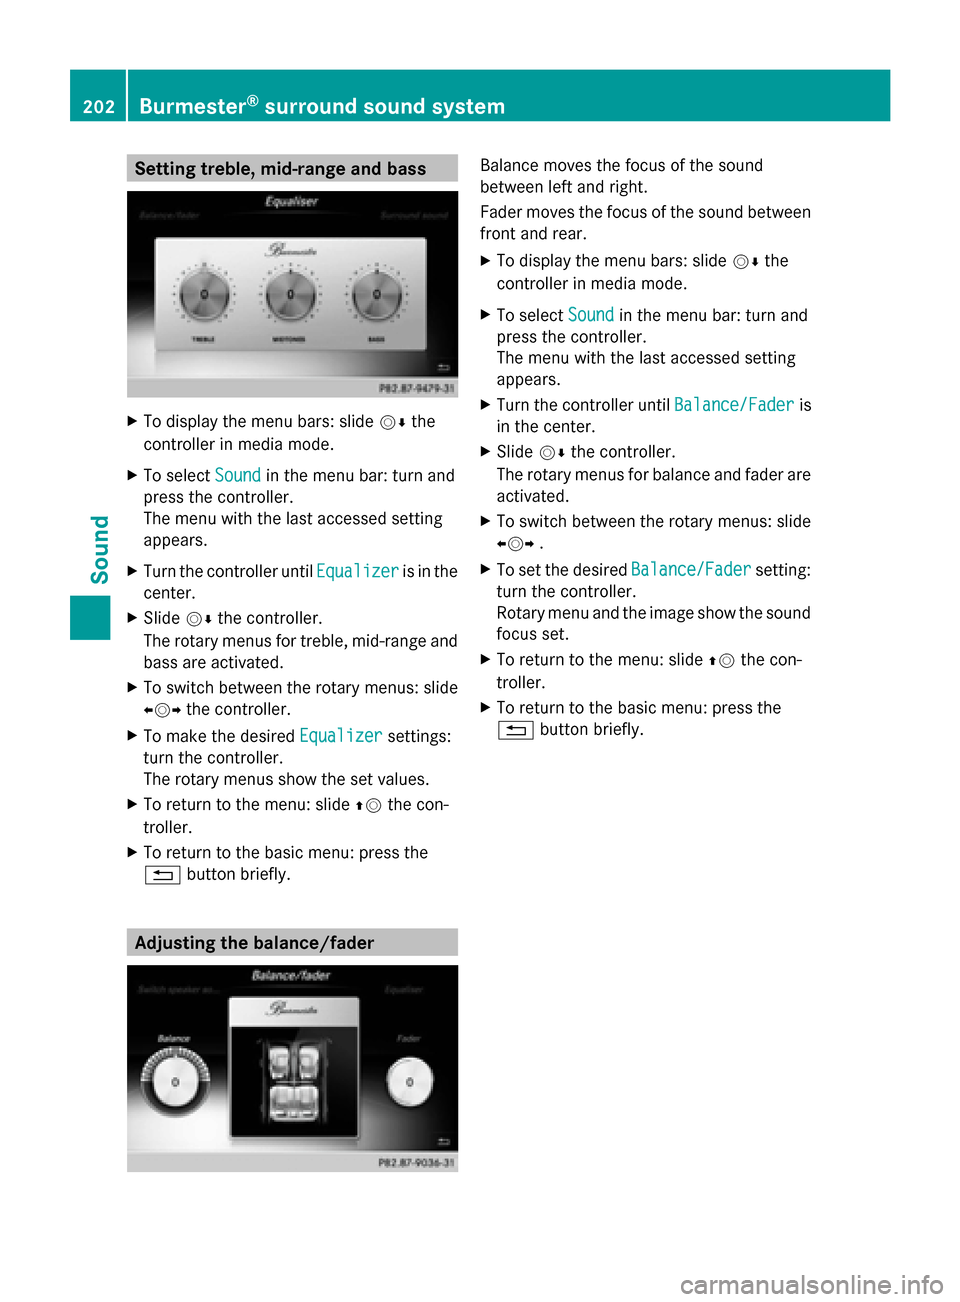
Setting treble, mid-range and bass
X
To display the menu bars: slide 00520064the
controller in media mode.
X To select Sound
Sound in the menu bar: turn and
press the controller.
The menu with the last accessed setting
appears.
X Turn the controller until Equalizer
Equalizer is in the
center.
X Slide 00520064the controller.
The rotary menus for treble, mid-range and
bass are activated.
X To switch between the rotary menus: slide
009500520096 the controller.
X To make the desired Equalizer Equalizersettings:
turn the controller.
The rotary menus show the set values.
X To return to the menu: slide 00970052the con-
troller.
X To return to the basic menu: press the
0038 button briefly. Adjusting the balance/fader Balance moves the focus of the sound
between left and right.
Fader moves the focus of the sound between
front and rear.
X To display the menu bars: slide 00520064the
controller in media mode.
X To select Sound Soundin the menu bar: turn and
press the controller.
The menu with the last accessed setting
appears.
X Turn the controller until Balance/Fader Balance/Faderis
in the center.
X Slide 00520064the controller.
The rotary menus for balance and fader are
activated.
X To switch between the rotary menus: slide
009500520096 .
X To set the desired Balance/Fader
Balance/Fader setting:
turn the controller.
Rotary menu and the image show the sound
focus set.
X To return to the menu: slide 00970052the con-
troller.
X To return to the basic menu: press the
0038 button briefly. 202
Burmester ®
surround sound systemSound