2015 FORD FOCUS ELECTRIC lights
[x] Cancel search: lightsPage 112 of 369
HEATED SEATS
WARNING
People who are unable to feel pain
to their skin because of advanced
age, chronic illness, diabetes, spinal
cord injury, medication, alcohol use,
exhaustion or other physical conditions,
must exercise care when using the heated
seat. The heated seat may cause burns
even at low temperatures, especially if
used for long periods of time. Do not place
anything on the seat that insulates against
heat, such as a blanket or cushion. This
may cause the heated seat to overheat.
Do not puncture the seat with pins, needles
or other pointed objects. This may damage
the heating element which may cause the
heated seat to overheat. An overheated
seat may cause serious personal injury. Do not do the following:
•
Place heavy objects on the seat.
• Operate the heated seat if water or any
other liquid spills on the seat. Allow the
seat to dry thoroughly.
• Operate the heated seats unless the
vehicle is powered to Ready to Drive.
Doing so can deplete the 12-volt
battery. Press the heated seat symbol to cycle
through the various heat settings and off.
More indicator lights indicate warmer
settings.
109
Focus (CDH), enUSA, First Printing SeatsE146941
Page 122 of 369
The light ring located around the charge
port indicates the charge status of the high
voltage battery in your vehicle:
•
When the top right-hand side quadrant
is pulsing, the charge is between 0-25
percent.
• When the top right-hand side quadrant
is on and the bottom right-hand
quadrant is pulsing, the charge is
between 25-50 percent.
• When both right-hand side quadrants
are on and the bottom left-hand side
quadrant is pulsing, the charge is
between 50-75 percent.
• When three quadrants are on and the
top left-hand side quadrant is pulsing,
the charge is between 75-100 percent.
• When all the lights on the light ring are
on, the charge is complete.
Note: The light ring will turn off one minute
after reaching a full charge.
Locking the Charging Coupler
Note: To lock the charging coupler, you
need a padlock or a combination lock with
a shackle diameter of 0.2 in (5 mm) or less.
Also, the straight portion of the shackle
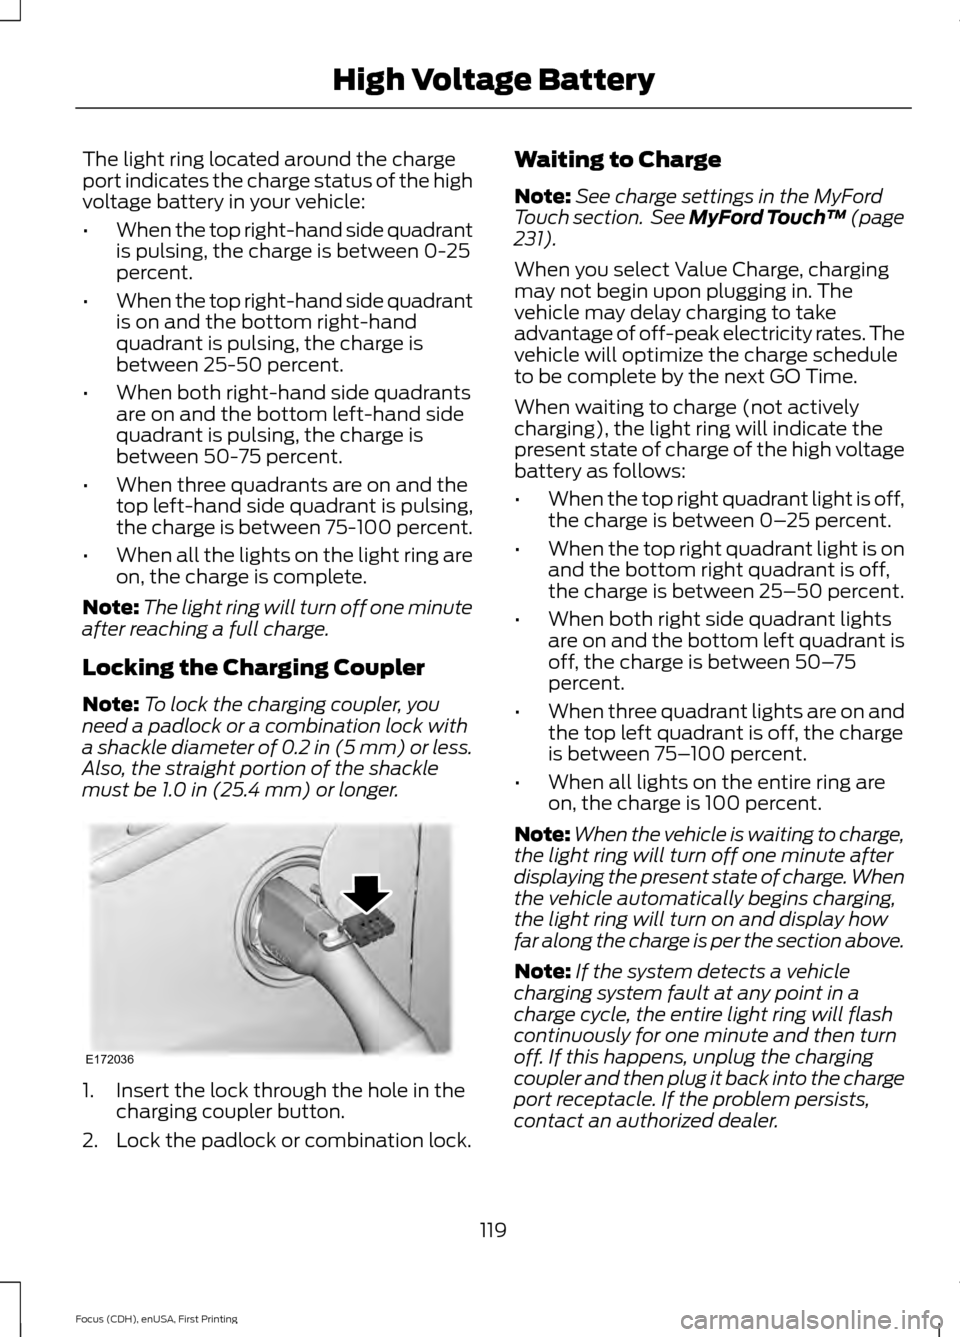
must be 1.0 in (25.4 mm) or longer. 1. Insert the lock through the hole in the
charging coupler button.
2. Lock the padlock or combination lock. Waiting to Charge
Note:
See charge settings in the MyFord
Touch section. See MyFord Touch ™
(page
231).
When you select Value Charge, charging
may not begin upon plugging in. The
vehicle may delay charging to take
advantage of off-peak electricity rates. The
vehicle will optimize the charge schedule
to be complete by the next GO Time.
When waiting to charge (not actively
charging), the light ring will indicate the
present state of charge of the high voltage
battery as follows:
• When the top right quadrant light is off,
the charge is between 0– 25 percent.
• When the top right quadrant light is on
and the bottom right quadrant is off,
the charge is between 25–50 percent.
• When both right side quadrant lights
are on and the bottom left quadrant is
off, the charge is between 50– 75
percent.
• When three quadrant lights are on and
the top left quadrant is off, the charge
is between 75– 100 percent.
• When all lights on the entire ring are
on, the charge is 100 percent.
Note: When the vehicle is waiting to charge,
the light ring will turn off one minute after
displaying the present state of charge. When
the vehicle automatically begins charging,
the light ring will turn on and display how
far along the charge is per the section above.
Note: If the system detects a vehicle
charging system fault at any point in a
charge cycle, the entire light ring will flash
continuously for one minute and then turn
off. If this happens, unplug the charging
coupler and then plug it back into the charge
port receptacle. If the problem persists,
contact an authorized dealer.
119
Focus (CDH), enUSA, First Printing High Voltage BatteryE172036
Page 129 of 369
When the system is active, your vehicle will
remain stationary on the slope for two to
three seconds after you release the brake
pedal. This allows you time to move your
foot from the brake to the accelerator
pedal. The brakes are released
automatically once the engine has
developed sufficient drive to prevent your
vehicle from rolling down the slope. This
is an advantage when pulling away on a
slope, for example from a car park ramp,
traffic lights or when reversing uphill into
a parking space.
The system will activate automatically on
any slope that will cause significant vehicle
rollback. For vehicles with a manual
transmission, you can switch this feature
off using the information display. See
Information Displays (page 86). The
system will remain on or off depending on
how it was last set.
Note: The system only functions when you
bring your vehicle to a complete stop. Shift
into reverse (R) when facing downhill and
first gear (1) when facing uphill.
Note: There is no warning lamp to indicate
the system is either on or off.
Using Hill Start Assist
1. Press the brake pedal to bring your vehicle to a complete standstill. Keep
the brake pedal pressed.
2. If the sensors detect that your vehicle is on a slope, the system will activate
automatically.
3. When you remove your foot from the brake pedal, your vehicle will remain
on the slope without rolling away for
about two or three seconds. This hold
time will automatically be extended if
you are in the process of driving off.
4. Drive off in the normal manner. The brakes will release automatically.
126
Focus (CDH), enUSA, First Printing Brakes
Page 135 of 369
Always use caution while reversing.
Objects in the red zone are closest to your
vehicle and objects in the green zone are
farther away. Objects are getting closer to
your vehicle as they move from the green
zone to the yellow or red zones. Use the
side view mirrors and rear view mirror to
get better coverage on both sides and rear
of your vehicle.
Manual Zoom
WARNING
When manual zoom is on, the full
area behind your vehicle may not
show. Be aware of your surroundings
when using the manual zoom feature. Note:
Manual zoom is only available when
the transmission is in reverse (R).
Note: When you enable manual zoom, only
the centerline is shown.
Selectable settings for this feature are
Zoom in (+) and Zoom out (-). Press the
symbol in the camera screen to change the
view. The default setting is Zoom OFF.
This allows you to get a closer view of an
object behind your vehicle. The zoomed
image keeps the bumper in the image to
provide a reference. The zoom is only
active while the transmission is in reverse
(R).
Camera System Settings
To access any of the rear view camera
system settings, make the following
selections in the multifunctional display
when the transmission is not in reverse (R):
• With Touch Screen: Settings > Vehicle
> Camera Settings
• Without Touch Screen: Menu > Camera
Settings Enhanced Park Aids or Park Pilot (If
Equipped)
Selectable settings for this feature are ON
and OFF.
The system uses red, yellow and green
highlights that appear on top of the video
image when any of the sensing systems
detect an object.
Rear Camera Delay
Selectable settings for this feature are ON
and OFF.
The default setting for the rear camera
delay is OFF.
When shifting the transmission out of
reverse (R) and into any gear other than
park (P), the camera image remains in the
display until:
•
Your vehicle speed sufficiently
increases.
• You shift your vehicle into park (P).
• 10 seconds of time elapse.
132
Focus (CDH), enUSA, First Printing Parking Aids
Page 148 of 369
BREAKING-IN
You need to break in new tires for
approximately 300 mi (480 km). During
this time, your vehicle may exhibit some
unusual driving characteristics.
Avoid hard accelerations and driving too
fast during the first
1000 mi (1,600 km).
COLD WEATHER
PRECAUTIONS
The functional operation of some
components and systems can be affected
at temperatures below
-13°F (-25°C).
DRIVING THROUGH WATER WARNING
Do not drive through flowing or deep
water as you may lose control of your
vehicle.
Note:
Driving through standing water can
cause vehicle damage.
Note: Engine damage can occur if water
enters the air filter.
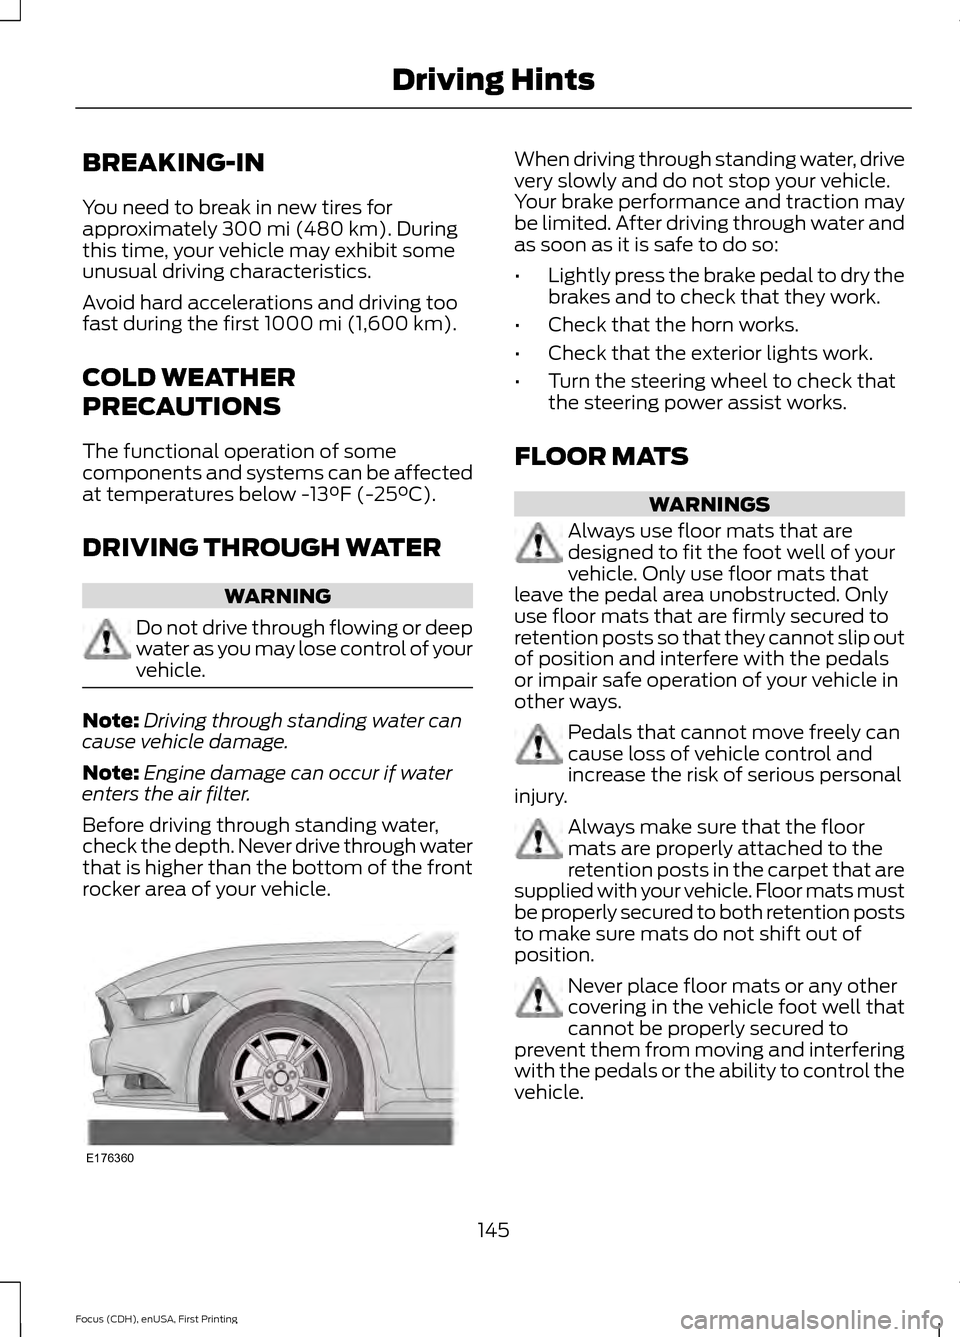
Before driving through standing water,
check the depth. Never drive through water
that is higher than the bottom of the front
rocker area of your vehicle. When driving through standing water, drive
very slowly and do not stop your vehicle.
Your brake performance and traction may
be limited. After driving through water and
as soon as it is safe to do so:
•
Lightly press the brake pedal to dry the
brakes and to check that they work.
• Check that the horn works.
• Check that the exterior lights work.
• Turn the steering wheel to check that
the steering power assist works.
FLOOR MATS WARNINGS
Always use floor mats that are
designed to fit the foot well of your
vehicle. Only use floor mats that
leave the pedal area unobstructed. Only
use floor mats that are firmly secured to
retention posts so that they cannot slip out
of position and interfere with the pedals
or impair safe operation of your vehicle in
other ways. Pedals that cannot move freely can
cause loss of vehicle control and
increase the risk of serious personal
injury. Always make sure that the floor
mats are properly attached to the
retention posts in the carpet that are
supplied with your vehicle. Floor mats must
be properly secured to both retention posts
to make sure mats do not shift out of
position. Never place floor mats or any other
covering in the vehicle foot well that
cannot be properly secured to
prevent them from moving and interfering
with the pedals or the ability to control the
vehicle.
145
Focus (CDH), enUSA, First Printing Driving HintsE176360
Page 153 of 369
COLLISION, DAMAGE OR FIRE
EVENT
Guidance for Ford Motor Company
Electric and Hybrid-Electric
Vehicles Equipped With High
Voltage Batteries
(Vehicle Owner/Operator/General
Public)
Electric and Hybrid-Electric Vehicle
Considerations
In the event of damage or fire involving
an electric vehicle (EV) or
hybrid-electric vehicle (HEV):
•
Always assume the high-voltage
battery and associated components
are energized and fully charged.
• Exposed electrical components, wires
and high-voltage batteries present
potential high-voltage shock hazards.
• Venting/off-gassing high-voltage
battery vapors are potentially toxic and
flammable.
• Physical damage to the vehicle or
high-voltage battery may result in
immediate or delayed release of toxic,
flammable gases and fire.
Vehicle Information and General
Safety Practices
• Know the make and model of your
vehicle.
• Review the owner ’s manual and
become familiar with your vehicle ’s
safety information and recommended
safety practices.
• Do not attempt to repair damaged
electric and hybrid-electric vehicles
yourself. Contact an authorized Ford
Dealer or vehicle manufacturer
representative for service. Crashes
A crash or impact significant enough to
require an emergency response for
conventional vehicles would also require
the same response for an electric or
hybrid-electric vehicle.
If possible
•
Move your car to a safe, nearby
location and remain on the scene.
• Roll down the windows before shutting
your vehicle off.
• Place your vehicle in Park, set the
parking brake, turn off the vehicle,
activate the hazard lights, and move
your key(s) at least 16 feet (5 meters)
away from the vehicle.
Always
• Call 911 if assistance is needed and
advise that an electric or hybrid-electric
vehicle is involved.
• Do not touch exposed electrical
components or the engine
compartment, as a shock hazard may
exist.
• Avoid contact with leaking fluids and
gases, and remain out of the way of
oncoming traffic until emergency
responders arrive.
• When emergency responders arrive,
tell them that the vehicle involved is an
electric vehicle or hybrid vehicle.
Fires
As with any vehicle, call 911 immediately if
you see sparks, smoke or flames coming
from the vehicle.
• Exit the vehicle immediately.
• Advise 911 that an electric or
hybrid-electric vehicle is involved.
150
Focus (CDH), enUSA, First Printing Roadside Emergencies
Page 184 of 369
Replacing Licence Plate and High
Mounted Brake Lamp Bulbs
These lamps have LED bulbs. Contact an
authorized dealer.
BULB SPECIFICATION CHART
Replacement bulbs are specified in the
chart below. Headlamp bulbs must be
marked with an authorized
“D.O.T.” for
North America to ensure lamp
performance, light brightness and pattern
and safe visibility. The correct bulbs will
not damage the lamp assembly or void the
lamp assembly warranty and will provide
quality bulb burn time. Trade number
Function
D8S
* Headlamp high/low beam (HID)
LED
* Sidemarker - front
LED
* Park lamp - front
PY21W
Direction indicator - front
3757 NAK
Direction indicator - rear
3157K
Brake lamp
LED
* Rear lamp
921
Backup lamp
LED
* License plate lamp
LED
* High-mount brake lamp
LED
* Interior lamps
* To replace these lamps, contact an authorized dealer.
To replace all instrument panel lights, contact an authorized dealer.
181
Focus (CDH), enUSA, First Printing Maintenance
Page 193 of 369
General Information
WARNING
Failure to follow these guidelines
could result in an increased risk of
loss of vehicle control, injury or death.
Note:
Do not use the kit if you have severely
damaged a tire. Only seal punctures located
within the tire tread with the kit.
Do not attempt to repair punctures larger
than 1.4 inches (6.4 millimeters) or
damage to the tire's sidewall. The tire may
not completely seal.
Loss of air pressure may adversely affect
tire performance. For this reason:
Note: Do not drive the vehicle above
50 mph (80 km/h).
Note: Do not drive further than
120 mi
(200 km). Drive only to the closest
authorized Ford dealer or tire repair shop to
have your tire inspected.
• Drive carefully and avoid abrupt
steering maneuvers.
• Periodically monitor tire inflation
pressure in the affected tire. If the tire
is losing pressure, have the vehicle
towed.
• Read the information in the Tips for
Use of the Kit section to make sure of
safe operation of the kit and your
vehicle.
Tips for Use of the Kit
To ensure safe operation of the kit:
• Read all instructions and cautions fully.
• Before operating the kit, make sure
your vehicle is safely off the road and
away from moving traffic. Switch on
the hazard lights.
• Always set the parking brake to make
sure the vehicle does not move
unexpectedly. •
Do not remove any foreign objects,
such as nails or screws, from the tire.
• When using the kit, leave the engine
running (only if the vehicle is outdoors
or in a well-ventilated area) so the
compressor does not drain the
vehicle's battery.
• Do not allow the compressor to
operate continuously for more than 15
minutes; this will help prevent the
compressor from overheating.
• Never leave the kit unattended when
it is operating.
• Sealant compound contains latex.
Those with latex sensitivities should
use appropriate precautions to avoid
an allergic reaction.
• Keep the kit away from children.
• Only use the kit when the ambient
temperature is between -22°F (-30°C)
and 158°F (70°C).
• Only use the sealing compound before
the use by date. Locate the use by date
on the lower right hand corner of the
label on the sealant canister (bottle).
Check the use by date regularly and
replace the canister after four years.
• Do not store the kit unsecured inside
the passenger compartment of the
vehicle as it may cause injury during a
sudden stop or crash. Always store the
kit in its original location.
• After sealant use, an authorized dealer
must replace the tire pressure
monitoring system sensor and valve
stem on the wheel.
• When inflating a tire or other objects,
use the black air hose only. Do not use
the transparent hose, which is designed
for sealant application only.
• Operating the kit could cause an
electrical disturbance in radio, CD, and
DVD player operation.
190
Focus (CDH), enUSA, First Printing Wheels and Tires