2015 FORD FOCUS ELECTRIC change wheel
[x] Cancel search: change wheelPage 55 of 369
Note:
You can clear or change your MyKey
settings at any time during the same key
cycle as you created the MyKey. Once you
have switched the vehicle off, however, you
will need an admin key to change or clear
your MyKey settings.
Note: When you make any changes to your
MyKey settings, you change the settings for
every MyKey. You cannot make individual
changes to apply to certain MyKeys. CLEARING ALL MYKEYS
You can clear or change your MyKey
settings using the information display
control on the steering wheel. See
Information Displays (page 86).
Switch the ignition on using an admin key
or fob.
To clear all MyKeys of all MyKey settings, press the left arrow button to access
the main menu and scroll to: Action and Description
Message
Press the
OK button.
Settings
Press the
OK button.
MyKey
Press and hold the
OK button until the following message
displays.
Clear MyKey
All MyKeys
Cleared
Note: When you clear your MyKeys, you remove all restrictions and return all MyKeys to
their original admin key status.
52
Focus (CDH), enUSA, First Printing MyKey
™
Page 85 of 369
•
State of Charge - The state of charge
for the high voltage battery is shown
as a colored fill. The fill color is
normally blue. When a low battery
condition is reached the fill turns
amber. When the battery is depleted
the fill turns red. See the Information
Messages section for details on
associated Low Battery and Depleted
Battery warnings.
• Distance to Empty - The Range
Estimate in the Battery Gauge is
personalized to your key. This is the
estimated distance your vehicle can
travel before needing a recharge. The
Range Estimate is based on your
typical energy usage while driving. This
includes your Drive Habits as well as
your use of accessories such as Climate
Control. Your Range Estimate may
change immediately when you change
your Climate Control settings.
• Regen Display - A circular arrow
symbol appears in the center of the
Battery Gauge when energy is being
recaptured through the regenerative
braking system.
Brake Coach Display
The Brake Coach appears after your
vehicle has come to a stop. It coaches you
to brake in a manner which maximizes the
amount of energy returned through the
regenerative braking system. The percent
displayed is an indication of the
regenerative braking efficiency with 100%
representing the maximum amount of
energy recovery. If desired, this feature can
be disabled in the Display section of the
Settings menu. Trip Summary and Lifetime Summary
These summaries display after switching
off your vehicle. The Trip Summary
appears first, followed by the Lifetime
Summary. You can toggle between these
displays using the up and down arrow keys
on the left hand steering wheel controls.
Trip Summary data is from the last power
cycle, while Lifetime Summary data is
cumulative from the last Lifetime
Summary reset done through the Settings
menu in the information display.
Trip Summary:
•
Distance - The total distance traveled,
and regen distance are displayed.
Regen distance is the estimated range
gained from energy recaptured through
regenerative braking.
• Energy Used - The total kilowatt hours
and average watt hours per unit of
distance are displayed. The average
watt hours per mi (km) will be shown
in blue if less than (better than) the
lifetime average watt hours per mi
(km).
• Brake Score - The percentage of
braking energy recaptured and returned
to the high voltage battery through
regenerative braking. The brake score
will be shown in blue if greater than
(better than) the lifetime brake score.
Lifetime Summary:
• Distance - The total regen distance,
which is the estimated range gained
from energy recaptured through
regenerative braking.
• Energy Used - The average watt hours
per mi (km).
• Brake Score - The average percentage
of braking energy recaptured and
returned to the high voltage battery
through regenerative braking.
82
Focus (CDH), enUSA, First Printing Instrument Cluster
Page 89 of 369
GENERAL INFORMATION
WARNING
Driving while distracted can result in
loss of vehicle control, crash and
injury. We strongly recommend that
you use extreme caution when using any
device that may take your focus off the
road. Your primary responsibility is the safe
operation of your vehicle. We recommend
against the use of any hand-held device
while driving and encourage the use of
voice-operated systems when possible.
Make sure you are aware of all applicable
local laws that may affect the use of
electronic devices while driving. You can control various systems on your
vehicle using the information display
controls on the steering wheel.
The information display shows the
corresponding information.
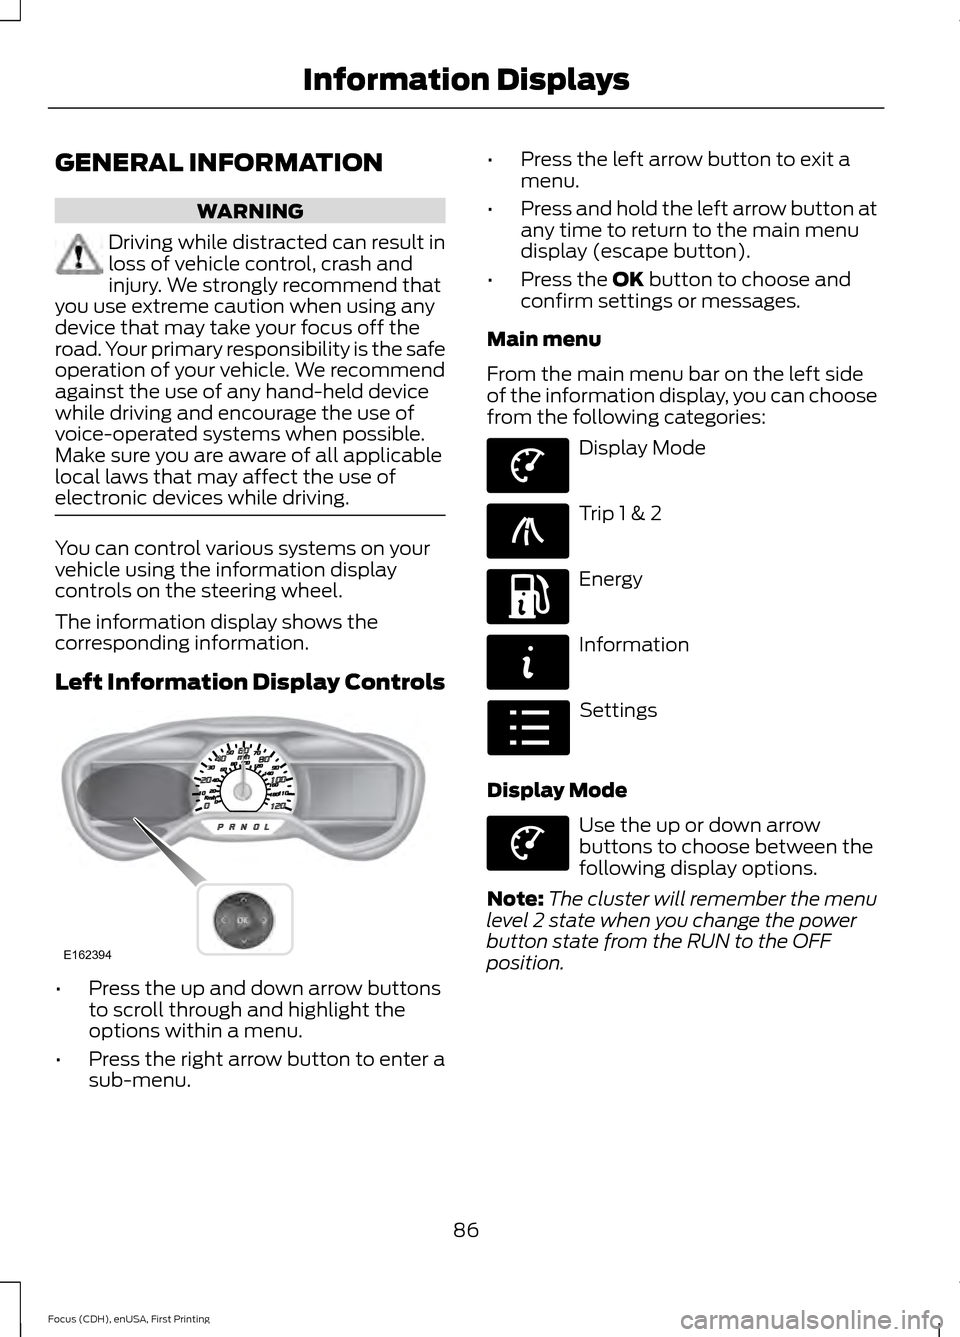
Left Information Display Controls
•
Press the up and down arrow buttons
to scroll through and highlight the
options within a menu.
• Press the right arrow button to enter a
sub-menu. •
Press the left arrow button to exit a
menu.
• Press and hold the left arrow button at
any time to return to the main menu
display (escape button).
• Press the OK button to choose and
confirm settings or messages.
Main menu
From the main menu bar on the left side
of the information display, you can choose
from the following categories: Display Mode
Trip 1 & 2
Energy
Information
Settings
Display Mode Use the up or down arrow
buttons to choose between the
following display options.
Note: The cluster will remember the menu
level 2 state when you change the power
button state from the RUN to the OFF
position.
86
Focus (CDH), enUSA, First Printing Information DisplaysE162394 E144639 E138660 E197200 E144642 E100023 E144639
Page 125 of 369
AUTOMATIC TRANSMISSION
Single Speed Automatic
Transmission
WARNING
Always set the parking brake fully
and make sure you shift the gearshift
lever to park (P). Switch the ignition
off and remove the key whenever you leave
your vehicle. The single speed transmission is built
specifically to handle the high rotational
speed range of an electric motor.
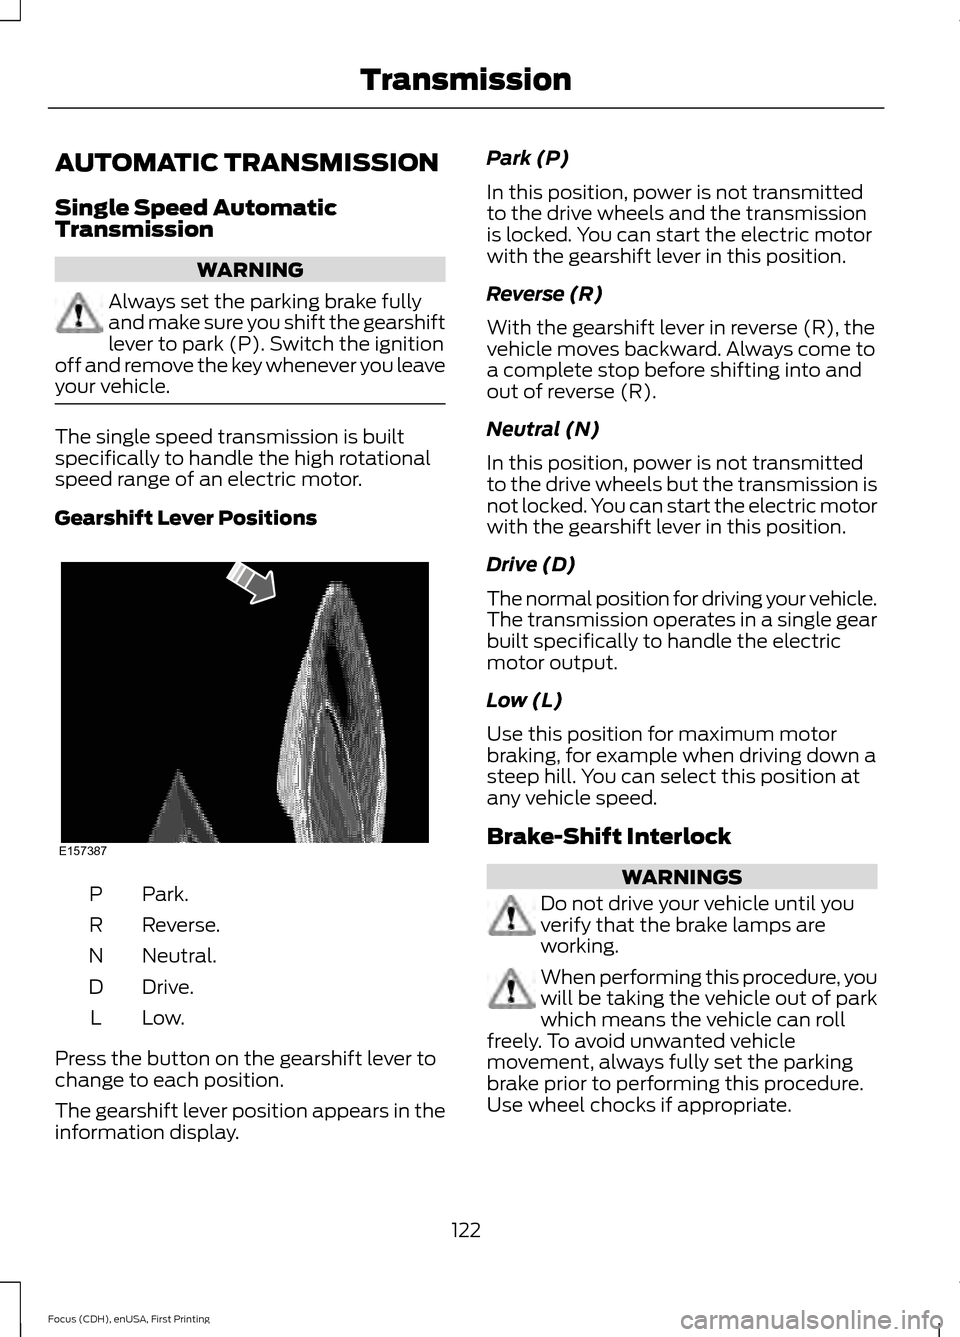
Gearshift Lever Positions
Park.
P
Reverse.
R
Neutral.
N
Drive.
D
Low.L
Press the button on the gearshift lever to
change to each position.
The gearshift lever position appears in the
information display. Park (P)
In this position, power is not transmitted
to the drive wheels and the transmission
is locked. You can start the electric motor
with the gearshift lever in this position.
Reverse (R)
With the gearshift lever in reverse (R), the
vehicle moves backward. Always come to
a complete stop before shifting into and
out of reverse (R).
Neutral (N)
In this position, power is not transmitted
to the drive wheels but the transmission is
not locked. You can start the electric motor
with the gearshift lever in this position.
Drive (D)
The normal position for driving your vehicle.
The transmission operates in a single gear
built specifically to handle the electric
motor output.
Low (L)
Use this position for maximum motor
braking, for example when driving down a
steep hill. You can select this position at
any vehicle speed.
Brake-Shift Interlock
WARNINGS
Do not drive your vehicle until you
verify that the brake lamps are
working.
When performing this procedure, you
will be taking the vehicle out of park
which means the vehicle can roll
freely. To avoid unwanted vehicle
movement, always fully set the parking
brake prior to performing this procedure.
Use wheel chocks if appropriate.
122
Focus (CDH), enUSA, First Printing TransmissionE157387
Page 127 of 369
GENERAL INFORMATION
Note:
Occasional brake noise is normal. If
a metal-to-metal, continuous grinding or
continuous squeal sound is present, the
brake linings may be worn-out. Have the
system checked by an authorized dealer. If
the vehicle has continuous vibration or
shudder in the steering wheel while braking,
have it checked by an authorized dealer.
Note: Brake dust may accumulate on the
wheels, even under normal driving
conditions. Some dust is inevitable as the
brakes wear and does not contribute to
brake noise. See Cleaning the Alloy
Wheels (page 186). See
Warning Lamps and
Indicators (page 83).
Wet brakes result in reduced braking
efficiency. Gently press the brake pedal a
few times when driving from a car wash or
standing water to dry the brakes.
Brake Over Accelerator
In the event the accelerator pedal
becomes stuck or entrapped, apply steady
and firm pressure to the brake pedal to
slow the vehicle and reduce engine power.
If you experience this condition, apply the
brakes and bring your vehicle to a safe
stop. Move the transmission to park (P),
switch the engine off and apply the parking
brake. Inspect the accelerator pedal for
any interference. If none are found and the
condition persists, have your vehicle towed
to the nearest authorized dealer.
Brake Assist
Brake assist detects when you brake
heavily by measuring the rate at which you
press the brake pedal. It provides
maximum braking efficiency as long as you
press the pedal. Brake assist can reduce
stopping distances in critical situations. Anti-lock Brake System
This system helps you maintain steering
control during emergency stops by keeping
the brakes from locking. This lamp momentarily
illuminates when you turn the
ignition on. If the light does not
illuminate during start up, remains on or
flashes, the system may be disabled. Have
the system checked by an authorized
dealer. If the anti-lock brake system is
disabled, normal braking is still effective. If the brake warning lamp
illuminates when you release the
parking brake, have the system
checked by an authorized dealer.
Regenerative Braking System
This feature is used to simulate the engine
braking of an internal combustion engine
and assist the standard brake system while
recovering some of the energy of motion
and storing it in the battery to improve the
range of your vehicle. The standard brake
system is designed to fully stop the car if
regenerative braking is not available.
During regenerative braking, the motor is
spun as a generator to create electrical
current. This recharges the battery and
slows the vehicle. In effect, once the
accelerator pedal is released, the motor
changes from an energy user to an energy
producer.
When the accelerator pedal is released or
the brake pedal is applied, the brake
controller automatically detects the
amount of deceleration requested and
optimizes how much of the deceleration
will be produced by regenerative braking.
The remaining portion is generated by
124
Focus (CDH), enUSA, First Printing BrakesE144522 E144522
Page 131 of 369
PRINCIPLE OF OPERATION
WARNINGS
Vehicle modifications involving
braking system, aftermarket roof
racks, suspension, steering system,
tire construction and wheel and tire size
may change the handling characteristics
of the vehicle and may adversely affect
the performance of the AdvanceTrac
system. In addition, installing any stereo
loudspeakers may interfere with and
adversely affect the AdvanceTrac system.
Install any aftermarket stereo loudspeaker
as far as possible from the front center
console, the tunnel, and the front seats in
order to minimize the risk of interfering with
the AdvanceTrac sensors. Reducing the
effectiveness of the AdvanceTrac system
could lead to an increased risk of loss of
vehicle control, vehicle rollover, personal
injury and death. Remember that even advanced
technology cannot defy the laws of
physics. It’
s always possible to lose
control of a vehicle due to inappropriate
driver input for the conditions. Aggressive
driving on any road condition can cause
you to lose control of your vehicle
increasing the risk of personal injury or
property damage. Activation of the
AdvanceTrac system is an indication that
at least some of the tires have exceeded
their ability to grip the road; this could
reduce the operator ’s ability to control the
vehicle potentially resulting in a loss of
vehicle control, vehicle rollover, personal
injury and death. If your AdvanceTrac
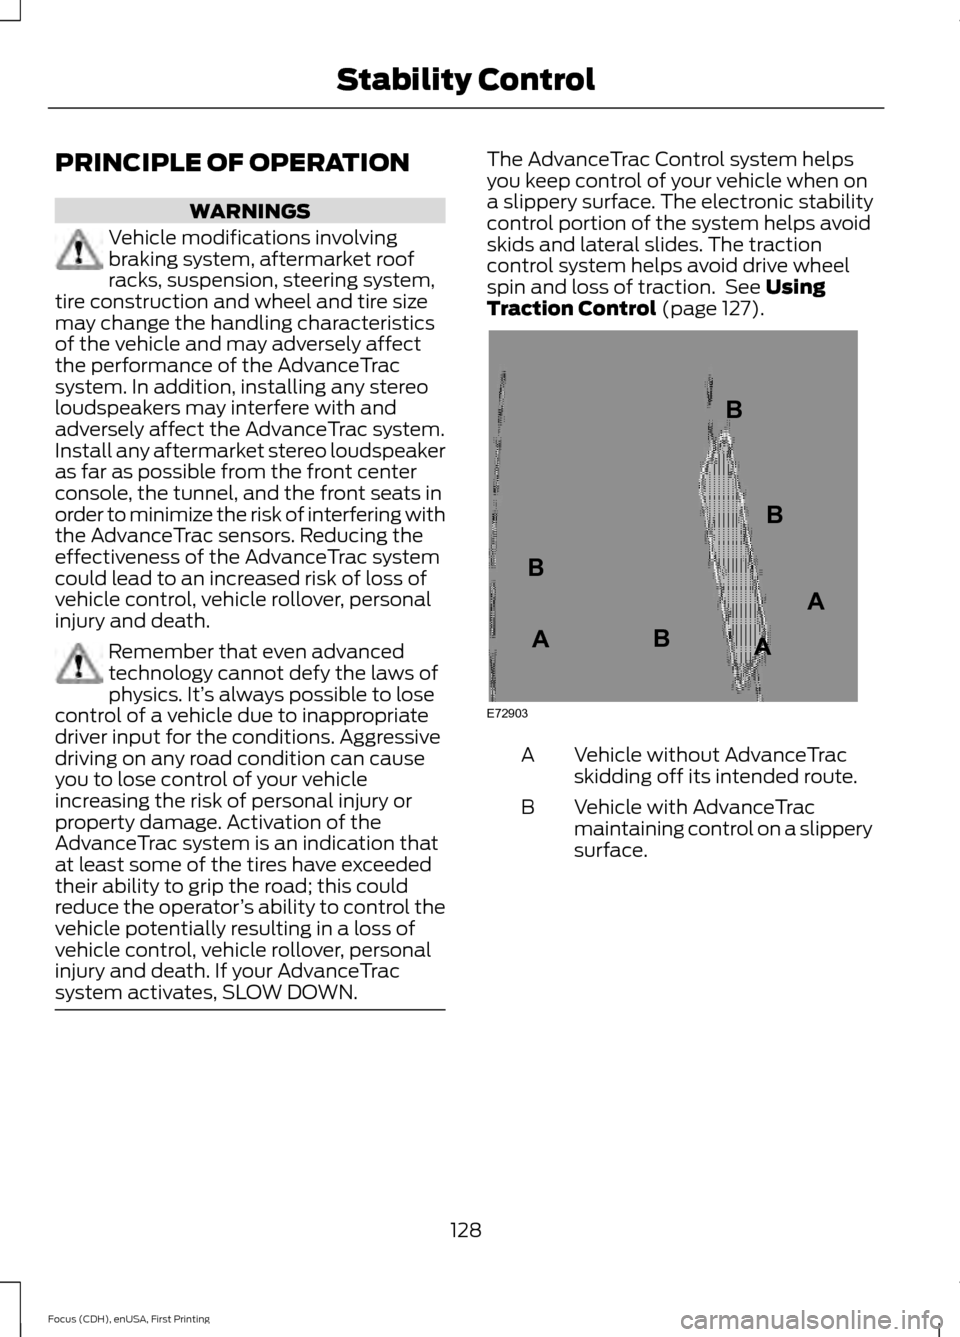
system activates, SLOW DOWN. The AdvanceTrac Control system helps
you keep control of your vehicle when on
a slippery surface. The electronic stability
control portion of the system helps avoid
skids and lateral slides. The traction
control system helps avoid drive wheel
spin and loss of traction. See Using
Traction Control (page 127). Vehicle without AdvanceTrac
skidding off its intended route.
A
Vehicle with AdvanceTrac
maintaining control on a slippery
surface.
B
128
Focus (CDH), enUSA, First Printing Stability ControlE72903A
AA
B
BB
B
Page 134 of 369
Note:
When towing, the camera only sees
what is towed behind your vehicle. This
might not provide adequate coverage as it
usually provides in normal operation and
some objects might not be seen. In some
vehicles, the guidelines may disappear once
the trailer tow connector is engaged.
The camera may not operate correctly
under the following conditions:
• Nighttime or dark areas if one or both
reverse lamps are not operating.
• Mud, water or debris obstructs the
camera's view. Clean the lens with a
soft, lint-free cloth and non-abrasive
cleaner.
• The rear of your vehicle is hit or
damaged, causing the camera to
become misaligned.
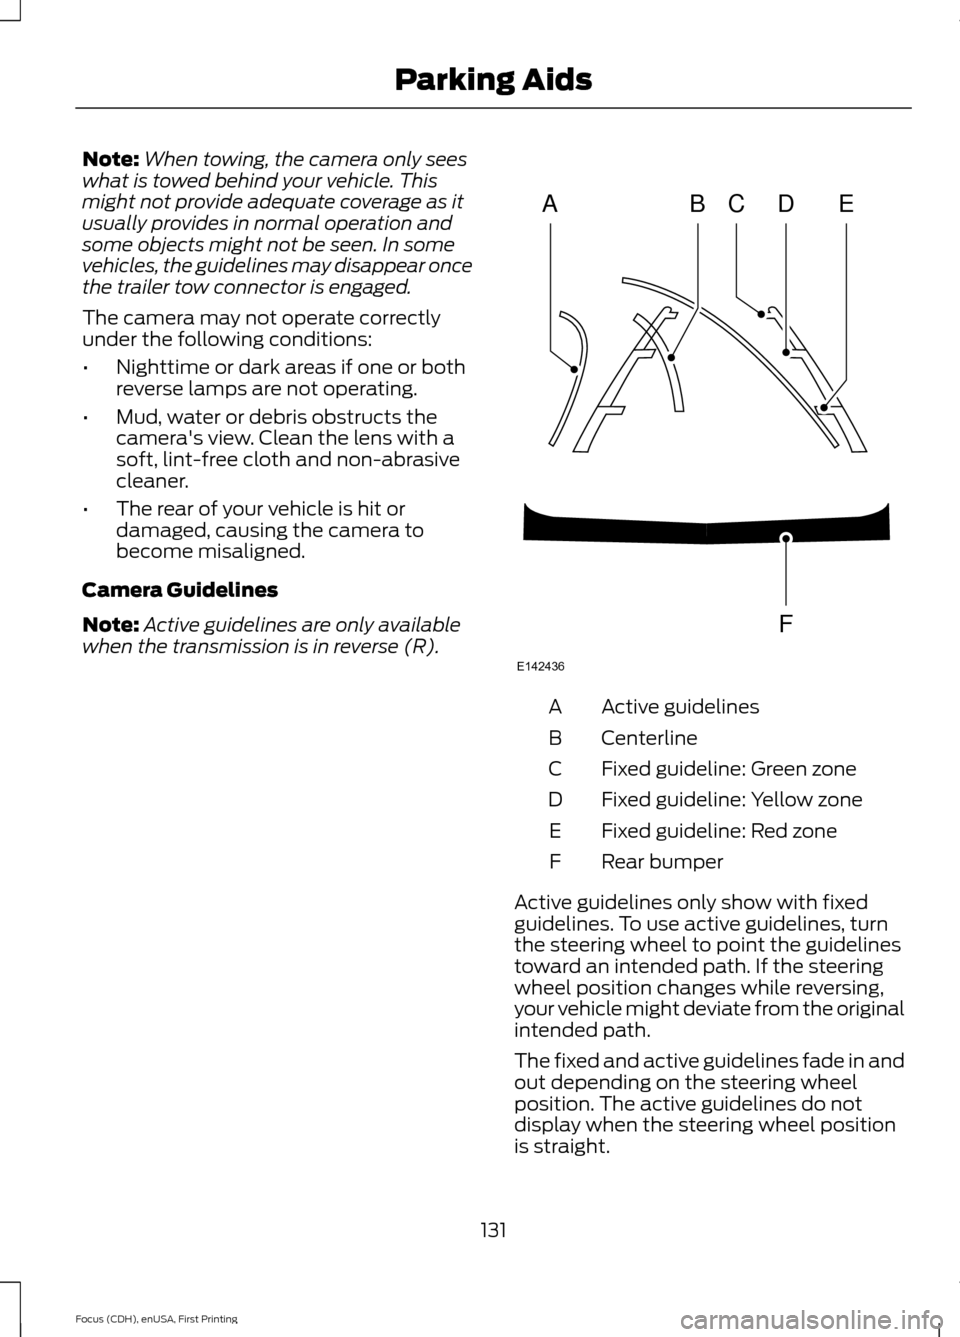
Camera Guidelines
Note: Active guidelines are only available
when the transmission is in reverse (R). Active guidelines
A
Centerline
B
Fixed guideline: Green zone
C
Fixed guideline: Yellow zone
D
Fixed guideline: Red zone
E
Rear bumper
F
Active guidelines only show with fixed
guidelines. To use active guidelines, turn
the steering wheel to point the guidelines
toward an intended path. If the steering
wheel position changes while reversing,
your vehicle might deviate from the original
intended path.
The fixed and active guidelines fade in and
out depending on the steering wheel
position. The active guidelines do not
display when the steering wheel position
is straight.
131
Focus (CDH), enUSA, First Printing Parking AidsABCD
F
E
E142436
Page 136 of 369
PRINCIPLE OF OPERATION
Cruise control lets you maintain a set
speed without keeping your foot on the
accelerator pedal. You can use cruise
control when your vehicle speed is greater
than 20 mph (30 km/h).
USING CRUISE CONTROL WARNINGS
Do not use cruise control on winding
roads, in heavy traffic or, when the
road surface is slippery. This could
result in loss of vehicle control, serious
injury or death. When you are going downhill, your
vehicle speed may increase above
the set speed. The system will not
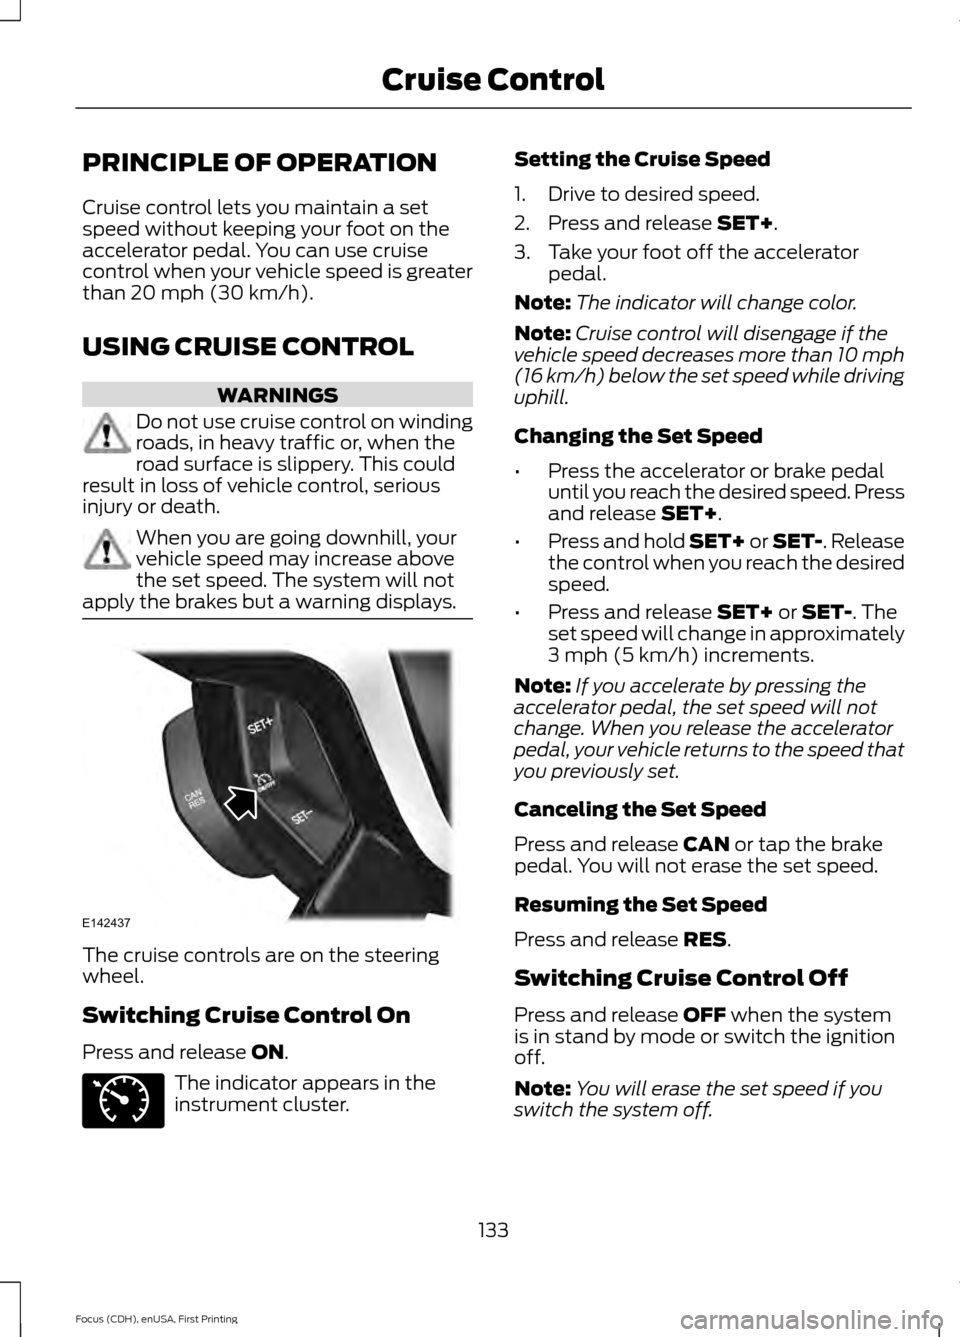
apply the brakes but a warning displays. The cruise controls are on the steering
wheel.
Switching Cruise Control On
Press and release
ON.
The indicator appears in the
instrument cluster. Setting the Cruise Speed
1. Drive to desired speed.
2. Press and release
SET+.
3. Take your foot off the accelerator pedal.
Note: The indicator will change color.
Note: Cruise control will disengage if the
vehicle speed decreases more than 10 mph
(16 km/h) below the set speed while driving
uphill.
Changing the Set Speed
• Press the accelerator or brake pedal
until you reach the desired speed. Press
and release
SET+.
• Press and hold SET+ or SET-. Release
the control when you reach the desired
speed.
• Press and release
SET+ or SET-. The
set speed will change in approximately
3 mph (5 km/h)
increments.
Note: If you accelerate by pressing the
accelerator pedal, the set speed will not
change. When you release the accelerator
pedal, your vehicle returns to the speed that
you previously set.
Canceling the Set Speed
Press and release
CAN or tap the brake
pedal. You will not erase the set speed.
Resuming the Set Speed
Press and release
RES.
Switching Cruise Control Off
Press and release
OFF when the system
is in stand by mode or switch the ignition
off.
Note: You will erase the set speed if you
switch the system off.
133
Focus (CDH), enUSA, First Printing Cruise ControlE142437 E71340