2015 FORD F250 SUPER DUTY service
[x] Cancel search: servicePage 145 of 470
On-Board Diagnostics (OBD-II)
Your vehicle is equipped with an on-boarddiagnostics system (OBD-II) that monitorsthe engine’s emission control system. Thissystem protects the environment byensuring that your vehicle continues tomeet government emission standards. TheOBD-II system also assists your authorizeddealer in properly servicing your vehicle.
When the service engine soonindicator illuminates, the OBD-IIsystem has detected amalfunction. Temporary malfunctions maycause the service engine soon indicator toilluminate.
Examples of temporary malfunctions are:
•the vehicle has run out of fuel—theengine may misfire or run poorly
•poor fuel quality or water in thefuel—the engine may misfire or runpoorly
•the fuel fill inlet may not have beenproperly closed See Refueling (page138).
•driving through deep water—theelectrical system may be wet.
You can correct these temporarymalfunctions by filling the fuel tank withgood quality fuel, properly closing the fuelfill inlet or letting the electrical system dryout. After three driving cycles without theseor any other temporary malfunctionspresent, the service engine soon indicatorshould stay off the next time you start theengine. A driving cycle consists of a coldengine startup followed by mixedcity/highway driving. No additional vehicleservice is required.
If the service engine soon indicator remainson, have your vehicle serviced at the firstavailable opportunity. Although somemalfunctions detected by the OBD-II maynot have symptoms that are apparent,continued driving with the service enginesoon indicator on can result in increasedemissions, lower fuel economy, reducedengine and transmission smoothness, andlead to more costly repairs.
Readiness forInspection/Maintenance (I/M)Testing
Some state/provincial and localgovernments may haveInspection/Maintenance (I/M) programsto inspect the emission control equipmenton your vehicle. Failure to pass thisinspection could prevent you from gettinga vehicle registration.
If the service engine soonindicator is on or the bulb doesnot work, you may need to havethe vehicle serviced. See On-BoardDiagnostics (OBD-II).
Your vehicle may not pass the I/M test ifthe service engine soon indicator is on ornot working properly (bulb is burned out),or if the OBD-II system has determinedthat some of the emission control systemshave not been properly checked. In thiscase, your vehicle is not ready for I/Mtesting.
If the vehicle’s engine or transmission hasjust been serviced, or the battery hasrecently run down or been replaced, theOBD-II system may indicate that thevehicle is not ready for I/M testing. Todetermine if the vehicle is ready for I/Mtesting, turn the ignition key to the onposition for 15 seconds without cranking
142
Super Duty (), enUSA
Fuel and Refueling
Page 146 of 470
the engine. If the service engine soonindicator blinks eight times, it means thatthe vehicle is not ready for I/M testing; ifthe service engine soon indicator stays onsolid, it means that the vehicle is ready forI/M testing.
The OBD-II system monitors the emissioncontrol system during normal driving. Acomplete check may take several days. Ifthe vehicle is not ready for I/M testing, youmay need to perform the following drivingcycle consisting of mixed city and highwaydriving:
Drive on an expressway or highway for asteady 15 minutes, followed by 20 minutesof stop-and-go driving with at least four30-second idle periods.
Allow the vehicle to sit for at least eighthours without starting the engine. Then,start the engine and complete the abovedriving cycle. The engine must warm up toits normal operating temperature. Oncestarted, do not turn off the engine until theabove driving cycle is complete. If thevehicle is still not ready for I/M testing, youwill have to repeat the above driving cycle.
143
Super Duty (), enUSA
Fuel and Refueling
Page 153 of 470
9. Start the vehicle.
Perform Steps 4 through 8 in reverse order,making sure to engage the hinge pivotsbetween the upper and lower halves of theshroud. Keep slight pressure in the forwarddirection as the halves are rotatedtogether.
If Your Vehicle Gets Stuck In Mudor Snow
Note:Do not rock the vehicle if the engineis not at normal operating temperature ordamage to the transmission may occur.
Note:Do not rock the vehicle for more thana minute or damage to the transmission andtires may occur, or the engine may overheat.
If your vehicle gets stuck in mud or snow,it may be rocked out by shifting betweenforward and reverse gears, stoppingbetween shifts in a steady pattern. Presslightly on the accelerator in each gear.
POWER TAKE-OFF
Auxiliary equipment called power take-off,or PTO, is often added to the engine ortransmission to operate utility equipment.Examples include a wheel-lift for towtrucks, cranes, tools for construction or tireservice, and pumping fluids. PTOapplications draw auxiliary horsepowerfrom the powertrain, often while thevehicle is stationary. In this condition, thereis limited cooling air flow through theradiator and around the vehicle thatnormally occurs when a vehicle is moving.The aftermarket PTO system installer,having the most knowledge of the finalapplication, is responsible for determiningwhether additional chassis heat protectionor powertrain cooling is required, andalerting the user to the safe and properoperation.
Ford Super Duty Vehicles are approved foruse as a stationary (including split shaftcapability) or mobile power source, withinlimits and operating guidelines detailed inthe Ford Truck Body Builders Layout Book,found at www.fleet.ford.com/truckbbas,and through the Ford Truck Body BuildersAdvisory Service.
150
Super Duty (), enUSA
Transmission
Page 155 of 470
•provides 4x4 High engagement anddisengagement while the vehicle ismoving.
•is operated by a rotary control locatedon the instrument panel that allowsyou select 4x2, 4x4 High or 4x4 Lowoperation.
•uses auto-manual hub locks that canbe engaged and disengagedautomatically based on the 4x4 modeselected.
•will increase fuel economy when usedin the recommended AUTO lock mode.
4WD Indicator Lights
Note:When a 4X4 system fault is present,the system will typically remain in whichever4X4 mode was selected prior to the faultcondition occurring. It will not default to 4X2in all circumstances. When this warning isdisplayed, have your vehicle serviced by anauthorized dealer.
4X2
Momentarily illuminates when2H is selected.
4X4 HIGH
Continuously illuminates when4H is selected.
4X4 LOW
Continuously illuminates when4L is selected.
CHECK 4X4
Displays when a 4X4 fault ispresent.
Using a Manual Shift On Stop(MSOS) 4wd system (If Equipped)
Note:High shift efforts may be encounteredwhen attempting to shift into and out of 4x4modes. It is recommended to allow thevehicle to roll at a speed below 3 mph (5km/h) when shifting between modes.
2H (2WD)
For general on-road driving. Sends powerto the rear wheels only and should be usedfor street and highway driving. Providesoptimal smoothness and fuel economy athigh speeds
4H (4x4 High)
Used for extra traction such as in snow oricy roads or in off road situations. Thismode is not intended for use on drypavement.
N (Neutral)
Only used when towing the vehicle. Nopower to front or rear wheels.
4L (4x4 Low)
Uses extra gearing to provide maximumpower to all four wheels at reducedspeeds. Intended only for off roadapplications such as deep sand, steepgrades or pulling heavy objects.
152
Super Duty (), enUSA
Four-Wheel Drive (If Equipped)E163173 E163175 E163174 E163189
Page 166 of 470

PARKING BRAKE
WARNING
Always set the parking brake fullyand make sure the transmissionselector lever is placed in position P.Failure to set the parking brake and engagepark could result in vehicle roll-away,property damage or bodily injury. Turn theignition to the lock position and removethe key whenever you leave your vehicle.
Apply the parking brake whenever yourvehicle is parked. Press the pedaldownward to set the parking brake. Thebrake warning lamp in the instrumentcluster will illuminate and remainsilluminated until the parking brake isreleased.
To release, pull the brake release leverlocated at the lower left side of theinstrument panel.
If you are parking your vehicle on a gradeor with a trailer, press and hold the brakepedal down, then set the parking brake.There may be a little vehicle movement asthe parking brake sets to hold the vehicle'sweight. This is normal and should be noreason for concern. If needed, press andhold the service brake pedal down, thentry reapplying the parking brake. Chock thewheels if required. If the parking brakecannot hold the weight of the vehicle, theparking brake may need to be serviced orthe vehicle may be overloaded.
HILL START ASSIST
WARNINGS
The system does not replace theparking brake. When you leave yourvehicle, always apply the parkingbrake and put the transmission in park (P).
WARNINGS
You must remain in your vehicle onceyou have activated the system.
During all times, you are responsiblefor controlling your vehicle,supervising the system andintervening, if required.
If the engine is revved excessively, orif a malfunction is detected, thesystem will be deactivated.
The system makes it easier to pull awaywhen your vehicle is on a slope without theneed to use the parking brake.
When the system is active, your vehicle willremain stationary on the slope for two tothree seconds after you release the brakepedal. This allows you time to move yourfoot from the brake to the acceleratorpedal. The brakes are releasedautomatically once the engine hasdeveloped sufficient drive to prevent yourvehicle from rolling down the slope. Thisis an advantage when pulling away on aslope, (for example from a car park ramp,traffic lights or when reversing uphill intoa parking space).
The system will activate automatically onany slope that will cause significant vehiclerollback.
Using Hill Start Assist
1. Press the brake pedal to bring yourvehicle to a complete standstill. Keepthe brake pedal pressed.
2. If the sensors detect that your vehicleis on a slope, the system will activateautomatically.
3. When you remove your foot from thebrake pedal, your vehicle will remainon the slope without rolling away forabout two or three seconds. This holdtime will automatically be extended ifyou are in the process of driving off.
163
Super Duty (), enUSA
Brakes
Page 169 of 470
System Indicator Lights andMessages
WARNING
If a failure has been detected withinthe AdvanceTrac system, thestability control light will illuminatesteadily. Verify that the traction controlsystem was not manually disabled usingthe stability control button. If the stabilitycontrol light still illuminates steadily, havethe system serviced by an authorizeddealer immediately. Operating your vehiclewith traction control disabled could leadto an increased risk of loss of vehiclecontrol, vehicle rollover, personal injury anddeath.
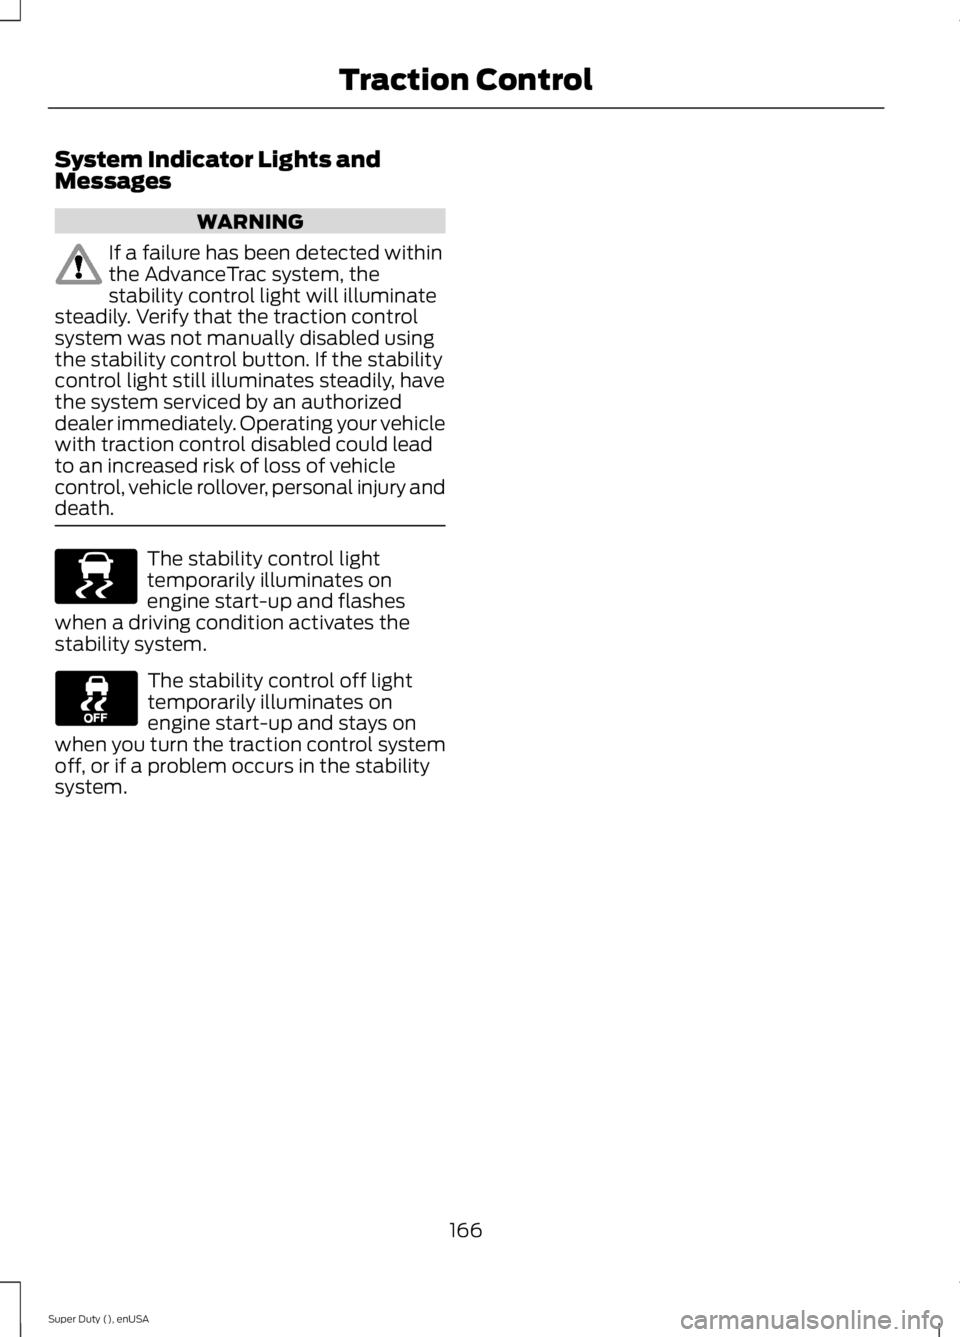
The stability control lighttemporarily illuminates onengine start-up and flasheswhen a driving condition activates thestability system.
The stability control off lighttemporarily illuminates onengine start-up and stays onwhen you turn the traction control systemoff, or if a problem occurs in the stabilitysystem.
166
Super Duty (), enUSA
Traction ControlE138639
Page 180 of 470
STEERING
To help prevent damage to the powersteering system:
•Never hold the steering wheel at itsfurthest turning points (until it stops)for more than three to five secondswhen the engine is running.
•Do not operate the vehicle with a lowpower steering pump fluid level (belowthe MIN mark on the reservoir).
•Some noise is normal during operation.If excessive, check for low powersteering pump fluid level beforeseeking service by your dealer.
•Heavy or uneven efforts may be causedby low power steering fluid. Check forlow power steering pump fluid levelbefore seeking service by your dealer.
•Do not fill the power steering pumpreservoir above the MAX mark on thereservoir, as this may result in leaksfrom the reservoir.
If the power steering system breaks down(or if the engine is turned off), you cansteer the vehicle manually, but it takesmore effort.
If the steering wanders or pulls, check for:
•an improperly inflated tire
•uneven tire wear
•loose or worn suspension components
•loose or worn steering components
•improper vehicle alignment
If any steering components are serviced orreplaced, install new fasteners (many arecoated with thread adhesive or haveprevailing torque features which may notbe re-used). Never re-use a bolt or nut.Torque fasteners to specifications.
A high crown in the road or high crosswindsmay also make the steering seem towander or pull.
177
Super Duty (), enUSA
Driving Aids
Page 197 of 470
•Service your vehicle morefrequently if you tow a trailer.See your scheduledmaintenance information.
•If you use a rental trailer, followthe instructions the rentalagency gives you.
See Load limits in the LoadCarrying chapter for loadspecification terms found on thetire label and Safety Compliancelabel and instructions oncalculating your vehicle's load.
Remember to account for thetrailer tongue weight as part ofyour vehicle load when calculatingthe total vehicle weight.
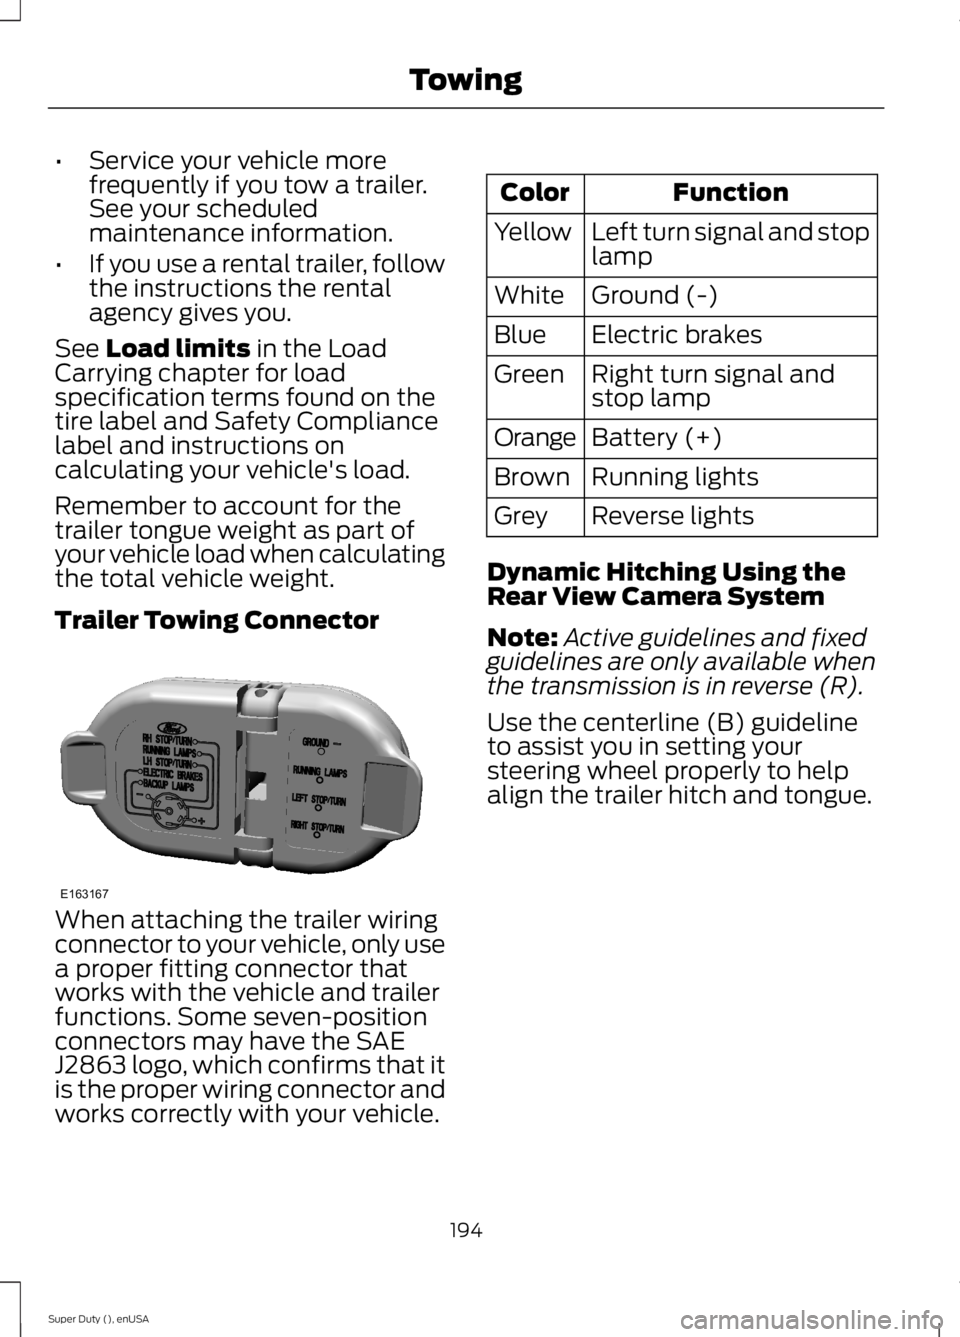
Trailer Towing Connector
When attaching the trailer wiringconnector to your vehicle, only usea proper fitting connector thatworks with the vehicle and trailerfunctions. Some seven-positionconnectors may have the SAEJ2863 logo, which confirms that itis the proper wiring connector andworks correctly with your vehicle.
FunctionColor
Left turn signal and stoplampYellow
Ground (-)White
Electric brakesBlue
Right turn signal andstop lampGreen
Battery (+)Orange
Running lightsBrown
Reverse lightsGrey
Dynamic Hitching Using theRear View Camera System
Note:Active guidelines and fixedguidelines are only available whenthe transmission is in reverse (R).
Use the centerline (B) guidelineto assist you in setting yoursteering wheel properly to helpalign the trailer hitch and tongue.
194
Super Duty (), enUSA
TowingE163167