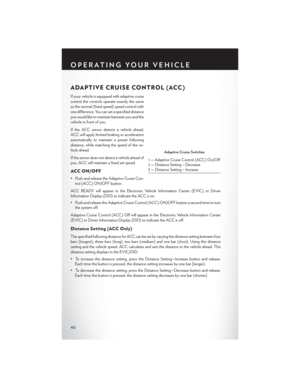
Page 169 of 220

6. Verify that the cap is installed on the fitting at the end of the Sealant Hose (6) and return thehose to its storage area (located on the bottom of the air pump).
7. Return the Tire Service Kit to its storage location in the vehicle.
NOTE:
• The metal end fitting from Power Plug (8) may get hot after use, so it should be handled carefully.
• Failure to reinstall the cap on the fitting at the end of the Sealant Hose (6) can result in sealant contacting your skin, clothing, and the vehicle’s interior. It can also result in sealant contacting
internal Tire Service Kit components which may cause permanent damage to the kit.
WARNING!
• Do not attempt to seal a tire on the side of the vehicle closest to traffic. Pull far enough off
the road to avoid the danger of being hit when using the Tire Service Kit.
• Do not use the Tire Service Kit or drive the vehicle under the following circumstances:
• If the puncture in the tire tread is approximately 1/4”. (6 mm) or larger.
• If the tire has any sidewall damage.
• If the tire has any damage from driving with extremely low tire pressure.
• If the tire has any damage from driving on a flat tire.
• If the wheel has any damage.
• If you are unsure of the condition of the tire or the wheel.
• Keep the Tire Service Kit away from open flames or heat source.
• A loose Tire Service Kit thrown forward in a collision or hard stop could endanger the
occupants of the vehicle. Always stow the Tire Service Kit in the place provided. Failure to
follow these warnings can result in injuries that are serious or fatal to you, your passengers,
and others around you.
• Take care not to allow the contents of the Tire Service Kit to come in contact with hair,
eyes, or clothing. The Tire Service Kit is harmful if inhaled, swallowed, or absorbed
through the skin. It causes skin, eye, and respiratory irritation. Flush immediately with
plenty of water if there is any contact with eyes or skin. Change clothing as soon as
possible, if there is any contact with clothing.
• The Tire Service Kit Sealant solution contains latex. In case of an allergic reaction or rash,
consult a physician immediately. Keep the Tire Service Kit out of reach of children. If
swallowed, rinse mouth immediately with plenty of water and drink plenty of water. Do not
induce vomiting! Consult a physician immediately.
• The Tire Service Kit is not a permanent flat tire repair. Have the tire inspected and repaired
or replaced after using the Tire Service Kit. Do not exceed 55 mph (88 km/h) until the tire
is repaired or replaced. Failure to follow this warning can result in injuries that are serious or
fatal to you, your passengers, and others around you.
WHAT TO DO IN EMERGENCIES
167
Page 170 of 220
JACKING AND TIRE CHANGING
Jack Location
The scissor-type jack and tire changing tools are stowed under the load floor in the trunk.
Spare Tire Stowage
The compact spare tire is stowed under the rear load floor in the trunk.
Spare Tire Removal
Lift up the load floor cover and remove the hold down.
Hold Down
WHAT TO DO IN EMERGENCIES
168
Page 171 of 220
Preparations For Jacking
1. Park the vehicle on a firm, level surface as far from the edge of the roadway as possible. Avoidicy or slippery areas.
2. Turn on the Hazard Warning flashers.
3. Set the parking brake.
4. Place the shift lever in PARK.
5. Turn OFF the ignition.
6. Chock both the front and rear of the wheel diagonally opposite of the jacking position. For example, if changing the right front tire, chock the left rear wheel.
NOTE:
Passengers should not remain in the vehicle
when the vehicle is being jacked.
Wheel Chocks
WHAT TO DO IN EMERGENCIES
169
Page 172 of 220
Jacking Instructions
1. Remove spare tire, jack and tools from trunk.
2. Loosen (but do not remove) the wheel lugbolts by turning them to the left one turn
while the wheel is still on the ground.
Warning Label
Jack And Tools
WHAT TO DO IN EMERGENCIES
170
Page 173 of 220
3. For the front tires, place the jack on the body flange just behind the front tire.
Front Body Flange
Front Body Flange Engaged
Front Jacking Location Engaged
WHAT TO DO IN EMERGENCIES
171
Page 174 of 220
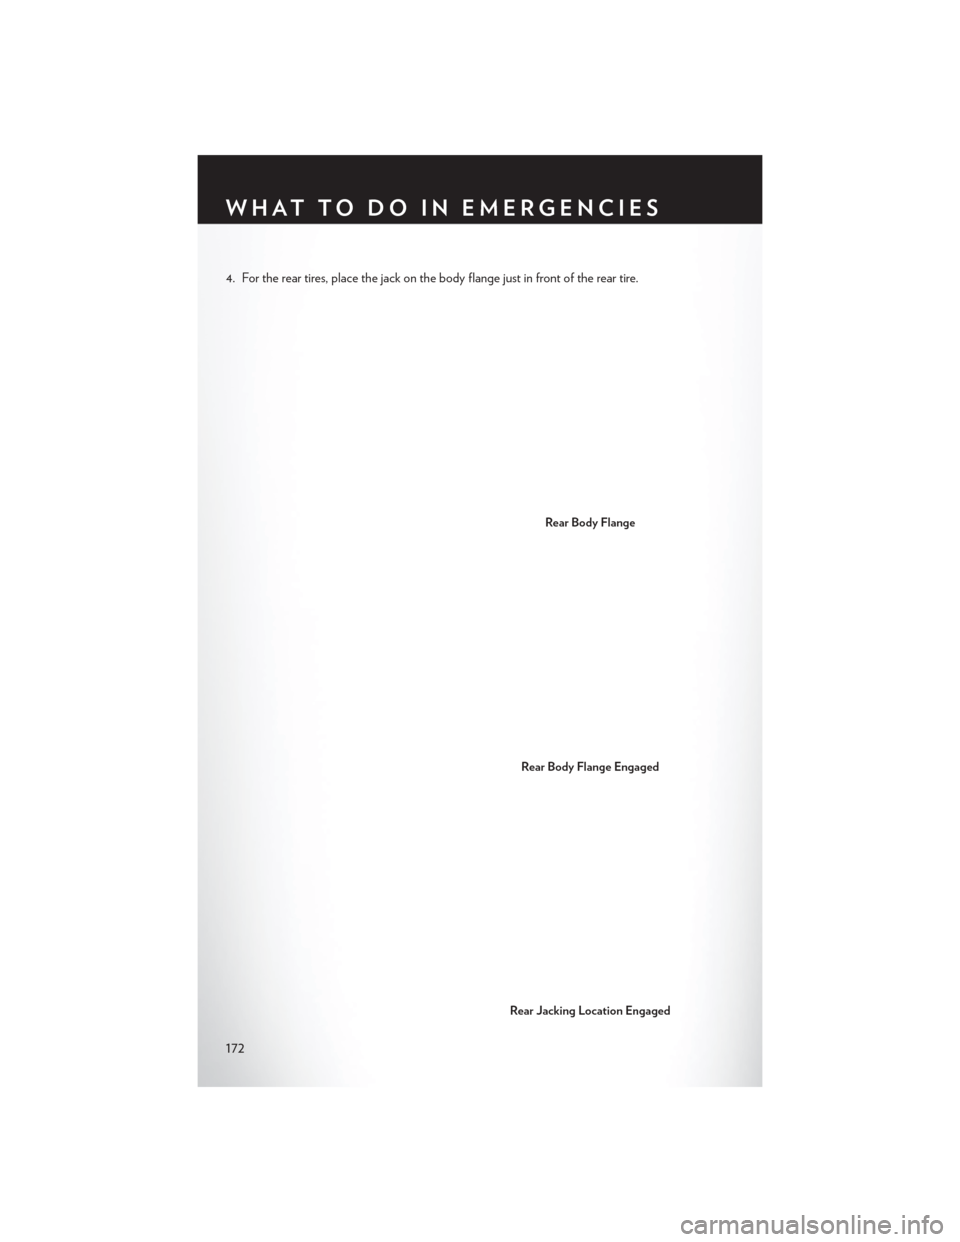
4. For the rear tires, place the jack on the body flange just in front of the rear tire.
Rear Body Flange
Rear Body Flange Engaged
Rear Jacking Location Engaged
WHAT TO DO IN EMERGENCIES
172
Page 175 of 220
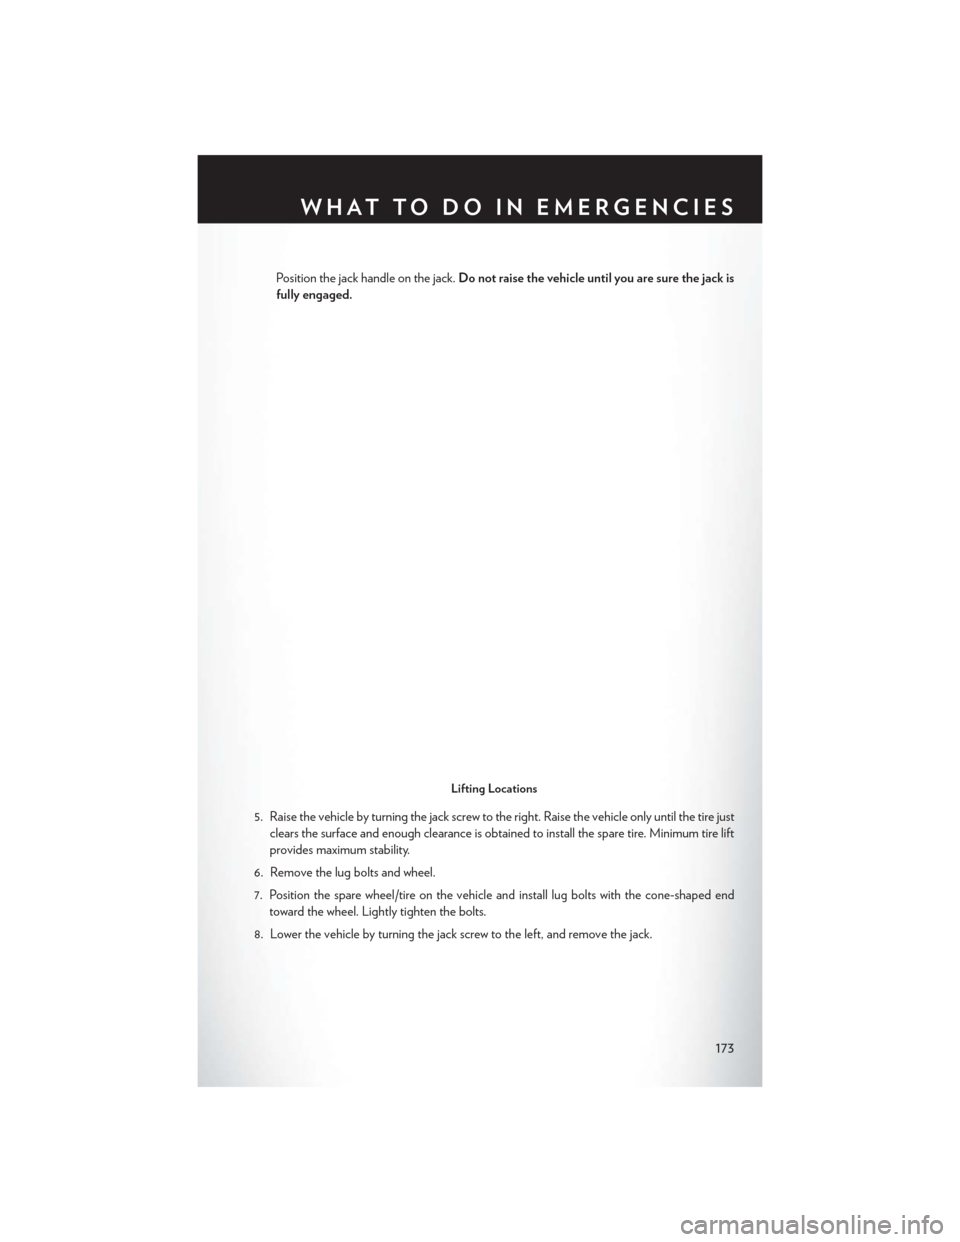
Position the jack handle on the jack.Do not raise the vehicle until you are sure the jack is
fully engaged.
5. Raise the vehicle by turning the jack screw to the right. Raise the vehicle only until the tire just clears the surface and enough clearance is obtained to install the spare tire. Minimum tire lift
provides maximum stability.
6. Remove the lug bolts and wheel.
7. Position the spare wheel/tire on the vehicle and install lug bolts with the cone-shaped end toward the wheel. Lightly tighten the bolts.
8. Lower the vehicle by turning the jack screw to the left, and remove the jack.
Lifting Locations
WHAT TO DO IN EMERGENCIES
173
Page 176 of 220

9. Finish tightening the lug bolts. Push down on the wrench while at the end of the handle forincreased leverage. Tighten the lug bolts in a star pattern until each nut has been tightened
twice. The correct wheel bolt tightness is 100 ft lb (135 N·m). If in doubt about the correct
tightness, have them checked with a torque wrench by your authorized dealer or at a service
station.
10. Lower the jack to its fully closed position.
11. Secure the tire, jack, and tools in their proper locations.
12. Remove chocks from wheels.
Road Tire Installation
1. Mount the road tire on the axle.
2. Install the remaining lug bolts with the threaded end of the bolt toward the wheel. Lightly tighten the lug bolts.
3. Lower the vehicle to the ground by turning the jack handle counterclockwise.
4. Finish tightening the lug bolts. Push down on the wrench while at the end of the handle for increased leverage. Tighten the lug bolts in a star pattern until each bolt has been tightened
twice. The correct tightness of each lug bolt is 100 ft/lbs (135 N·m). If in doubt about the
correct tightness, have them checked with a torque wrench by your authorized dealer or
service station.
5. After 25 miles (40 km) check the lug bolt torque with a torque wrench to ensure that all lug bolts are properly seated against the wheel.
CAUTION!
Do not attempt to raise the vehicle by jacking on locations other than those indicated in the
Jacking Instructions for this vehicle.
WHAT TO DO IN EMERGENCIES
174