2015 BMW I8 parking brake
[x] Cancel search: parking brakePage 32 of 224

All around the center console1Control Display 182Ventilation 1273Radio/Multimedia, refer to Integrated Own‐
er's Handbook4Glove compartment 1345Climate control 1246Steptronic Sport transmission 707Parking brake 668Controller with buttons 189PDC Park Distance Control 115
Rearview camera 117
Surround View 11710Driving Dynamics Control 11111DSC Dynamic Stability Control 10912Start/Stop button 61Max eDRIVE 6413Intelligent Safety 10214Hazard warning system 183Seite 16At a glanceCockpit16
Online Edition for Part no. 01 40 2 960 891 - II/15
Page 77 of 224
DrivingVehicle features and options
This chapter describes all standard, country-
specific and optional features offered with the
series. It also describes features that are not
necessarily available in your car, e. g., due to
the selected options or country versions. This
also applies to safety-related functions and
systems. The respectively applicable country
provisions must be observed when using the
respective features and systems.
Start/Stop button, drive readiness
The concept The following ready states can
be attained by pressing the
Start/Stop button:▷Radio ready state on/off.▷Operating readiness on/off.▷Activating/deactivating drive readiness.
To activate drive readiness, press the brake
pedal.
Switching radio-ready state on/off
The radio-ready state is activated by pressing
the Start/Stop button in the following situa‐
tions:
▷When the engine is running.▷When drive readiness is activated.
Some electronic systems/power consumers
remain ready for operation.
The radio-ready state is switched off automati‐
cally:
▷After approx. 8 minutes.▷When the vehicle is locked using the cen‐
tral locking system.▷Shortly before the battery is discharged
completely, so that drive readiness is
maintained.
The radio-ready state remains active if, e.g.,
the operating readiness is automatically
switched off for the following reasons:
▷Opening or closing the driver's door.▷Unfastening of the driver's safety belt.▷When automatically switching from low
beams to parking lights.
Operating readiness on
The switched on operating readiness corre‐
sponds to the switched on ignition for conven‐
tional vehicles.
Press the Start/Stop button, and do not press
on the brake pedal at the same time.
All vehicle systems are ready for operation.
Most of the indicator and warning lights in the
instrument cluster light up for a varied length
of time.
To save battery power when the engine is off,
switch off operating readiness and any unnec‐
essary electronic systems/power consumers.
Operating readiness is switched off automati‐
cally in the following situations:
▷When locking the vehicle, even if the low
beams are activated.▷Shortly before the battery is discharged
completely, so that drive readiness is
maintained.
Note
If the engine is switched off and operating
readiness is switched on, the system automati‐
cally switches to the radio-ready state when
the door is opened if the lights are turned off
or, if correspondingly equipped, the daytime
running lights are activated.
Seite 61DrivingControls61
Online Edition for Part no. 01 40 2 960 891 - II/15
Page 78 of 224
Operating readiness offPress the Start/Stop button again without
stepping on the brake.
All indicator lights in the instrument cluster go
out.
To save battery power when the engine is off,
switch off operating readiness and any unnec‐
essary electronic systems/power consumers.
Operating readiness is switched off automati‐
cally in the following situations while the vehi‐
cle is stationary and the engine is off:▷When locking the vehicle, and when the
low beams are activated.▷Shortly before the battery is discharged
completely, so that drive readiness is
maintained. This function is only available
when the low beams are turned off.▷When opening or closing the driver door, if
the driver's safety belt is unbuckled and
the low beams are turned off.▷While the driver's safety belt is unbuckled
with driver's door open and low beams off.
The low beams switch to parking lights after
approx. 15 minutes of no use.
Selector lever position P is automatically en‐
gaged when operating readiness is switched
off. In order for the vehicle to be able to roll,
e.g. into a car wash, heed the information re‐
garding washing in automatic car washes, refer
to page 187.
Drive readiness
When drive readiness is activated, the vehicle
is operational. Activated drive readiness is the
equivalent of a running engine in conventional
vehicles. Deactivated engine readiness is
equivalent to switching the ignition off.
Selector lever position P is automatically en‐
gaged when drive readiness is switched off. In
order for the vehicle to be able to roll, e.g. into
a car wash, heed the information regarding
washing in automatic car washes, refer to
page 187.
Drive readiness in detail
The concept The following are the different drive readiness
variants:▷Electric drive readiness, Silent Start, refer
to page 63.
The vehicle is powered by the electric mo‐
tor.▷Starting the combustion engine, refer to
page 63.
The vehicle is powered by the combustion
engine.
Hints
Do not leave the vehicle unattended
Do not leave the vehicle unattended with
drive readiness active; otherwise, it may pose a
risk.◀
Awareness of vehicle reduced when
driven in electric mode
When driving in electric mode, note that due to
the lack of engine noise pedestrians and other traffic might pay less attention to the vehicle
due to missing engine noises. Please take spe‐
cial care when parking or leaving a parking
space.◀
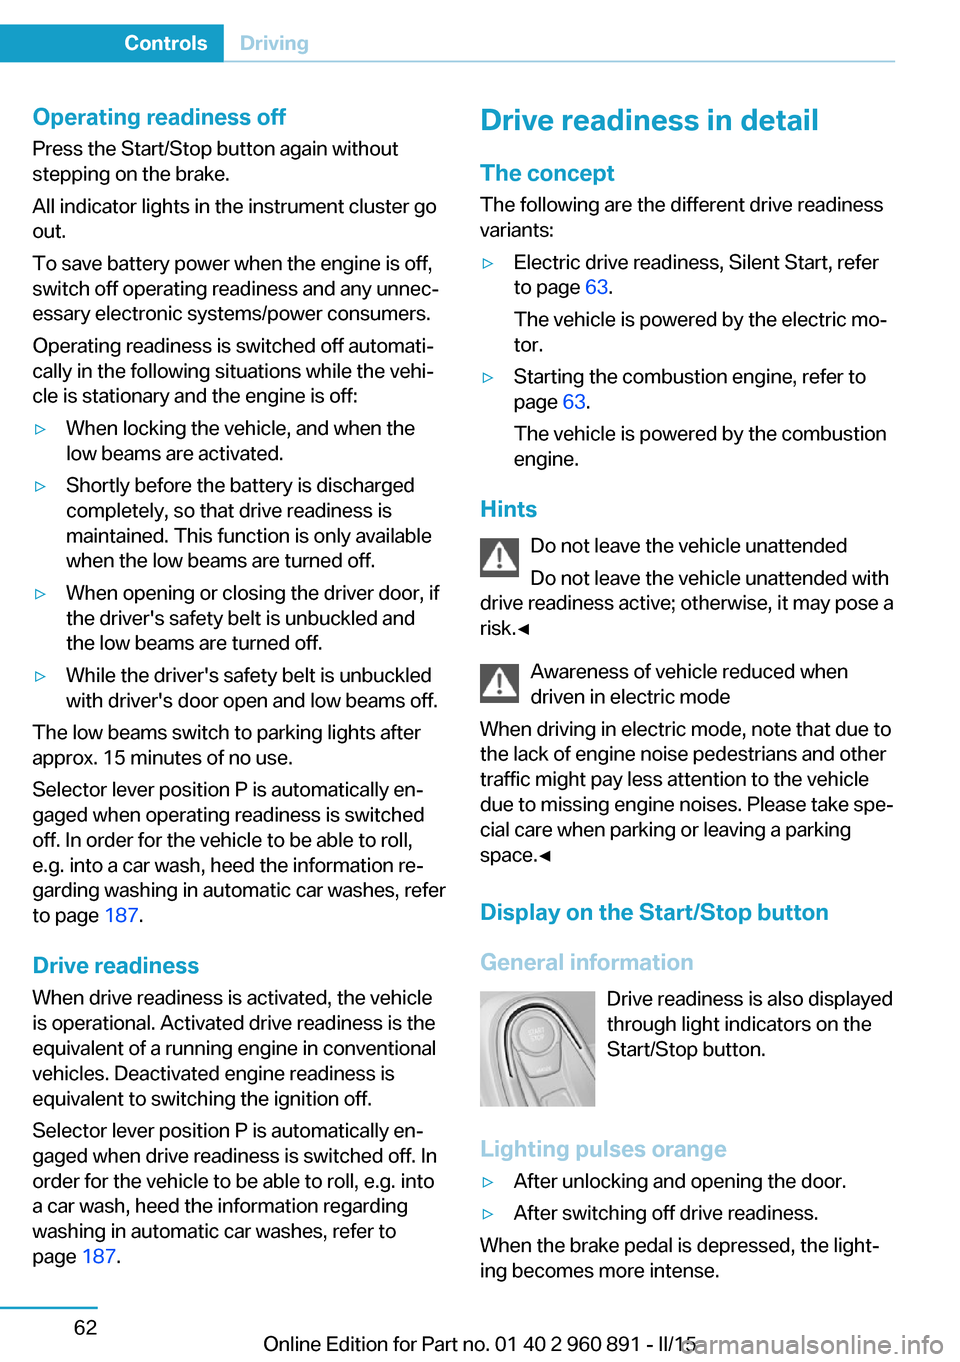
Display on the Start/Stop buttonGeneral information Drive readiness is also displayed
through light indicators on the
Start/Stop button.
Lighting pulses orange
▷After unlocking and opening the door.▷After switching off drive readiness.
When the brake pedal is depressed, the light‐
ing becomes more intense.
Seite 62ControlsDriving62
Online Edition for Part no. 01 40 2 960 891 - II/15
Page 79 of 224
Lighting lights up steady blue
After drive readiness is switched on, light turns
blue. The vehicle is ready to drive. The READY
indicator lights up in the instrument cluster. In
addition, a signal sounds.
Lighting off
Drive readiness, operating readiness and
radio-ready state are turned off. The vehicle is
in the idle state. The charging cable may be
connected.
Activating drive readiness1.Close the driver's door.2.Depress the brake pedal.3.Press the Start/Stop button.
Drive readiness is active, electric driving, Silent
Start or Start of the combustion engine.
Electric drive readiness, Silent Start
The vehicle is ready for driving without starting
the combustion engine.
Silent Start is possible if the requirements for
Electric driving, refer to page 64, are met.
Display READY indicates drive readi‐
ness.
Starting the combustion engine Enclosed areas
Do not let the engine run in enclosed
areas, since breathing in exhaust fumes may
lead to loss of consciousness and death. The
exhaust gases contain carbon monoxide, an
odorless and colorless but highly toxic gas.◀
Unattended vehicle
Do not leave the vehicle unattended with
engine running or drive readiness switched on;
otherwise, it may pose a risk.
Before leaving the vehicle, engage lever in po‐
sition P P, and set the parking brake; other‐
wise, the vehicle is not secured against rolling
away.◀
Repeated starting in quick succession
Avoid trying to start the vehicle repeat‐
edly and in quick succession. Otherwise, the
fuel is not burned or is inadequately burned,
posing a risk of overheating and damage to the
catalytic converter.◀
The combustion engine is started with Acti‐
vate drive, refer to page 63, readiness under
the following conditions:▷The temperature of the hybrid system is
too high.▷The charge level or temperature of the
high-voltage battery is too low.
Driving away
1.Activate drive readiness.2.Apply the brake and engage lever in posi‐
tion P D, SPORT or R.3.Release the parking brake.4.Drive away.
Deactivating drive readiness
After parking the vehicle, you may hear noises due to operation of the hybrid system, such as
for cooling of the high-voltage battery.
After stopping the vehicle:
1.Depress the brake pedal.2.Set the parking brake.3.Press the Start/Stop button.
The READY indicator goes out and a signal
sounds. In case of longer idle times, follow the
instructions in the Care chapter, refer to
page 190.
Seite 63DrivingControls63
Online Edition for Part no. 01 40 2 960 891 - II/15
Page 82 of 224
Energy recovery: CHARGEThe high-voltage battery is recharged in part
through energy recovery. The electric motor
acts as a generator when decelerating and
converts the kinetic energy into electrical en‐
ergy.
Energy can be recovered if the following condi‐
tions are met:▷The vehicle is moving.▷Speed higher than approx.
12 mph/20 km/h.▷Selector lever in selector lever position D,
R or S.▷The high-voltage battery is not fully
charged.▷Accelerator pedal is not operated.
Energy cannot be recovered in the following
situations:
▷Selector lever position N is set.▷While drive stability control systems con‐
trol the vehicle, even though it is not indi‐
cated by an indicator light.▷The high-voltage battery is fully charged.▷When temperature of the high-voltage bat‐
tery is very low or very high.
With cold external temperatures, it is pos‐
sible that the energy recovery is tempora‐
rily unavailable after startup.
Parking brake
The concept The parking brake is used to prevent the vehi‐
cle from rolling when it is parked.
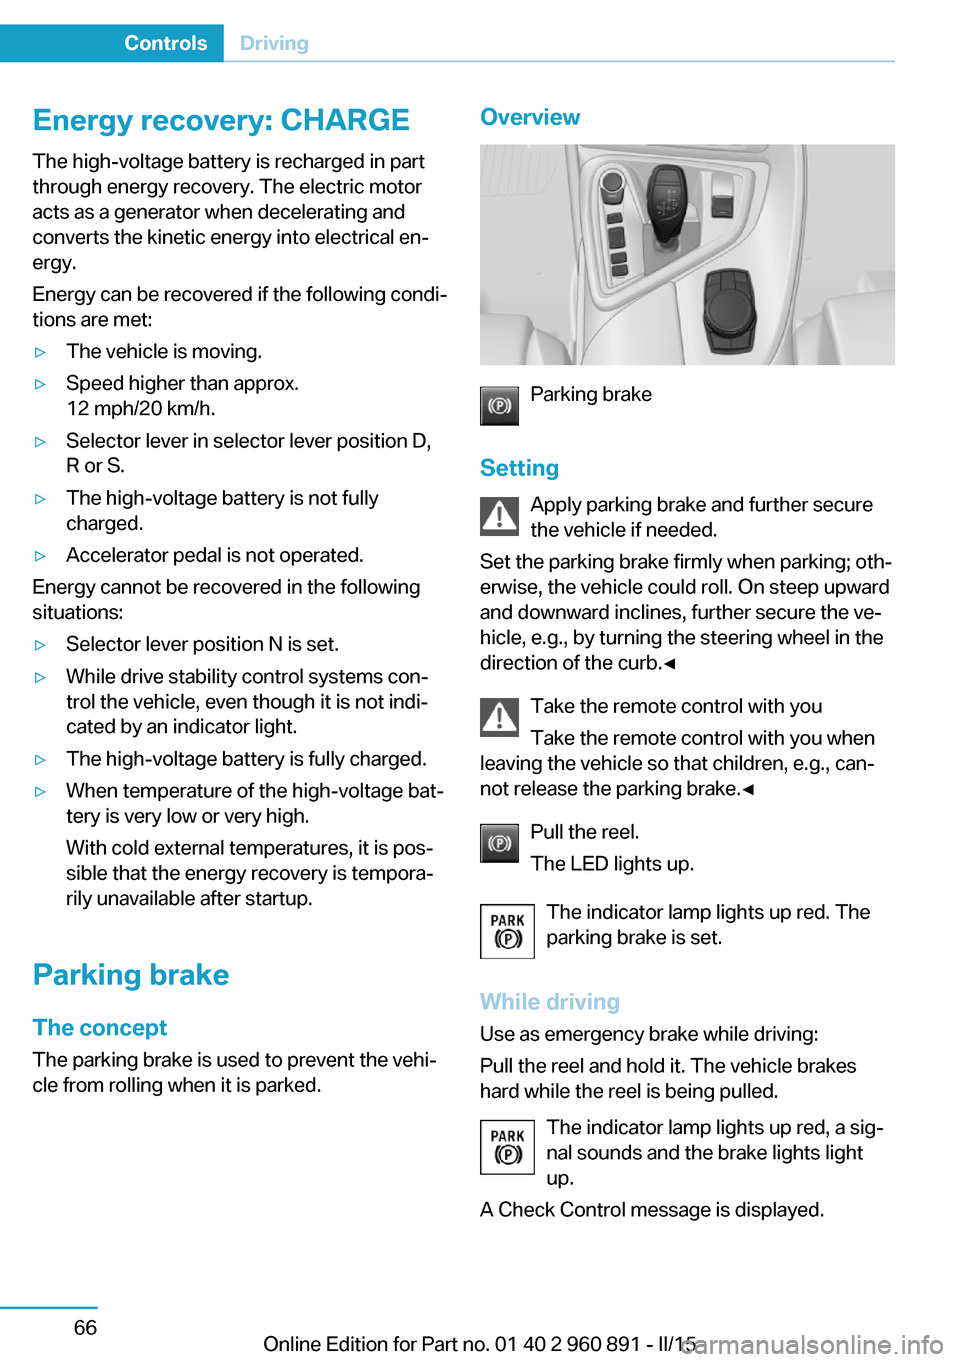
Overview
Parking brake
Setting Apply parking brake and further secure
the vehicle if needed.
Set the parking brake firmly when parking; oth‐
erwise, the vehicle could roll. On steep upward
and downward inclines, further secure the ve‐
hicle, e.g., by turning the steering wheel in the
direction of the curb.◀
Take the remote control with youTake the remote control with you when
leaving the vehicle so that children, e.g., can‐
not release the parking brake.◀
Pull the reel.
The LED lights up.
The indicator lamp lights up red. The
parking brake is set.
While driving
Use as emergency brake while driving:
Pull the reel and hold it. The vehicle brakes
hard while the reel is being pulled.
The indicator lamp lights up red, a sig‐
nal sounds and the brake lights light
up.
A Check Control message is displayed.
Seite 66ControlsDriving66
Online Edition for Part no. 01 40 2 960 891 - II/15
Page 83 of 224
If the vehicle is slowed down down to a speed
of approx. 2 mph/3 km/h the parking brake is
set.
Releasing
With drive readiness switched on:
Press the reel while stepping on the
brake pedal or selector lever position P is
set.
The LED and indicator lamp go out.
The parking brake is released.
Automatic release For automatic release, step on the accelerator
pedal.
The LED and indicator lamp go out.
The parking brake is automatically released
when you step on the accelerator:▷Drive readiness switched on.▷Drive mode engaged.▷Driver buckled in and doors closed.
Inadvertent operation of the accelerator
pedal
Make sure that the accelerator pedal is not op‐
erated unintentionally; otherwise, the vehicle is
set in motion and there is a risk of an acci‐
dent.◀
Malfunction In the event of a failure or malfunction of the
parking brake, secure the vehicle against roll‐
ing using a wheel chock, e.g., when leaving it.
After a power failure
Putting the parking brake into
operation
1.Switch on the ignition.2. Press the reel while stepping on the
brake pedal or selector lever position P is
set.
It may take several seconds for the brake to be
put into operation. Any sounds associated with
this are normal.
The indicator lamp in the instrument
cluster goes out as soon as the parking
brake is ready for operation.
Turn signal, high beams,
headlight flasher
Turn signal
Hints Do not adjust the exterior mirrors
Do not adjust the exterior mirror while
driving and when turn signals/hazard warning
flashers are on, or else the additional turn sig‐
nal lights in the exterior mirror are out of posi‐
tion and can't be seen.◀
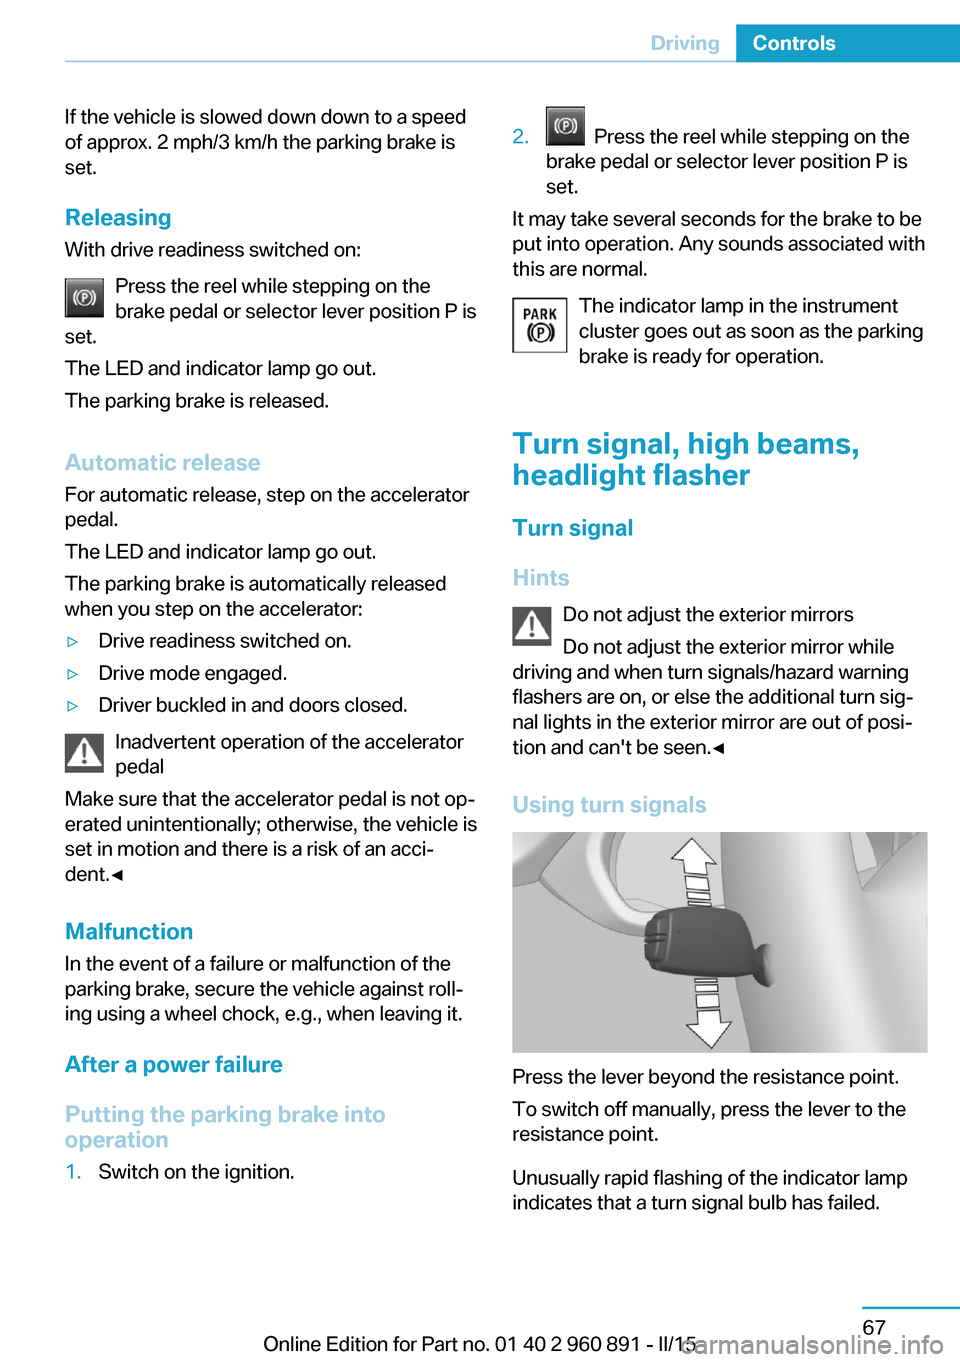
Using turn signals
Press the lever beyond the resistance point.
To switch off manually, press the lever to the
resistance point.
Unusually rapid flashing of the indicator lamp
indicates that a turn signal bulb has failed.
Seite 67DrivingControls67
Online Edition for Part no. 01 40 2 960 891 - II/15
Page 87 of 224
R is Reverse
Select only when the vehicle is stationary.
N Neutral:
The vehicle may roll. Use in automatic car
washes, e.g.
When drive readiness is off, selector lever po‐
sition P is automatically engaged.
P ParkSelect only when the vehicle is stationary. The
drive wheels are blocked.
P is engaged automatically:▷After drive readiness is deactivated with
radio-ready state, refer to page 61, or op‐
erating readiness off, refer to page 62,
when selector lever position D or R is set.▷With operating readiness off if selector
lever position N is set.▷If the driver's safety belt is released, the
driver's door is opened, and the brake
pedal is not pressed while the vehicle is
stationary and selector lever position D or
R is set.
Before exiting the vehicle, make sure that se‐
lector lever position P is set. Otherwise, the ve‐
hicle may begin to move.
On uphill and downhill grades, secure the vehi‐
cle with the parking brake, refer to page 66,
before shifting into selector lever position P.
Kickdown Kickdown is used to achieve maximum driving
performance. Step on the accelerator pedal
beyond the resistance point at the full throttle
position.
Engaging selector lever positions
▷Selector lever position P can only be disen‐
gaged when the vehicle drive readiness is
engaged and the brake pedal is depressed.▷With the vehicle is stationary, press on the
brake pedal before shifting out of P or N;otherwise, the shift command will not be
executed: shift lock.
Press on the brake pedal until you
start driving
To prevent the vehicle from creeping after
you select a gear, maintain pressure on the
brake pedal until you are ready to start.◀
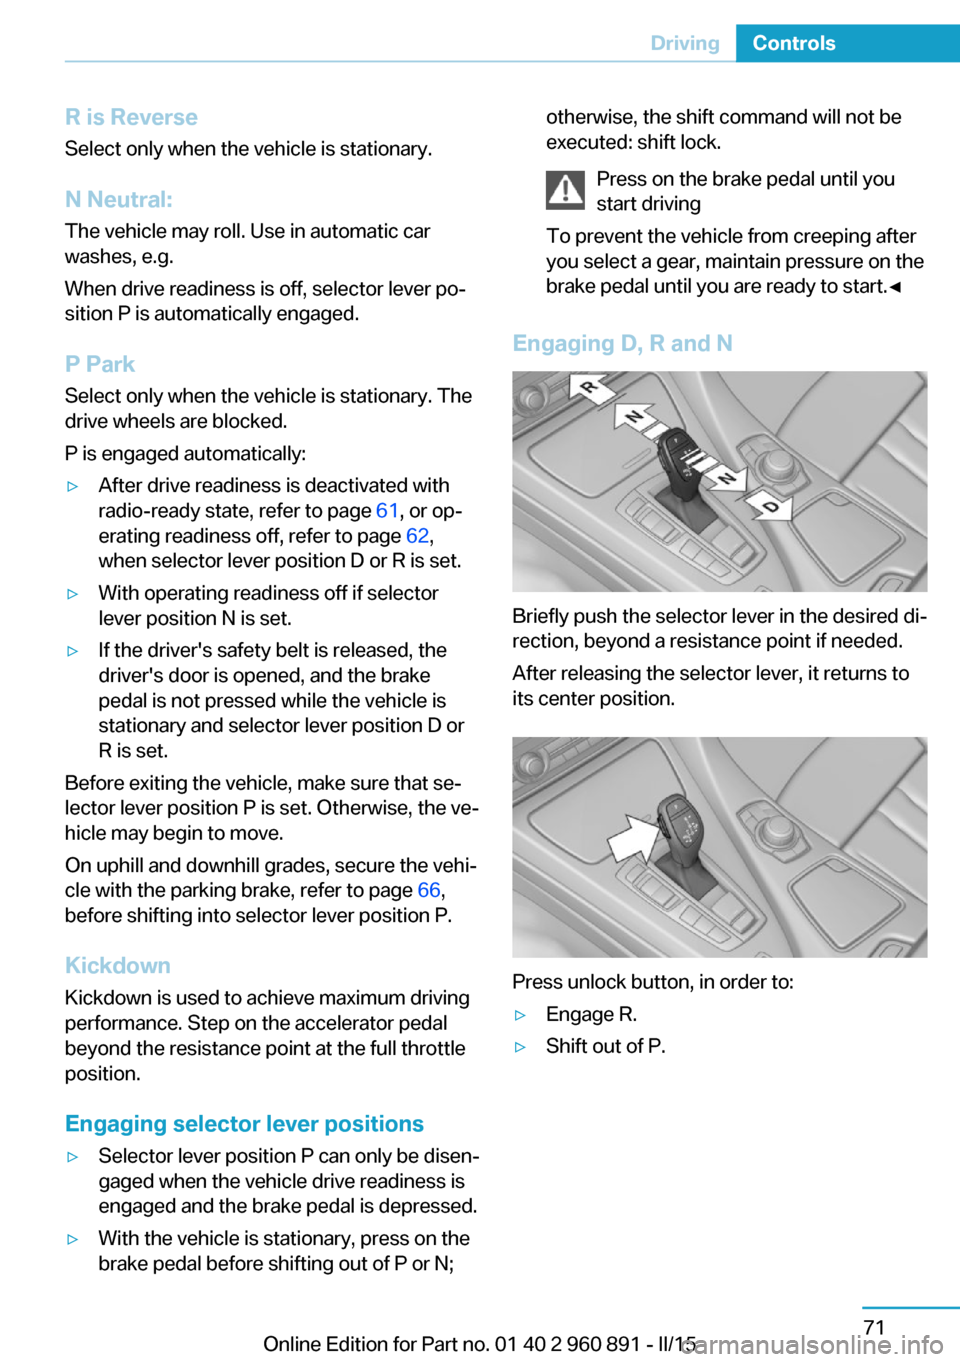
Engaging D, R and N
Briefly push the selector lever in the desired di‐
rection, beyond a resistance point if needed.
After releasing the selector lever, it returns to
its center position.
Press unlock button, in order to:
▷Engage R.▷Shift out of P.Seite 71DrivingControls71
Online Edition for Part no. 01 40 2 960 891 - II/15
Page 96 of 224
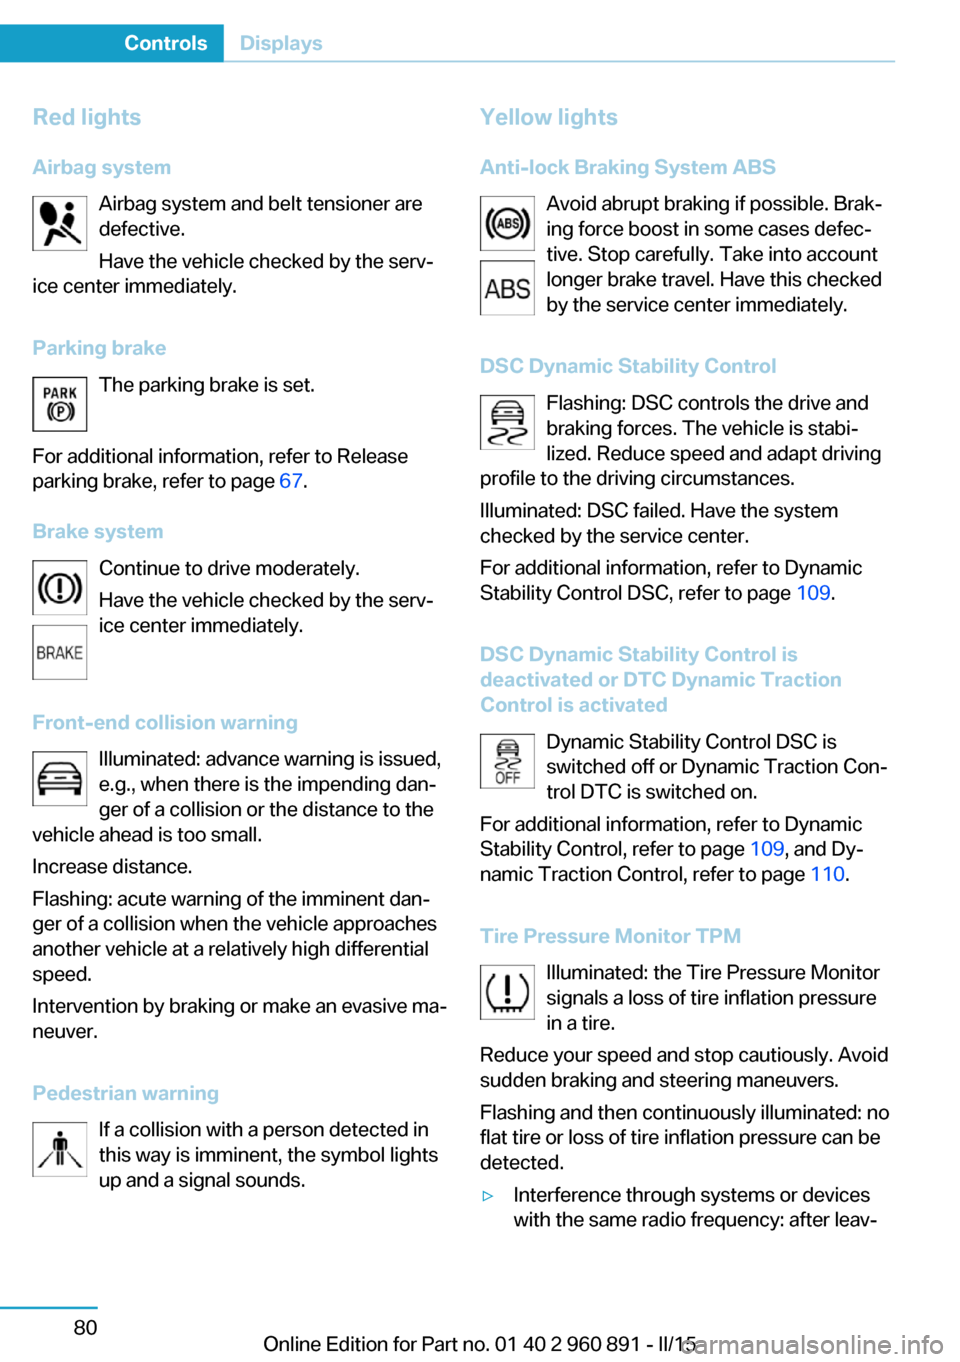
Red lightsAirbag system Airbag system and belt tensioner are
defective.
Have the vehicle checked by the serv‐
ice center immediately.
Parking brake The parking brake is set.
For additional information, refer to Release
parking brake, refer to page 67.
Brake system Continue to drive moderately.
Have the vehicle checked by the serv‐
ice center immediately.
Front-end collision warning Illuminated: advance warning is issued,
e.g., when there is the impending dan‐
ger of a collision or the distance to the
vehicle ahead is too small.
Increase distance.
Flashing: acute warning of the imminent dan‐
ger of a collision when the vehicle approaches
another vehicle at a relatively high differential
speed.
Intervention by braking or make an evasive ma‐
neuver.
Pedestrian warning If a collision with a person detected in
this way is imminent, the symbol lights
up and a signal sounds.Yellow lights
Anti-lock Braking System ABS Avoid abrupt braking if possible. Brak‐
ing force boost in some cases defec‐
tive. Stop carefully. Take into account
longer brake travel. Have this checked
by the service center immediately.
DSC Dynamic Stability Control Flashing: DSC controls the drive and
braking forces. The vehicle is stabi‐
lized. Reduce speed and adapt driving
profile to the driving circumstances.
Illuminated: DSC failed. Have the system
checked by the service center.
For additional information, refer to Dynamic
Stability Control DSC, refer to page 109.
DSC Dynamic Stability Control is
deactivated or DTC Dynamic Traction
Control is activated
Dynamic Stability Control DSC is
switched off or Dynamic Traction Con‐
trol DTC is switched on.
For additional information, refer to Dynamic
Stability Control, refer to page 109, and Dy‐
namic Traction Control, refer to page 110.
Tire Pressure Monitor TPM Illuminated: the Tire Pressure Monitor
signals a loss of tire inflation pressure
in a tire.
Reduce your speed and stop cautiously. Avoid
sudden braking and steering maneuvers.
Flashing and then continuously illuminated: no
flat tire or loss of tire inflation pressure can be
detected.▷Interference through systems or devices
with the same radio frequency: after leav‐Seite 80ControlsDisplays80
Online Edition for Part no. 01 40 2 960 891 - II/15