2015 BMW I8 overheating
[x] Cancel search: overheatingPage 79 of 224

Lighting lights up steady blue
After drive readiness is switched on, light turns
blue. The vehicle is ready to drive. The READY
indicator lights up in the instrument cluster. In
addition, a signal sounds.
Lighting off
Drive readiness, operating readiness and
radio-ready state are turned off. The vehicle is
in the idle state. The charging cable may be
connected.
Activating drive readiness1.Close the driver's door.2.Depress the brake pedal.3.Press the Start/Stop button.
Drive readiness is active, electric driving, Silent
Start or Start of the combustion engine.
Electric drive readiness, Silent Start
The vehicle is ready for driving without starting
the combustion engine.
Silent Start is possible if the requirements for
Electric driving, refer to page 64, are met.
Display READY indicates drive readi‐
ness.
Starting the combustion engine Enclosed areas
Do not let the engine run in enclosed
areas, since breathing in exhaust fumes may
lead to loss of consciousness and death. The
exhaust gases contain carbon monoxide, an
odorless and colorless but highly toxic gas.◀
Unattended vehicle
Do not leave the vehicle unattended with
engine running or drive readiness switched on;
otherwise, it may pose a risk.
Before leaving the vehicle, engage lever in po‐
sition P P, and set the parking brake; other‐
wise, the vehicle is not secured against rolling
away.◀
Repeated starting in quick succession
Avoid trying to start the vehicle repeat‐
edly and in quick succession. Otherwise, the
fuel is not burned or is inadequately burned,
posing a risk of overheating and damage to the
catalytic converter.◀
The combustion engine is started with Acti‐
vate drive, refer to page 63, readiness under
the following conditions:▷The temperature of the hybrid system is
too high.▷The charge level or temperature of the
high-voltage battery is too low.
Driving away
1.Activate drive readiness.2.Apply the brake and engage lever in posi‐
tion P D, SPORT or R.3.Release the parking brake.4.Drive away.
Deactivating drive readiness
After parking the vehicle, you may hear noises due to operation of the hybrid system, such as
for cooling of the high-voltage battery.
After stopping the vehicle:
1.Depress the brake pedal.2.Set the parking brake.3.Press the Start/Stop button.
The READY indicator goes out and a signal
sounds. In case of longer idle times, follow the
instructions in the Care chapter, refer to
page 190.
Seite 63DrivingControls63
Online Edition for Part no. 01 40 2 960 891 - II/15
Page 158 of 224

LoadingVehicle features and options
This chapter describes all standard, country-
specific and optional features offered with the
series. It also describes features that are not
necessarily available in your car, e. g., due to
the selected options or country versions. This
also applies to safety-related functions and
systems. The respectively applicable country
provisions must be observed when using the
respective features and systems.
Hints Overloading the vehicle
To avoid exceeding the approved ca‐
pacity of the tires, never overload the vehicle.
Overloading can lead to overheating and in‐
creases the rate at which damage develops in‐
side the tires. This could result in a sudden
loss of tire inflation pressure.◀
No fluids in the cargo area
Make sure that fluids do not leak into the
cargo area; otherwise, the vehicle may be dam‐
aged.◀
Heavy and hard objects
Do not stow any heavy and hard objects
in the car's interior without securing them; oth‐
erwise, they may present a danger to occu‐
pants, e.g., during braking and evasive maneu‐
vers.◀
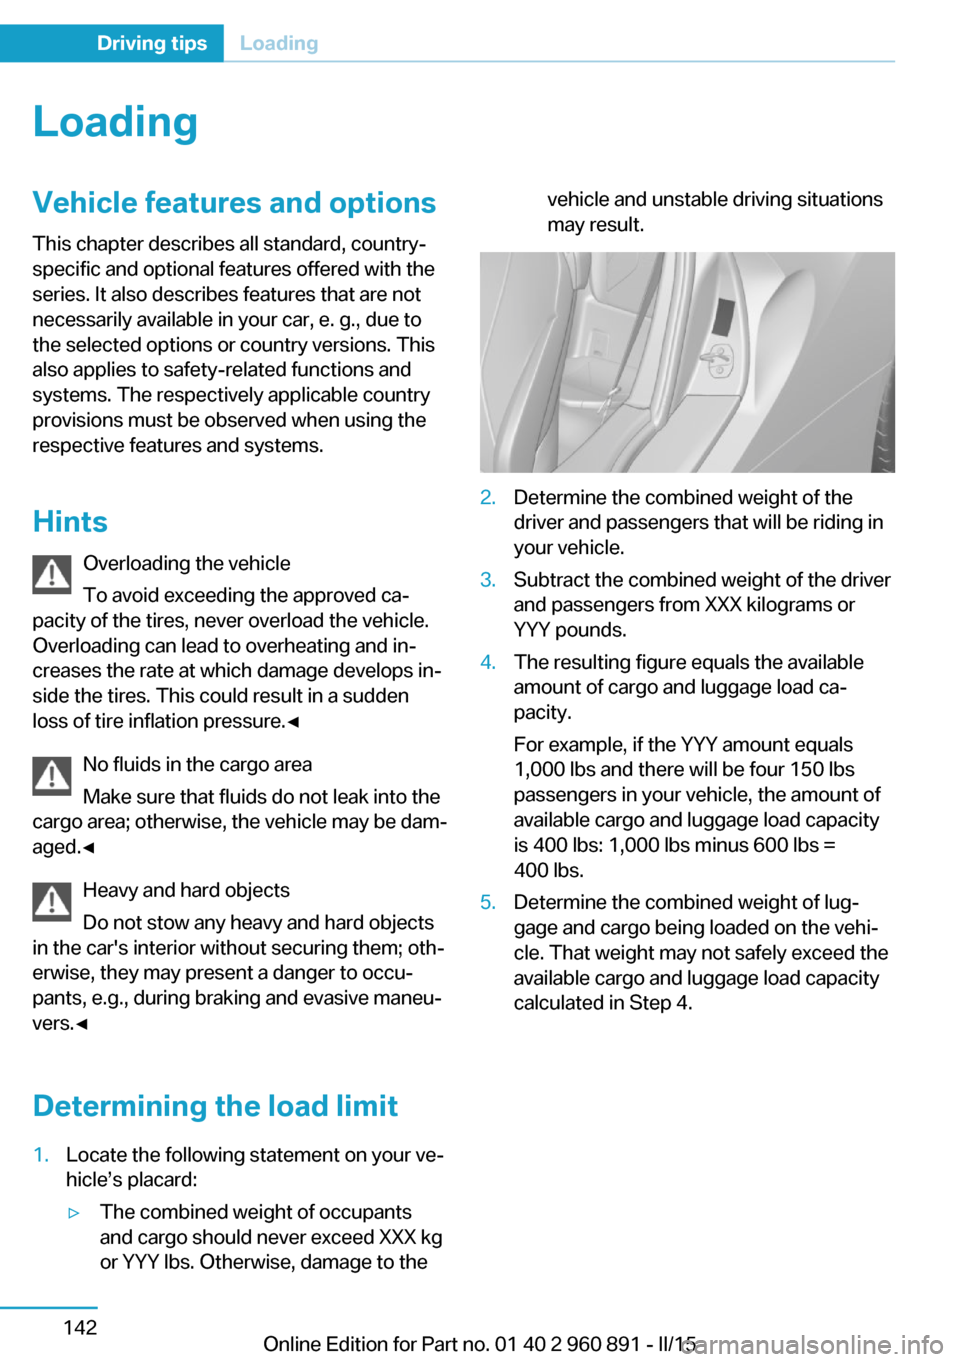
Determining the load limit1.Locate the following statement on your ve‐
hicle’s placard:▷The combined weight of occupants
and cargo should never exceed XXX kg
or YYY lbs. Otherwise, damage to thevehicle and unstable driving situations
may result.2.Determine the combined weight of the
driver and passengers that will be riding in
your vehicle.3.Subtract the combined weight of the driver
and passengers from XXX kilograms or
YYY pounds.4.The resulting figure equals the available
amount of cargo and luggage load ca‐
pacity.
For example, if the YYY amount equals
1,000 lbs and there will be four 150 lbs
passengers in your vehicle, the amount of
available cargo and luggage load capacity
is 400 lbs: 1,000 lbs minus 600 lbs =
400 lbs.5.Determine the combined weight of lug‐
gage and cargo being loaded on the vehi‐
cle. That weight may not safely exceed the
available cargo and luggage load capacity
calculated in Step 4.Seite 142Driving tipsLoading142
Online Edition for Part no. 01 40 2 960 891 - II/15
Page 169 of 224

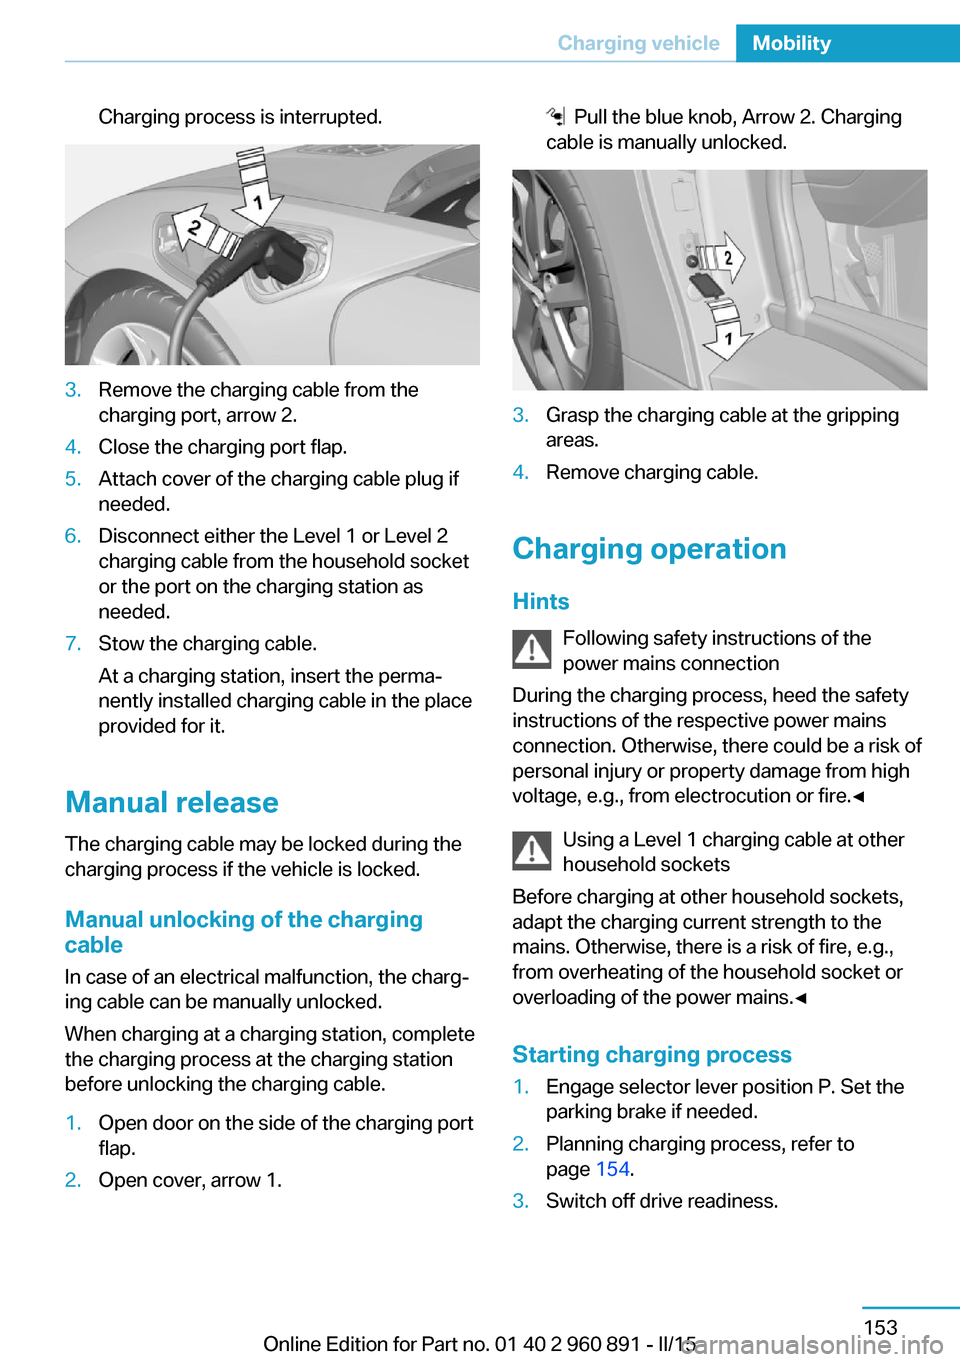
Charging process is interrupted.3.Remove the charging cable from the
charging port, arrow 2.4.Close the charging port flap.5.Attach cover of the charging cable plug if
needed.6.Disconnect either the Level 1 or Level 2
charging cable from the household socket
or the port on the charging station as
needed.7.Stow the charging cable.
At a charging station, insert the perma‐
nently installed charging cable in the place
provided for it.
Manual release
The charging cable may be locked during the
charging process if the vehicle is locked.
Manual unlocking of the charging
cable
In case of an electrical malfunction, the charg‐
ing cable can be manually unlocked.
When charging at a charging station, complete
the charging process at the charging station
before unlocking the charging cable.
1.Open door on the side of the charging port
flap.2.Open cover, arrow 1. Pull the blue knob, Arrow 2. Charging
cable is manually unlocked.3.Grasp the charging cable at the gripping
areas.4.Remove charging cable.
Charging operation
Hints Following safety instructions of the
power mains connection
During the charging process, heed the safety
instructions of the respective power mains
connection. Otherwise, there could be a risk of
personal injury or property damage from high
voltage, e.g., from electrocution or fire.◀
Using a Level 1 charging cable at other
household sockets
Before charging at other household sockets,
adapt the charging current strength to the
mains. Otherwise, there is a risk of fire, e.g.,
from overheating of the household socket or
overloading of the power mains.◀
Starting charging process
1.Engage selector lever position P. Set the
parking brake if needed.2.Planning charging process, refer to
page 154.3.Switch off drive readiness.Seite 153Charging vehicleMobility153
Online Edition for Part no. 01 40 2 960 891 - II/15
Page 219 of 224

Manual operation, rearviewcamera 118
Manual operation, Top View 121
Marking on approved tires 167
Master key, refer to Remote control 38
Max eDRIVE, electric driv‐ ing 64
Maximum cooling 125
Maximum speed, display 85
Maximum speed, winter tires 168
Measure, units of 90
Medical kit 184
Menu, EfficientDynamics 146
Menu in instrument clus‐ ter 86
Menus, operating, iDrive 18
Menus, refer to iDrive operat‐ ing concept 19
Messages, see Check Con‐ trol 79
Microfilter 127
Minimum tread, tires 166
Mirrors 54
Mobile communication devi‐ ces in the vehicle 140
Mobility System 168
Modifications, technical, refer to Safety 7
Moisture in headlight 180
Monitor, refer to Control Dis‐ play 18
Mounting of child restraint systems 57
Multifunction steering wheel, buttons 14
Multimedia 6
N
Navigation 6
Neck restraints, front, refer to Head restraints 54 Neutral cleaner, see wheel
cleaner 189
New wheels and tires 167
O OBD Onboard Diagnosis 179
OBD, see OBD Onboard Di‐ agnosis 179
Obstacle marking, rearview camera 119
Octane rating, refer to Rec‐ ommended fuel grade 161
Odometer 83
Office 6
Oil 173
Oil, adding 175
Oil additives 175
Oil change 176
Oil change interval, service requirements 84
Oil filler neck 175
Oil types, alternative 176
Oil types, approved 175
Old batteries, disposal 182
On-board computer 87
Onboard monitor, refer to Control Display 18
Opening/closing via door lock 43
Opening and closing 38
Opening and closing, without remote control 43
Opening and closing, with re‐ mote control 41
Operating concept, iDrive 18
Operating readiness 61
Operating readiness off 62
Operating readiness on 61
Optional equipment, standard equipment 6
Outside air, refer to Auto‐ matic recirculated-air con‐
trol 125
Overheating of engine, refer to Coolant temperature 83 P
Paint, vehicle 188
Park Distance Control PDC 115
Parked car ventilation, refer to Stationary climate con‐
trol 127
Parked vehicle, condensa‐ tion 141
Parking aid, refer to PDC 115
Parking brake 66
Parking lights 92
Parts and accessories 7
Passenger side mirror, tilting downward 54
Pathway lines, rearview cam‐ era 119
PDC Park Distance Con‐ trol 115
Pedestrian protection 65
Pedestrian warning with city braking function 105
Performance Control 111
Personal Profile 39
Personal Profile, exporting profiles 40
Pinch protection system, win‐ dows 49
Plastic, care 189
POWER, driving with com‐ bustion engine 65
Power failure 181
Power windows 49
Pressure, tire air pres‐ sure 163
Profile, refer to Personal Pro‐ file 39
Programmable memory but‐ tons, iDrive 23
Protective function, win‐ dows 49
Push-and-turn switch, refer to Controller 18 Seite 203Everything from A to ZReference203
Online Edition for Part no. 01 40 2 960 891 - II/15