2015 BMW I8 change time
[x] Cancel search: change timePage 144 of 224
With the BMW i Remote App, refer to
page 128, the standing air conditioning can be
switched on.
The system switches off automatically after a
certain period of time.
If stationary climate control is used during the
charging process, less air conditioning ca‐
pacity will be required while driving. This opti‐
mizes the range.
Functional requirements▷When the departure time is preselected:
depends on internal, external and set tem‐
perature.▷Direct operation via iDrive: any external
temperature.▷Charging cable connected or high-voltage
battery sufficiently charged.▷Motor switched off and/or drive readiness
deactivated.▷The vents are open to allow air to flow out.
Switching on/off directly
On the Control Display:
1."Settings"2."Climate"3."Activate comfort climate control"
The symbol on the automatic climate con‐
trol flashes if the stationary climate control is
switched on.
Activate climate control at departuretime
The reel-on time is automatically determined
based on the temperature. The system
promptly switches on before the selected de‐
parture time.
On the Control Display:
1."Settings"2."Departure time"3."Departure 1:"4."Precondition for departure time"5.Set and activate Desired departure time,
refer to page 156.
The symbol on the automatic climate con‐
trol lights up when the departure time is acti‐
vated.
The symbol on the automatic climate con‐
trol flashes when the stationary climate control
has been switched on.
If drive readiness is switched off, changes can
be made on the Control Display. Departure
time can only be changed once. Scheduled de‐
parture times are not adjusted. Settings for cli‐
mate control and charging operation are also
applied for scheduled departure times.
Activating with BMW i Remote App
Using the BMW i Remote App, the system can
be directly switched on or via a preset depar‐
ture time.
Seite 128ControlsClimate control128
Online Edition for Part no. 01 40 2 960 891 - II/15
Page 146 of 224
erases all programming of the buttons on
the interior rearview mirror.3.Hold the hand-held transmitter for the sys‐
tem to be controlled approx. 1 to 3 in/2.5 to
8 cm away from the buttons of the interior
rearview mirror. The required distance de‐
pends on the manual transmitter.4.Simultaneously press and hold the button
of the desired function on the hand-held
transmitter and the button to be program‐
med on the interior rearview mirror. The
LED on the interior rearview mirror will be‐
gin flashing slowly.5.Release both buttons as soon as the LED
flashes more rapidly. The LED flashing
faster indicates that the button on the inte‐
rior rearview mirror has been programmed.
If the LED does not flash faster after at
least 60 seconds, change the distance be‐
tween the interior rearview mirror and the
hand-held transmitter and repeat the step.
Several more attempts at different distan‐
ces may be necessary. Wait at least
15 seconds between attempts.
Canada: if programming with the hand-
held transmitter was interrupted, hold
down the interior rearview mirror button
and repeatedly press and release the
hand-held transmitter button for 2 sec‐
onds.6.To program other functions on other but‐
tons, repeat steps 3 to 5.
The systems can be controlled using the inte‐
rior rearview mirror buttons.
Special feature of the alternating-
code wireless system
If you are unable to operate the system after
repeated programming, please check if the
system to be controlled features an alternat‐
ing-code system.
Read the system's operating manual, or press
the programmed button on the interior rear‐
view mirror longer. If the LED on the interior
rearview mirror starts flashing rapidly and then
stays lit constantly for 2 seconds, the system
features an alternating-code system. Flashing
and continuous illumination of the LED will re‐
peat for approximately 20 seconds.
For systems with an alternating-code system,
the universal garage door opener and the sys‐
tem also have to be synchronized.
Please read the operating manual to find out how to synchronize the system.
Synchronizing is easier with the aid of a sec‐
ond person.
To synchronize:1.Park the vehicle within range of the re‐
mote-controlled system.2.Program the relevant button on the interior
rearview mirror as described.3.Locate and press the synchronizing button
on the system being programmed. You
have approx. 30 seconds for the next step.4.Hold down the programmed button on the
interior rearview mirror for approximately
3 seconds and then release it. If necessary,
repeat this step up to three times in order
to finish synchronization. Once synchroni‐
zation is complete, the programmed func‐
tion will be carried out.
Reprogramming individual buttons
1.Switch on the ignition.2.Press and hold the interior rearview mirror
button to be programmed.3.As soon as the interior rearview mirror LED
starts flashing slowly, hold the hand-held
transmitter for the system to be controlled
approx. 1 to 3 in/2.5 to 8 cm away from the
buttons of the interior rearview mirror. The
required distance depends on the manual
transmitter.Seite 130ControlsInterior equipment130
Online Edition for Part no. 01 40 2 960 891 - II/15
Page 170 of 224
4.Connect either a Level 1 or Level 2 charg‐
ing cable to the household socket or the
port on the charging station.5.Open charging port flap.6.Connect charging cable to the vehicle, re‐
fer to page 152.
At high temperatures, initially the high-voltage
battery is cooled. The charging process can be
started with a delay.
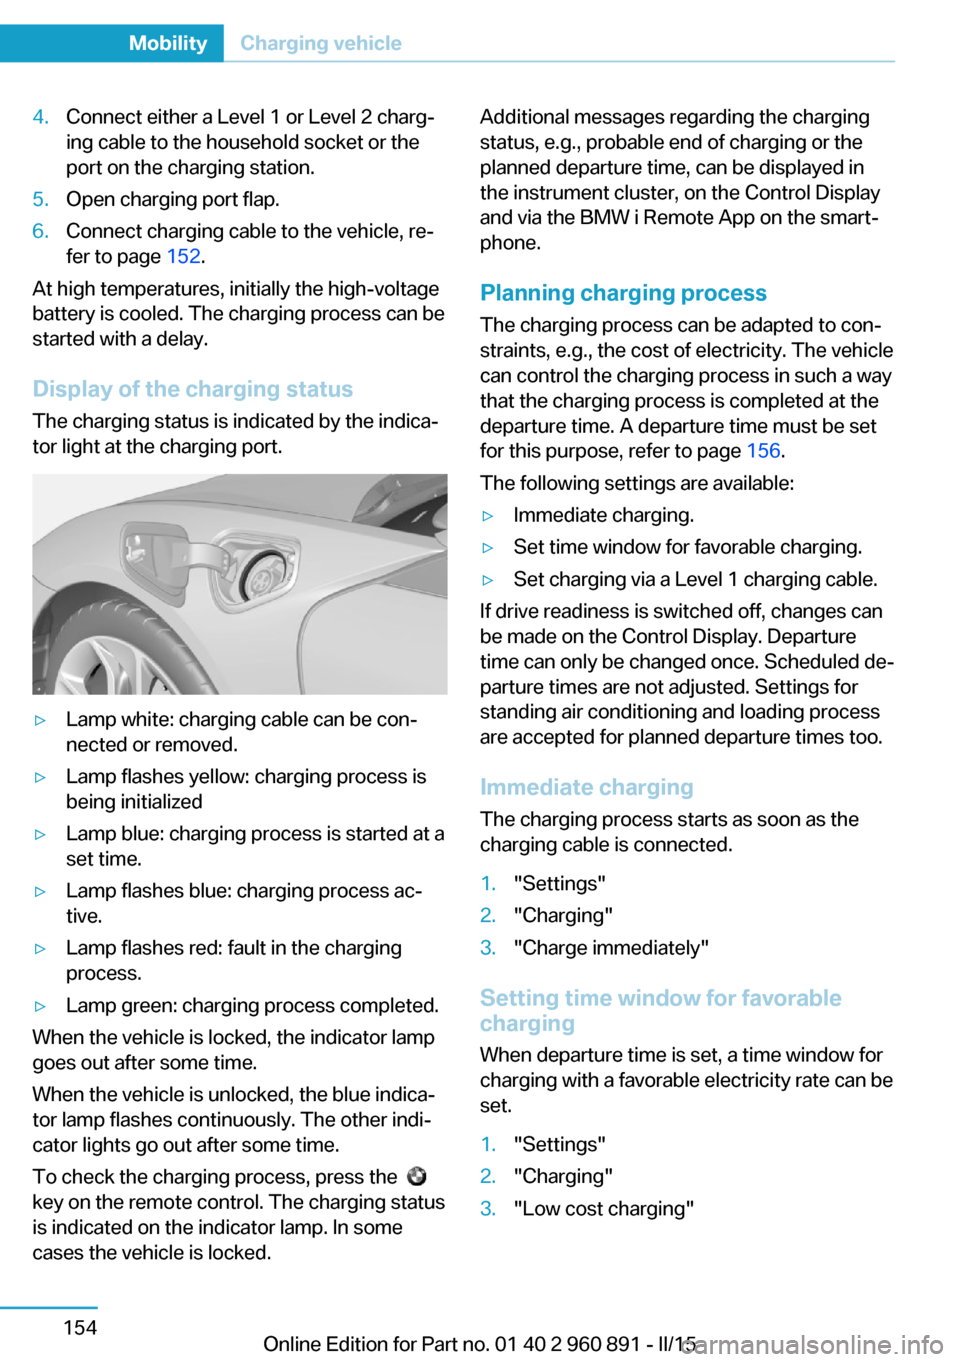
Display of the charging status
The charging status is indicated by the indica‐
tor light at the charging port.
▷Lamp white: charging cable can be con‐
nected or removed.▷Lamp flashes yellow: charging process is
being initialized▷Lamp blue: charging process is started at a
set time.▷Lamp flashes blue: charging process ac‐
tive.▷Lamp flashes red: fault in the charging
process.▷Lamp green: charging process completed.
When the vehicle is locked, the indicator lamp
goes out after some time.
When the vehicle is unlocked, the blue indica‐
tor lamp flashes continuously. The other indi‐
cator lights go out after some time.
To check the charging process, press the
key on the remote control. The charging status
is indicated on the indicator lamp. In some
cases the vehicle is locked.
Additional messages regarding the charging
status, e.g., probable end of charging or the
planned departure time, can be displayed in
the instrument cluster, on the Control Display
and via the BMW i Remote App on the smart‐
phone.
Planning charging process The charging process can be adapted to con‐
straints, e.g., the cost of electricity. The vehicle
can control the charging process in such a way
that the charging process is completed at the
departure time. A departure time must be set
for this purpose, refer to page 156.
The following settings are available:▷Immediate charging.▷Set time window for favorable charging.▷Set charging via a Level 1 charging cable.
If drive readiness is switched off, changes can
be made on the Control Display. Departure
time can only be changed once. Scheduled de‐
parture times are not adjusted. Settings for
standing air conditioning and loading process
are accepted for planned departure times too.
Immediate chargingThe charging process starts as soon as the
charging cable is connected.
1."Settings"2."Charging"3."Charge immediately"
Setting time window for favorable
charging
When departure time is set, a time window for
charging with a favorable electricity rate can be
set.
1."Settings"2."Charging"3."Low cost charging"Seite 154MobilityCharging vehicle154
Online Edition for Part no. 01 40 2 960 891 - II/15
Page 171 of 224
4.Set rate begin. Turn the controller until the
desired time is set and press the controller.5.Set rate end. Turn the controller until the
desired time is set and press the controller.
Setting charging via a
Level 1 charging cable
Depending on the electrical mains, the vehicle
must be charged with a different charging cur‐
rent strength, refer to page 150.
1."Settings"2."Charging"3."AC charging power:"
Settings are stored. When you change charg‐
ing locations you also might need to change
the setting for charging.
Set the charge current strength at other
household sockets to "Low".
Stopping charging process The charging operation can be stopped at any
time by removing the charging cable and con‐
tinued at a later time by connecting the charg‐
ing cable in order to use other loads on the
power connection or to prevent simultaneous
high power from multiple loads.
The charging operation is interrupted when the
vehicle is unlocked and automatically resumed
after a brief time or when it is locked.
Continue charging operation If the charging operation is interrupted, e.g.,
through a temporary power failure, the charg‐
ing operation is automatically continued after
the interruption.
Terminating charging process
1.Removing the charging cable from the ve‐
hicle, refer to page 152.2.Stow the charging cable as required.3.Close the charging port flap.4.Lock vehicle if it is unlocked.Displays in the instrument
cluster
The charging state indicator light, refer to page 77, shows the charging state of the high-
voltage battery in the instrument cluster, if op‐
erating readiness is switched on. If all seg‐
ments are filled, the high-voltage battery is
fully charged.
Even if no segments are filled, the high-voltage
system is still under high voltage.
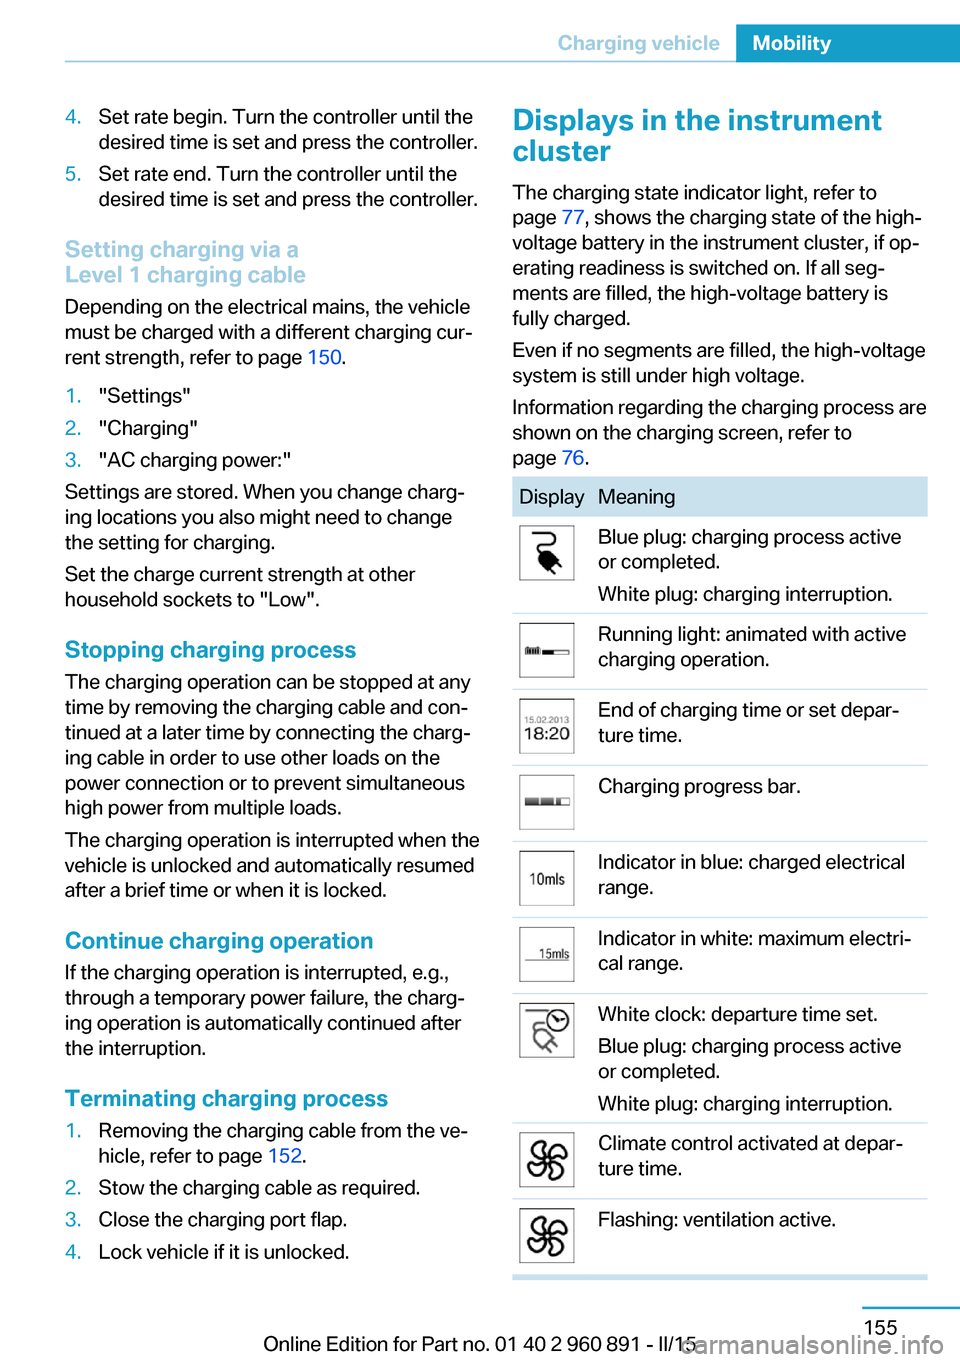
Information regarding the charging process are
shown on the charging screen, refer to
page 76.DisplayMeaningBlue plug: charging process active
or completed.
White plug: charging interruption.Running light: animated with active
charging operation.End of charging time or set depar‐
ture time.Charging progress bar.Indicator in blue: charged electrical
range.Indicator in white: maximum electri‐
cal range.White clock: departure time set.
Blue plug: charging process active
or completed.
White plug: charging interruption.Climate control activated at depar‐
ture time.Flashing: ventilation active.Seite 155Charging vehicleMobility155
Online Edition for Part no. 01 40 2 960 891 - II/15
Page 172 of 224
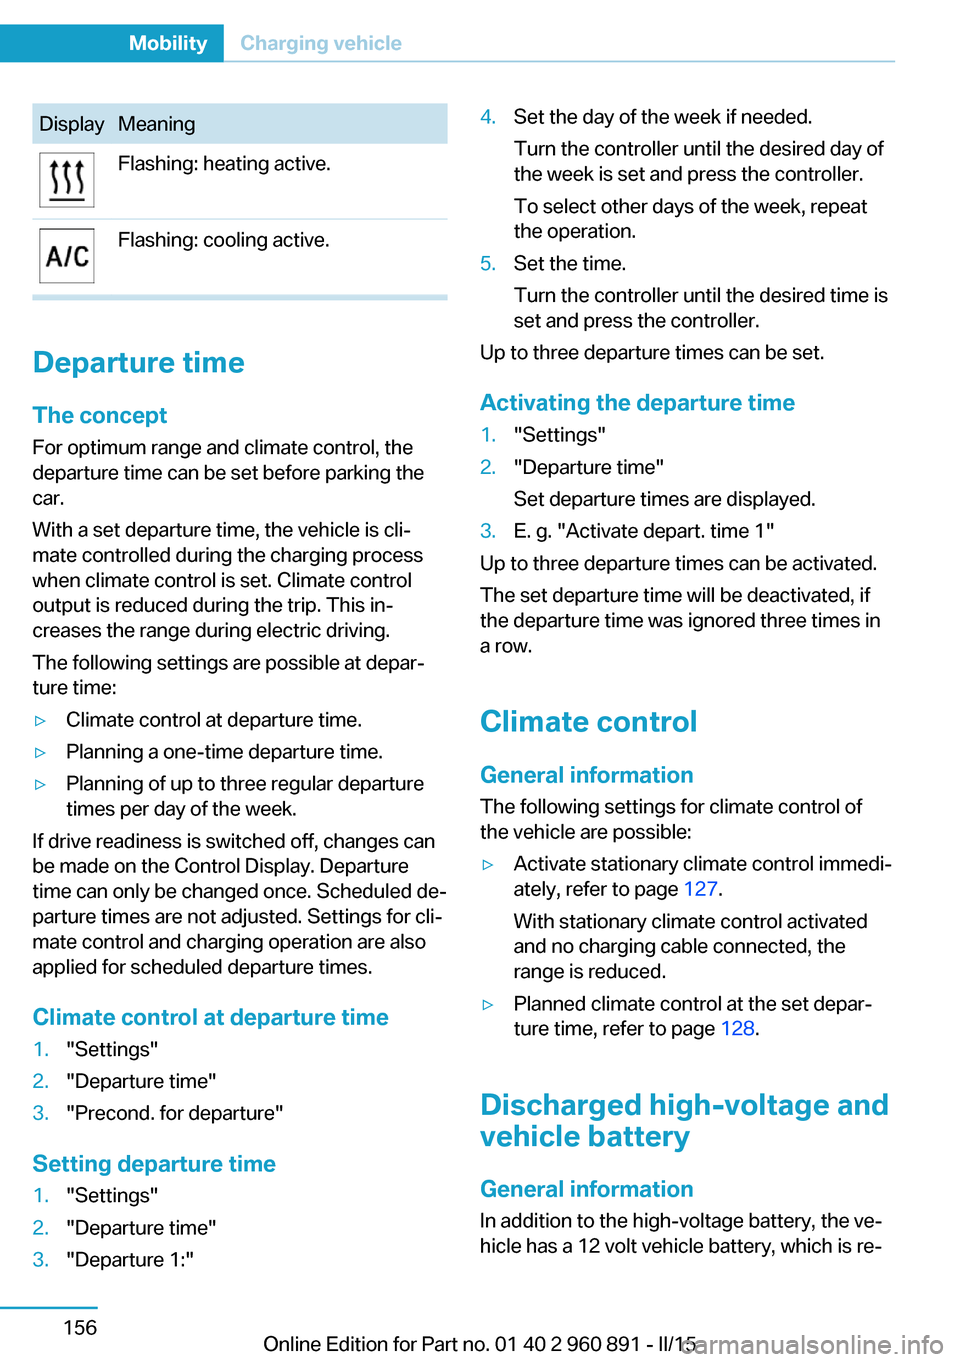
DisplayMeaningFlashing: heating active.Flashing: cooling active.
Departure time
The concept For optimum range and climate control, the
departure time can be set before parking the
car.
With a set departure time, the vehicle is cli‐
mate controlled during the charging process
when climate control is set. Climate control
output is reduced during the trip. This in‐
creases the range during electric driving.
The following settings are possible at depar‐
ture time:
▷Climate control at departure time.▷Planning a one-time departure time.▷Planning of up to three regular departure
times per day of the week.
If drive readiness is switched off, changes can
be made on the Control Display. Departure
time can only be changed once. Scheduled de‐
parture times are not adjusted. Settings for cli‐
mate control and charging operation are also
applied for scheduled departure times.
Climate control at departure time
1."Settings"2."Departure time"3."Precond. for departure"
Setting departure time
1."Settings"2."Departure time"3."Departure 1:"4.Set the day of the week if needed.
Turn the controller until the desired day of
the week is set and press the controller.
To select other days of the week, repeat
the operation.5.Set the time.
Turn the controller until the desired time is
set and press the controller.
Up to three departure times can be set.
Activating the departure time
1."Settings"2."Departure time"
Set departure times are displayed.3.E. g. "Activate depart. time 1"
Up to three departure times can be activated.
The set departure time will be deactivated, if
the departure time was ignored three times in
a row.
Climate control General information
The following settings for climate control of
the vehicle are possible:
▷Activate stationary climate control immedi‐
ately, refer to page 127.
With stationary climate control activated
and no charging cable connected, the
range is reduced.▷Planned climate control at the set depar‐
ture time, refer to page 128.
Discharged high-voltage and
vehicle battery
General information
In addition to the high-voltage battery, the ve‐
hicle has a 12 volt vehicle battery, which is re‐
Seite 156MobilityCharging vehicle156
Online Edition for Part no. 01 40 2 960 891 - II/15
Page 196 of 224

Replacing componentsVehicle features and optionsThis chapter describes all standard, country-
specific and optional features offered with the
series. It also describes features that are not
necessarily available in your car, e. g., due to
the selected options or country versions. This
also applies to safety-related functions and
systems. The respectively applicable country
provisions must be observed when using the
respective features and systems.
Wiper blade replacement Hints Do not fold down the wipers without
wiper blades
Do not fold down the wipers if wiper blades
have not been installed; this may damage the
windshield.◀
Replacing the wiper blades1.To change the wiper blades, fold up, refer
to page 70, the wiper arms.2.Fold up the wipers.3.Position the wiper blade in a horizontal po‐
sition.4.Remove the wiper blade toward one side.5.Insert the new wiper blade in reverse order
of removal until it locks in place.6.Fold down the wipers.
Lamp and bulb replacement
General information
All headlights and lights are made using LED
or laser technology. Contact your service cen‐
ter in the event of a malfunction.
Headlight glass
Condensation can form on the inside of the ex‐
ternal lights in cool or humid weather. When
driving with the light switched on, the conden‐
sation evaporates after a short time. The head‐
light glass does not need to be changed.
If the headlights do not dim despite driving
with the light switched on, increasing humidity
forms, e. g. water droplets in the light, have the
service center check this.
Light-emitting diodes (LEDs)
Some items of equipment use light-emitting
diodes installed behind a cover as a light
source.
These light-emitting diodes, which are related
to conventional lasers, are officially designated
as Class 1 light-emitting diodes.
Seite 180MobilityReplacing components180
Online Edition for Part no. 01 40 2 960 891 - II/15
Page 197 of 224

HintsDo not perform any work on the lighting
system
Have any work on the lighting system, includ‐
ing bulb replacement, performed only by a
service center. Due to the high voltage present
in the system, there is a danger of fatal injuries
if work is carried out improperly.◀
Irritation of the retina
Never look directly into the headlights or
their light sources for a lengthy period of time,
otherwise this could irritate your retinas.◀
Do not remove the covers
Do not remove the covers, and never
stare into the unfiltered light for several hours;
otherwise, irritation of the retina could result.◀
Changing wheels
Hints
When sealants are used, an immediate wheel
change when there is a loss of tire inflation
pressure in the event of a flat tire is unneces‐
sary.
Which is why no spare tire is available.
The tools for changing wheels are available as
accessories from your service center.
Jacking points for the vehicle jack
The jacking points for the vehicle jack are lo‐
cated at the positions shown.
Vehicle battery
The vehicle battery has 12 volts. The battery
supplies the onboard electronics with energy.
Information about the high-voltage system, re‐
fer to page 150.
Maintenance
The battery is maintenance-free.
The added amount of acid is sufficient for the
service life of the battery.
Further information about the battery can be
obtained from your service center.
Battery replacement Use approved vehicle batteries only
Only use vehicle batteries that have been
approved for your vehicle by the manufacturer;
otherwise, the vehicle could be damaged and
systems or functions may not be fully availa‐
ble.◀
After a battery replacement, have the battery
registered on the vehicle by the service center
to ensure that all comfort features are fully
available and that any Check Control mes‐
sages of these comfort features are no longer
displayed.
Charge vehicle battery Do not use any charging devices
Do not charge the vehicle battery with an
external charging device; otherwise, there is a
risk of property damage, e. g., to the vehicle's
electronics.◀
Charging a discharged battery, refer to
page 156.
Power failure
After a temporary power loss, some equipment
needs to be newly initialized or individual set‐
tings updated, e. g.:▷Time: update.Seite 181Replacing componentsMobility181
Online Edition for Part no. 01 40 2 960 891 - II/15
Page 216 of 224

Daytime running lights 93
Deactivating drive readi‐ ness 63
Defrosting, refer to Windows, defrosting 127
Dehumidifying, air 125
Deleting personal data 24
Deletion of personal data 24
Departure times, stationary climate control 128
Destination distance 88
Digital clock 83
Dimensions 194
Dimmable exterior mirrors 55
Dimmable interior rearview mirror 55
Direction indicator, refer to Turn signals 67
Display in windshield 90
Display lighting, refer to In‐ strument lighting 95
Displays 75
Displays, cleaning 190
Displays, hybrid system 77
Disposal, vehicle battery 182
Distance control, refer to PDC 115
Distance to destination 88
Divided screen view, split screen 23
Door lock 43
Door lock, refer to Remote control 38
Drive-off assistant 112
Drive-off assistant, refer to DSC 109
Driver's door, LED 41
Drive readiness 61
Drive readiness in detail 62
Drive readuness, deacti‐ vate 63
Driving Dynamics Con‐ trol 111
Driving instructions, break- in 138 Driving instructions, eDRIVE
drive system 138
Driving mode 111
Driving notes, general 139
Driving stability control sys‐ tems 109
Driving tips 139
Driving with combustion en‐ gine, POWER 65
DSC Dynamic Stability Con‐ trol 109
DTC Dynamic Traction Con‐ trol 110
Dynamic Stability Control DSC 109
Dynamic Traction Control DTC 110
E
eBOOST 65
ECO PRO 145
ECO PRO display 145
ECO PRO driving mode 145
ECO PRO mode 145
ECO PRO Tip - driving in‐ struction 146
eDRIVE drive system, driving instructions 138
eDRIVE, electric driving, see BMW eDRIVE 32
eDrive system, at a glance 31
EfficientDynamics 146
Electric drive readiness, Si‐ lent Start 63
Electric driving, ePOWER 64
Electric driving, max eDRIVE 64
Electric driving, see BMW eDRIVE 32
Electronic oil measure‐ ment 173
Electronic Stability Program ESP, refer to DSC 109
Emergency charging, refer to Backup charging 156 Emergency detection, remote
control 39
Emergency release, fuel filler flap 159
Emergency Request 183
Emergency start function, en‐ gine start 39
Emergency unlocking, tail‐ gate 45
Emergency unlocking, trans‐ mission lock 73
Energy Control 87
Energy recovery, CHARGE 66
Engine coolant 177
Engine noise, artificial 65
Engine oil 173
Engine oil, adding 175
Engine oil additives 175
Engine oil change 176
Engine oil filler neck 175
Engine oil temperature 83
Engine oil types, alterna‐ tive 176
Engine oil types, ap‐ proved 175
Engine start during malfunc‐ tion 39
Engine start, jump-start‐ ing 184
Engine temperature 83
Entering a car wash 187
ePOWER, electric driving 64
Equipment, interior 129
Error displays, see Check Control 79
ESP Electronic Stability Pro‐ gram, refer to DSC 109
Exchanging wheels/tires 167
Exhaust system 140
Exterior mirror, automatic dimming feature 55
Exterior mirrors 54
External start 184
External temperature dis‐ play 83 Seite 200ReferenceEverything from A to Z200
Online Edition for Part no. 01 40 2 960 891 - II/15