Page 9 of 24
TruNK LID reL ea Se
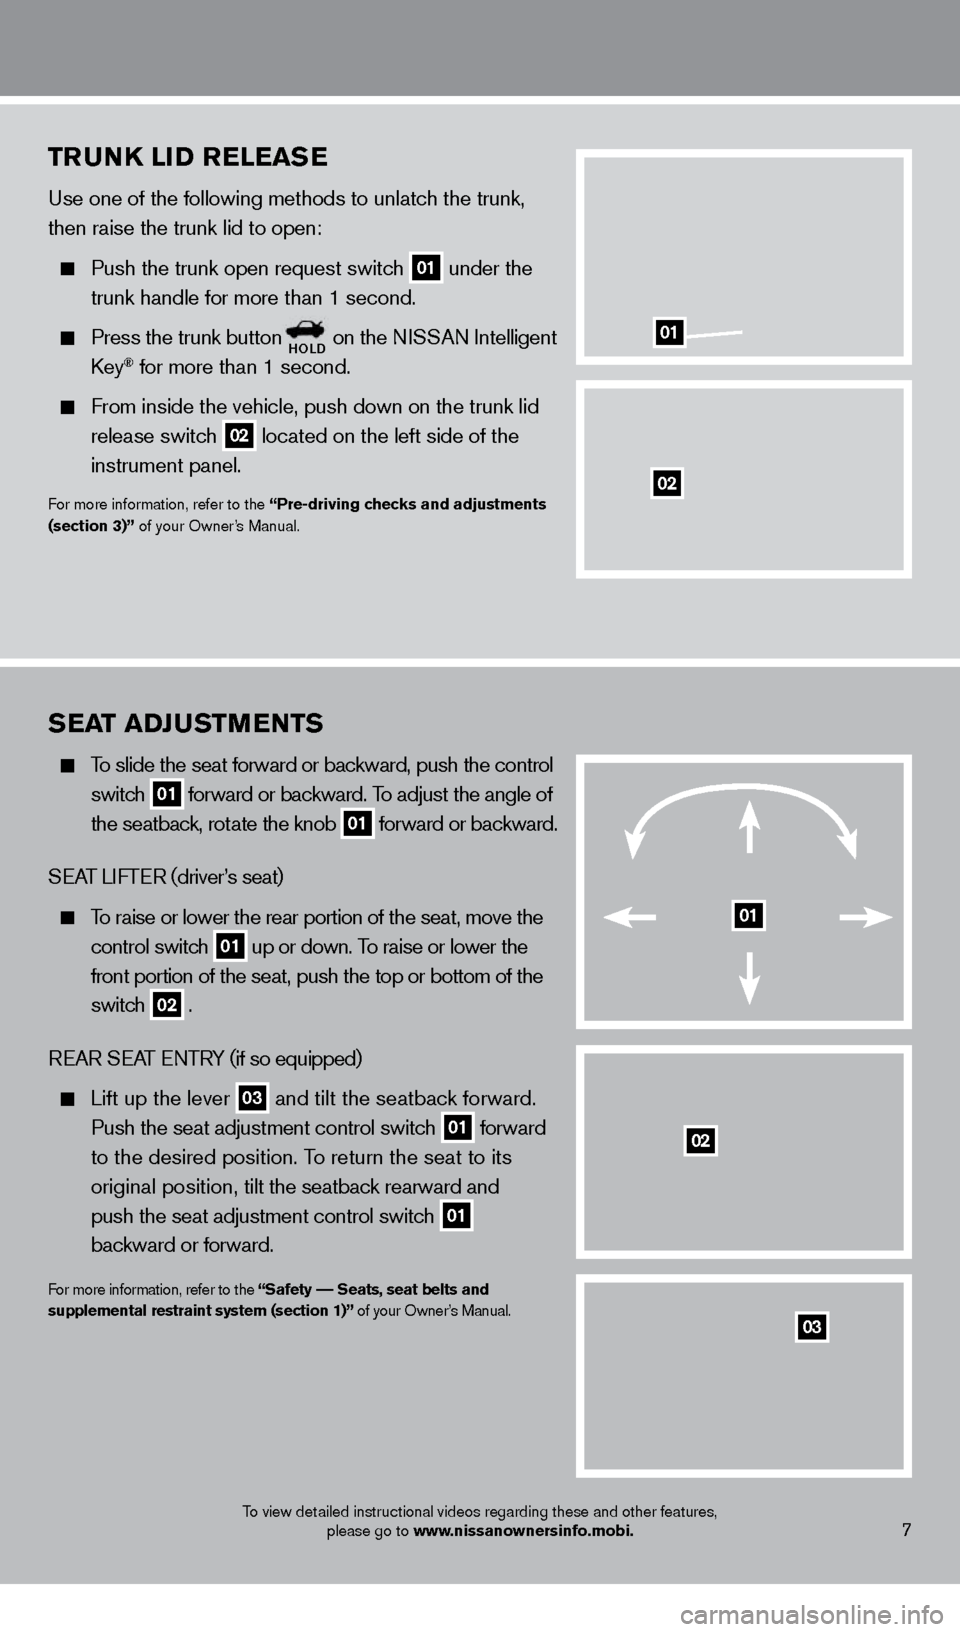
Use one of the following methods to unlatch the trunk,
then raise the trunk lid to open:
Push the trunk open request switc h
01 under the
trunk handle for more than 1 second.
Press the trunk buttonhOLD on the NISSAN Intelligent Ke
y® for more than 1 second.
From inside the vehicle, push down on the trunk lid
release switc
h
02 located on the left side of the
instrument panel.
For more information, refer to the “Pre-driving checks and adjustments
(section 3)” of your Owner’s Manual.
01
02
7
SeaT a DJuSTMeNTS
To slide the seat forward or backward, push the control
switc
h
01 forward or backward. To adjust the angle of
the seatbac k, rotate the knob 01 forward or backward.
SEAT LIFTER (driver’s seat)
To raise or lower the rear portion of the seat, move the
control switc
h
01 up or down. To raise or lower the
front portion of the seat, push the top or bottom of the
switc
h
02 .
REAR SEAT ENTRY (if so equipped)
Lift up the lever
03 and tilt the seatback forward.
Push the seat adjustment control switc h 01 forward
to the desired position. T
o return the seat to its
o
riginal position, tilt the seatback rearward and
push the seat adjustment control switc
h
01
bac
kward or forward.
For more information, refer to the “Safety –– Seats, seat belts and
supplemental restraint system (section 1)” of your Owner’s Manual.
03
01
02
To view detailed instructional videos regarding these and other features,
please go to www.nissanownersinfo.mobi.
1276458_14a_GTR_QRG_Text-Insert_113012.indd 711/30/12 1:45 PM
Page 10 of 24
OuTSIDe MIr rO r c ONT rOL S w ITch
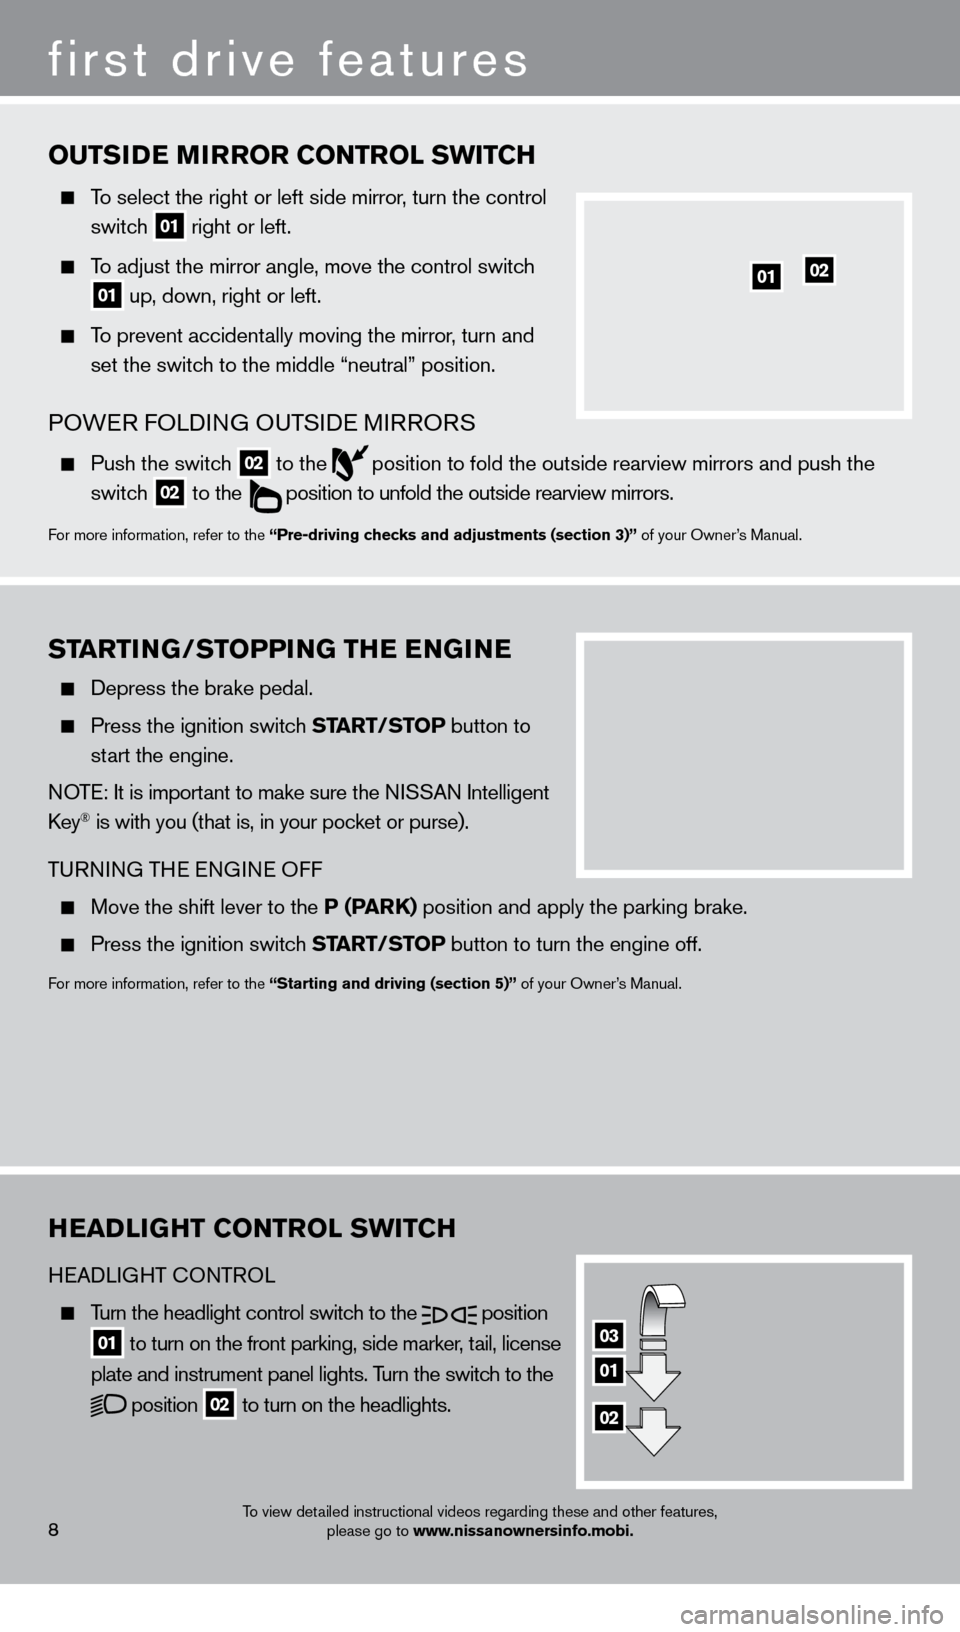
To select the right or left side mirror, turn the control
switc
h
01 right or left.
To adjust the mirror angle, move the control switch
01 up, down, right or left.
To prevent accidentally moving the mirror, turn and
set the switc
h to the middle “neutral” position.
POWER FOLDING OUTSIDE MIRRORS
Push the switc h
02 to the
position to fold the outside rearview mirrors and push the
switc
h
02 to the
position to unfold the outside rearview mirrors.
For more information, refer to the “Pre-driving checks and adjustments (section 3)” of your Owner’s Manual.
heaDLIGhT c ONT rOL S w ITch
HEADLIGHT CONTROL
Turn the headlight control switch to the
position
01 to turn on the front parking, side marker, tail, license
plate and instrument panel lights. T urn the switch to the
position
02 to turn on the headlights.
03
01
02
first drive features
8
01
STar TING/STOPPING T he eN GINe
Depress the brake pedal.
Press the ignition switch STar T/STOP button to
st
art the engine.
NOTE: It is important to make sure the NISSAN Intelligent
Key
® is with you (that is, in your pocket or purse).
TURNING THE ENGINE OFF
Move the shift lever to the P (ParK) position and apply the parking brake.
Press the ignition switch STar T/STOP button to turn the engine off.
For more information, refer to the “Starting and driving (section 5)” of your Owner’s Manual.
02
To view detailed instructional videos regarding these and other features,
please go to www.nissanownersinfo.mobi.
1276458_14a_GTR_QRG_Text-Insert_113012.indd 811/30/12 1:45 PM
Page 11 of 24
wINDShIeLD wIP er a ND w a S her Sw IT ch
The ignition switch must be in the ON position to
activate the windshield wipers.
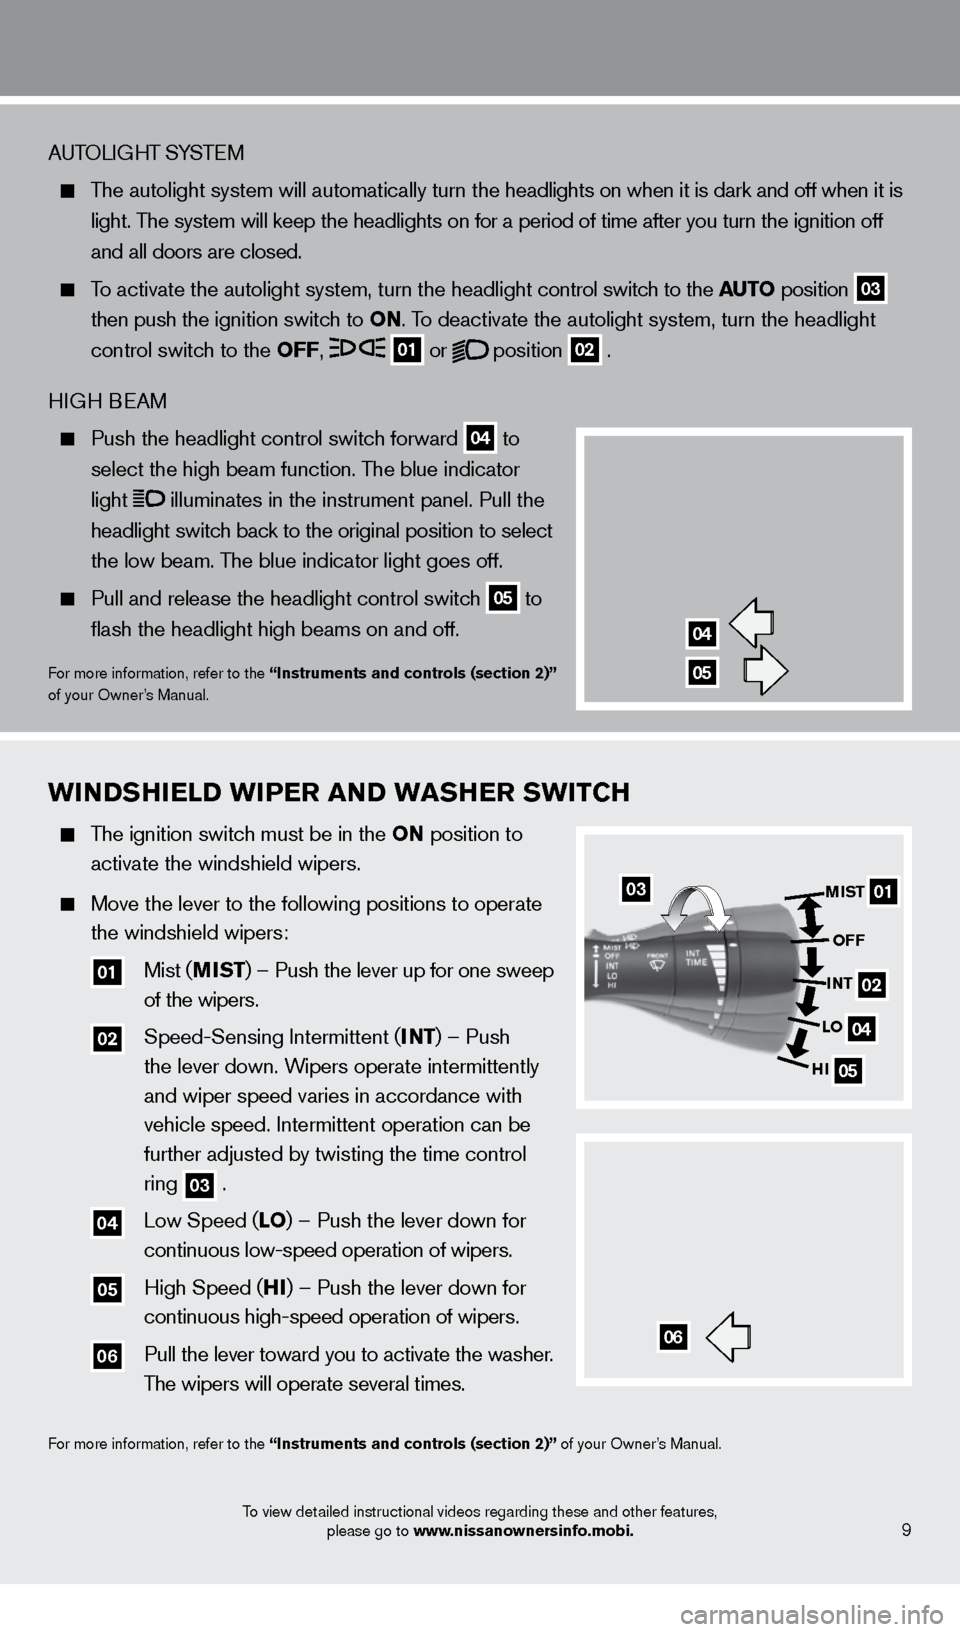
Move the lever to the following positions to operate
the windshield wipers:
01 Mist (MIST) – Push the lever up for one sweep
of the wipers.
02 Speed-Sensing Intermittent ( INT) – Push
the lever down. W
ipers operate intermittently
and wiper speed varies in accordance with
vehicle speed. Intermittent operation can be
further adjusted by twisting the time control
ring
03 . 04 Low Speed (
LO) – Push the lever down for
continuous low-speed operation of wipers.
05 High Speed (h I) – Push the lever down for
continuous high-speed operation of wipers.
06 Pull the lever toward you to activate the washer .
T
he wipers will operate several times.
For more information, refer to the “Instruments and controls (section 2)” of your Owner’s Manual.
9
AUTOLIGHT SYSTEM
The autolight system will automatically turn the headlights on when it is dark and off when it is
light. T
he system will keep the headlights on for a period of time after you tur\
n the ignition off
and all doors are closed.
To activate the autolight system, turn the headlight control switch to the auT O position
03
t
hen push the ignition switch to ON. To deactivate the autolight system, turn the headlight
control switc
h to the OFF,
01 or
position
02 .
HIGH BEAM
Push the headlight control switc h forward 04 to
select the high beam function. T
he blue indicator
light illuminates in the instrument panel. Pull the
headlight switc
h back to the original position to select
the low beam. T
he blue indicator light goes off.
Pull and release the headlight control switc h 05 to
flash the headlight high beams on and off.
For more information, refer to the “Instruments and controls (section 2)”
of your Owner’s Manual.
04
05
01
04
05
MIST
OFF
INT
LO
h
I
06
02
03
To view detailed instructional videos regarding these and other features, please go to www.nissanownersinfo.mobi.
1276458_14a_GTR_QRG_Text-Insert_113012.indd 911/30/12 1:45 PM
Page 12 of 24
first drive features
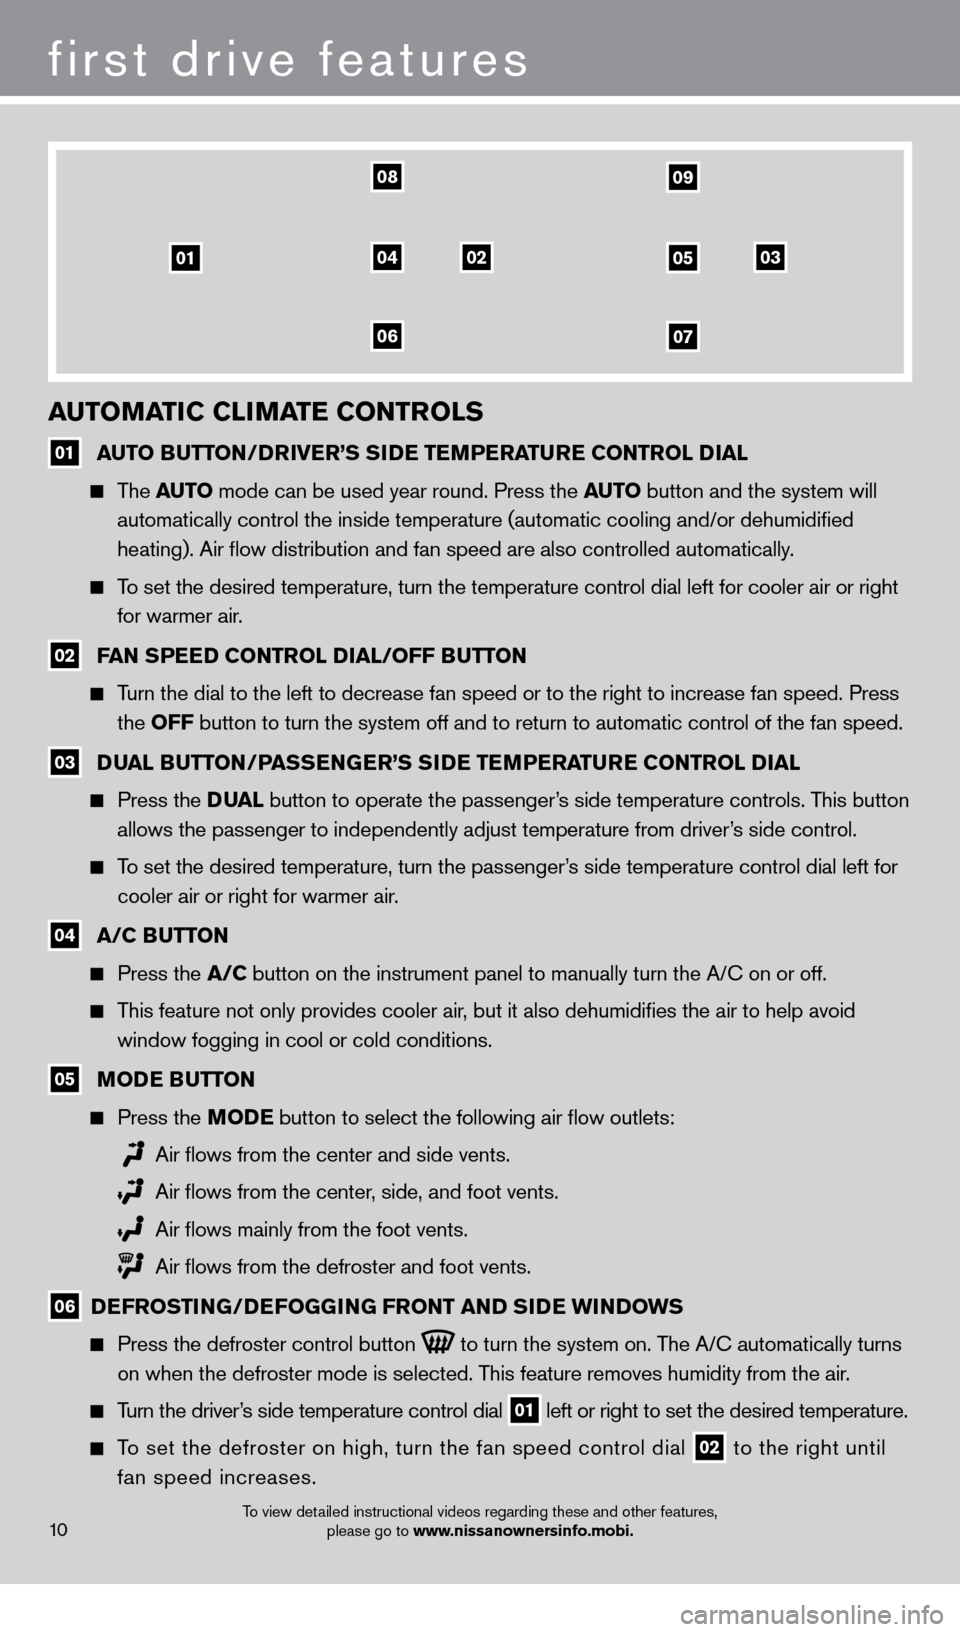
auTOMaTIc c LIM aT e c ONT rOLS
01 au TO Bu TTON/DrIV er ’S SIDe T eM P eraT ure c ONT rOL D I a L
The auTO
mode can be used year round. Press the auT O button and the system will
automatically control the inside temperature (automatic cooling and/or \
dehumidified
heating). Air flow distribution and fan speed are also controlled aut\
omatically
.
To set the desired temperature, turn the temperature control dial left fo\
r cooler air or right
for warmer air
.
02 Fa N SP eeD c ONT rOL D I a L/OFF Bu TTON
Turn the dial to the left to decrease fan speed or to the right to increa\
se fan speed. Press
the OFF
button to turn the system off and to return to automatic control of the\
fan speed.
03 Du a L Bu TTON/Pa SSeN Ge r ’S SIDe T eM P eraT ure c ONT rOL D I a L
Press the DuaL button to operate the passenger ’s side temperature controls. This button
allows the passenger to independently adjust temperature from driver
’s side control.
To set the desired temperature, turn the passenger’s side temperature control dial left for
cooler air or right for warmer air
.
04 a / c Bu TTON
Press the a / c button on the instrument panel to manually turn the A/C on or off.
This feature not only provides cooler air, but it also dehumidifies the air to help avoid
window fogging in cool or cold conditions.
05 M ODe Bu TTON
Press the MODe button to select the following air flow outlets:
Air flows from the center and side vents.
Air flows from the center , side, and foot vents.
Air flows mainly from the foot vents.
Air flows from the defroster and foot vents.
06 DeF rOSTI NG/DeF OGGING F rONT a ND SIDe w INDOw S
Press the defroster control button
to turn the system on. The A/C automatically turns
on when the defroster mode is selected. T his feature removes humidity from the air.
Turn the driver’s side temperature control dial 01 left or right to set the desired temperature.
To set the defroster on high, turn the fan speed control dial 02 to the right until
fan speed increases.
010405
0607
0809
0203
10To view detailed instructional videos regarding these and other features, please go to www.nissanownersinfo.mobi.
1276458_14a_GTR_QRG_Text-Insert_113012.indd 1011/30/12 1:45 PM
Page 13 of 24
11
07 DeFrOSTI NG/DeF OGGING rear w INDOw a ND O u TSIDe heaT eD M Ir rO r
Push the rear window defroster switc
h
to turn the system on or off.
This function automatically turns off in approximately 15 minutes.
08 a Ir rec Ir cuL aTI ON Bu TTON
Press the air recirculation button to recirculate interior air inside the vehicle.
This setting can be used to assist in avoiding outside odors and in cooli\
ng down the
vehicle’
s interior.
The air recirculation mode can only be selected if the air flow mode co\
ntrol is in the
or
positions.
09 Ou TSIDe a Ir c Ir cuL aTI ON Bu TTON
Press the outside air circulation button
to bring fresh outside air into the vehicle.
This setting helps defog the vehicle’s windows.
For more information, refer to the “Instruments and controls (section 2)” of your Owner’s Manual and the “heater and air
conditioner (section 5)” of your Multi Function Display Owner’s Manual.
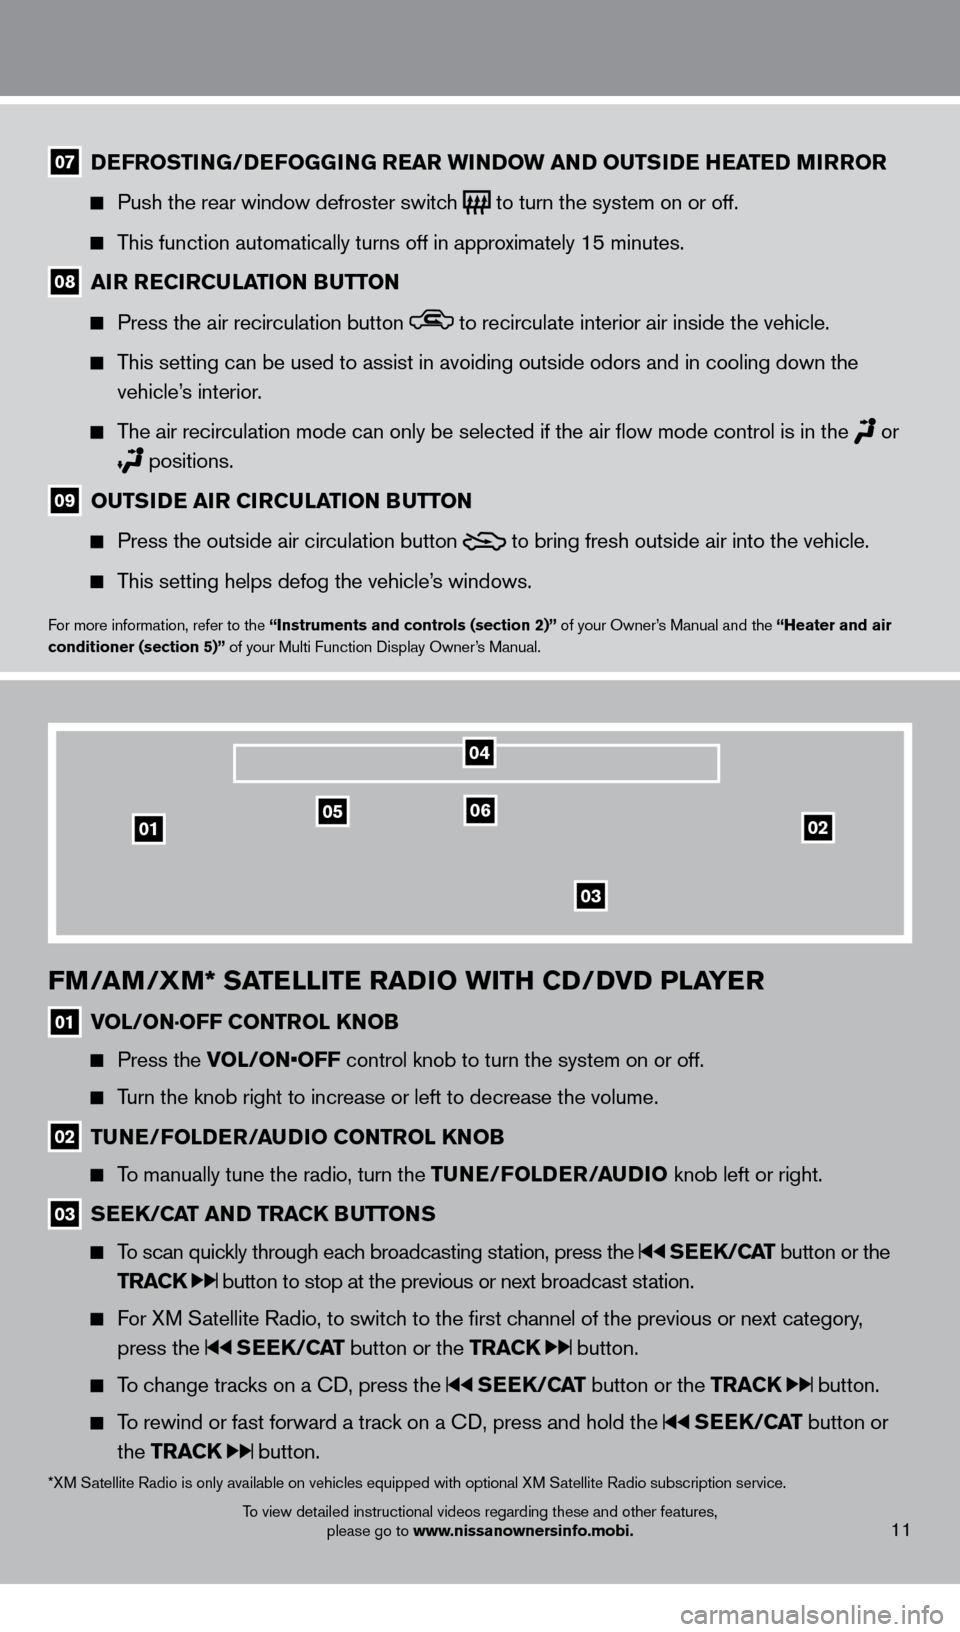
FM/aM/XM* S aT eLLIT e ra DIO w IT h c D/DVD PL aY er
01 VOL/ON·OFF c ONT rOL K NOB
Press the
VOL/ON•OFF control knob to turn the system on or off.
Turn the knob right to increase or left to decrease the volume.
02 TuNe/ FOLDe r/a uD IO c ONT rOL K NOB
To manually tune the radio, turn the Tu N e /FOLD er /a u DIO knob left or right.
03 SeeK/ caT a ND T rac K Bu TTONS
To scan quickly through each broadcasting station, press the S ee K/caT button or the
T
rac
K
button to stop at the previous or next broadcast station.
For XM Satellite Radio, to switch to the first channel of the previous or next category,
press the S ee K/caT button or the T rac K button.
To change tracks on a CD, press the S ee K/caT button or the T rac K button.
To rewind or fast forward a track on a CD, press and hold the S ee K/caT button or
the T
rac
K
button.
02010506
03
04
*XM Satellite Radio is only available on vehicles equipped with optional XM Satellite Radio subscription service.
To view detailed instructional videos regarding these and other features, please go to www.nissanownersinfo.mobi.
1276458_14a_GTR_QRG_Text-Insert_113012.indd 1111/30/12 1:45 PM
Page 14 of 24
first drive features
12
04 STaTION P reSe T Bu TTONS
Twelve stations can be set for the FM band, six for the AM band and eighteen for
SiriusX
M Satellite Radio.
To store a station in a preset, you must first select a radio band by pressing the \
FM•AM
button 05 or
Sa T
button
06 , then tune to the desired AM, FM or SiriusXM Satellite
Radio st
ation.
Then press and hold the desired station preset button (1-6) until the sound is briefly
muted. T
he station indicator will then display and the sound will resume. Programming\
is
now complete.
To retrieve a previously set station, select the radio band where the preset was stored
then press the corresponding st
ation select button (1-6).
For more information, refer to the “audio system ( section 3)” of your Multi Function Display Owner’s Manual.
cLOcK SeT/a DJuSTMeNT
Press the SeTTING button
01 , then select the “Clock”
key using the center dial and press the eNT er button
02 to access the following clock settings:
On-screen Clock – When this feature is turned to ON,
a cloc
k is always displayed in the upper right corner of
the Multi Function Display screen. T
he clock is
automatically adjusted by the G
PS system.
Clock Format – Choose either the 12-hour clock display or the 24-hour clock display.
Offset Adjust – Adjust the time by increasing or decreasing per minut\
e.
Daylight Savings Time – Turn this item to ON for daylight savings time application.
Time Zone – Choose the time zone.
For more information, refer to the “Other settings (section 7)” of your Multi Function Display Owner’s Manual.
0102
To view detailed instructional videos regarding these and other features,
please go to www.nissanownersinfo.mobi.
1276458_14a_GTR_QRG_Text-Insert_113012.indd 1211/30/12 1:45 PM
Page 15 of 24
cruISe c ONT rOL
The cruise control system enables you to set a
const
ant cruising speed above 25 MPH (40 km/h).
The system will automatically maintain the set speed
until you t
ap the brake pedal, accelerate, cancel or
turn the system off.
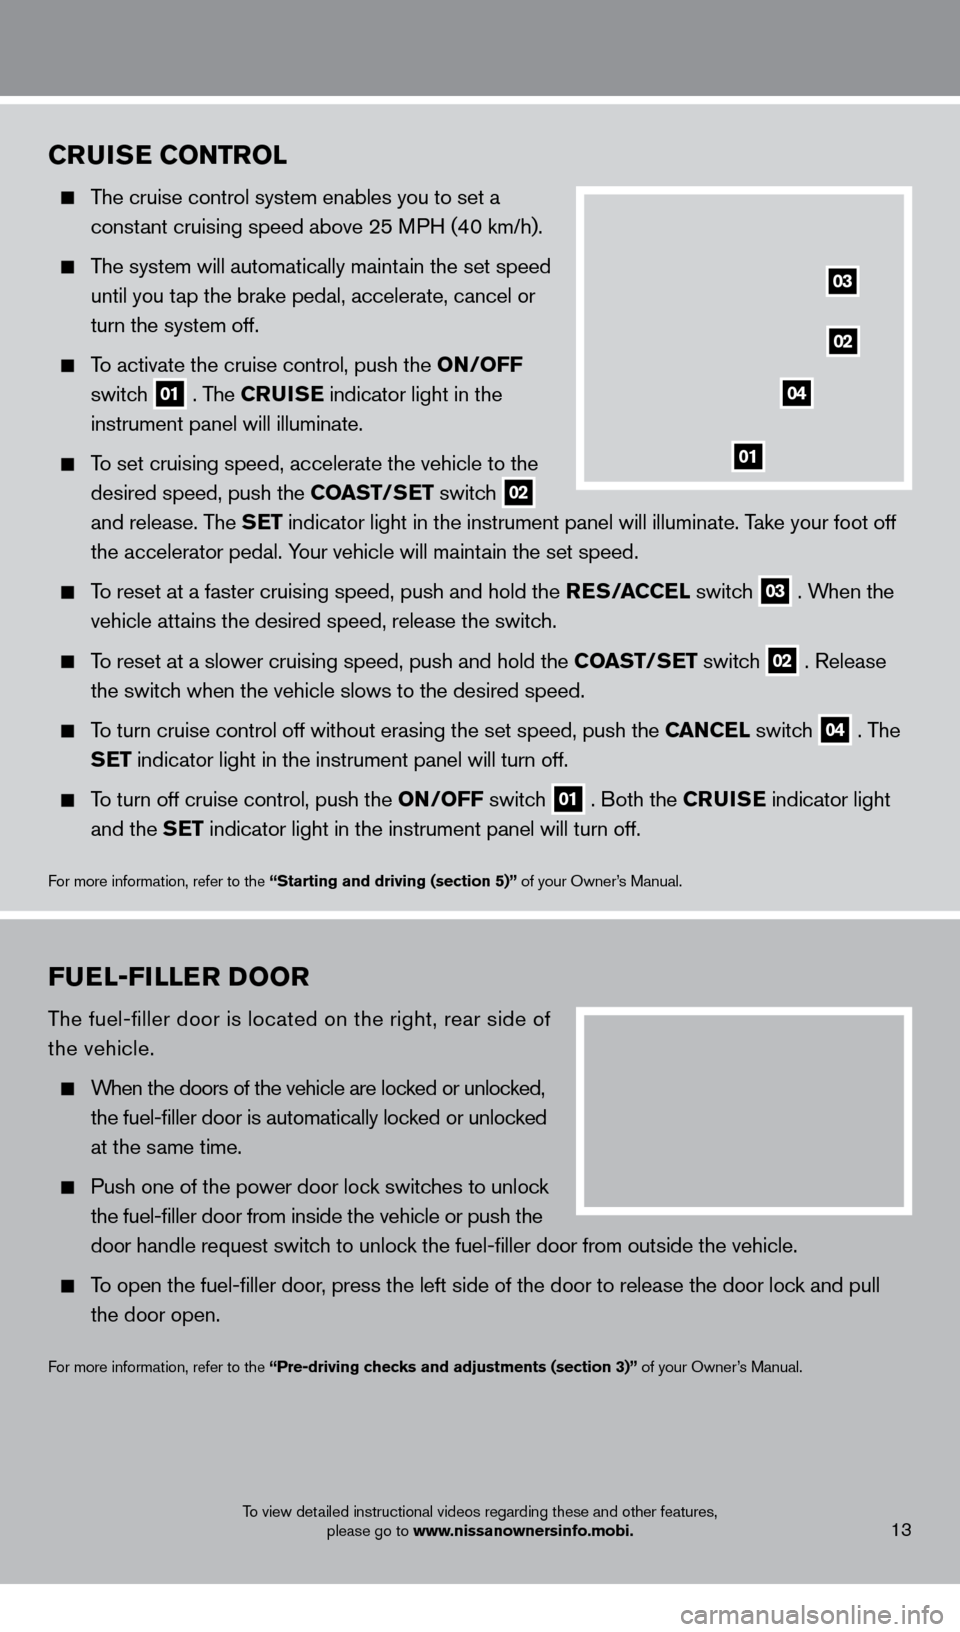
To activate the cruise control, push the ON/OFF
switc
h
01 . The cru IS e indicator light in the
instrument panel will illuminate.
To set cruising speed, accelerate the vehicle to the
desired speed, push the
c O
a
ST/S
e
T switch
02
and release. T
he Se
T indicator light in the instrument panel will illuminate. Take your foot off
the accelerator pedal. Y
our vehicle will maintain the set speed.
To reset at a faster cruising speed, push and hold the re S/a cce L switch
03 . When the
vehicle att
ains the desired speed, release the switch.
To reset at a slower cruising speed, push and hold the c Oa ST/Se T switch
02 . Release
the switc
h when the vehicle slows to the desired speed.
To turn cruise control off without erasing the set speed, push the ca NceL switch
04 . The
Se
T indicator light in the instrument panel will turn off.
To turn off cruise control, push the ON/OFF switch
01 . Both the cru IS e indicator light
and the
Se
T indicator light in the instrument panel will turn off.
For more information, refer to the “Starting and driving (section 5)” of your Owner’s Manual.
01
02
03
04
13
FueL-FILL er DOO r
The fuel-filler door is located on the right, rear side of
the vehicle.
When the doors of the vehicle are locked or unlocked,
the fuel-filler door is automatically loc
ked or unlocked
at the s
ame time.
Push one of the power door loc k switches to unlock
the fuel-filler door from inside the vehicle or push the
d
oor handle request switch to unlock the fuel-filler door from outside the vehicle.
To open the fuel-filler door, press the left side of the door to release the door lock and pull
the door open.
For more information, refer to the “Pre-driving checks and adjustments (section 3)” of your Owner’s Manual.
To view detailed instructional videos regarding these and other features, please go to www.nissanownersinfo.mobi.
1276458_14a_GTR_QRG_Text-Insert_113012.indd 1311/30/12 1:45 PM
Page 16 of 24
DrIVe c OMP u T er
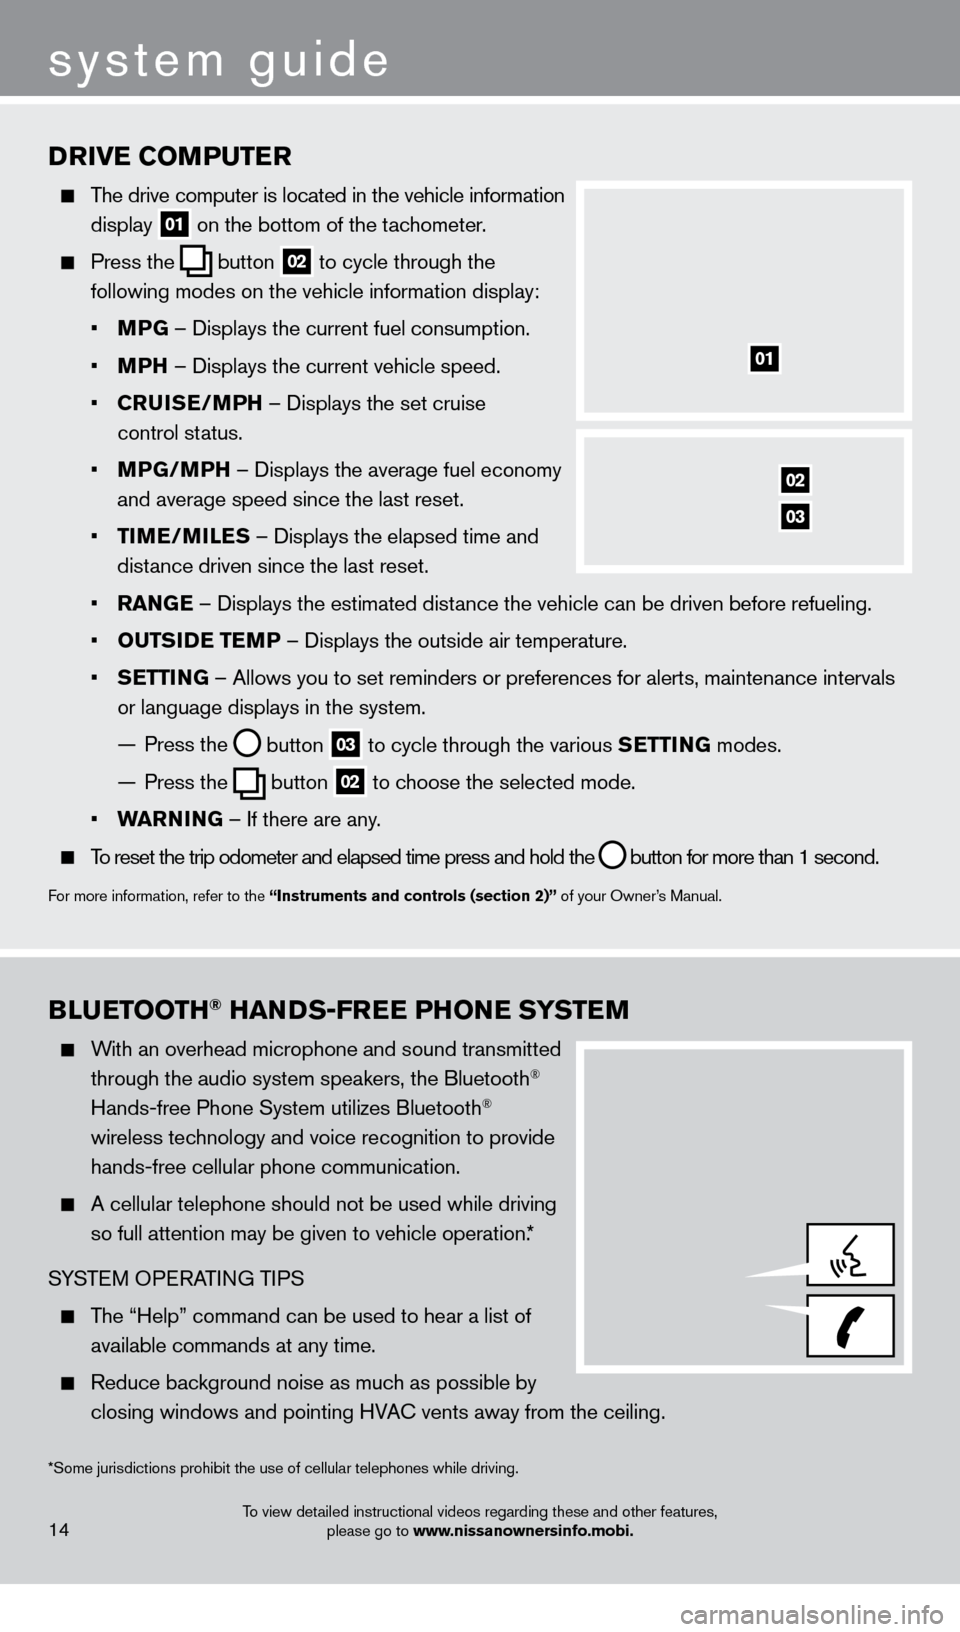
The drive computer is located in the vehicle information
display
01 on the bottom of the tachometer.
Press the
button
02 to cycle through the
following modes on the vehicle information display:
•
M
PG – Displays the current fuel consumption.
•
M
P
h
– Displays the current vehicle speed.
•
cru
IS
e
/MP
h – Displays the set cruise
control status.
•
MP
G/MP
h – Displays the average fuel economy
and average speed since the last reset.
•
T
IM
e
/MIL
e
S – Displays the elapsed time and
distance driven since the last reset.
•
ra
NG
e
– Displays the estimated distance the vehicle can be driven before refueling.
•
O
u
TSID
e
T
e
M
P – Displays the outside air temperature.
•
Se
TTING – Allows you to set reminders or preferences for alerts, maintenance\
intervals
or language displays in the system.
—
Press the button
03 to cycle through the various Se TTING
modes.
—
Press the button
02 to choose the selected mode.
•
war
NING – If there are any.
To reset the trip odometer and elapsed time press and hold the
button for more than 1 second.
For more information, refer to the “Instruments and controls (section 2)” of your Owner’s Manual.
01
02
03
system guide
14
BLueTOOTh® haNDS-Free PhONe
SYST eM
With an overhead microphone and sound transmitted
through the audio system speakers, the Bluetooth®
Hands-free Phone System utilizes Bluetooth®
wireless technology and voice recognition to provide
hands-free cellular phone communication.
A cellular telephone should not be used while driving
so full attention may be given to vehicle operation.*
SYSTEM OPERATING TIPS
The “Help” command can be used to hear a list of available commands at any time.
Reduce bac kground noise as much as possible by
closing windows and pointing HVAC vents away from the ceiling.
*Some jurisdictions prohibit the use of cellular telephones while drivin\
g.
To view detailed instructional videos regarding these and other features, please go to www.nissanownersinfo.mobi.
1276458_14a_GTR_QRG_Text-Insert_113012.indd 1411/30/12 1:45 PM