Page 4 of 24

2
TIRE PRESSURE MONITORING SYSTEM (TPMS)
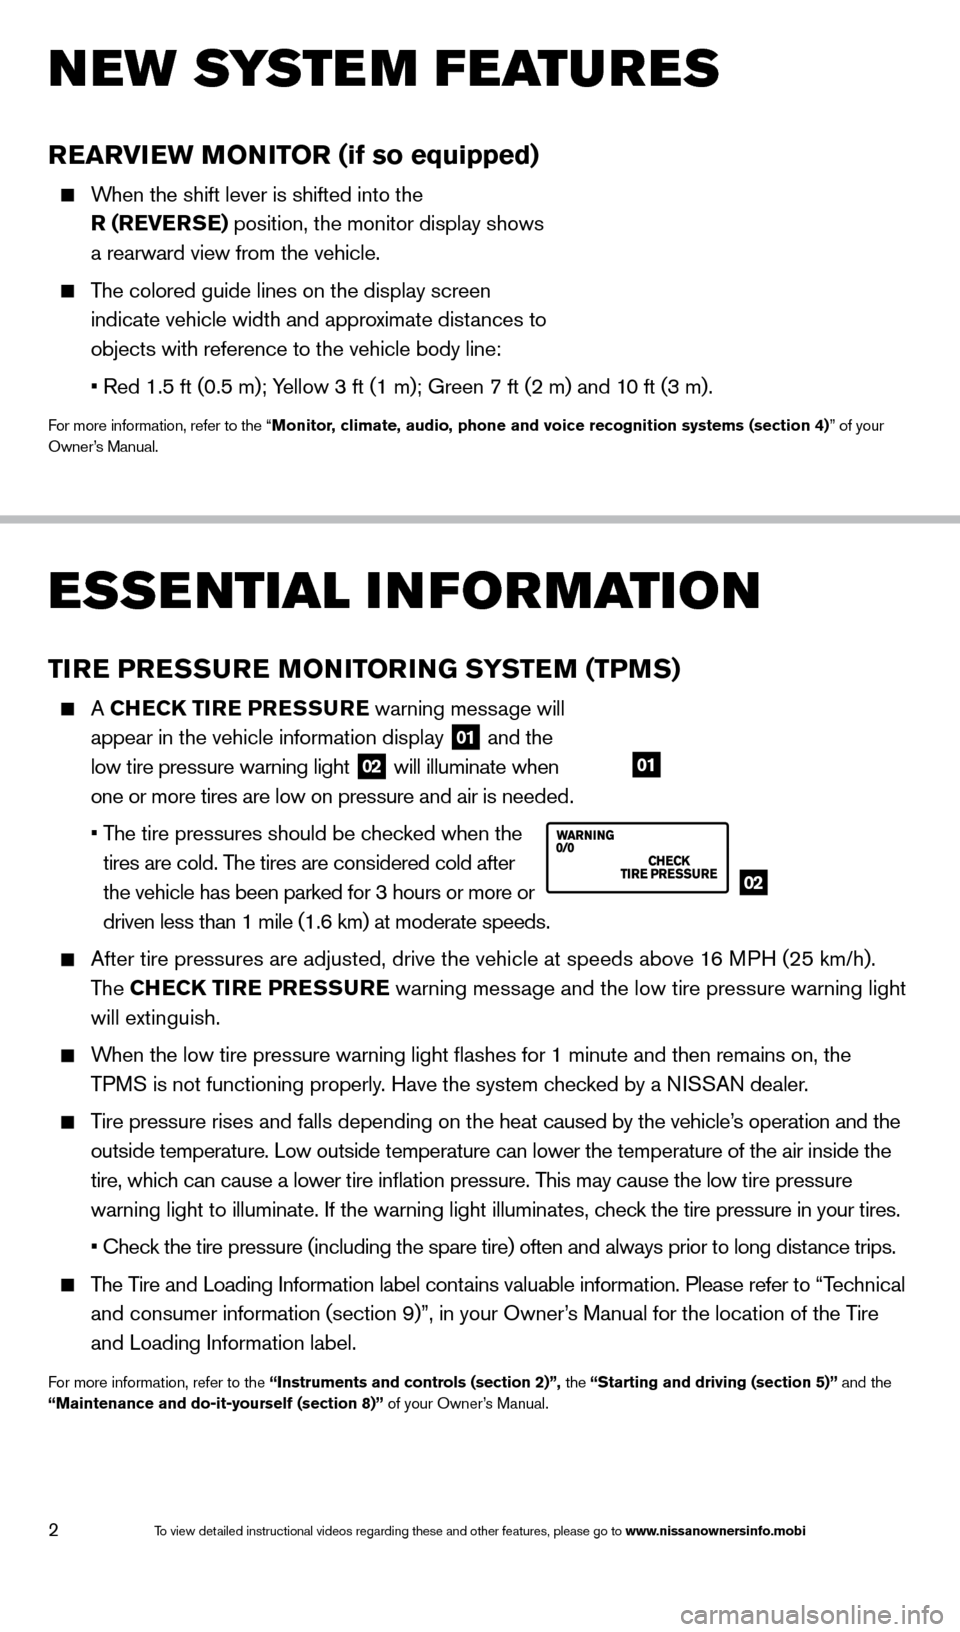
A CHECK TIRE PRESSURE warning message will
appear in the vehicle information display
01 and the
low tire pressure warning light 02 will illuminate when
one or more tires are low on pressure and air is needed.
•
T
he tire pressures should be checked when the
tires are cold. The tires are considered cold after
the vehicle has been parked for 3 hours or more or
driven less than 1 mile (1.6 km) at moderate speeds.
After tire pressures are adjusted, drive the vehicle at speeds above 1 6 MPH (25 km/h).
The CHECK TIRE PRESSURE warning message and the low tire pressure warning light
will extinguish.
When the low tire pressure warning light flashes for 1 minute and then \
remains on, the TPMS is not functioning properly. Have the system checked by a NISSAN dealer.
Tire pressure rises and falls depending on the heat caused by the vehicle’s operation and the
outside temperature. Low outside temperature can lower the temperature o\
f the air inside the
tire, which can cause a lower tire inflation pressure. This may cause the low tire pressure
warning light to illuminate. If the warning light illuminates, check the tire pressure in your tires.
•
Chec
k the tire pressure (including the spare tire) often and always prior \
to long distance trips.
The Tire and Loading Information label contains valuable information. Please refer to “Technical and consumer information (section 9)”, in your Owner’s Manual for the location of the Tire
and Loading Information label.
For more information, refer to the “Instruments and controls (section 2)”, the “Starting and driving (section 5)” and the
“Maintenance and do-it-yourself (section 8)” of your Owner’s Manual.
ESSE NTIAL I N FOR MATION
02
01
NEW SYSTEM FEATURES
REARVIEW MONITOR (if so equipped)
When the shift lever is shifted into the
R (REVERSE) position, the monitor display shows
a rearward view from the vehicle.
The colored guide lines on the display screen indicate vehicle width and approximate distances to
objects with reference to the vehicle body line:
•
Red 1.5 ft (0.5 m); Y
ellow 3 ft (1 m); Green 7 ft (2 m) and 10 ft (3 m).
For more information, refer to the “Monitor, climate, audio, phone and voice recognition systems (section 4)” of your
Owner’s Manual.
1590747_14b_Armada_QRG_011614.indd 21/16/14 10:40 AM
To view detailed instructional videos regarding these and other features, please go\
to www.nissanownersinfo.mobi
Page 6 of 24

4
01
FIRST DRIVE FEATURES
NISSAN INTELLIGENT KEY® SYSTEM (if so equipped)
The NISSAN Intelligent Key® System allows you to lock or
unlock the vehicle, open the liftgate and start the engine. It is
important to make sure the Intelligent Key is with you
(that is, in your pocket or purse).
The operating range of the Intelligent Key is within
31.5 in (80 cm) from each request switch.
To lock the vehicle, push either door handle request
switch
01 once or press the
button
02 on the key fob.
To unlock the vehicle, perform one of the following procedures:
•
Push either door handle request switc
h
01 once; the
corresponding door will unlock. Push the door handle request
switch
01 again within 30 seconds; all other doors will unlock, or
•
Press the button
03 on the key fob to unlock the driver’s side
door. Press the button again; all other doors will unlock.
To open the liftgate, press the
button
04 for more than 1 second.
The Intelligent Key can also be used to activate the panic alarm by pressing and holding \
the
button
05 for more than 0.5 seconds. Once activated, the panic alarm and headlight\
s
will stay on for a period of time.
For more information, refer to the “Pre-driving checks and adjustments (section 3)”, the “Starting and driving (section
5)” and the “Maintenance and do-it-yourself (section 8)” of your Owner’s Manual.
POWE R LI FTGATE R E LEAS E (if so equipped)
When the liftgate is closed, the liftgate will fully open
automatically by:
Pushing the power liftgate switc h
01 on the
instrument panel.
Pulling the power liftgate handle 02, once the
vehicle is unlocked.
Pressing the rear liftgate release button 03 on the key fob for more
than 1 second.
For more information, refer to the “Pre-driving checks and adjustments (section 3)” of your
Owner’s Manual.
02
01
03
02
03
04
05
To view detailed instructional videos regarding these and other features, please go\
to www.nissanownersinfo.mobi
1590747_14b_Armada_QRG_011614.indd 41/16/14 10:41 AM
To view detailed instructional videos regarding these and other features, please go\
to www.nissanownersinfo.mobi
Page 24 of 24

Nissan, the Nissan Brand Symbol, Z and
Nissan model names are Nissan trademarks.
© 2014 Nissan North America, Inc.
QR
14E TA60U1
Printing: February 2014 (25)
To view detailed instructional videos,
go to www.nissanownersinfo.mobi/2014/armada
or snap this barcode with an appropriate barcode reader.
This Quick Reference Guide is intended to provide an overview of some of the uniq\
ue features of your new vehicle. See your
Owner’s Manual, which contains important safety warnings and information about the operation and maintenance of yo\
ur vehicle,
for complete details. NISSAN North America, Inc. reserves the right to make changes, at any time, without prior notice, in prices,
colors, materials, equipment, specifications, and models and to discon\
tinue models or equipment. Due to continuous product
development and other pre- and post-production factors, actual vehicle, \
materials and specifications may vary. Some vehicles are
shown with optional equipment. See the actual vehicle for complete accur\
acy. Specifications, options and accessories may differ
in Hawaii, U.S. territories and other countries. For additional information on availability, options or accessories, see your NISSAN
dealer or contact NISSAN North America, Inc.
1590747_14b_Armada_QRG_011614.indd 21/16/14 10:40 AM